Artwork #18 : "Steemit" Mandala Art ✏| Proud Steemian | Simple Processes from me to you! 😉👍
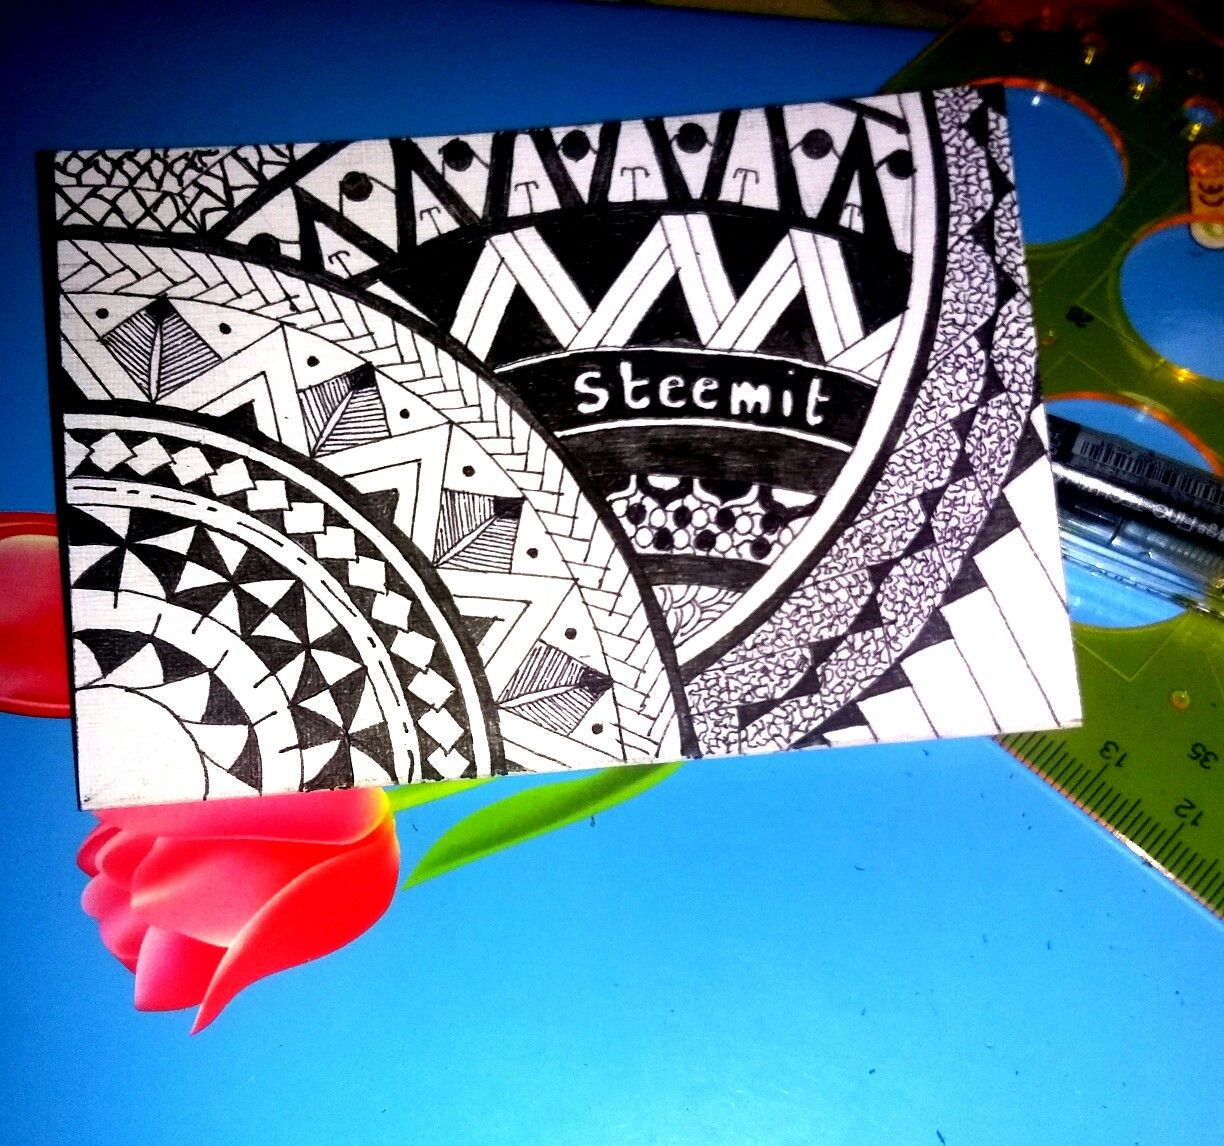
Rise and Shine my Co-Beautiful and Handsome Steemians! 😘 Today I'm gonna show you my another Mandala artwork, but this time I'll be writing a "Text" on it which is Steemit*. Because that is one of my ways to show how grateful and proud I am to be a part of this friendly worldwide platform.
Moreover, this community helps me to fulfill my undying love of art particularly in making new creations out from imagination. 😃 I am free to share my knowledge in capability to my ability by doing and making such an art all by myself @originalartworks
A lot of thanks to my friends who introduced me to this platform, @lullettematz, @gorgeousiel, @kimrene, @jcleff, @mariaisabelencia, @frellarong and many more . Most especially I am much thankful to @surpassinggoogle for the big heart for us filipinos by the helping hands and welcoming us to this community rather. 😆
And to all his Steemit Babies I called, 😉 @teardrops , @steemgigs , @bayanihan and more. 👌
So, this is my Steemit Mandala Artwork
this may seem not as much as you've expected but its from my heart 😘💗
Materials Needed :
• Sketch Pad
• Pencil
• Pointed Pen (0.3)
• Gel Pen (0.5) Black
• Compass
• Ruler
• Protractor
• Eraser
Here are the Steps : 📝
STEP 1
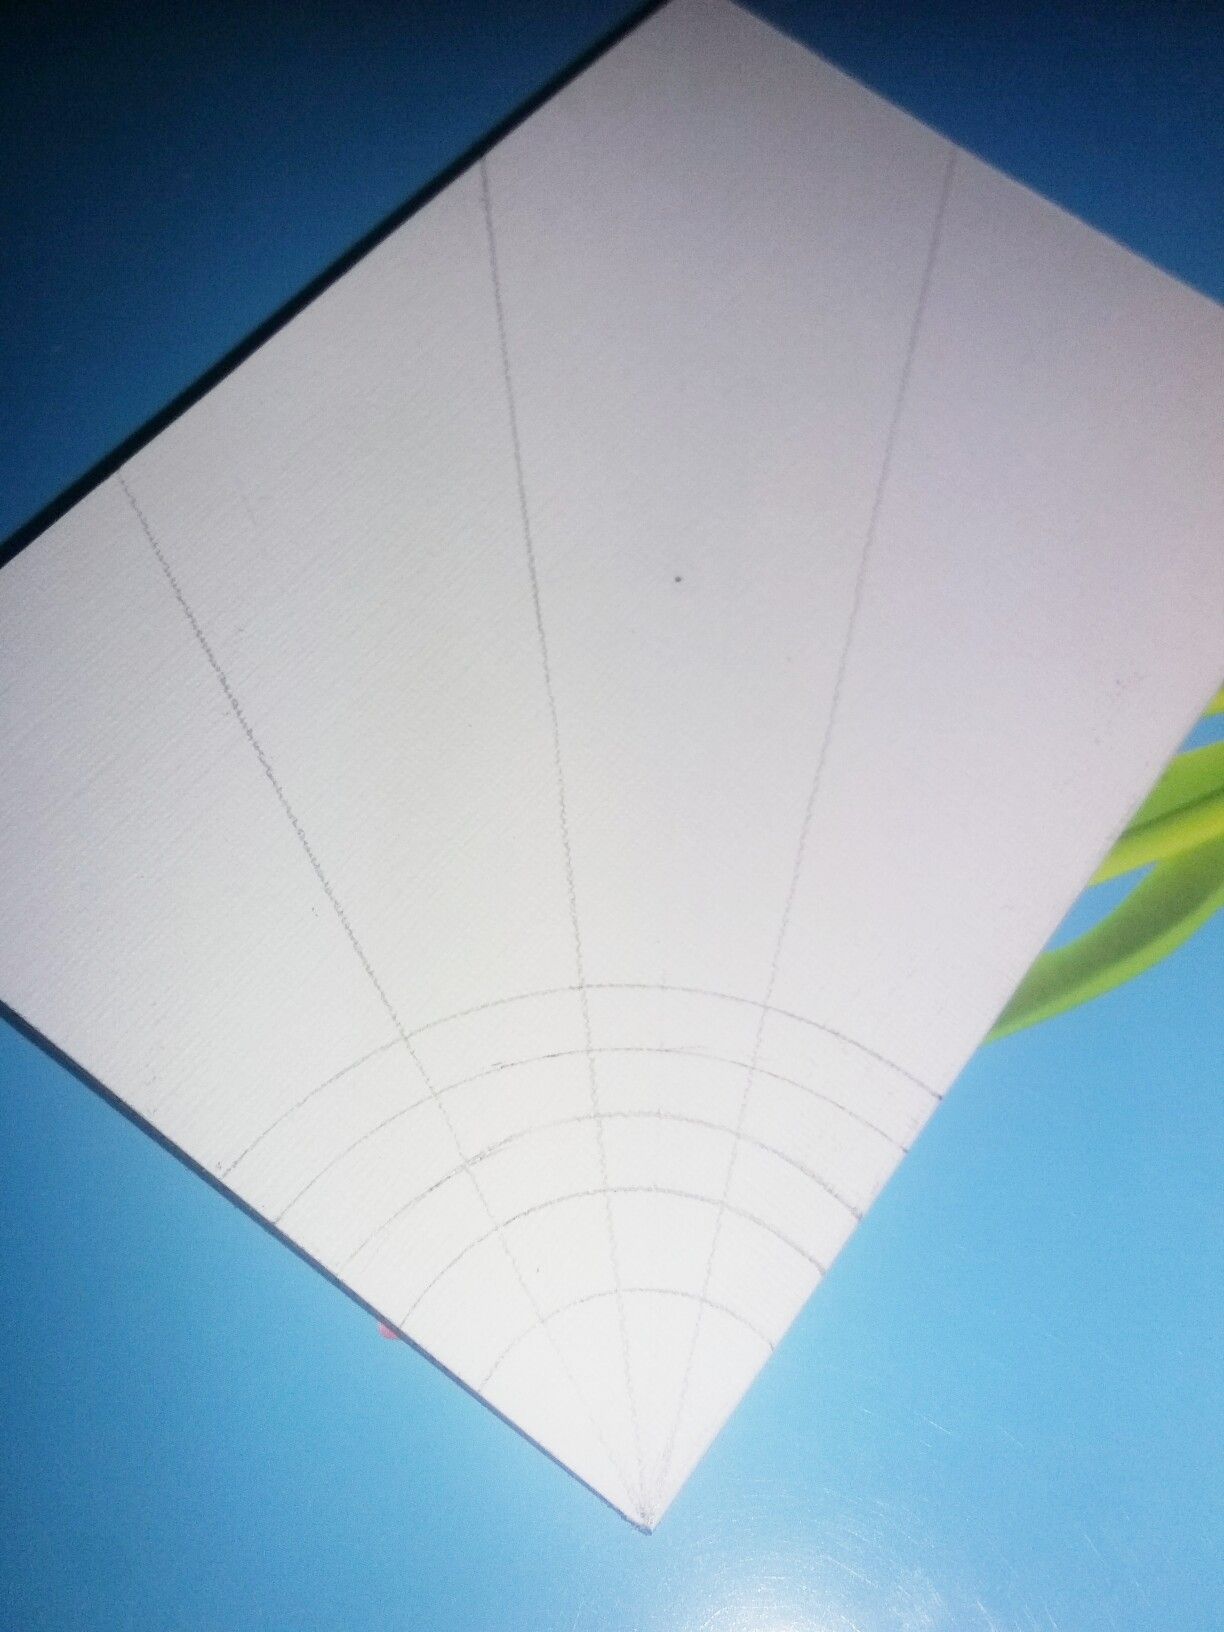
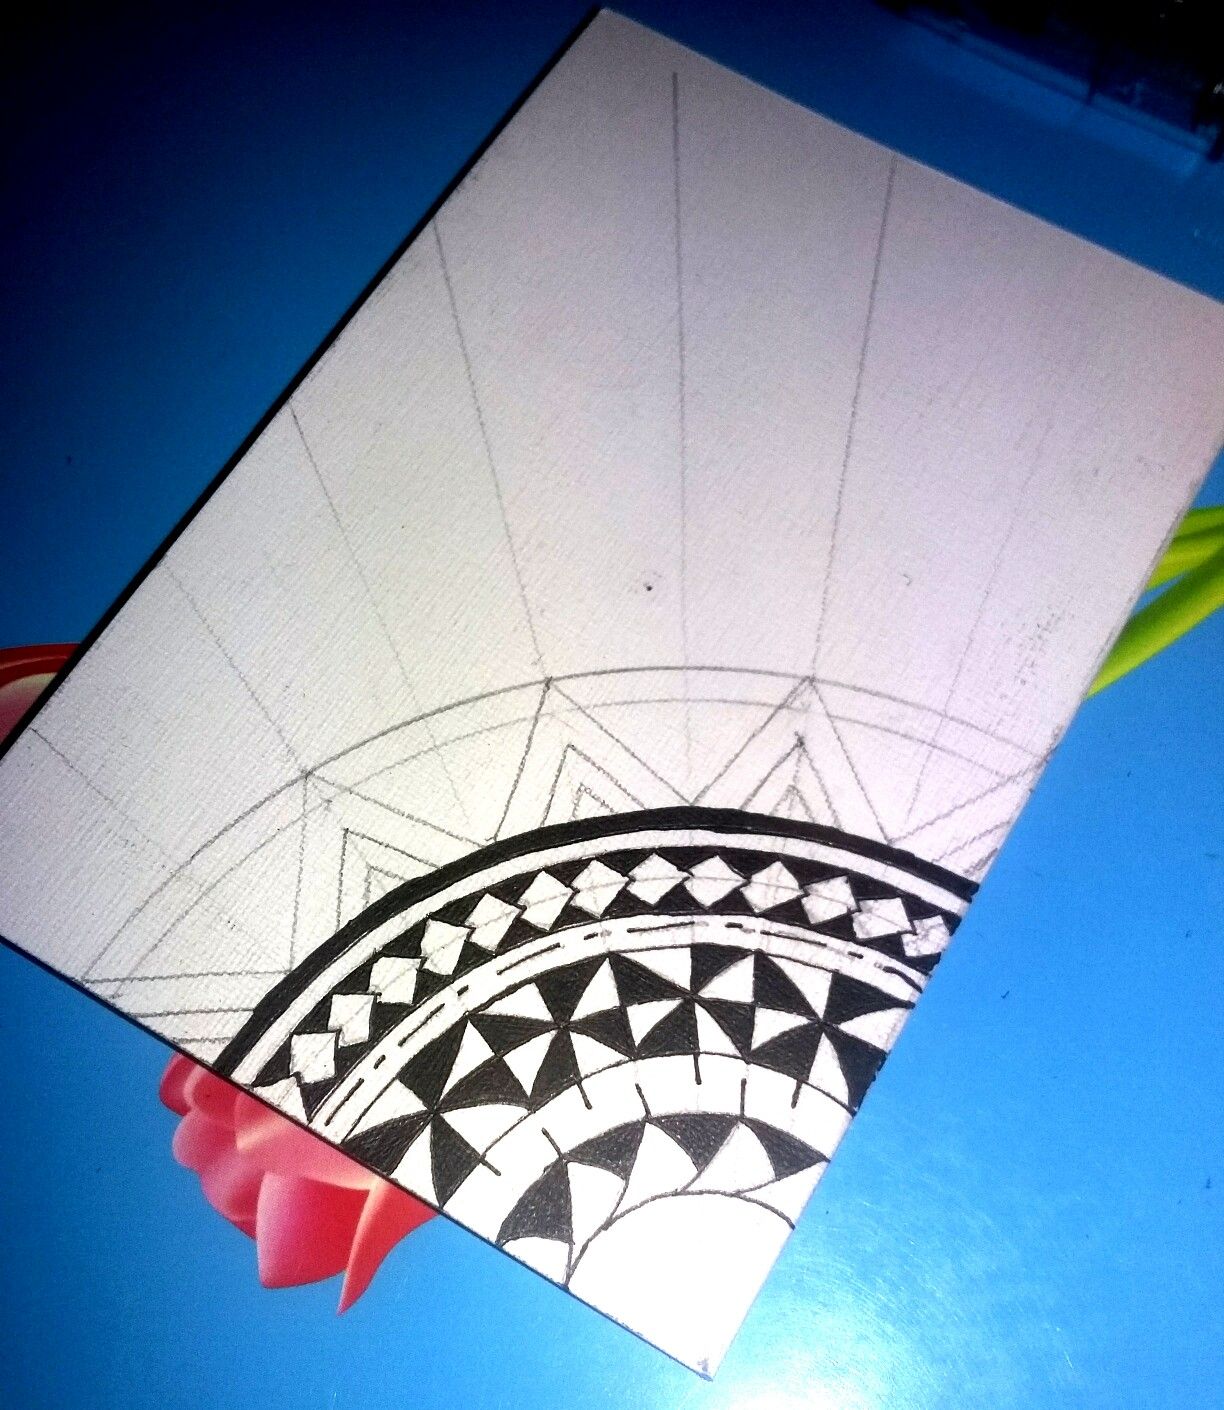
Start by drawing your pattern the line rays and semi-circles using your pencil. (See Photo) ✏📏
STEP2
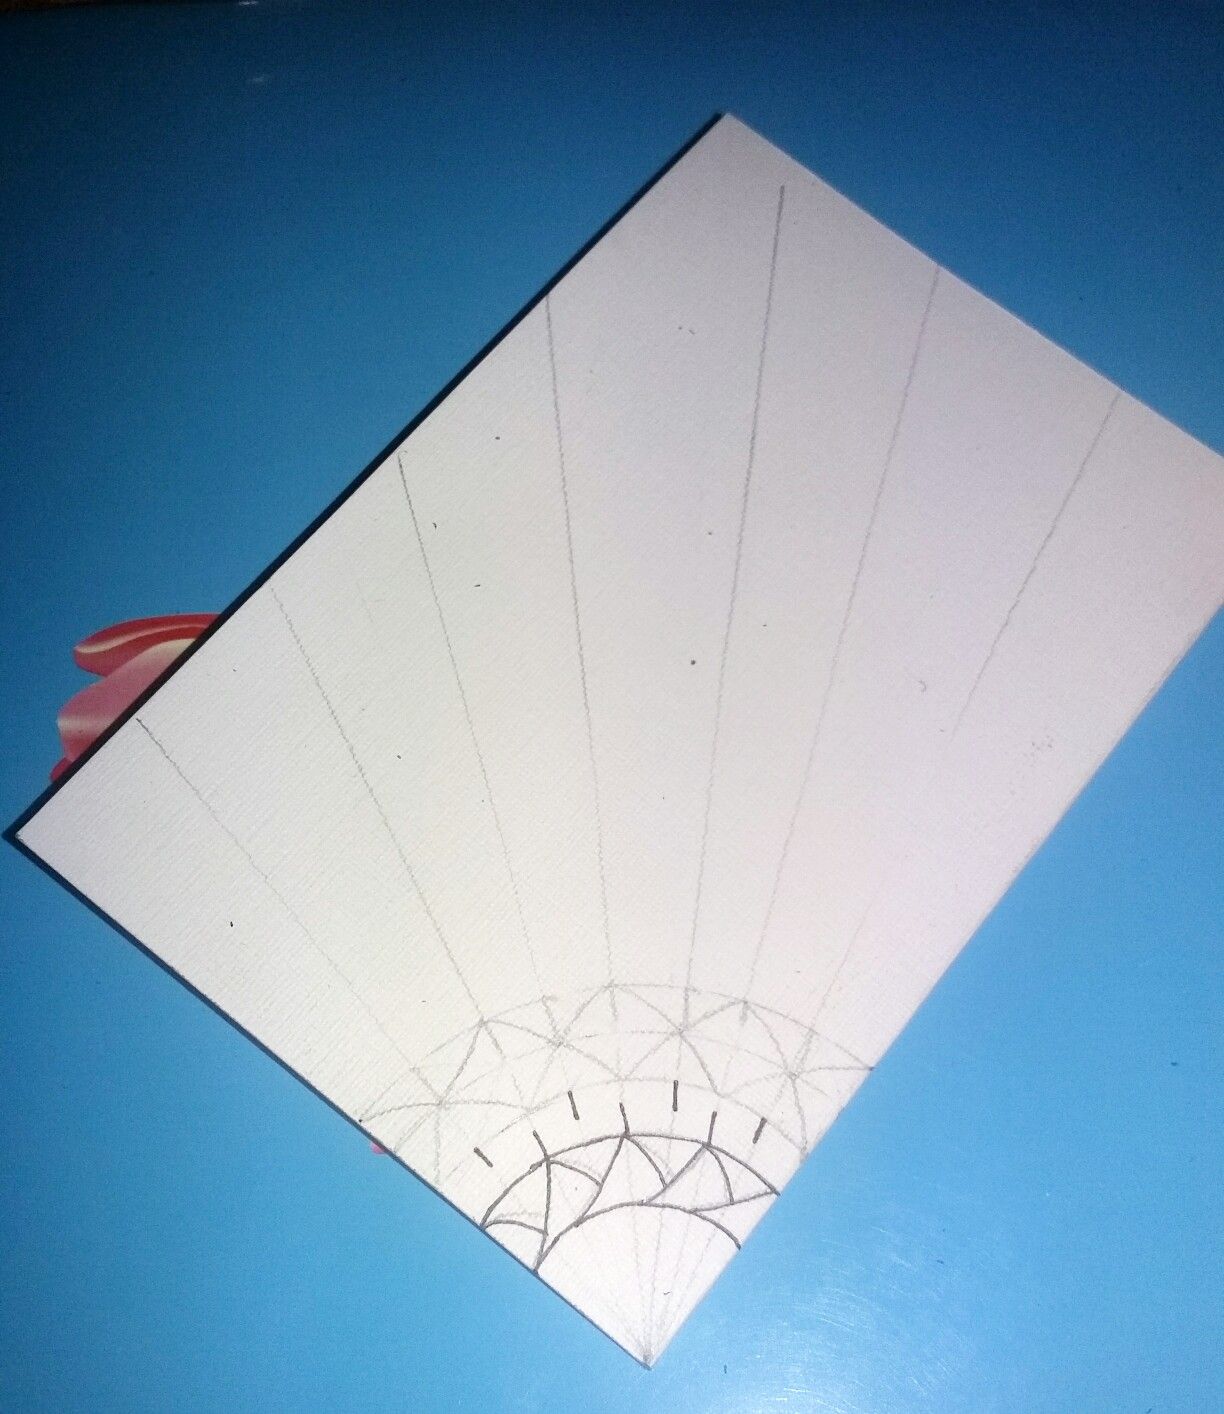
Add more line rays with equal distances. Draw your first pattern design on the innermost part of your semi-circle.
(See Photo)✏

Trace your design using pointed pen (0.3) . (Note: Avoid smudges of your ink) ✒ Then,Trace another designs.
STEP 3
Trace the design and now blackened carefully the designs using your Gel pen (0.5) . (Note: Avoid smudges of your ink) and add another designs (See Photo) ✒

Trace using your pointed pen (0.3)
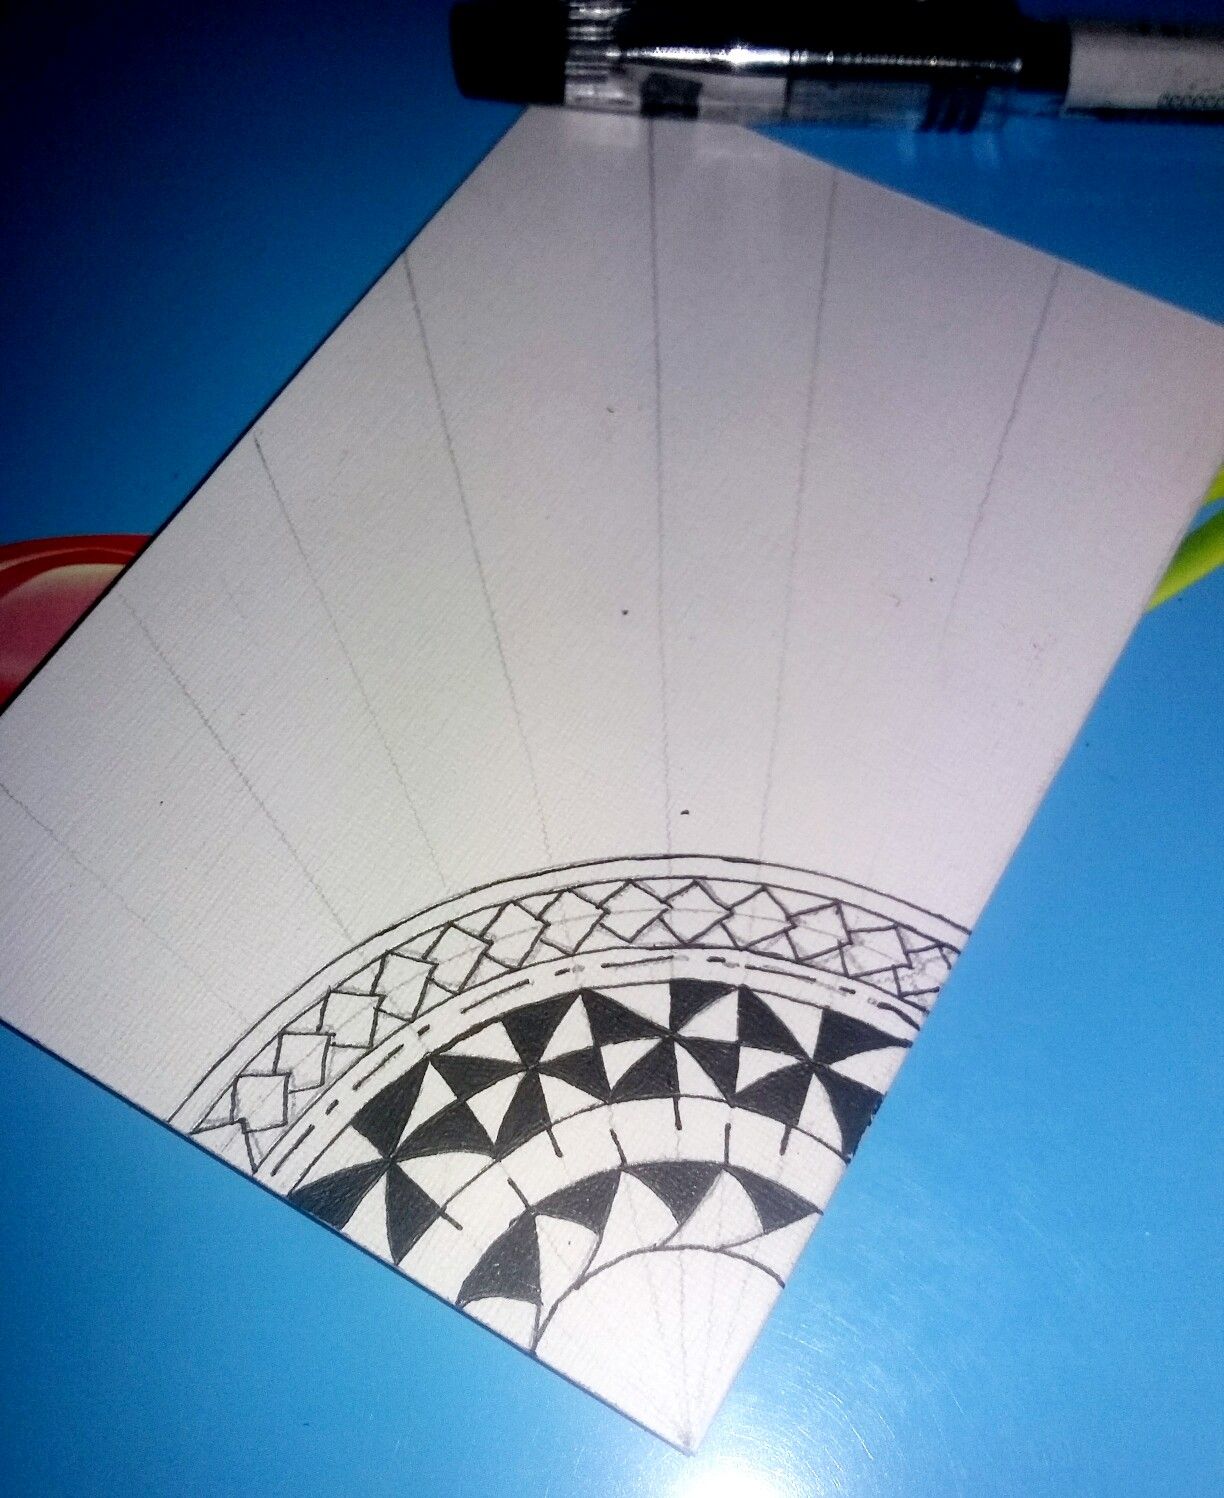
Blackened using your Gel Pen (0.5)

STEP 4
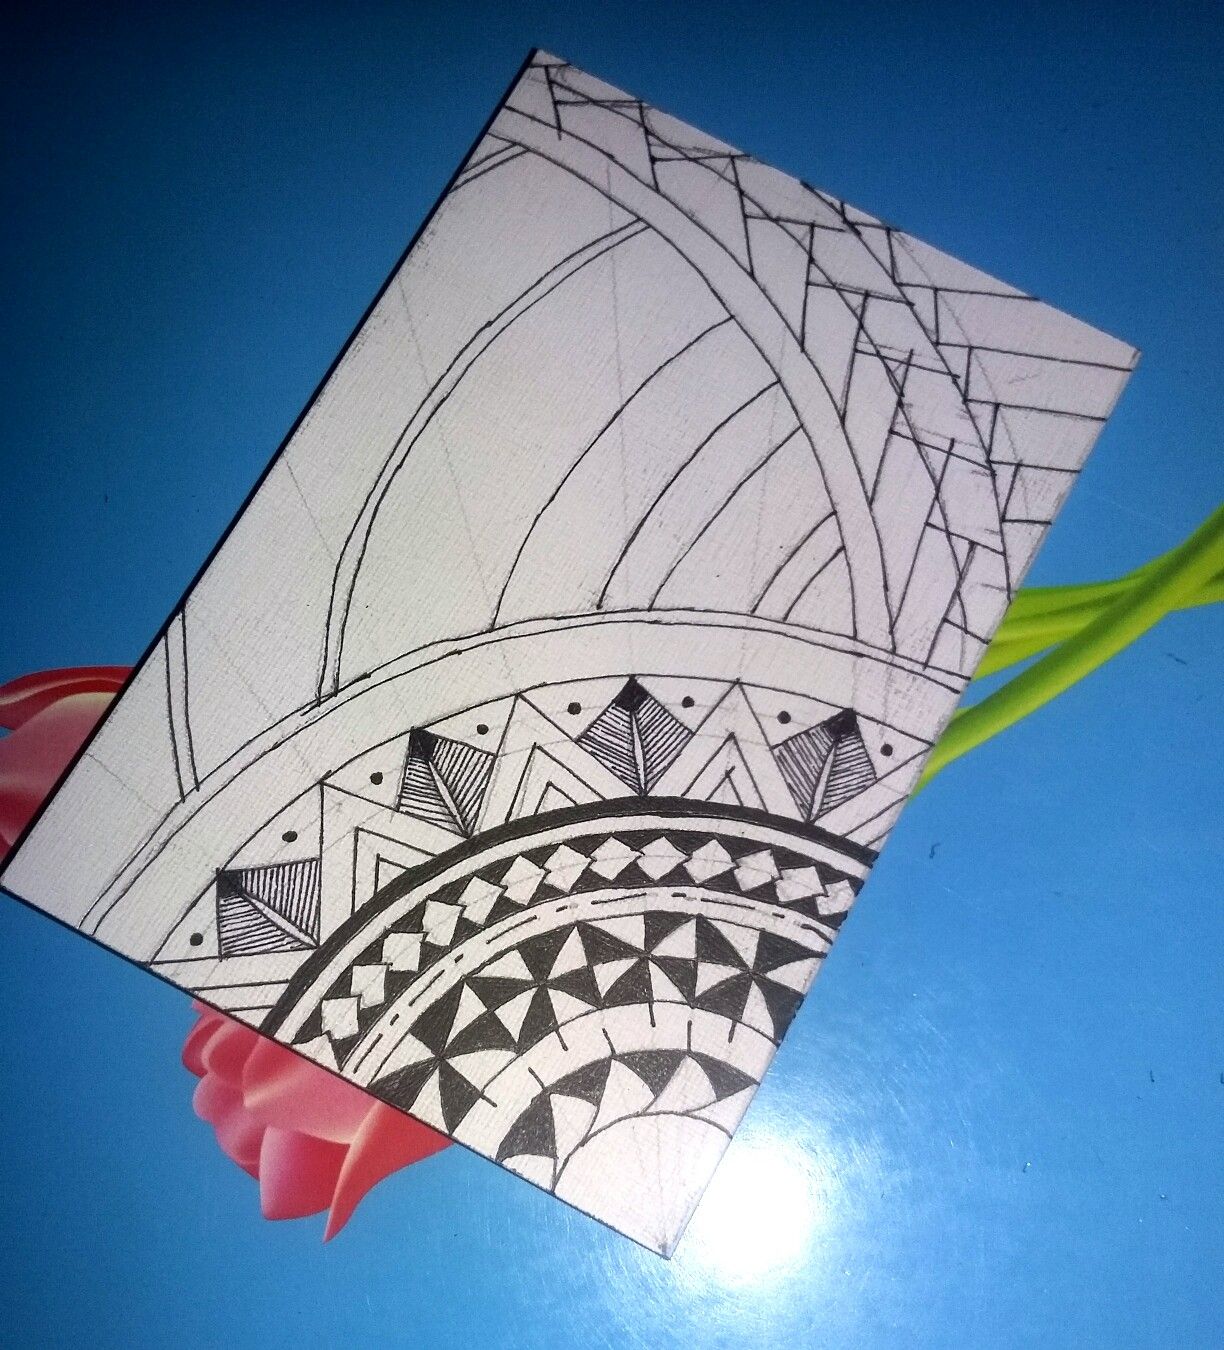
Add more drawn semi-circles and draw another designs (Triangles) . Then trace afterwards your design and add more detailed design furthermore, blackened some parts. (See Photo)
More semi-circles and detailed designs.

STEP 5
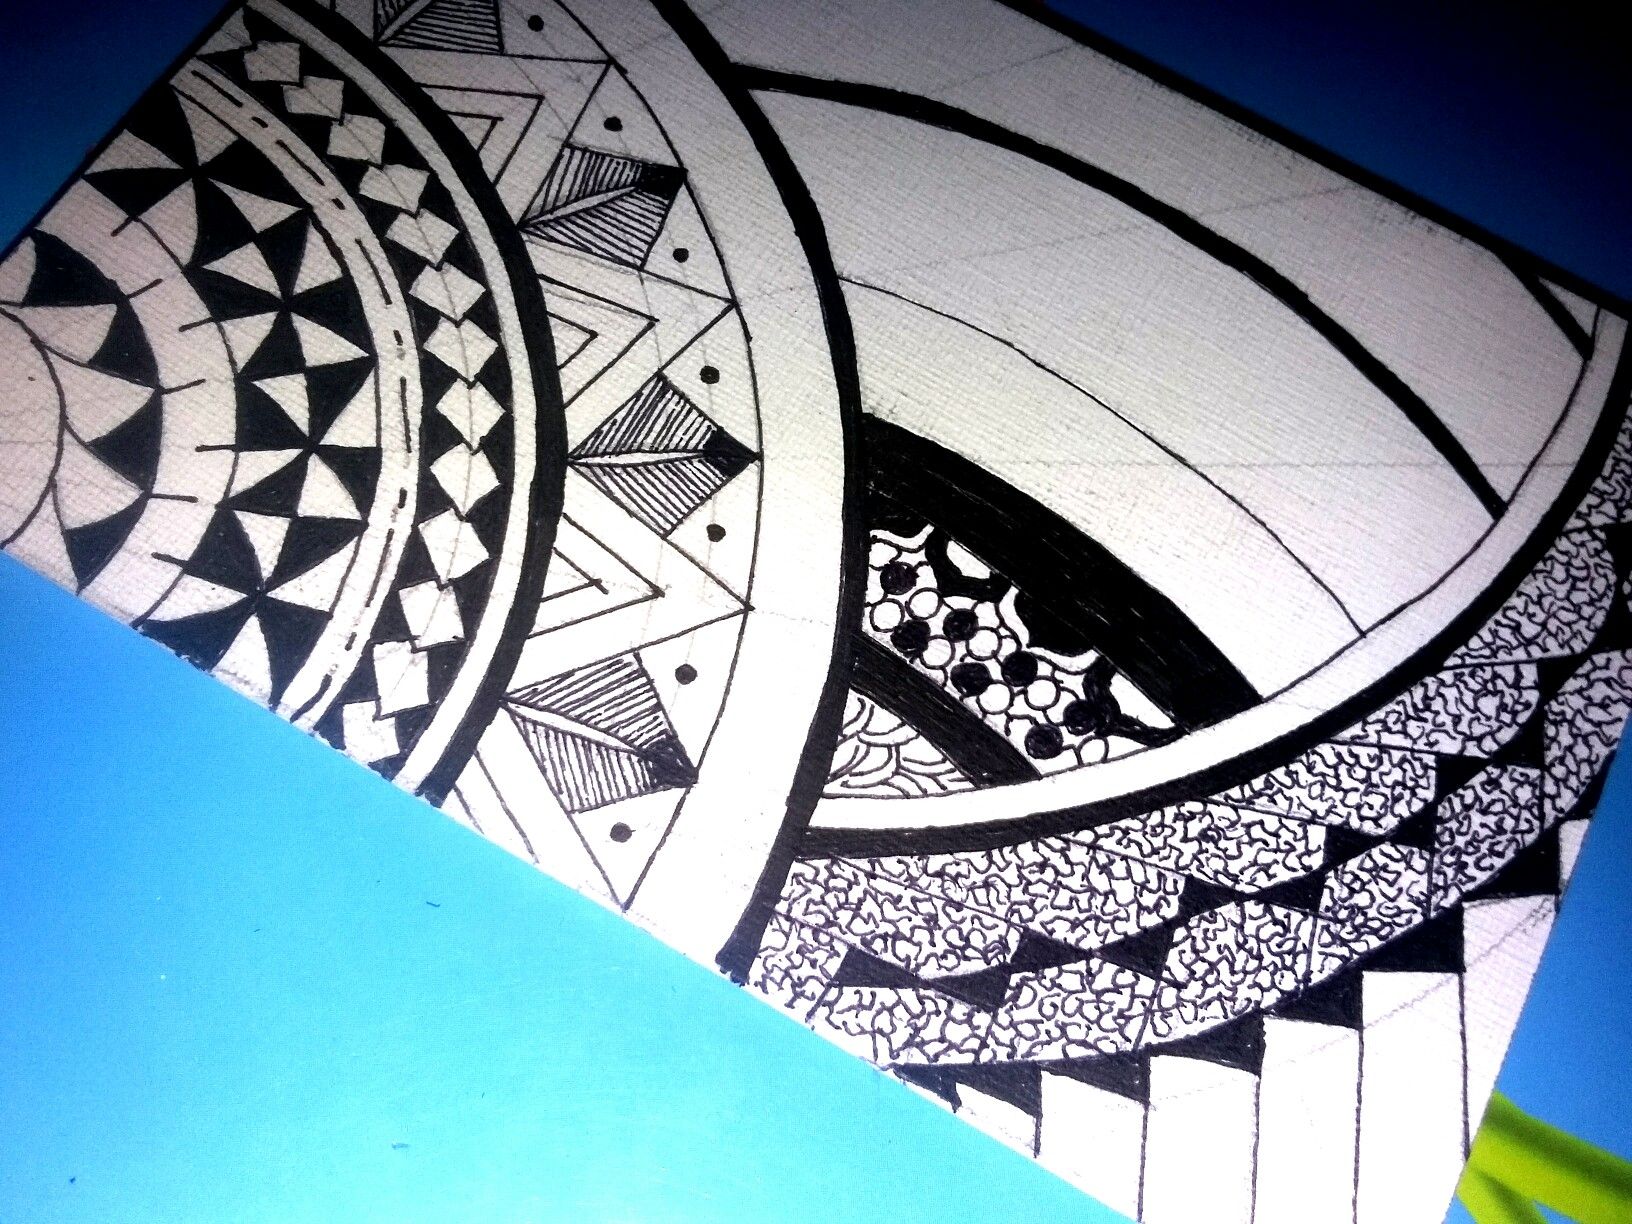
Trace braided designs on the right part of semi-circles and blackened afterwards. (See Photo)
Braided designs.

STEP 6
Trace your designs (small circles) and blackened some parts.
STEP 7
Your halfway there! 😉 Now, add your last designs. Trace them and Blackens afterwards.

STEP 8
Continue adding more detailed designs and write Steemit text on the center of your semi-circle. blackened after being traced .
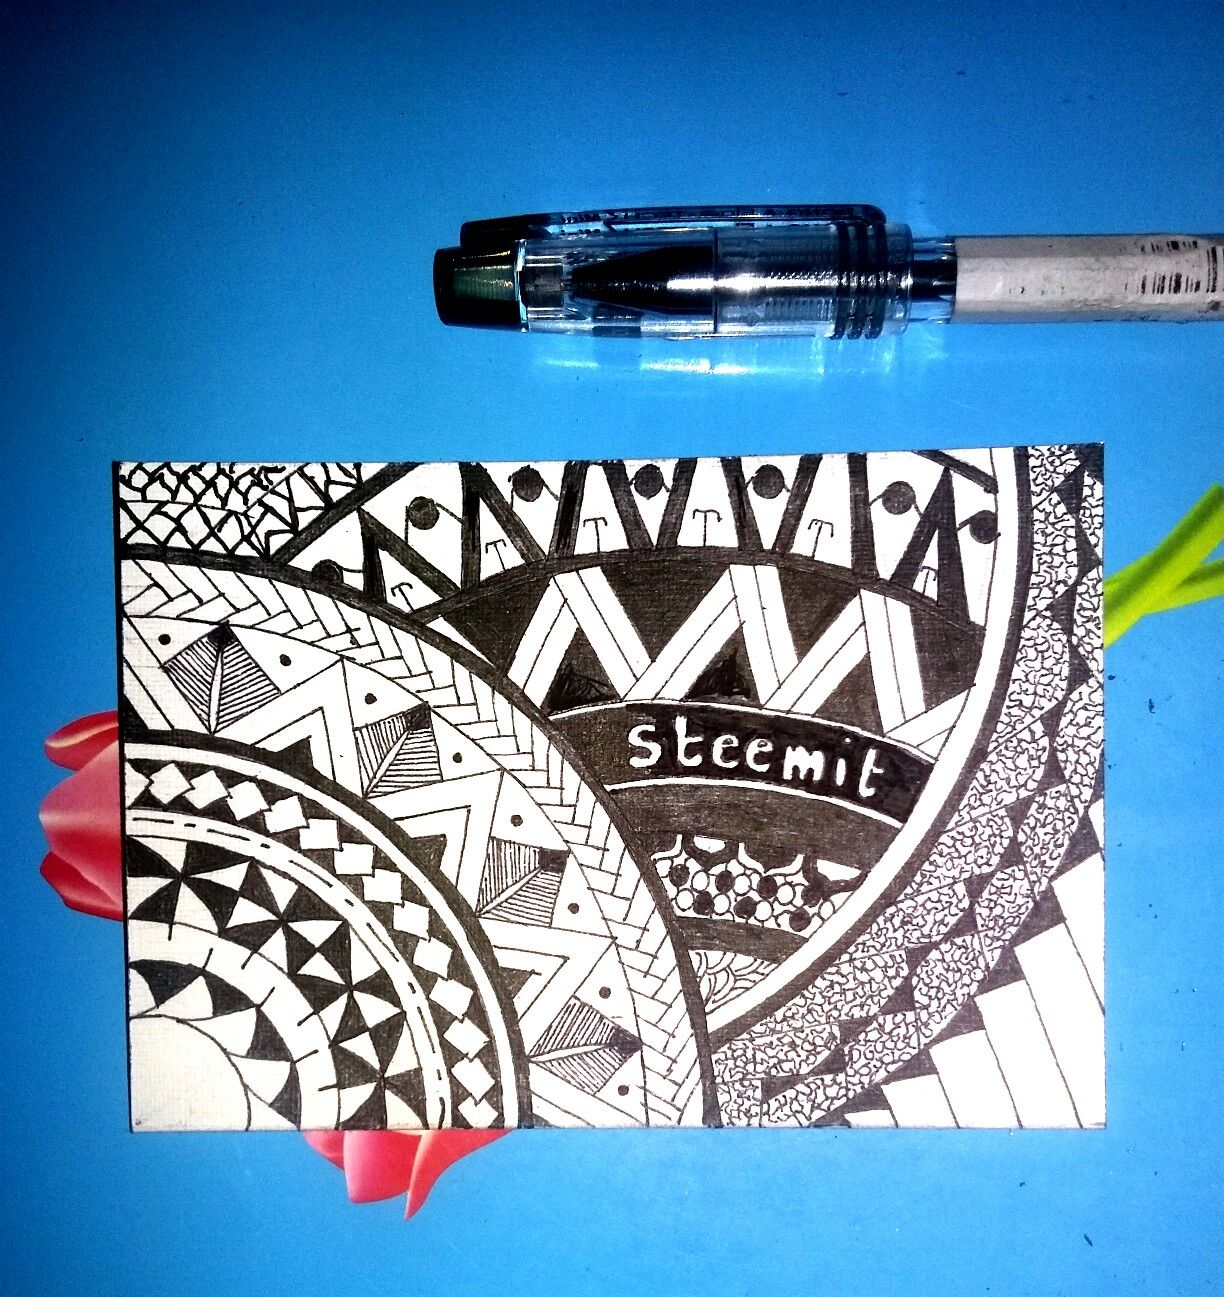
DONE!!! 😉👍
Hope you are enjoying as I am 😘
Thank you for visiting my blog.
see yeah! BYE! 👋
CUTE ARTIST,
This post has been upvoted for free by @nanobot with 5%!
Get better upvotes by bidding on me.
Thank you :-)
Should I have your watsapp number or something ?. :)
Btw amazing post.❤