Adobe Illustrator । Graphics Design । Tutorial । Settings Icon Design। Ep-229
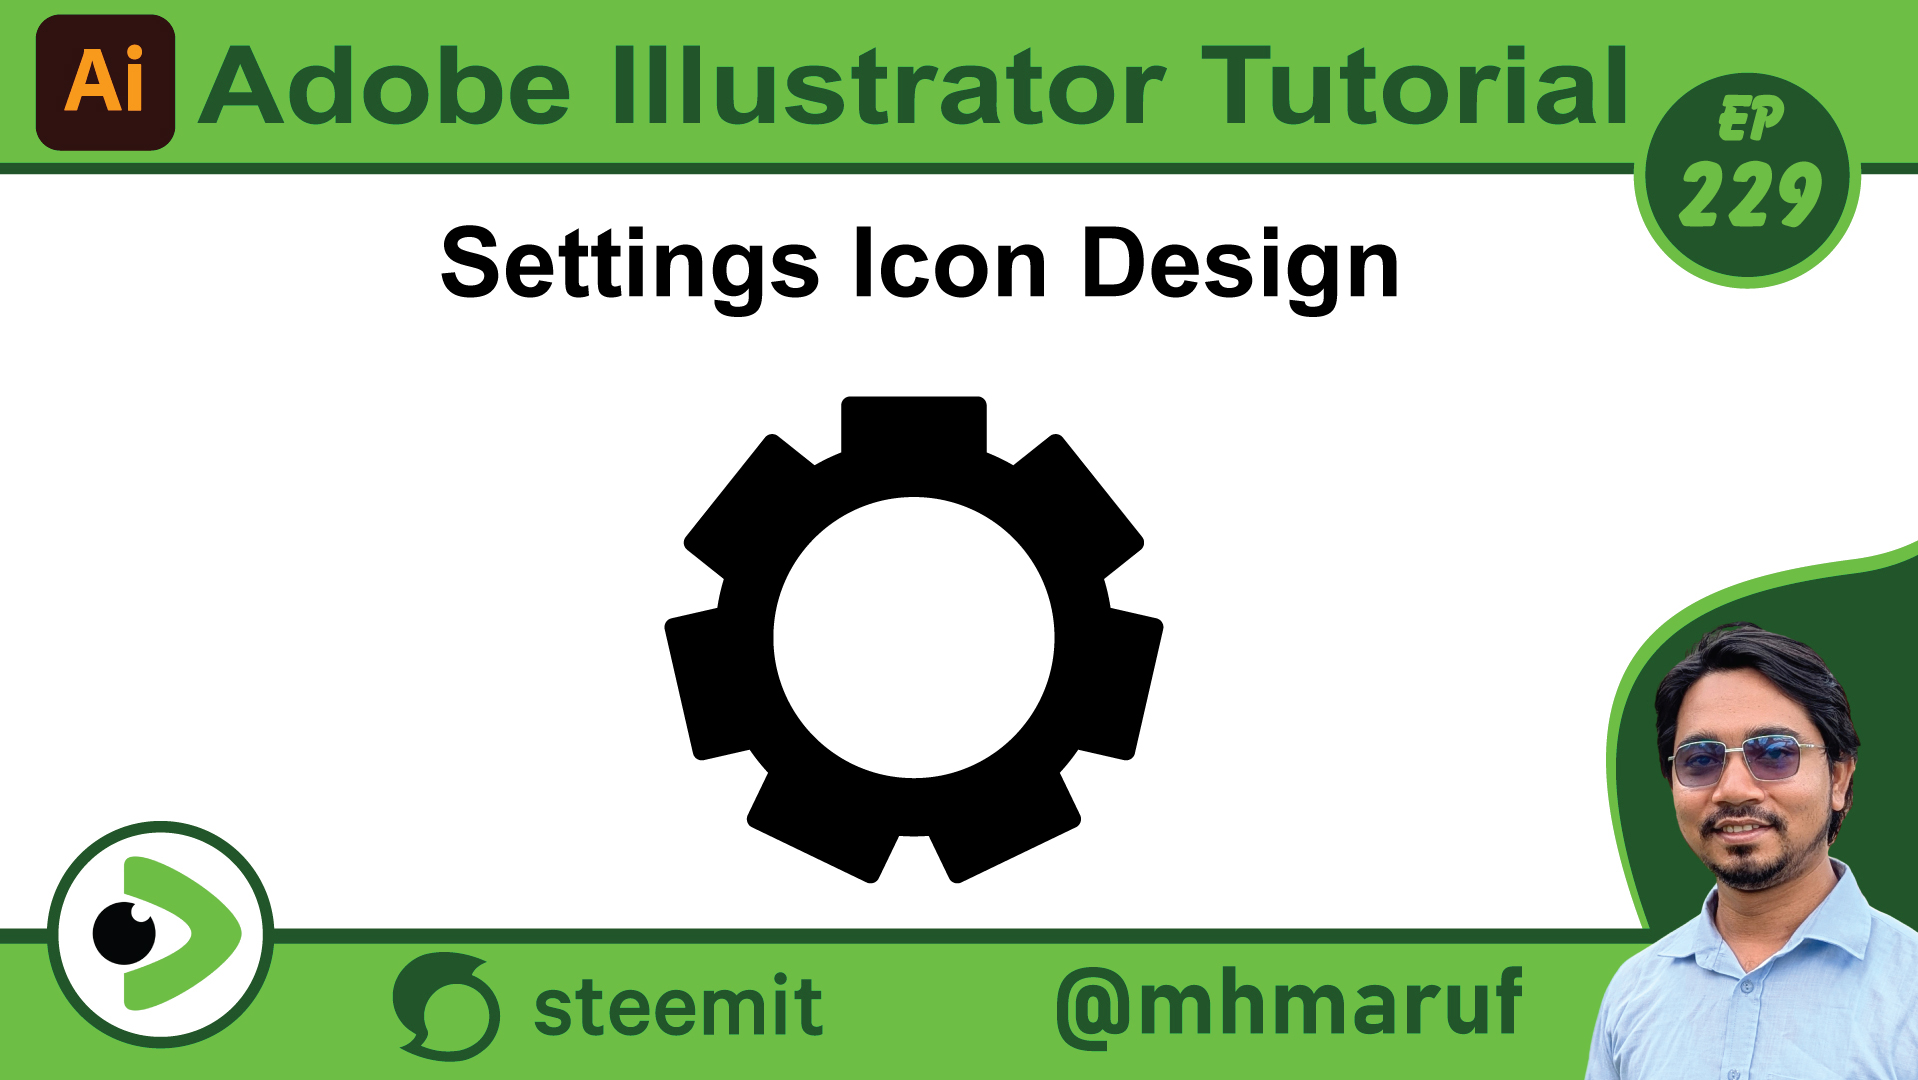
Hello dear friends, how are you all? I hope you are well. So today we will see how to easily create the icon that is created in the settings. So let's start. First, I am taking a circle. Then I copy another circle. I will put it below. Okay. Then I am making the outer circle black and the inner one white. Then I am rounding a box and I will rotate these boxes around the center of the box with the rotate tool. So I am giving 360 divided by 10. I will copy 10. Then I click on copy. It is getting too much here. Then I have to give less here. So I am giving 360 divided by 8 from here. Copy. Then I duplicated these. And here we have to make less here. So we will do the same thing again from here. But now we will give less in quantity. We are now giving 7 out of 360. OK. Here we have created an icon like the one in our settings. OK. So basically this is how we can create the icons of the settings. Many people in various servicing shops create their logos in this type of setting icons. So I have tried to show you very briefly how these setting icons are created. So today I am saying goodbye here. May everyone be well and healthy. May Allah protect us.
Posted with Speem
Your post have been rewarded by the Speak on Steem curator team!
Now become a plus member delegating at least 500 SP
Ways to support us:
Curated by @marvinvelasquez