Blender Machine Repair Armature and Field Coil Change
Assalamu alaikum, everyone. I am @imranhassan from #Bangladesh
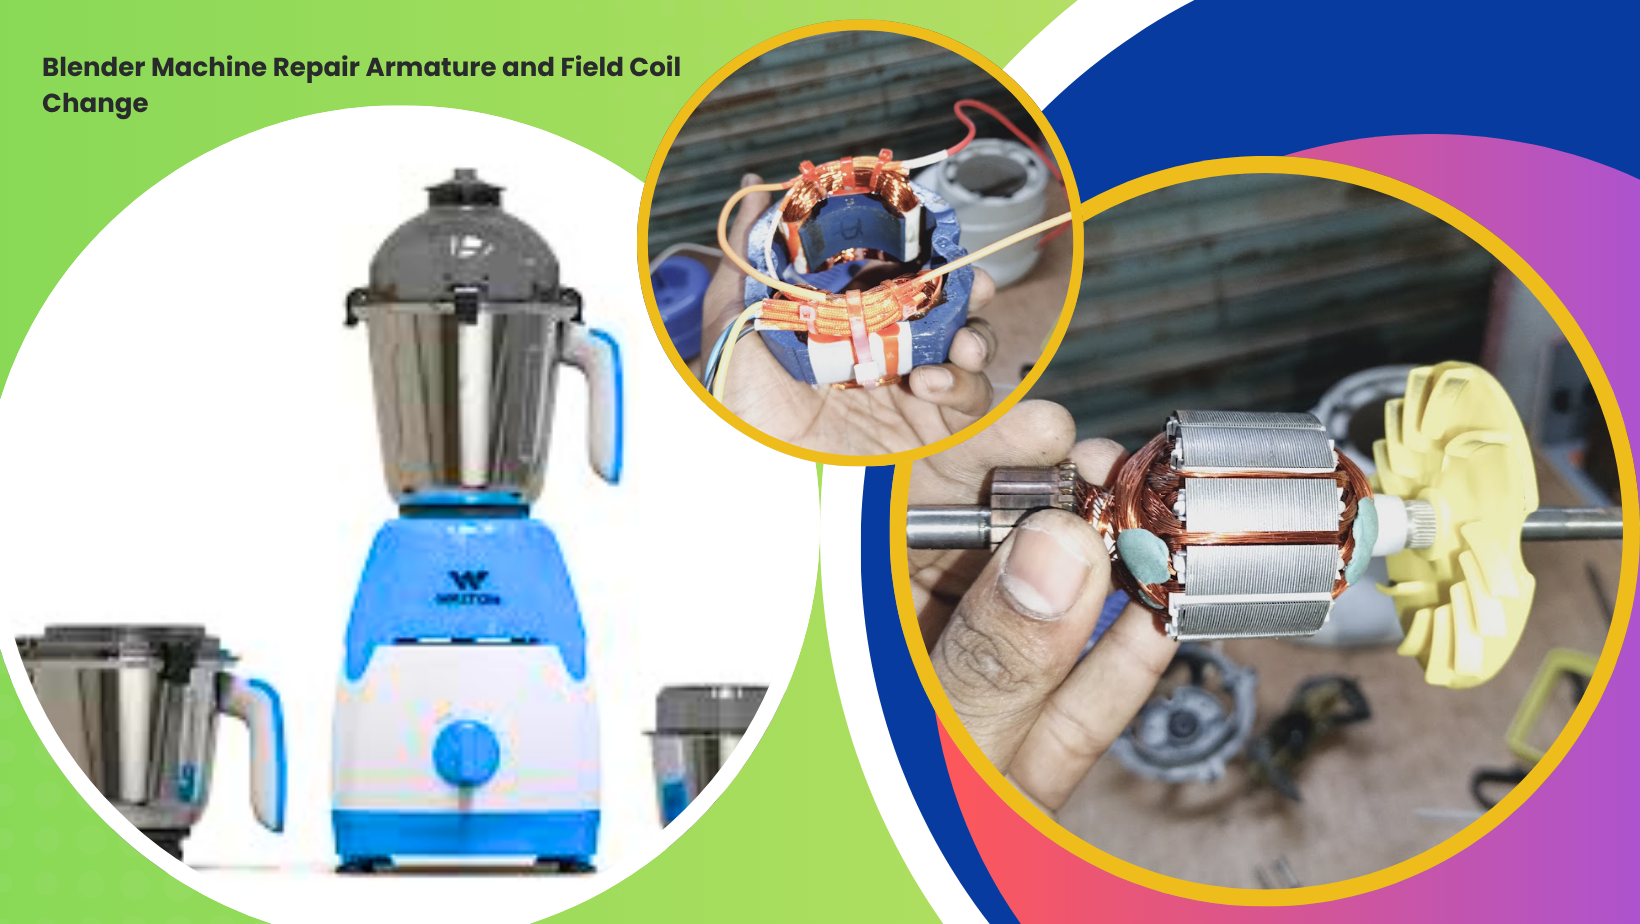
The blender machine that I will repair today is a blender machine used in my own home. I have been using this blender machine for about three years. A few days ago, my wife gave the blender machine a lot of rice and was trying to blend it with water. Due to excessive overload, the motor burnt, and smoke came out. Then I will show you how to repair it and make it usable without buying a new motor from the market.
Step -01
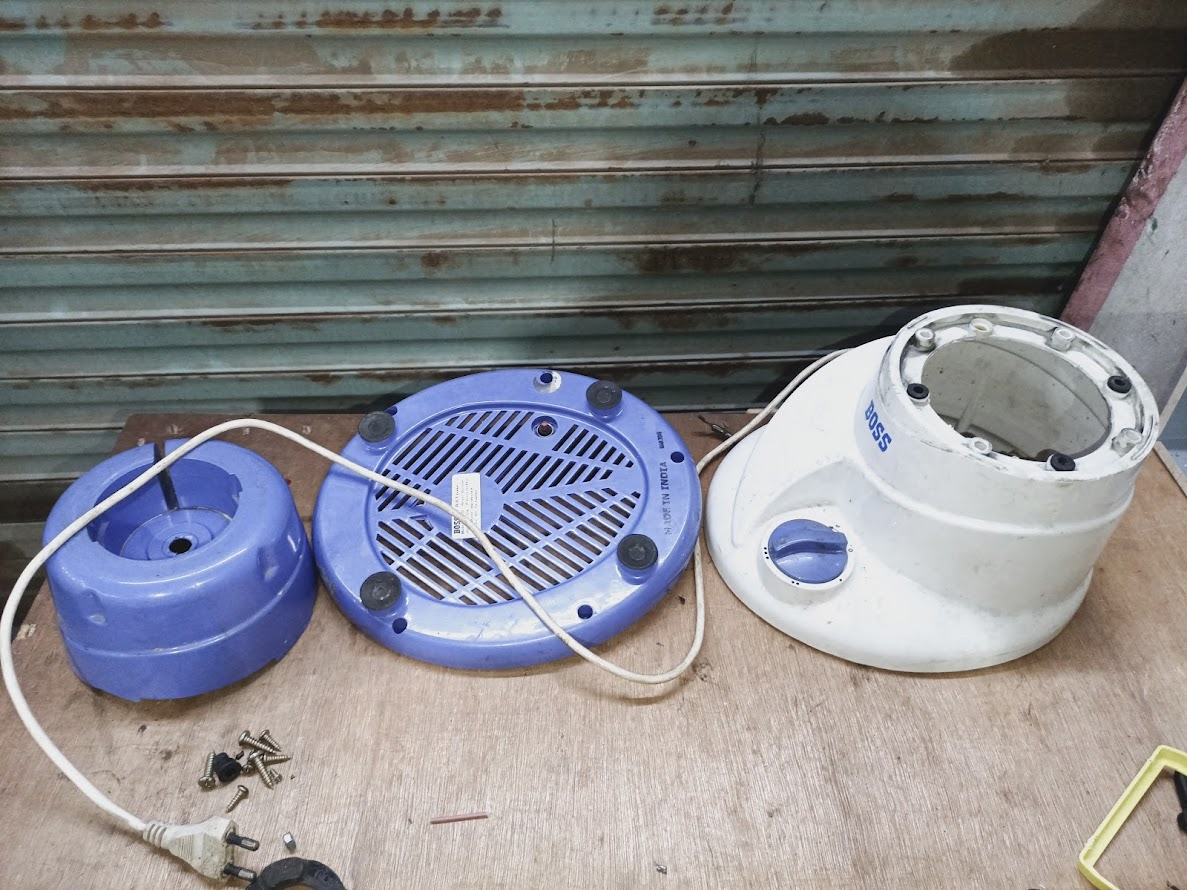
First, you can see the three parts of the blender machine's body cover. There are no motors and parts here because I bought them new and tied the field coil.
Step -02
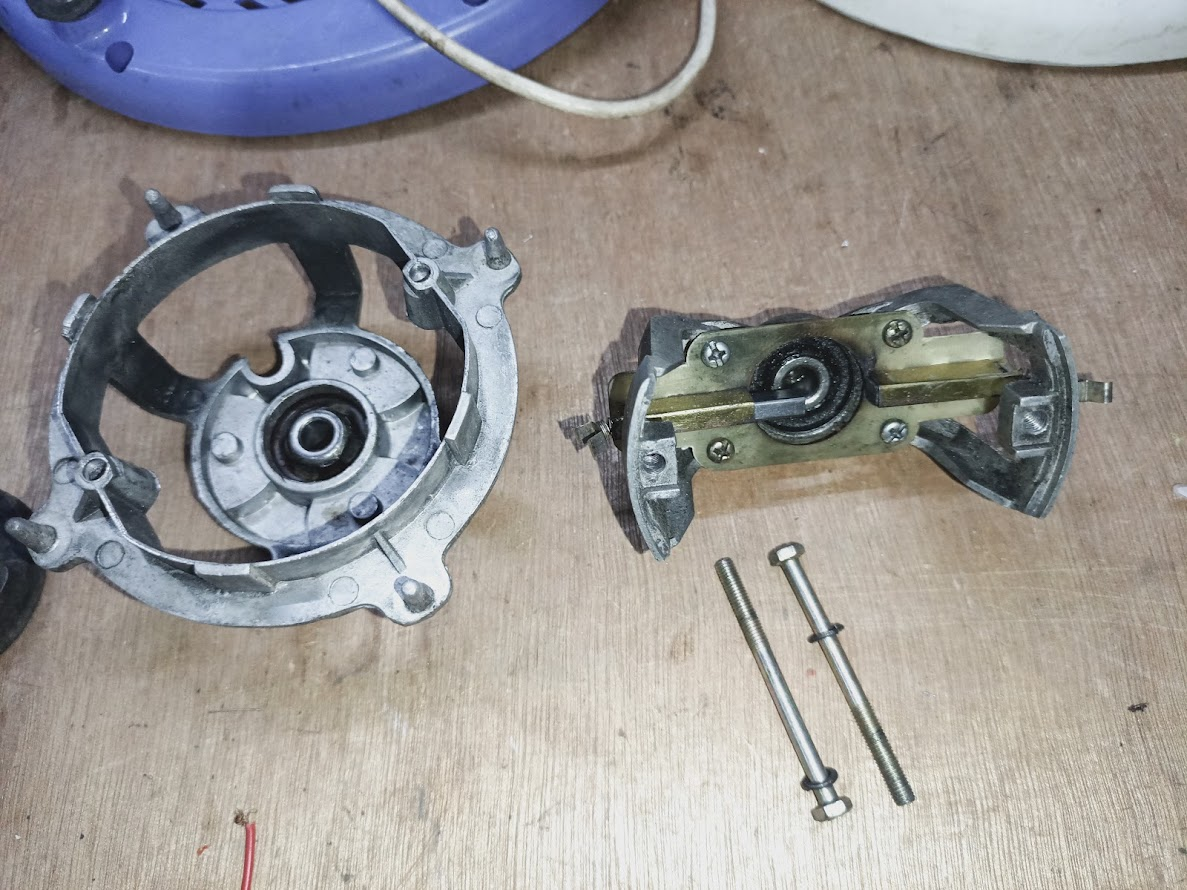
Now you can see the lower part of the carbon plate and the upper part of the bearing of the blender machine's motor, and in the middle there will be the field coil and armature.
Step -03
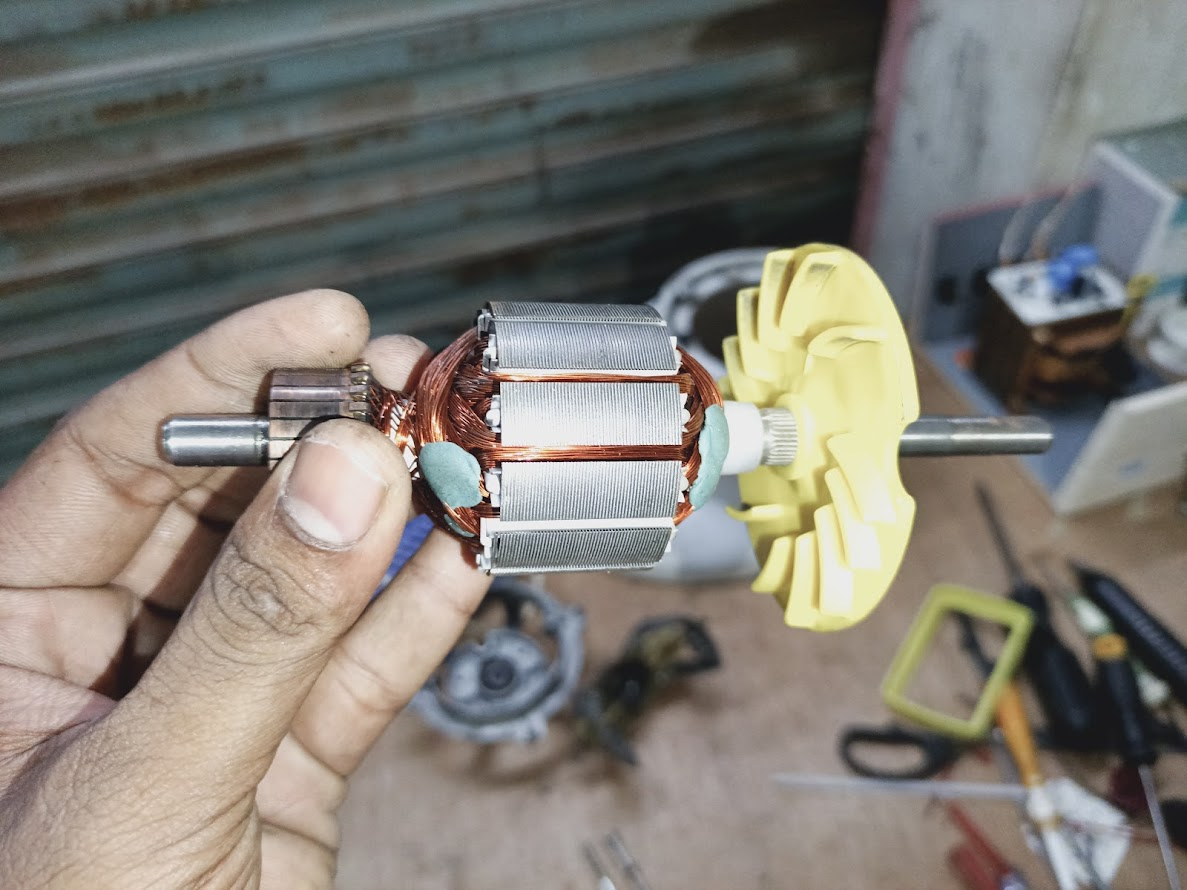
Now you can see a new armature in my hand. According to the model, I bought it from the market for 600 taka, the Bangladeshi market price.
Step -04
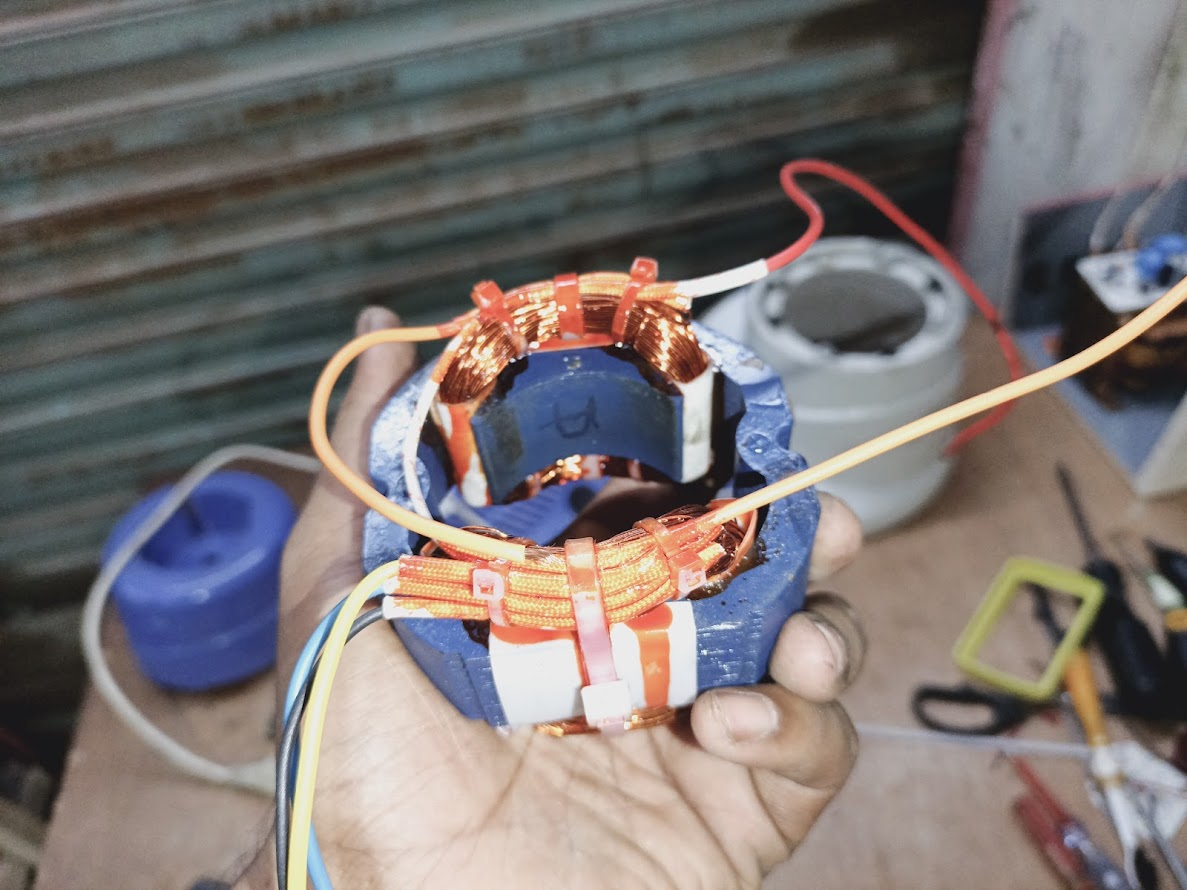
Now what you can see in my hand is that the field coin will sit between the upper part and the lower part, and the armature will be in the middle of it. I spent 800 taka to bind this field coil.
Step -05
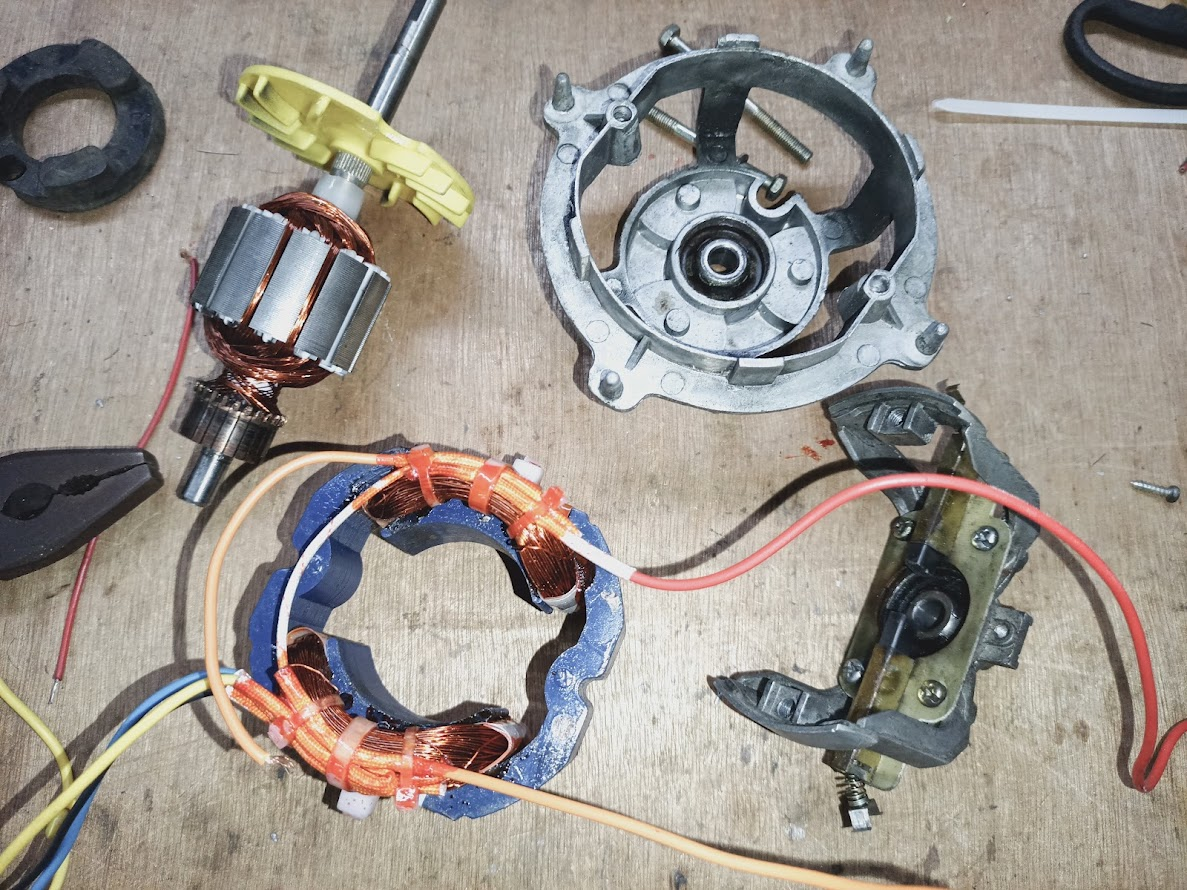
Now you can see everything here: the upper and lower carbon plate armature and field coil. Here I spent 1400 taka and 100 taka for car rental, 1500 taka. If you buy a new motor from the market, it would require 2500 taka. I saved 1000 taka here.
Step -06
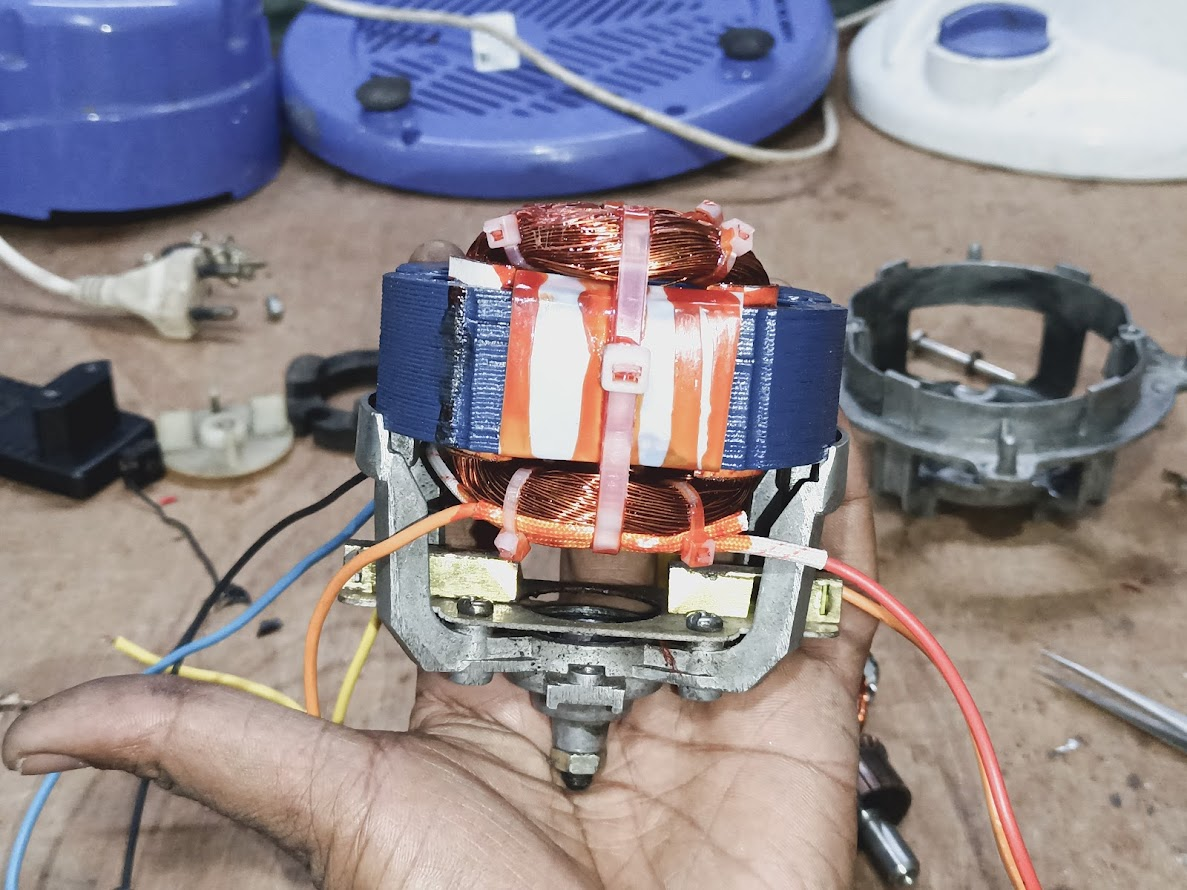
Now you can see that the field coil is placed on the aluminium part of the motor where the carbon plate is placed.
Step -07
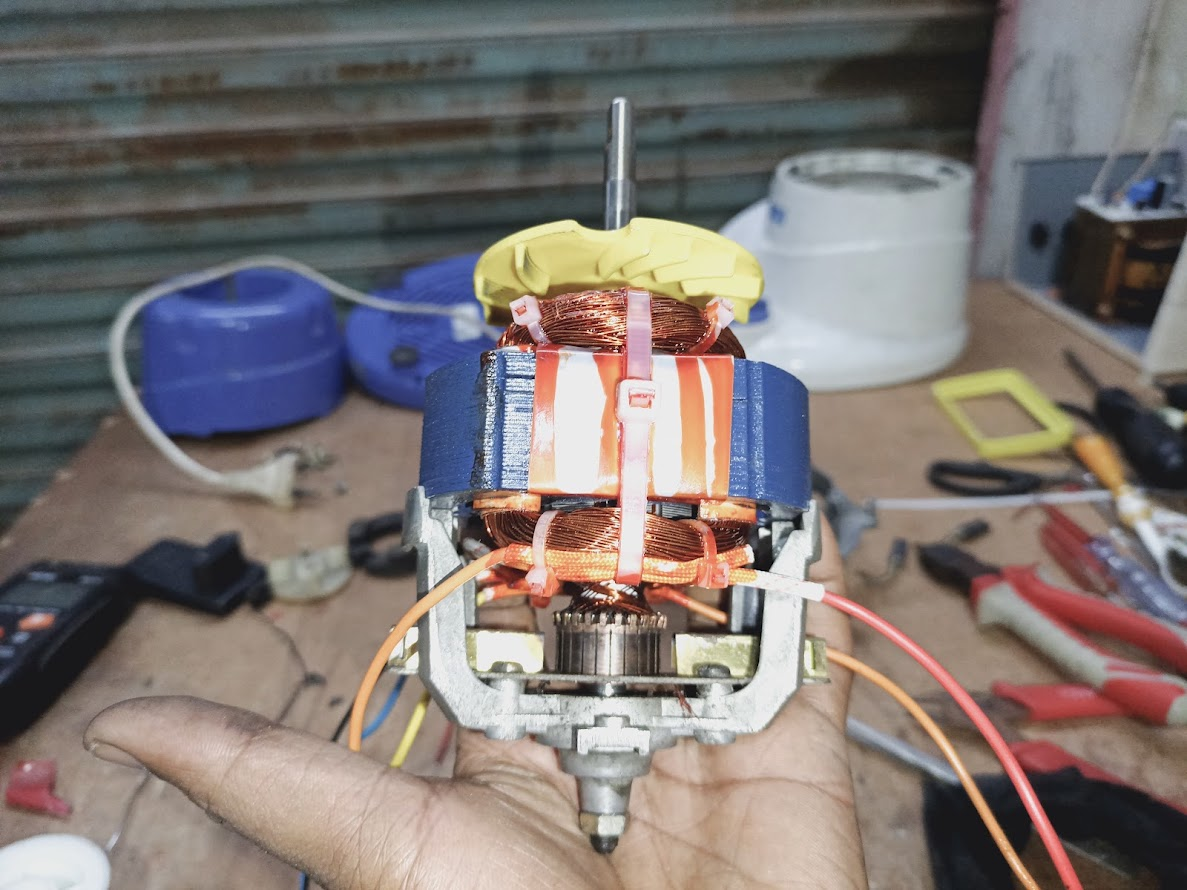
Now you can see that the armature has been placed through the field coil, and the size of the armature with the carbon plate has to be adjusted properly, and then the bottom.
Step -08
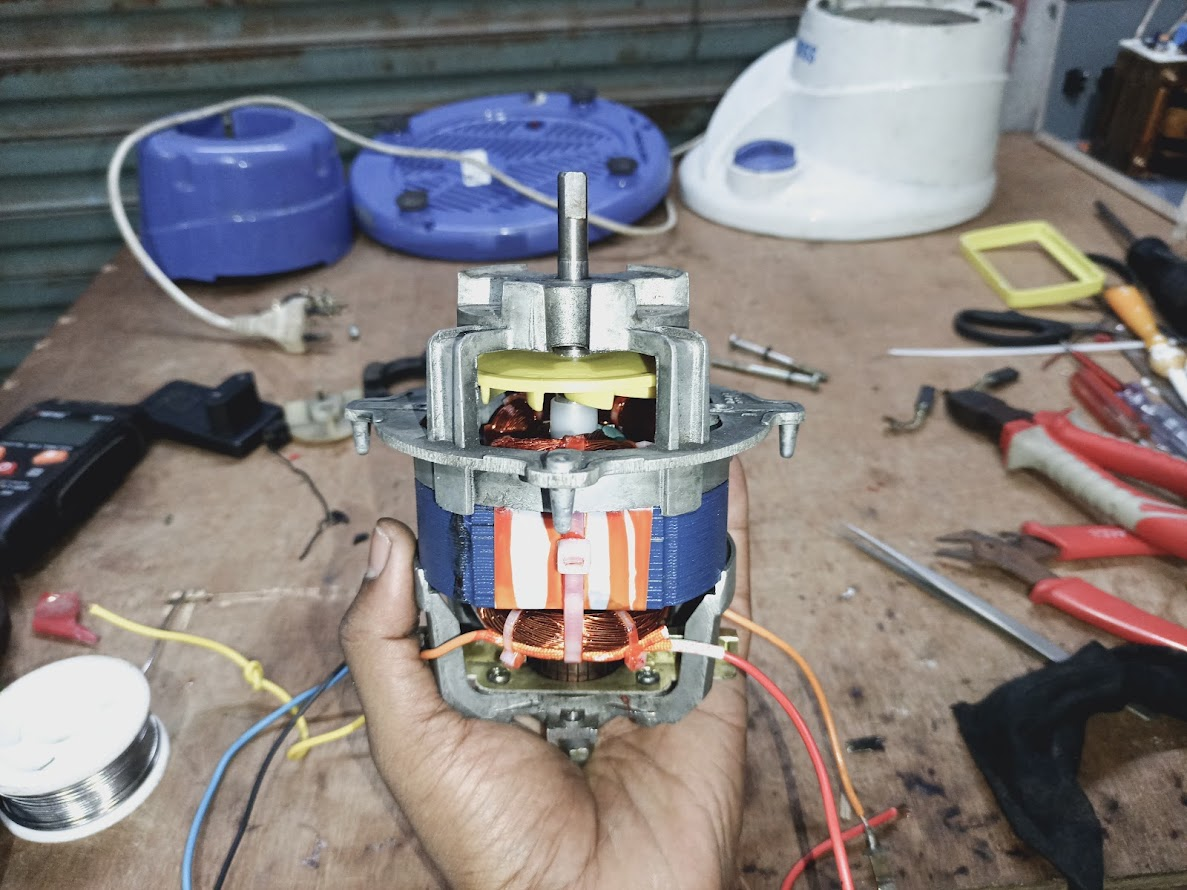
Now you can see that the aluminium cover that is on the top has been placed, and now the motor is set up again. Now you need to install two screws and bolts on both sides.
Step -09
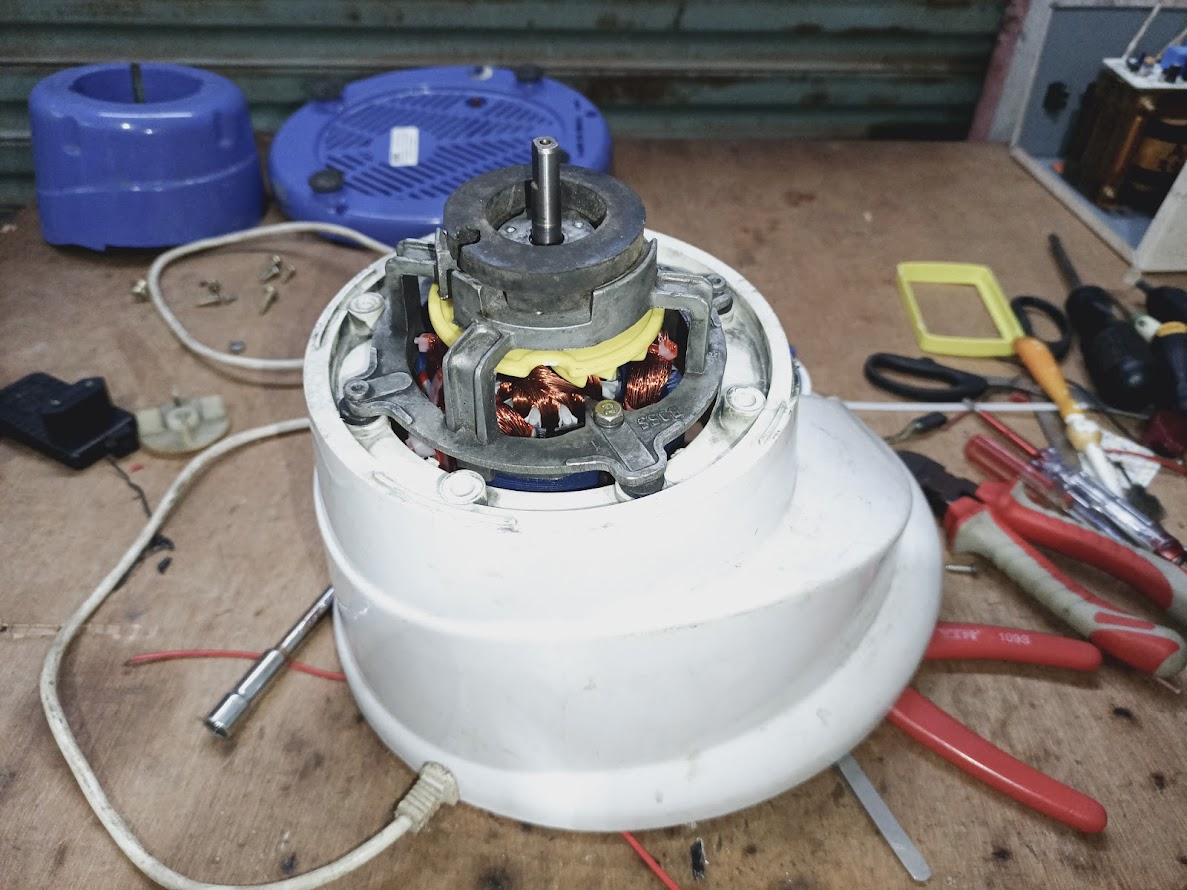
When the motor fitting is complete, here you can see the motor is nicely installed on the plastic body cover.
Step -10
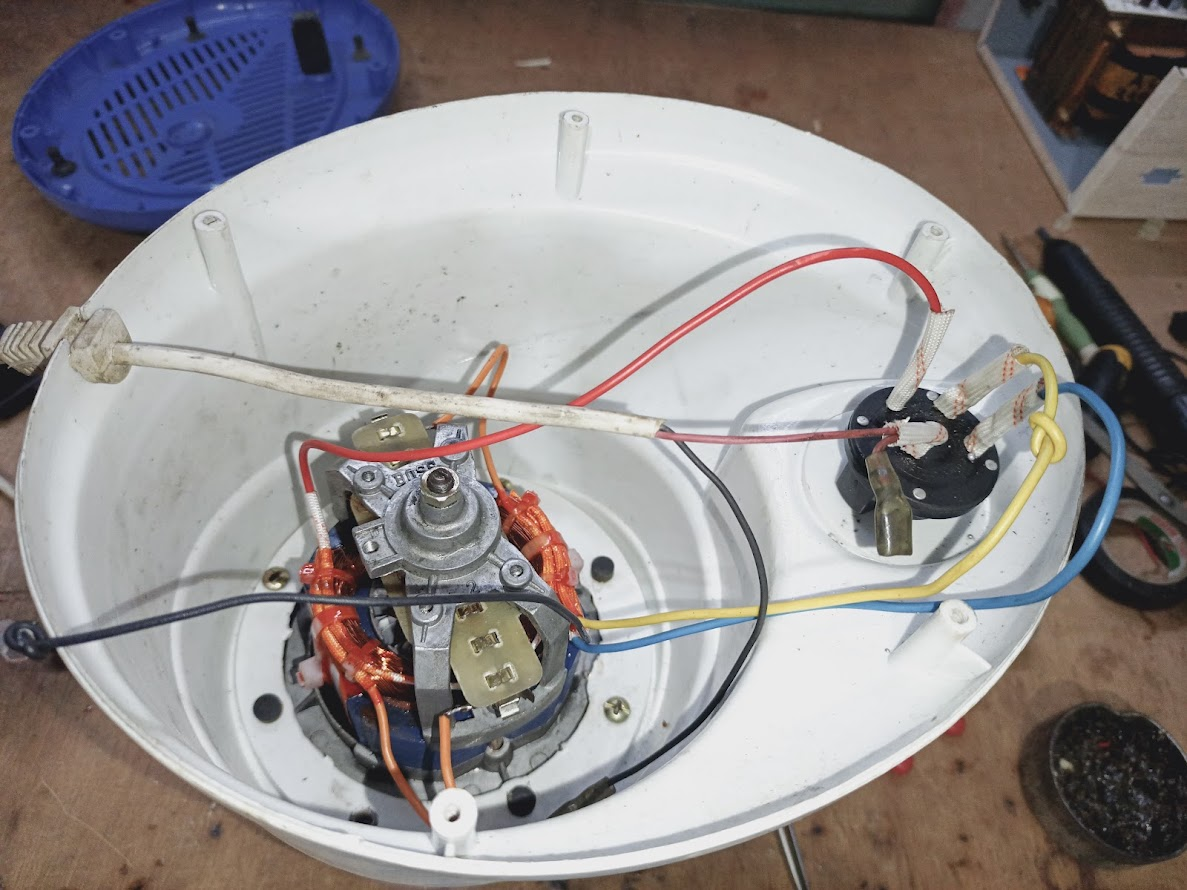
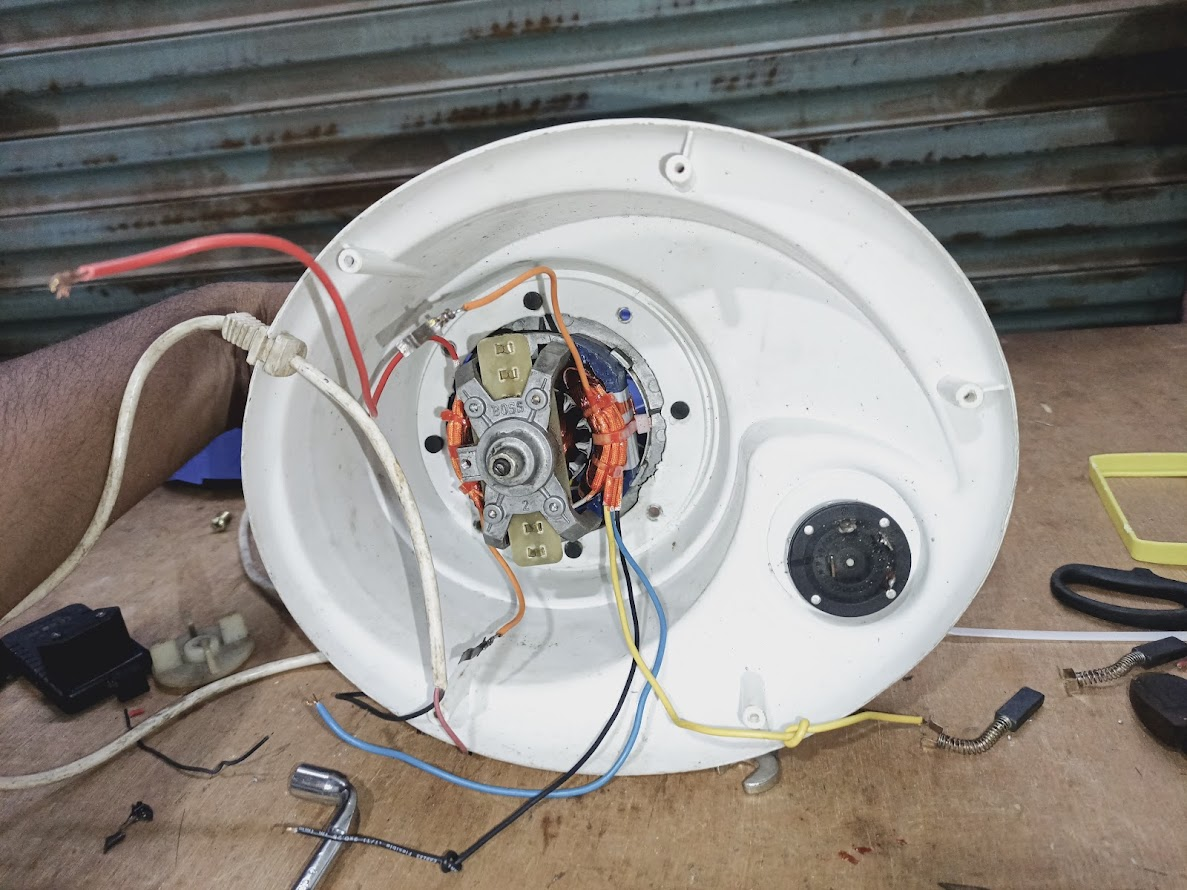
Now you can see that there are five wires coming from the motor; three wires are high, medium and low points, and these three wires will work on the rotor switch. Then there will be two more wires of the motor left; one wire will go directly to the motor, and another wire will be switched and will go to the motor with the three high-low-medium switches.
Step -11
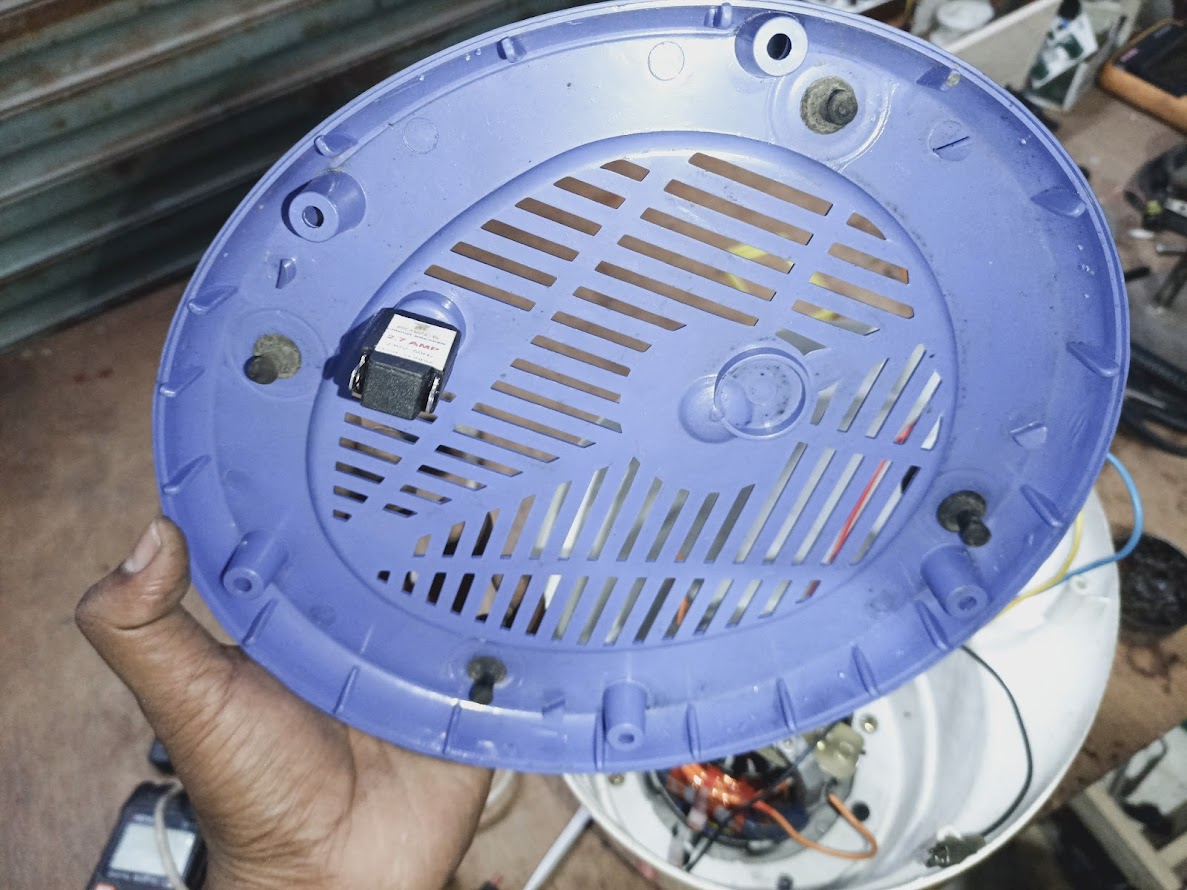
Now you can see that a new overload switch has been installed here; the old switch has been thrown away, and this overload has to be connected in a series line which will go directly to one wire of the 220-volt input voltage motor, where a series connection has to be made.
Step -12
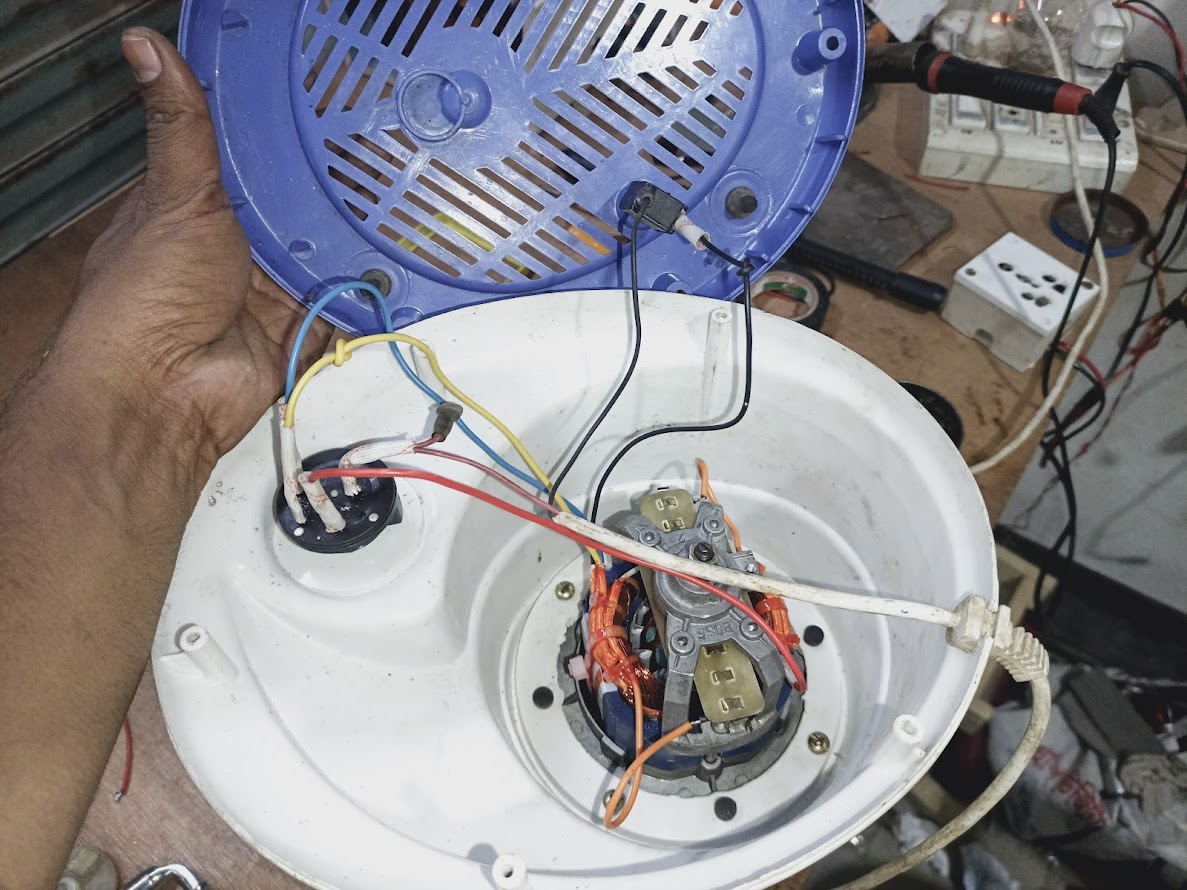
In this part, you can see that the three wires coming from the motor have gone to the three rotor switches, and another wire has been overloaded and connected to the 220-volt input, and another wire has come directly to the rotor switch and has taken a connection.
Step -13
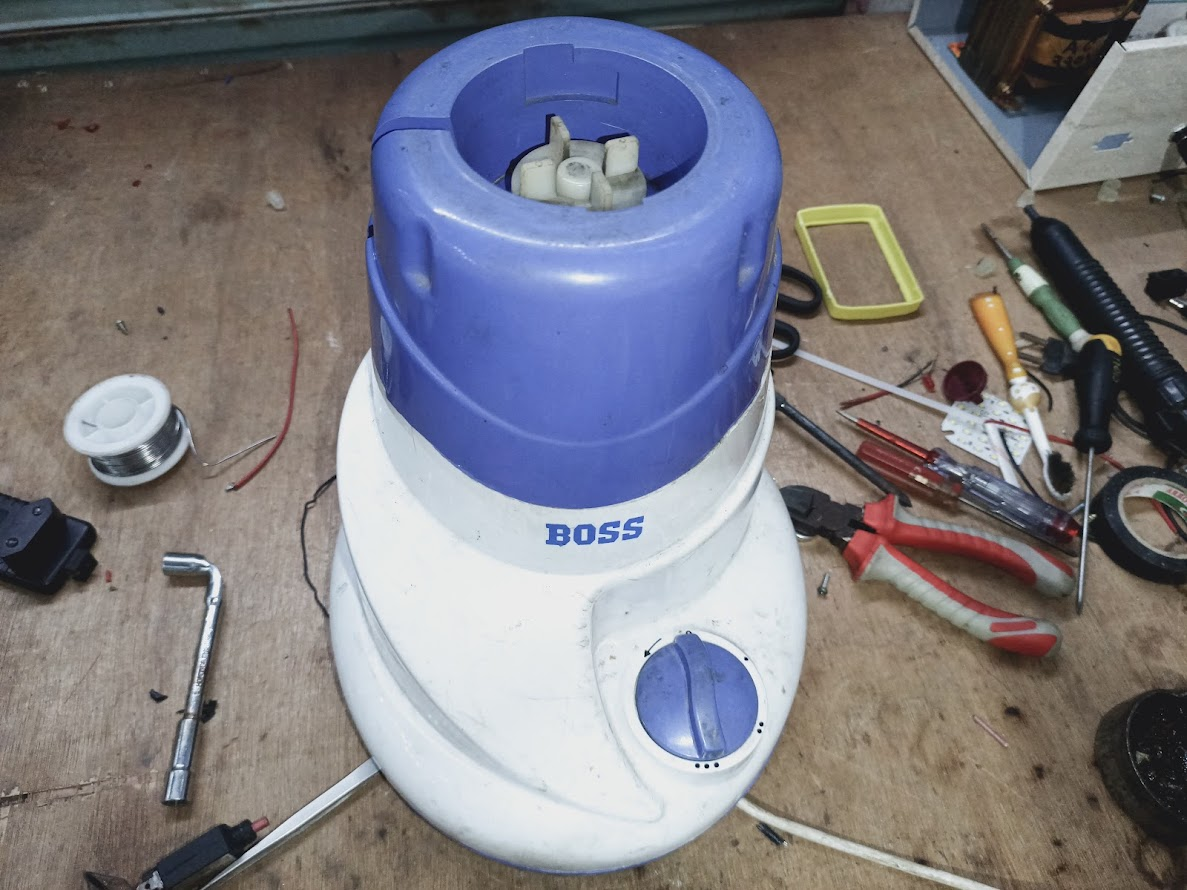
In this part, I have finished attaching the lower part of my body cover, and on the upper part, you can see that I have attached the coupler of the fibre that rotates the blender blade, and it is now ready to use.
Step -14
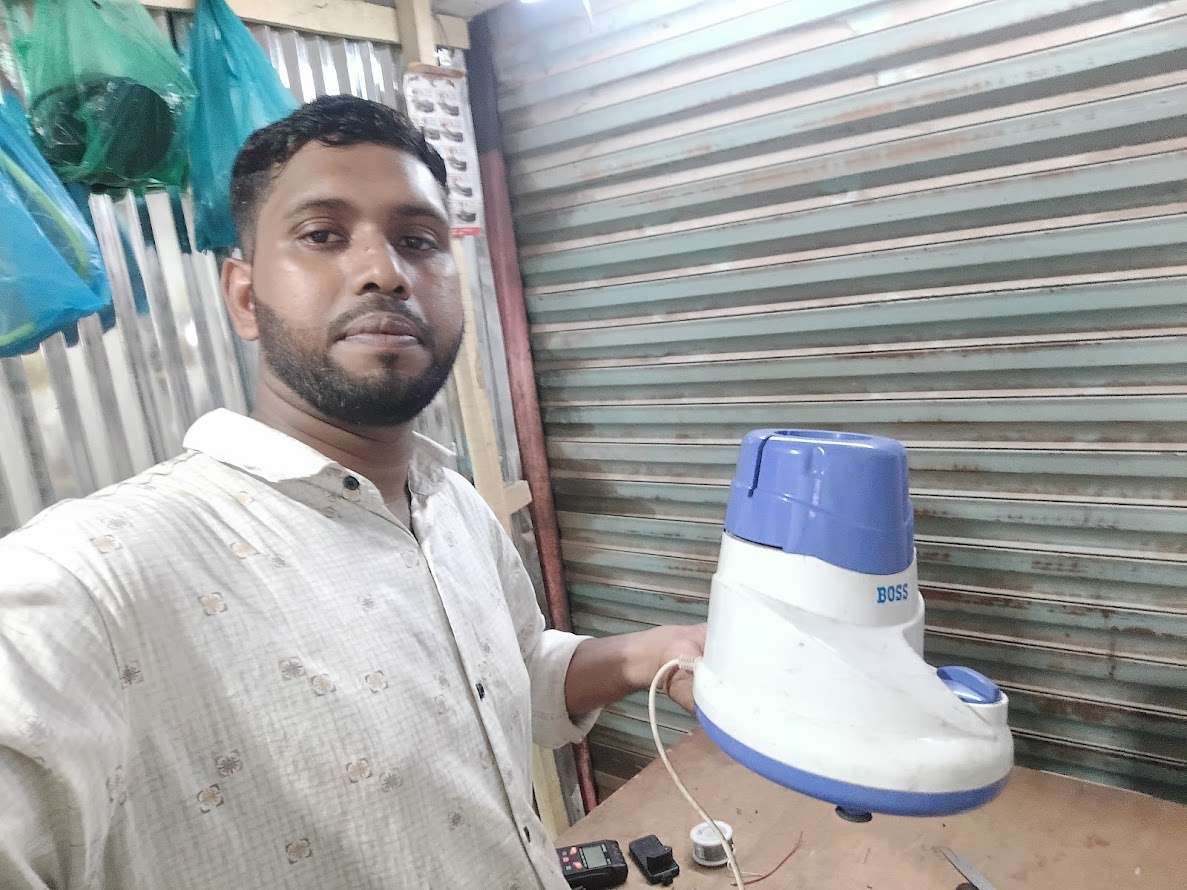
Since this blender machine was my own, I worked with the shop shutters closed so that I could finish the job quickly and take it home.
| Video Tutorial: To better understand the practical part of this tutorial, you can watch the video below. |
|---|

✅ CC: My friend @rmm3
| Photography Details | 📱 Device: Walton Xanon90 | 📍 Location: Narayanganj, Bangladesh | 📷 Captured By: @imranhassan |
|---|
High-Yield Curation by @steem-seven
Your content has been supported!
| Vote Witness @seven.wit | Meet Speak on Steem |
|---|---|---|
We are the hope!