Creative Challenge - Unleash Your Creativity w-1
Assalamualaikum everyone!
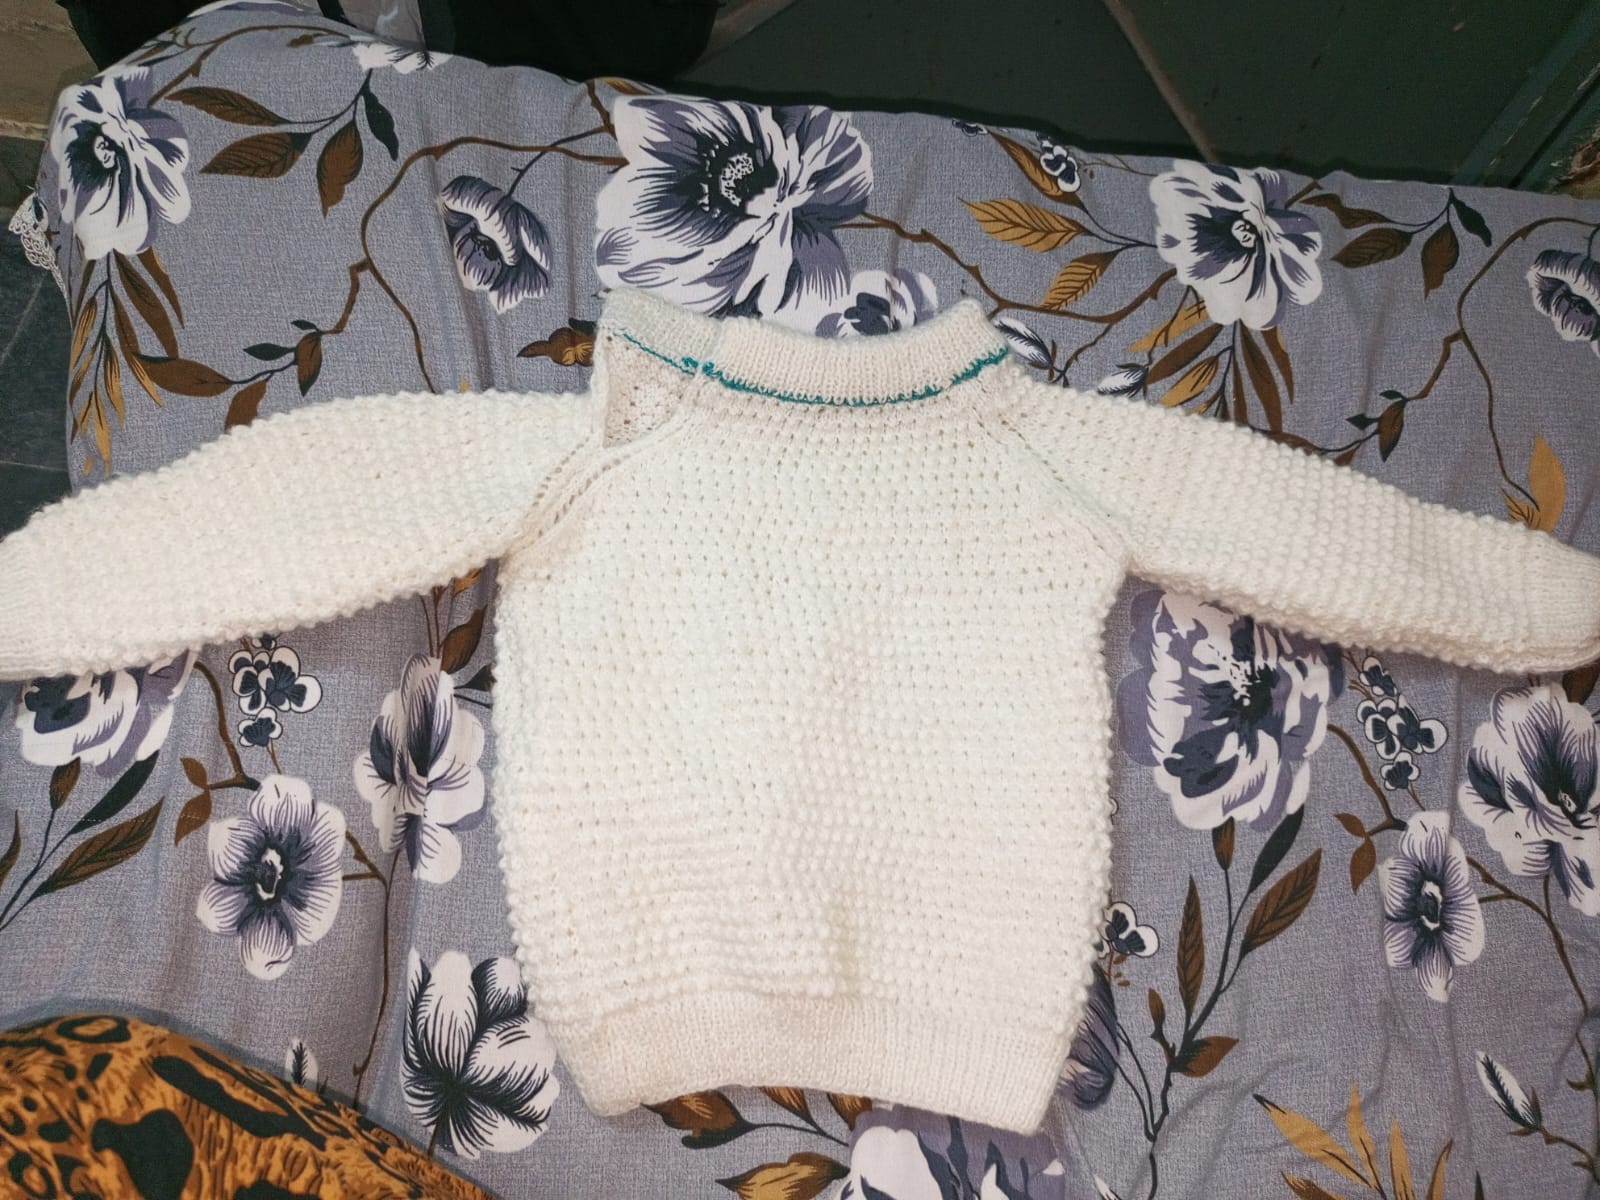
Hope so you guys are doing well and living happily . Today I'm here with my new post and this is very first post in this community. I hope you really like and love my post. I'm here to participate in Creative Challenge - Unleash Your Creativity w-1 that is beautifully organized by @jimiaera02 in this post I will show you handmade sweater that is beautifully designed by my mother for my sister's son. So let's start;
 |
|---|
Handmade crafts are the most beautiful way to showcase true creativity and dedication. Today, I will share a handmade crochet sweater made entirely by me. I poured my time, struggle, and creative energy into making this gorgeous sweater. I loved watching this project come together step by step, transforming simple yarn into something warm and cozy.
 |
|---|
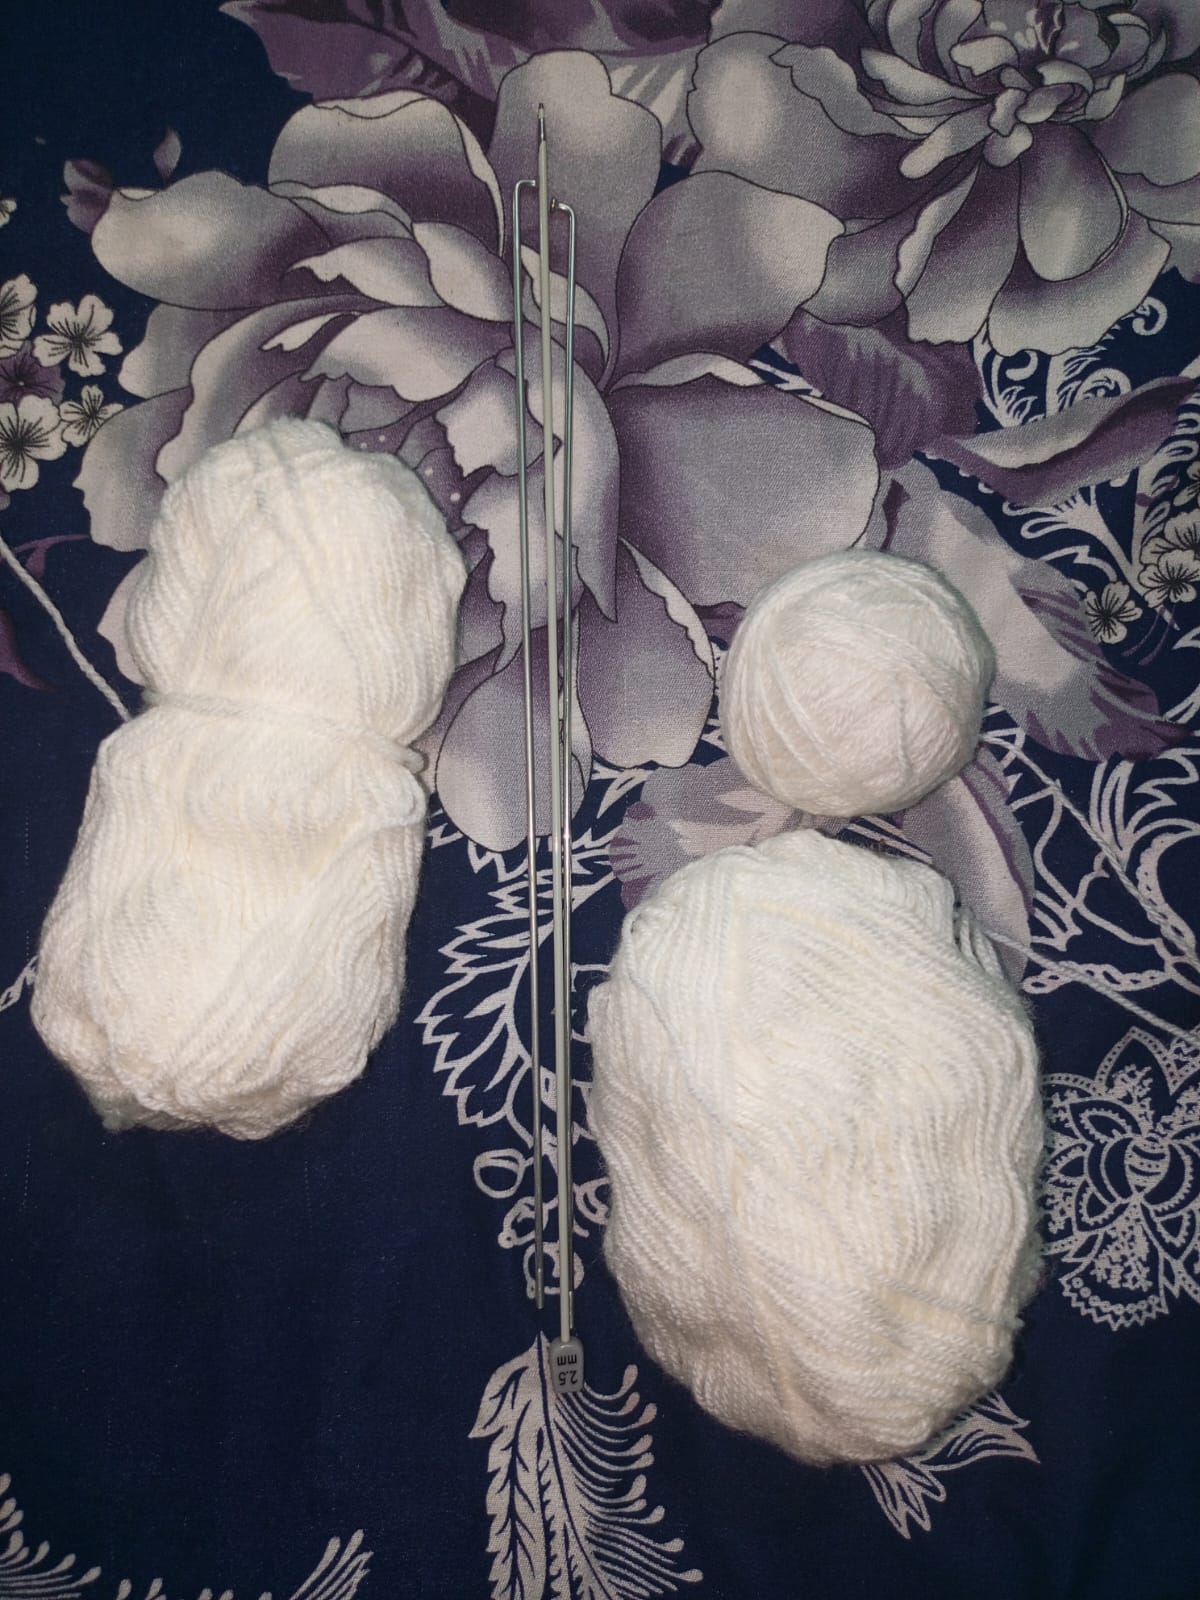
White Yarn: Soft-textured yarn that feels gentle against sensitive skin.
Knitting needles / Crochet hook: The primary tools used to shape and stitch the fabric.
Scissor: To cleanly trim excess yarn and thread ends.
I chose pure white color because it is timeless, simple, elegant, and looks exceptionally pretty for baby clothes.
Preparing the yarn
 |
|---|
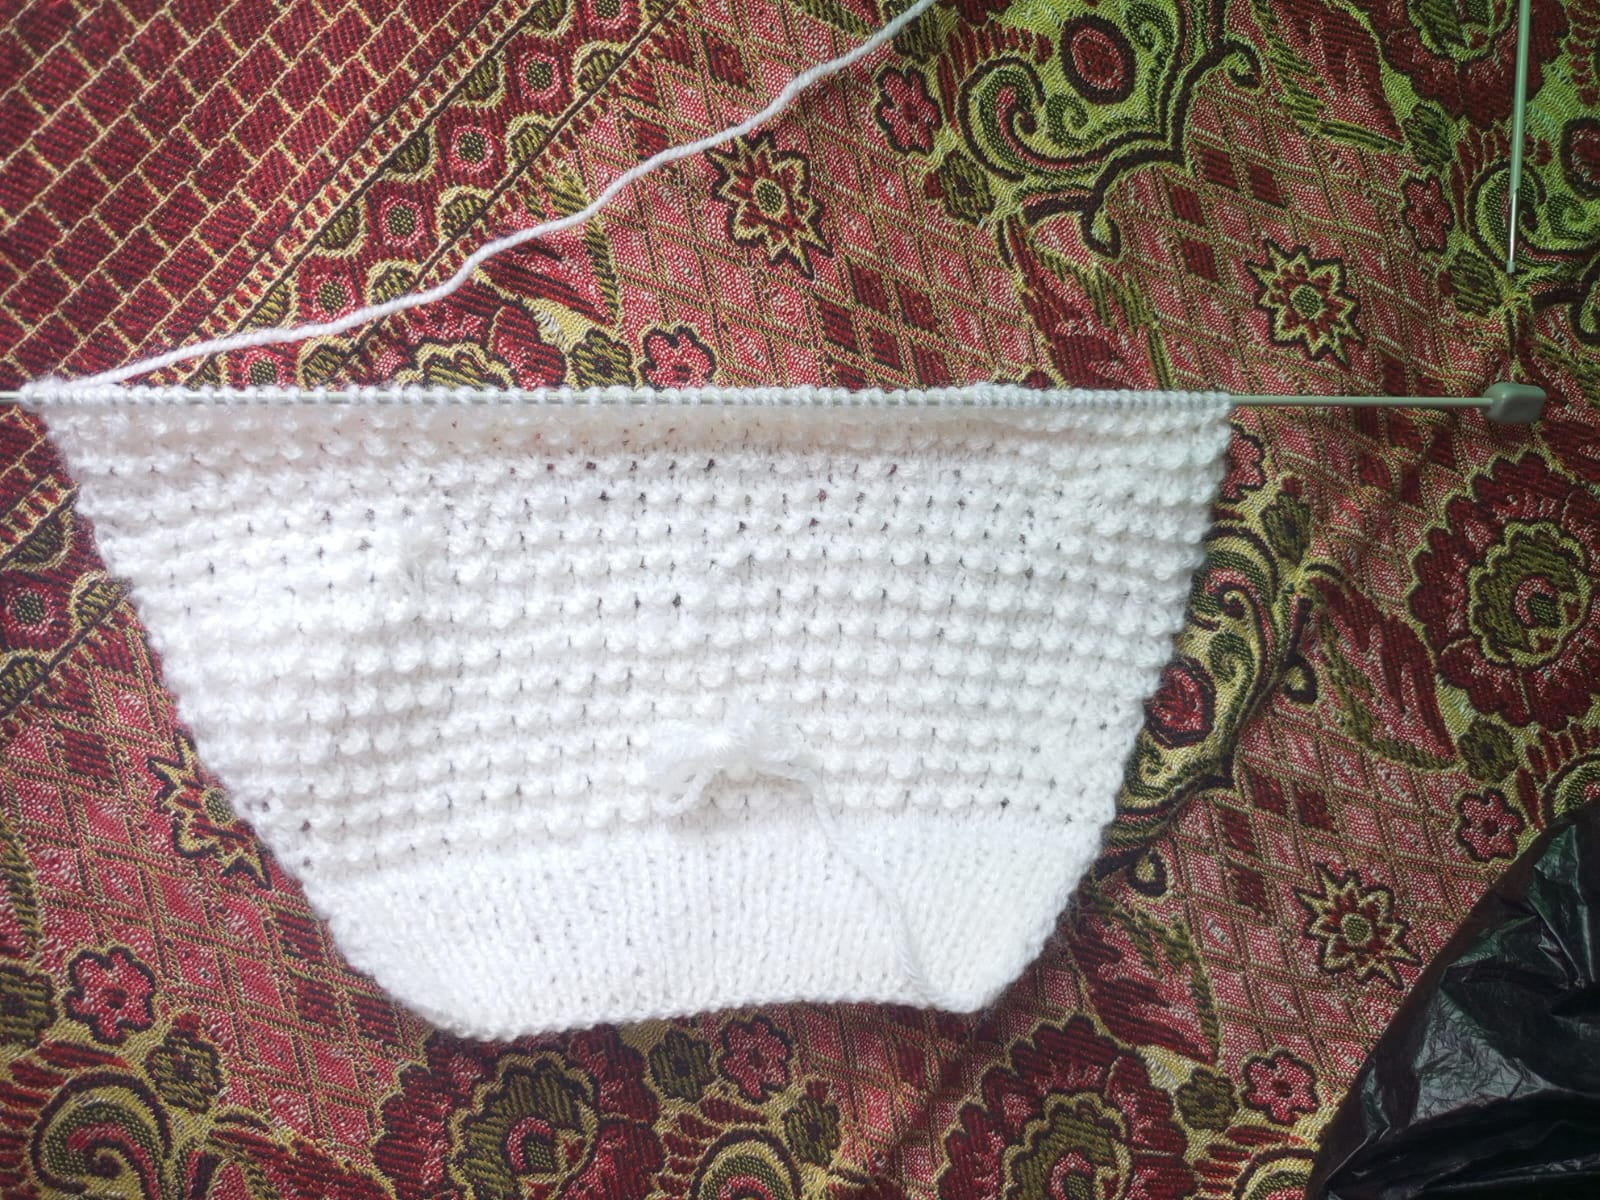
Firstly I took yarn and other important material then I arranged them carefully. I start from making it the main part of the sweater. I made stitches with the help of yarn and stitches every row carefully. Slowly slowly the shape of sweater comes into existence I also take care of size.
Throughout this process, I kept measuring the dimensions to ensure the size remained perfect for a baby.
Creating the sleeves
 |
|---|
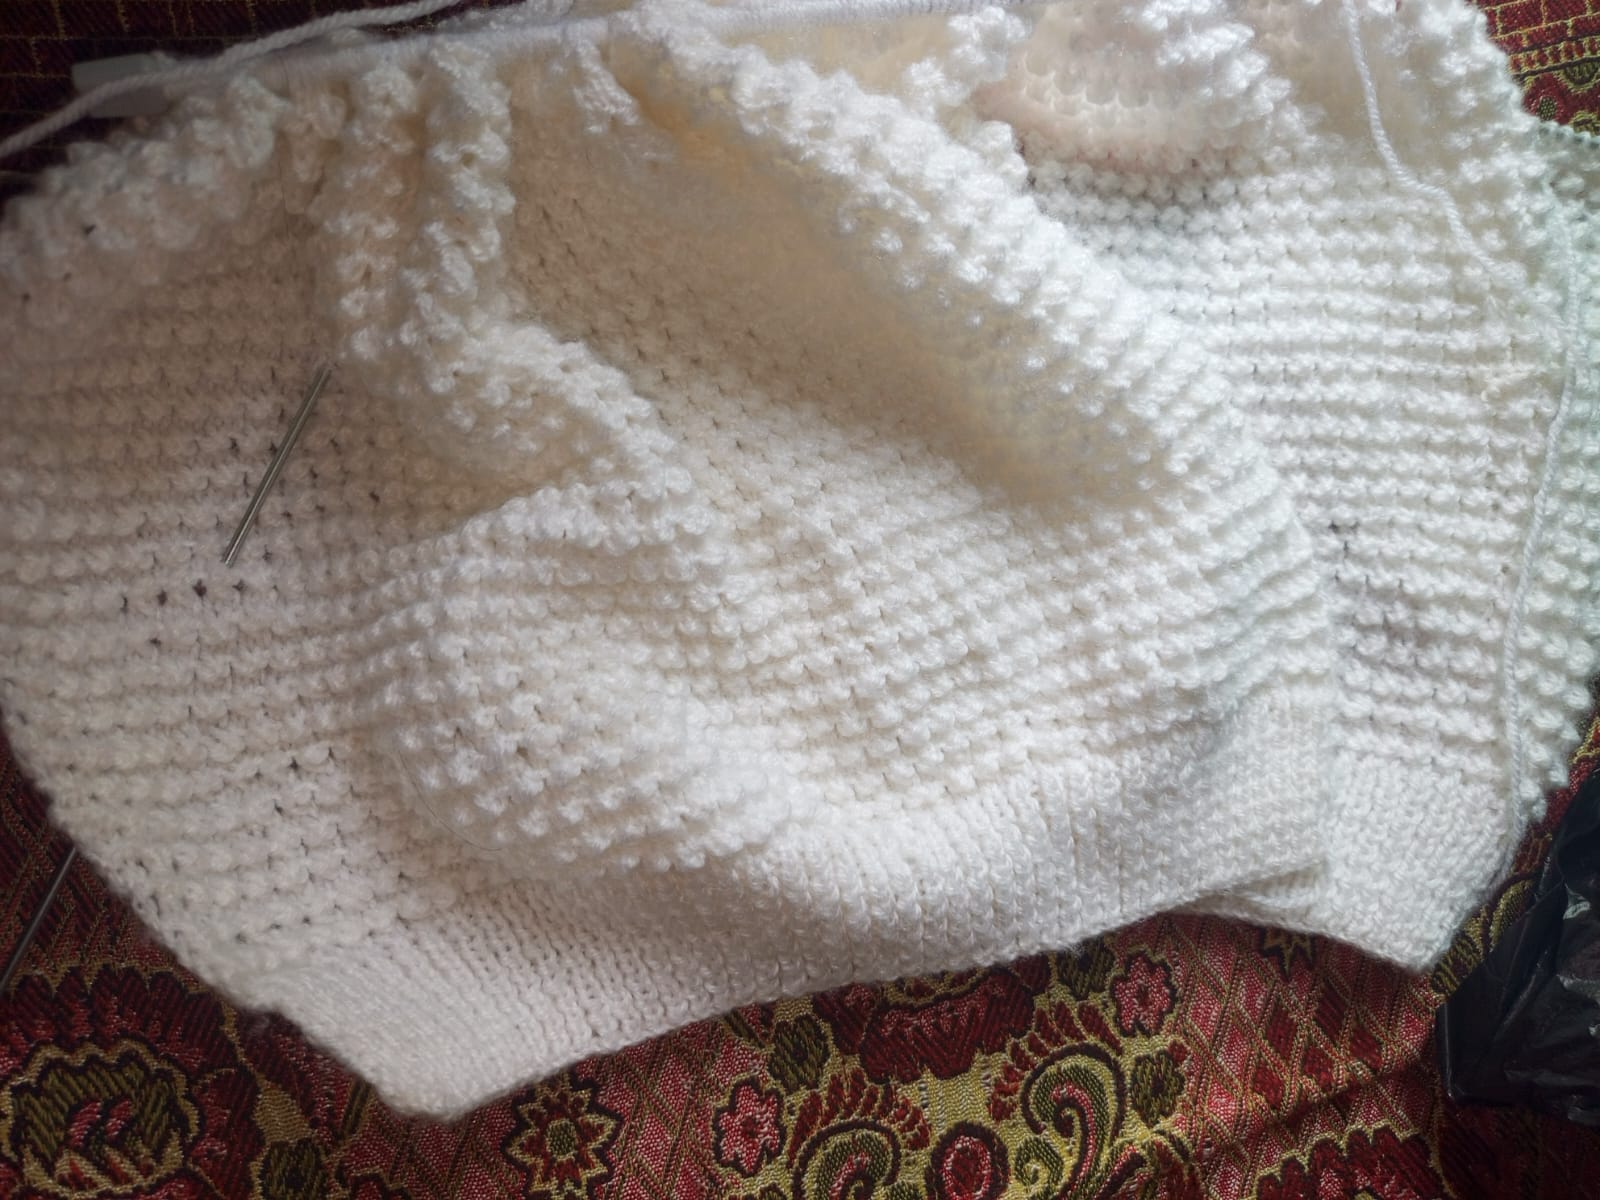
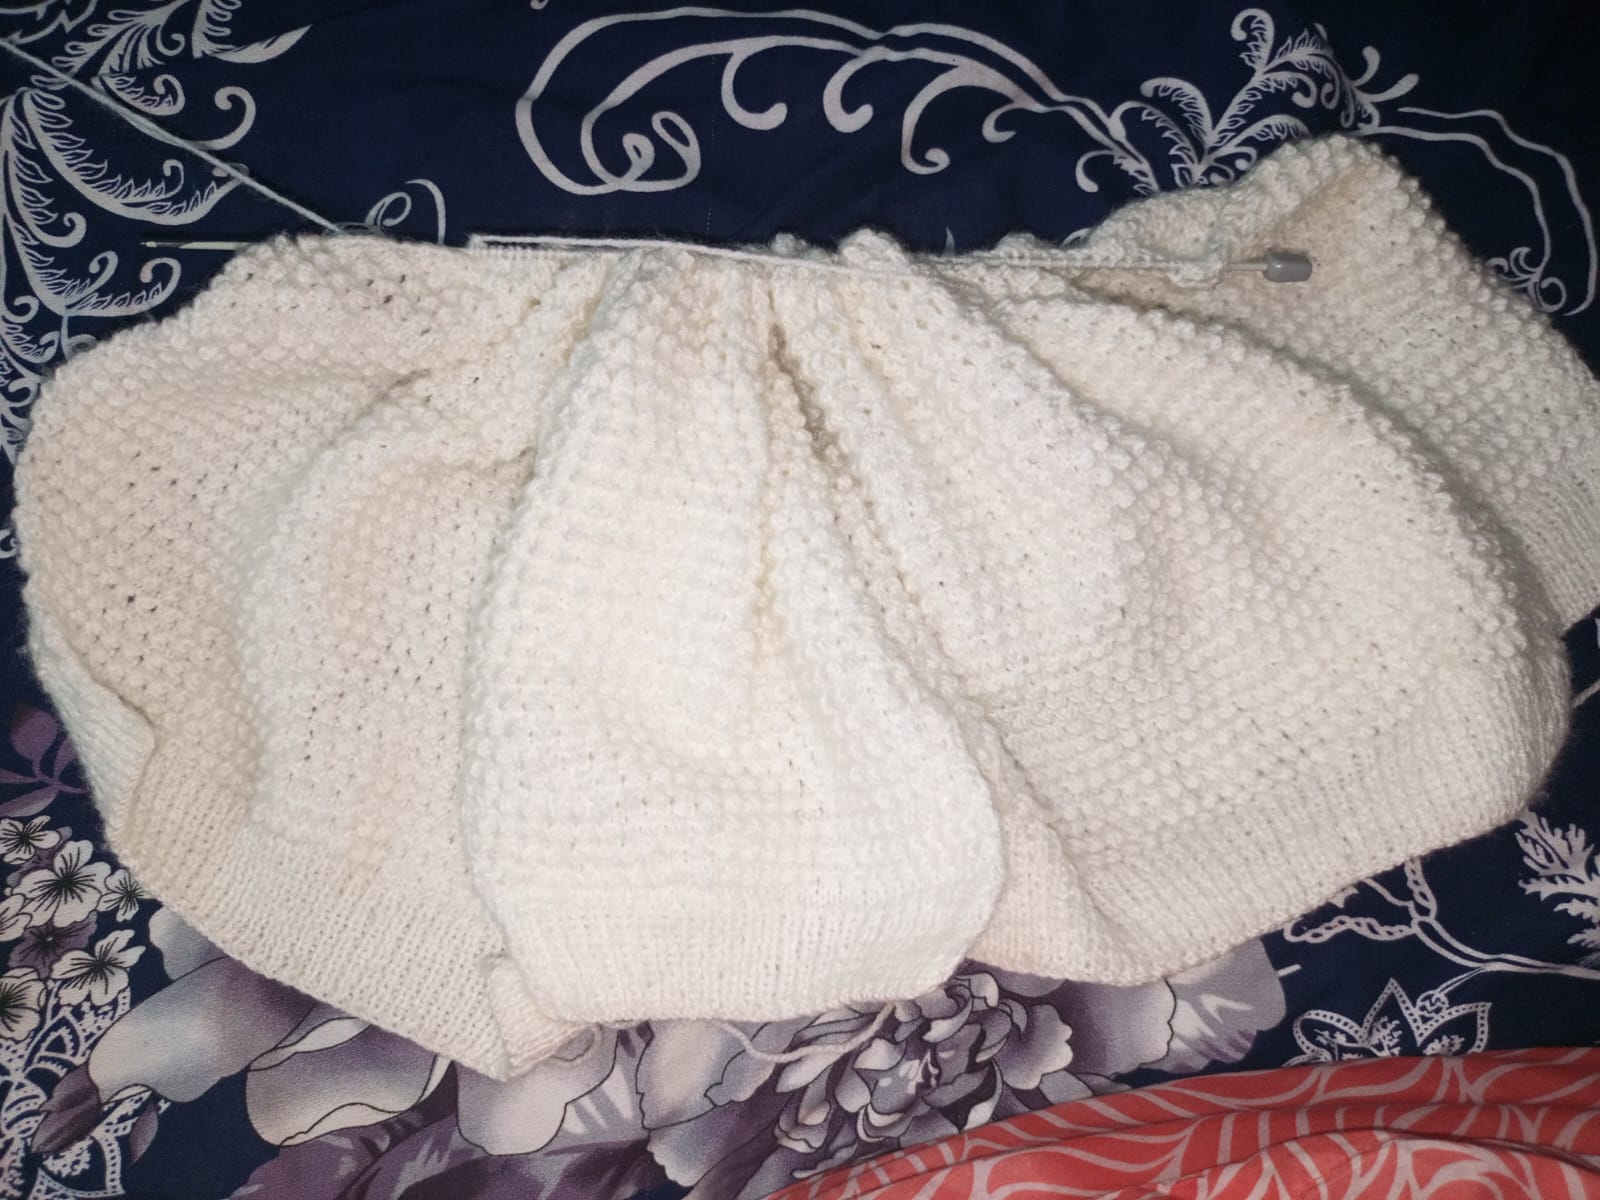
After that I made the sleeve's of the sweater . I try to make the both sleeves size same . In this step attention and focus in very important.
Joining the Pieces
 |
|---|
When the body and sleeves are completed I carefully joined them . I checked that all part of sweater are properly attached and have a proper shape of sweater.
Making the Neckline and Border
Next came the detailing phase. I worked on finishing the neckline to ensure it would be soft and easy to slip over a baby's head. After that, I added neat ribbed borders to the sleeve cuffs and the bottom hem of the sweater. Due to even and neat stitches, the entire garment started looking clean, professional, and much more presentable.
Final touches:
|
|---|
At last I carefully checked the sweater and cuts extra yarn. This is how I made a beautiful handmade baby sweater.
My Experience:
This project is a creative and good experience for me. I learned the importance of patience,hard work and consistency. It's always gives a special feeling of handmade project. INSHALLAH in future I also like to make this type of hand crafts. Thank you so much for participating in my DIY project!
Now this is the end of my post hope so you all like my post and love my very first post in this community at the I would like to invite @suboohi @lhorgic and @uzma4882 to participate this contest as soon as possible. Thanks again. See you in next post.
Best Regards,
Abdul Sameer
Qué bueno ver un suéter tejido a mano y no esas cosas compradas que se desarman al mes. Lo que aprendí con los años es que el valor no está en la prenda sino en las horas que tu mamá metió ahí, puntada por puntada, midiendo para que le quede al bebé. Eso es amor real, sin vueltas.