"All in One Challenge | Share Your Passion, Creativity & Daily Life : Week-1"
Greetings to everyone.
How are you, friends? I hope you are all doing well. I am doing well too. I wish for everyone to always stay well. I am @selina75, joining from Bangladesh. I am participating in the first week (Week-1) of the 'All-in-One Challenge.' This challenge incorporates a variety of topics, allowing participants to showcase their specific skills and expertise. It’s a wonderful opportunity to discover many new things! Today, I am participating by sharing a DIY project. I would like to thank @max-pro for organizing this competition. I will be sharing how to make a 'Kundal' (ornamental/decorative) brooch. Brooches are commonly used to secure items like sarees, scarves, or hijabs. They come in many different designs; the one I’ve created features 'Kundal' elements. It turned out quite beautiful and would look lovely on a saree. I hope you enjoy this DIY post. The materials I used to make the brooch are listed below. Let’s take a look at the process of creating it!
Required Materials
- Brooch base
- 'Kundal' stones (in two different shapes)
- Glue
- Transparent sheet
- Gold-colored chain
- Shopping bag (plastic/material)
- Cutter/Scissors
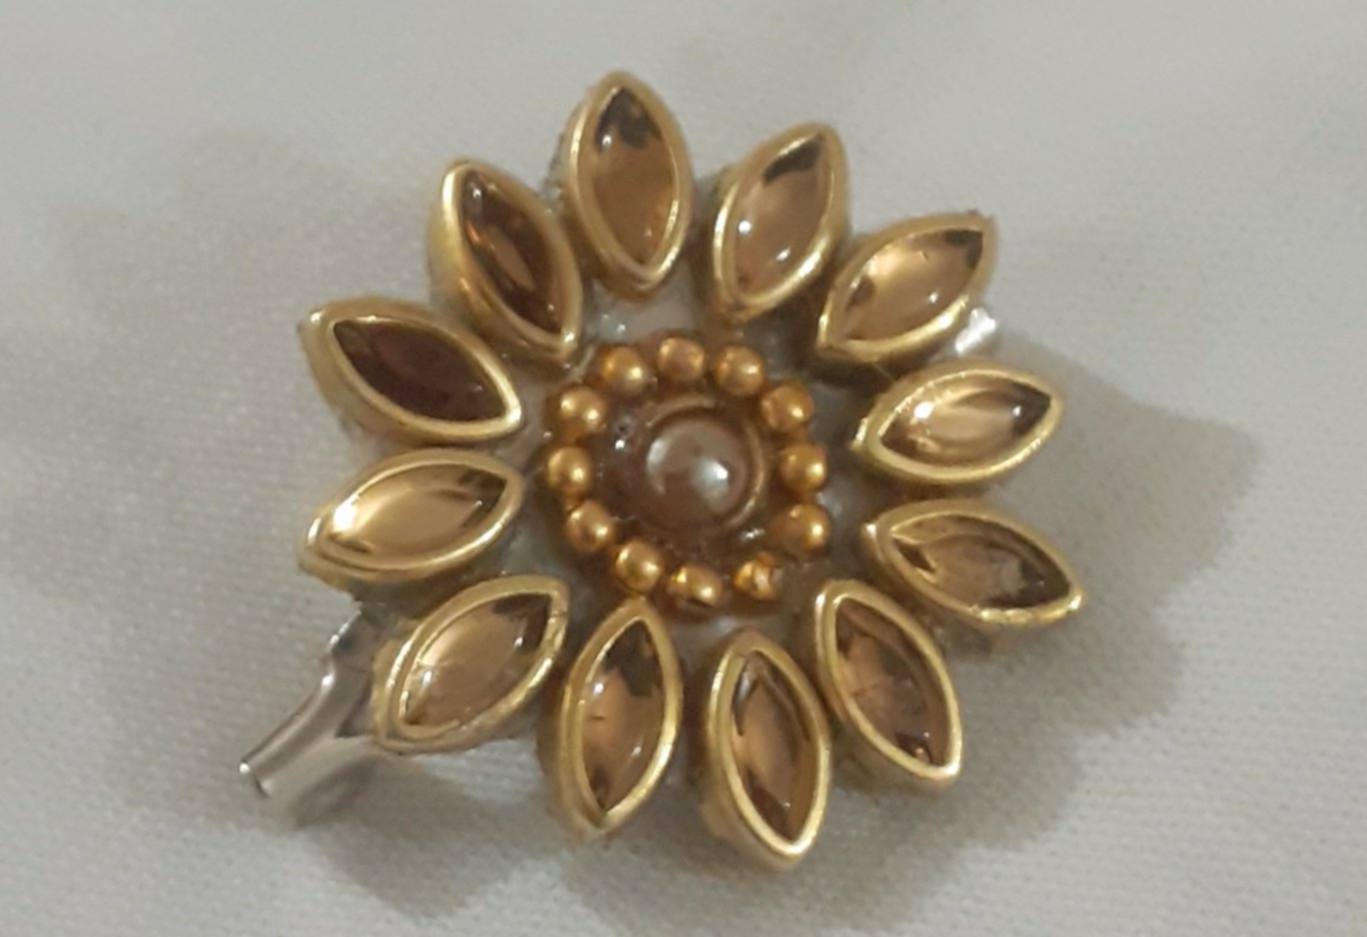
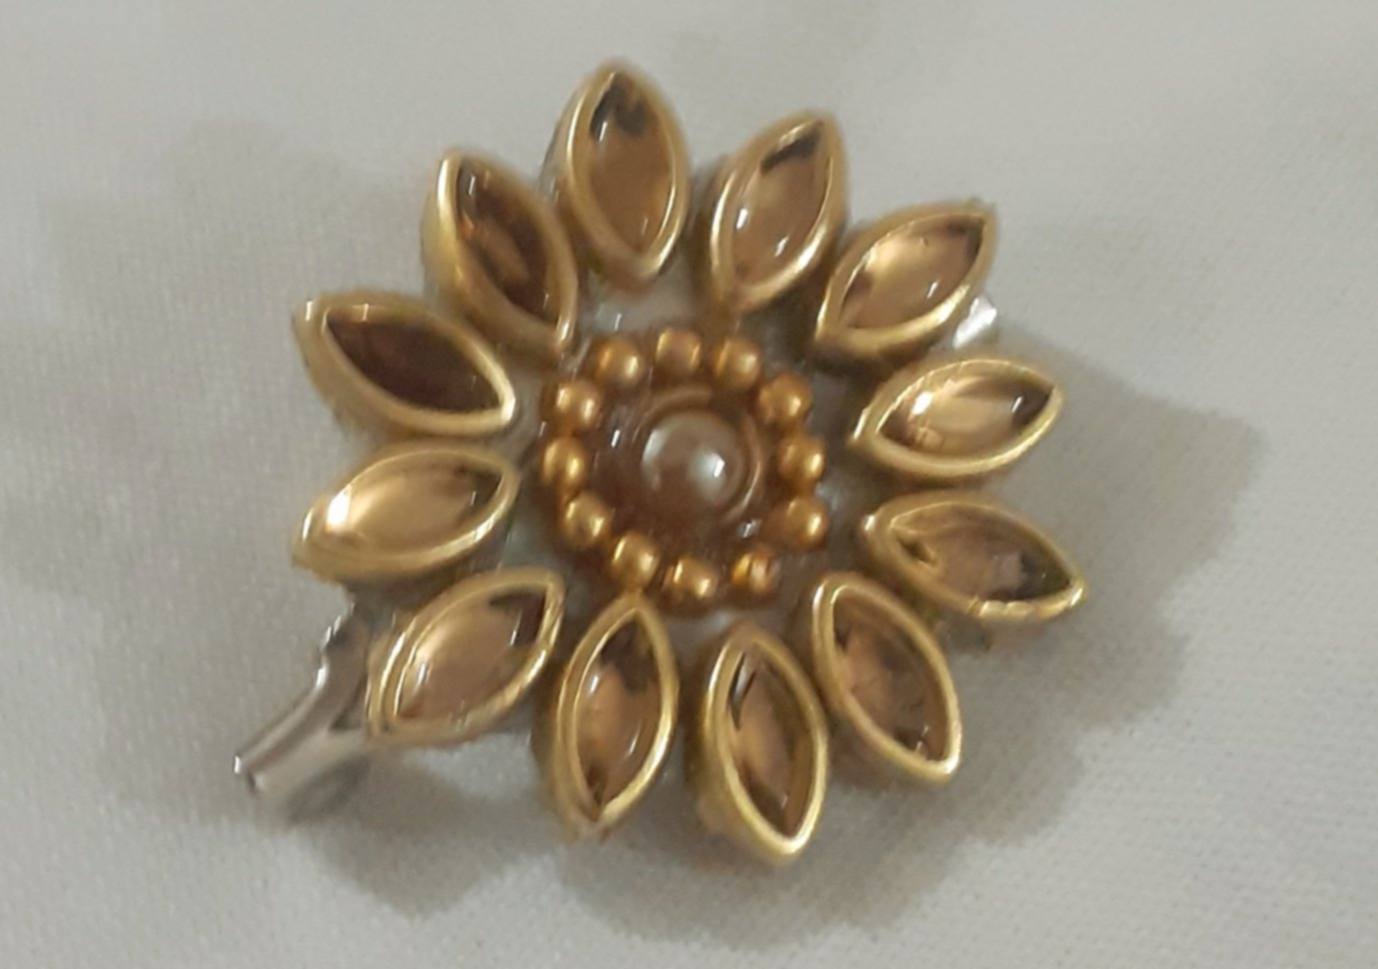
Method of making botch
Step-1
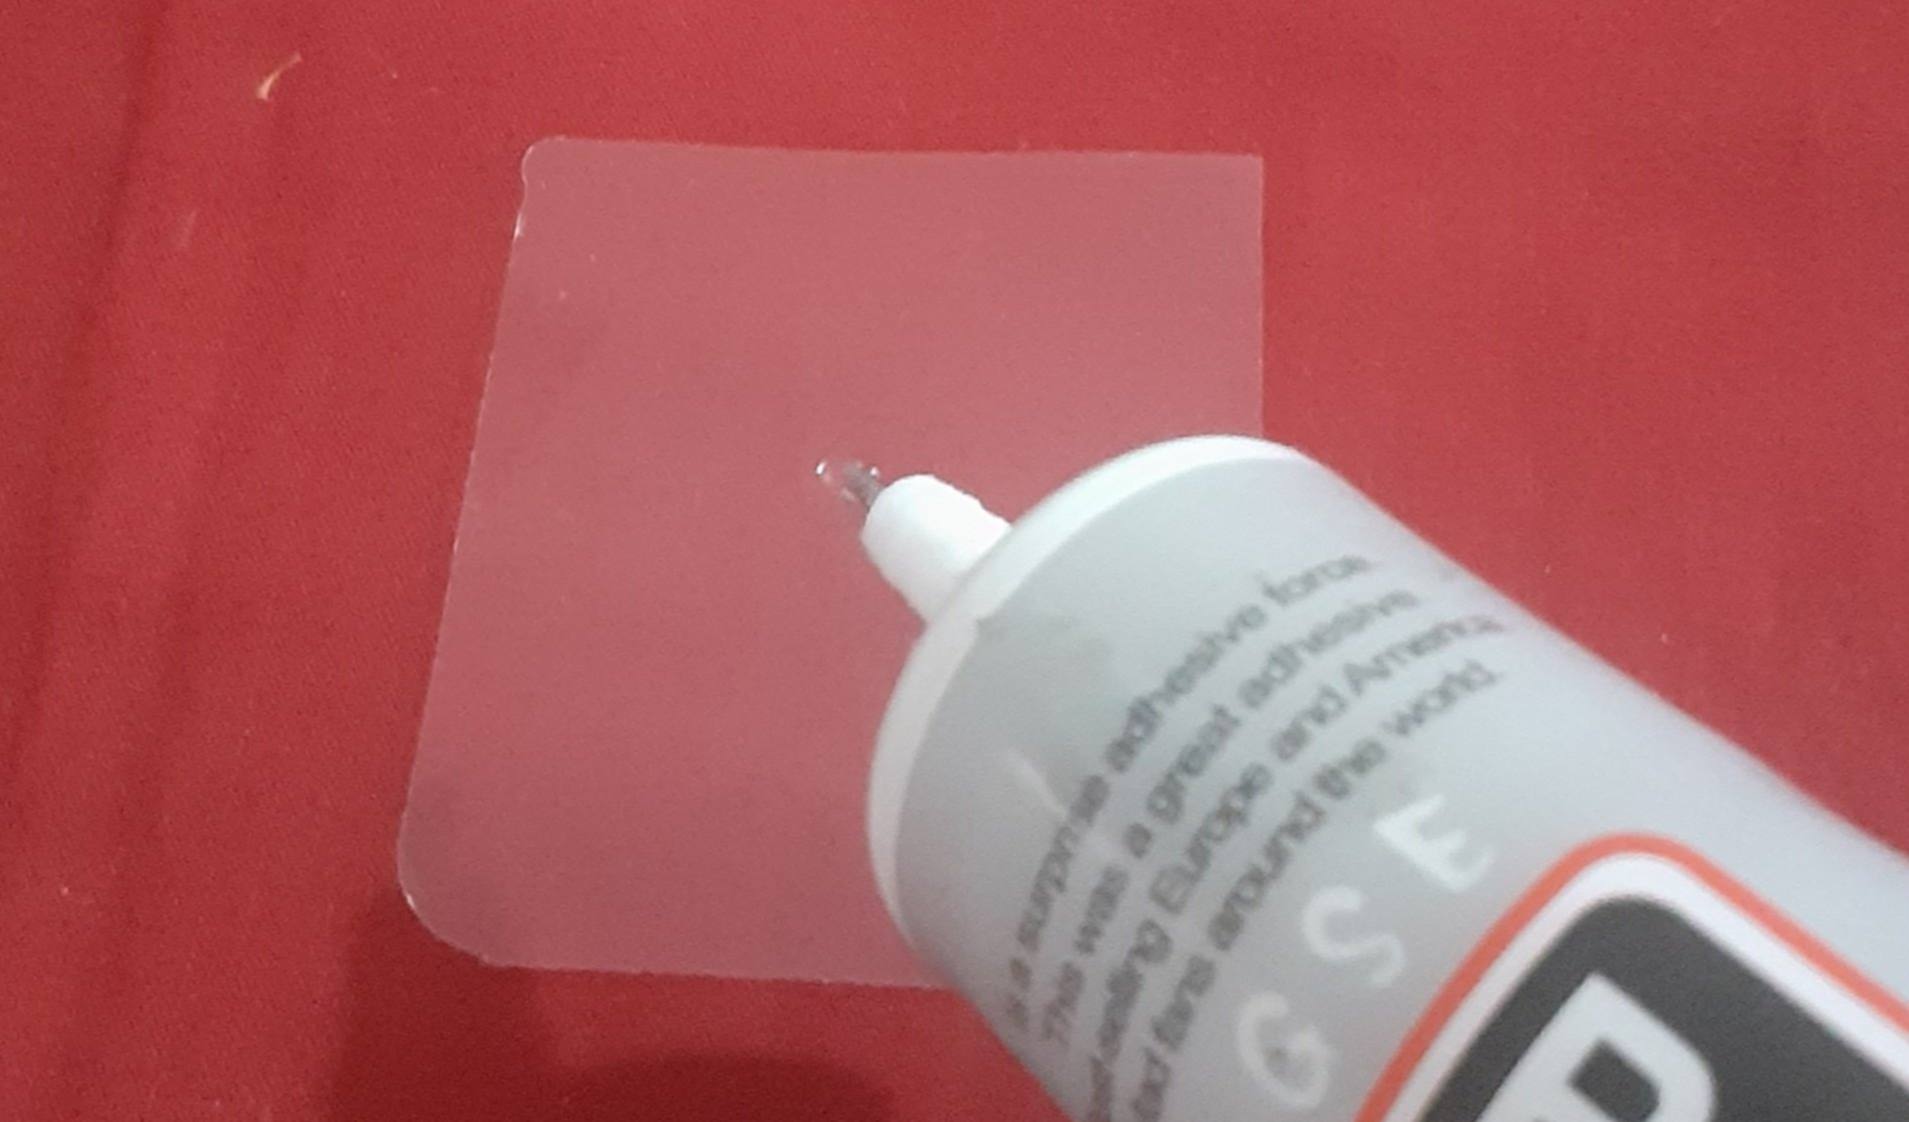
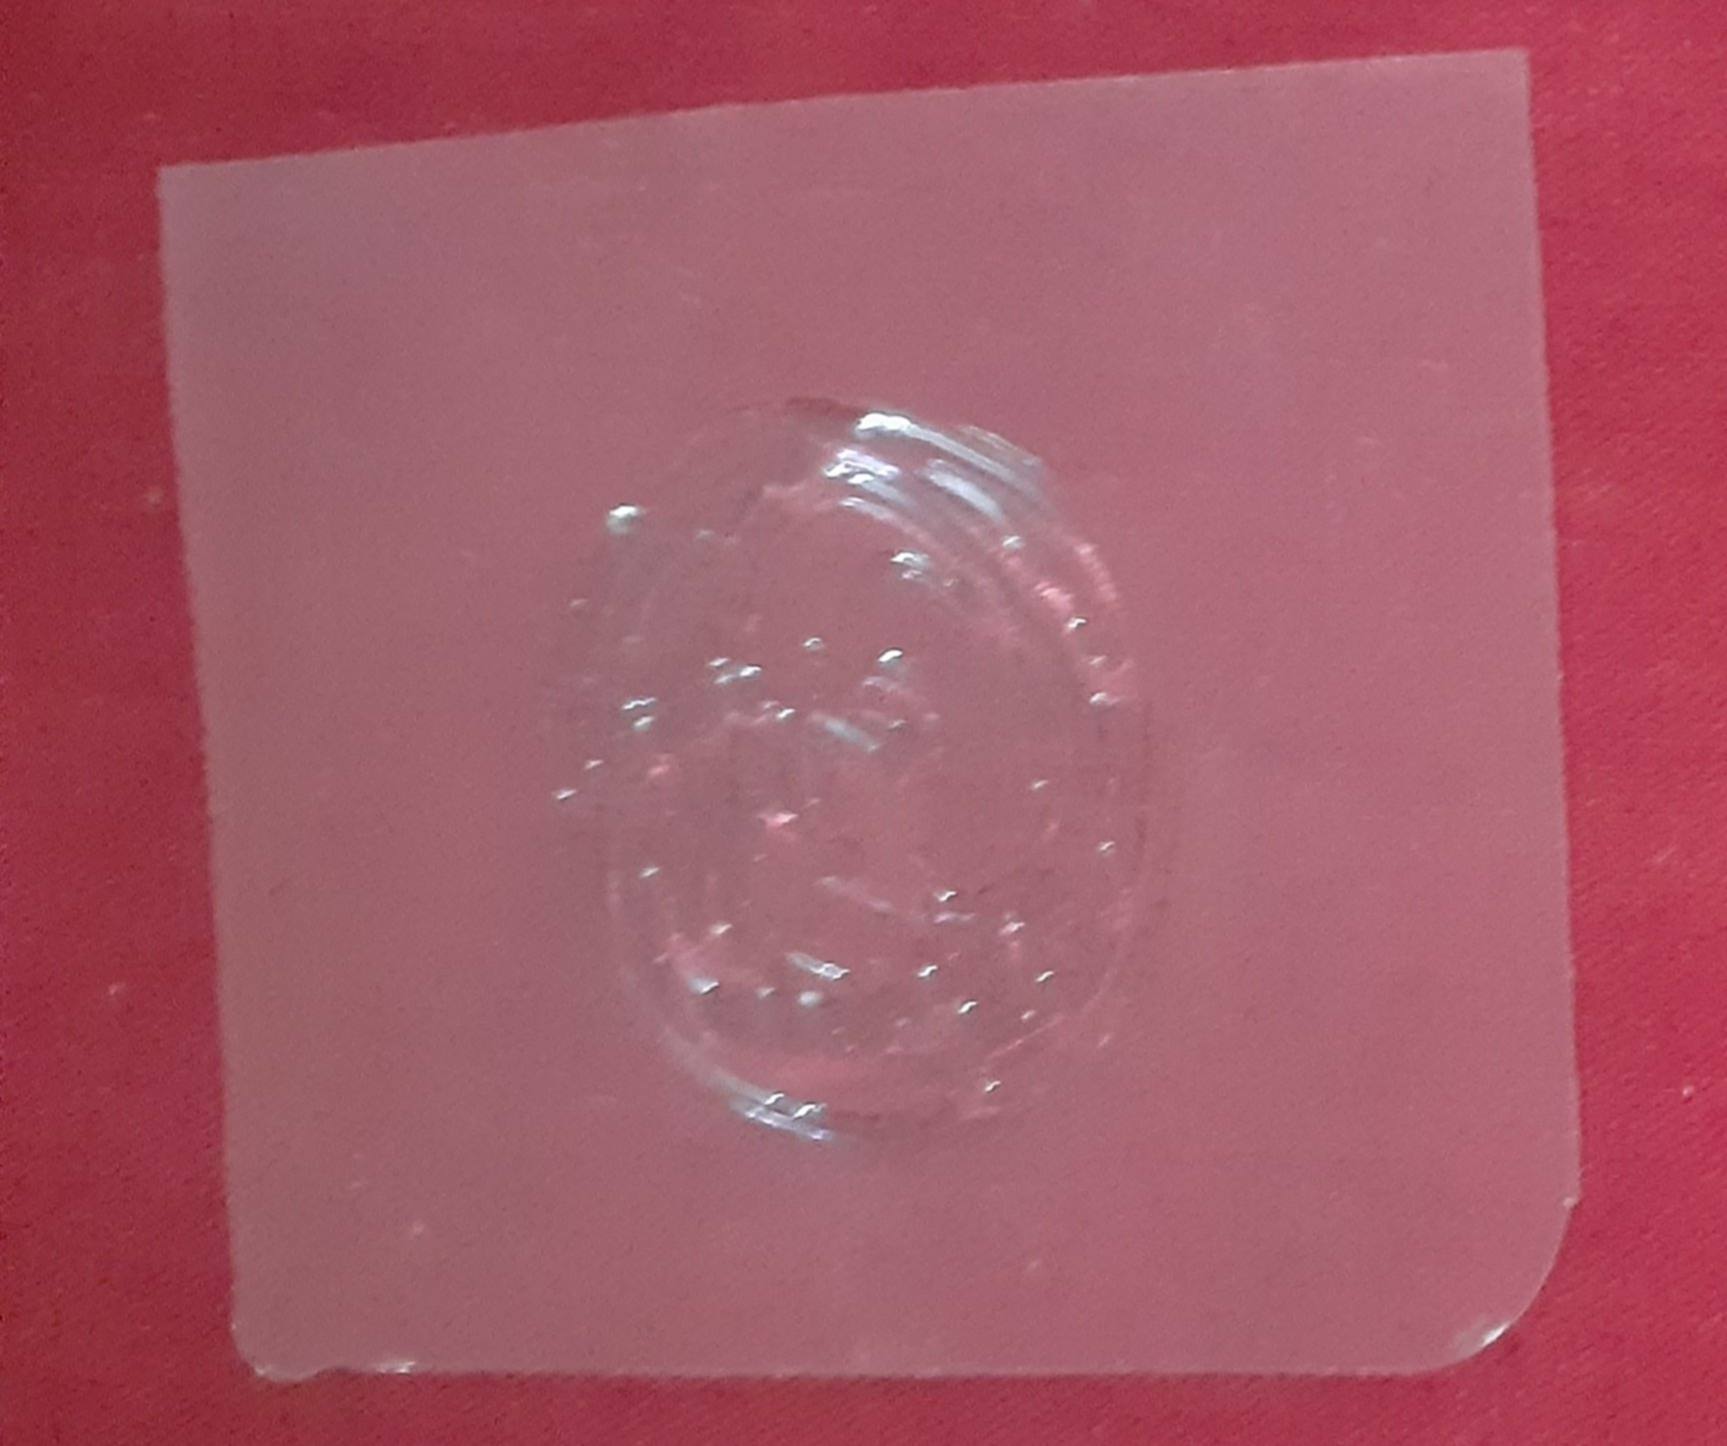
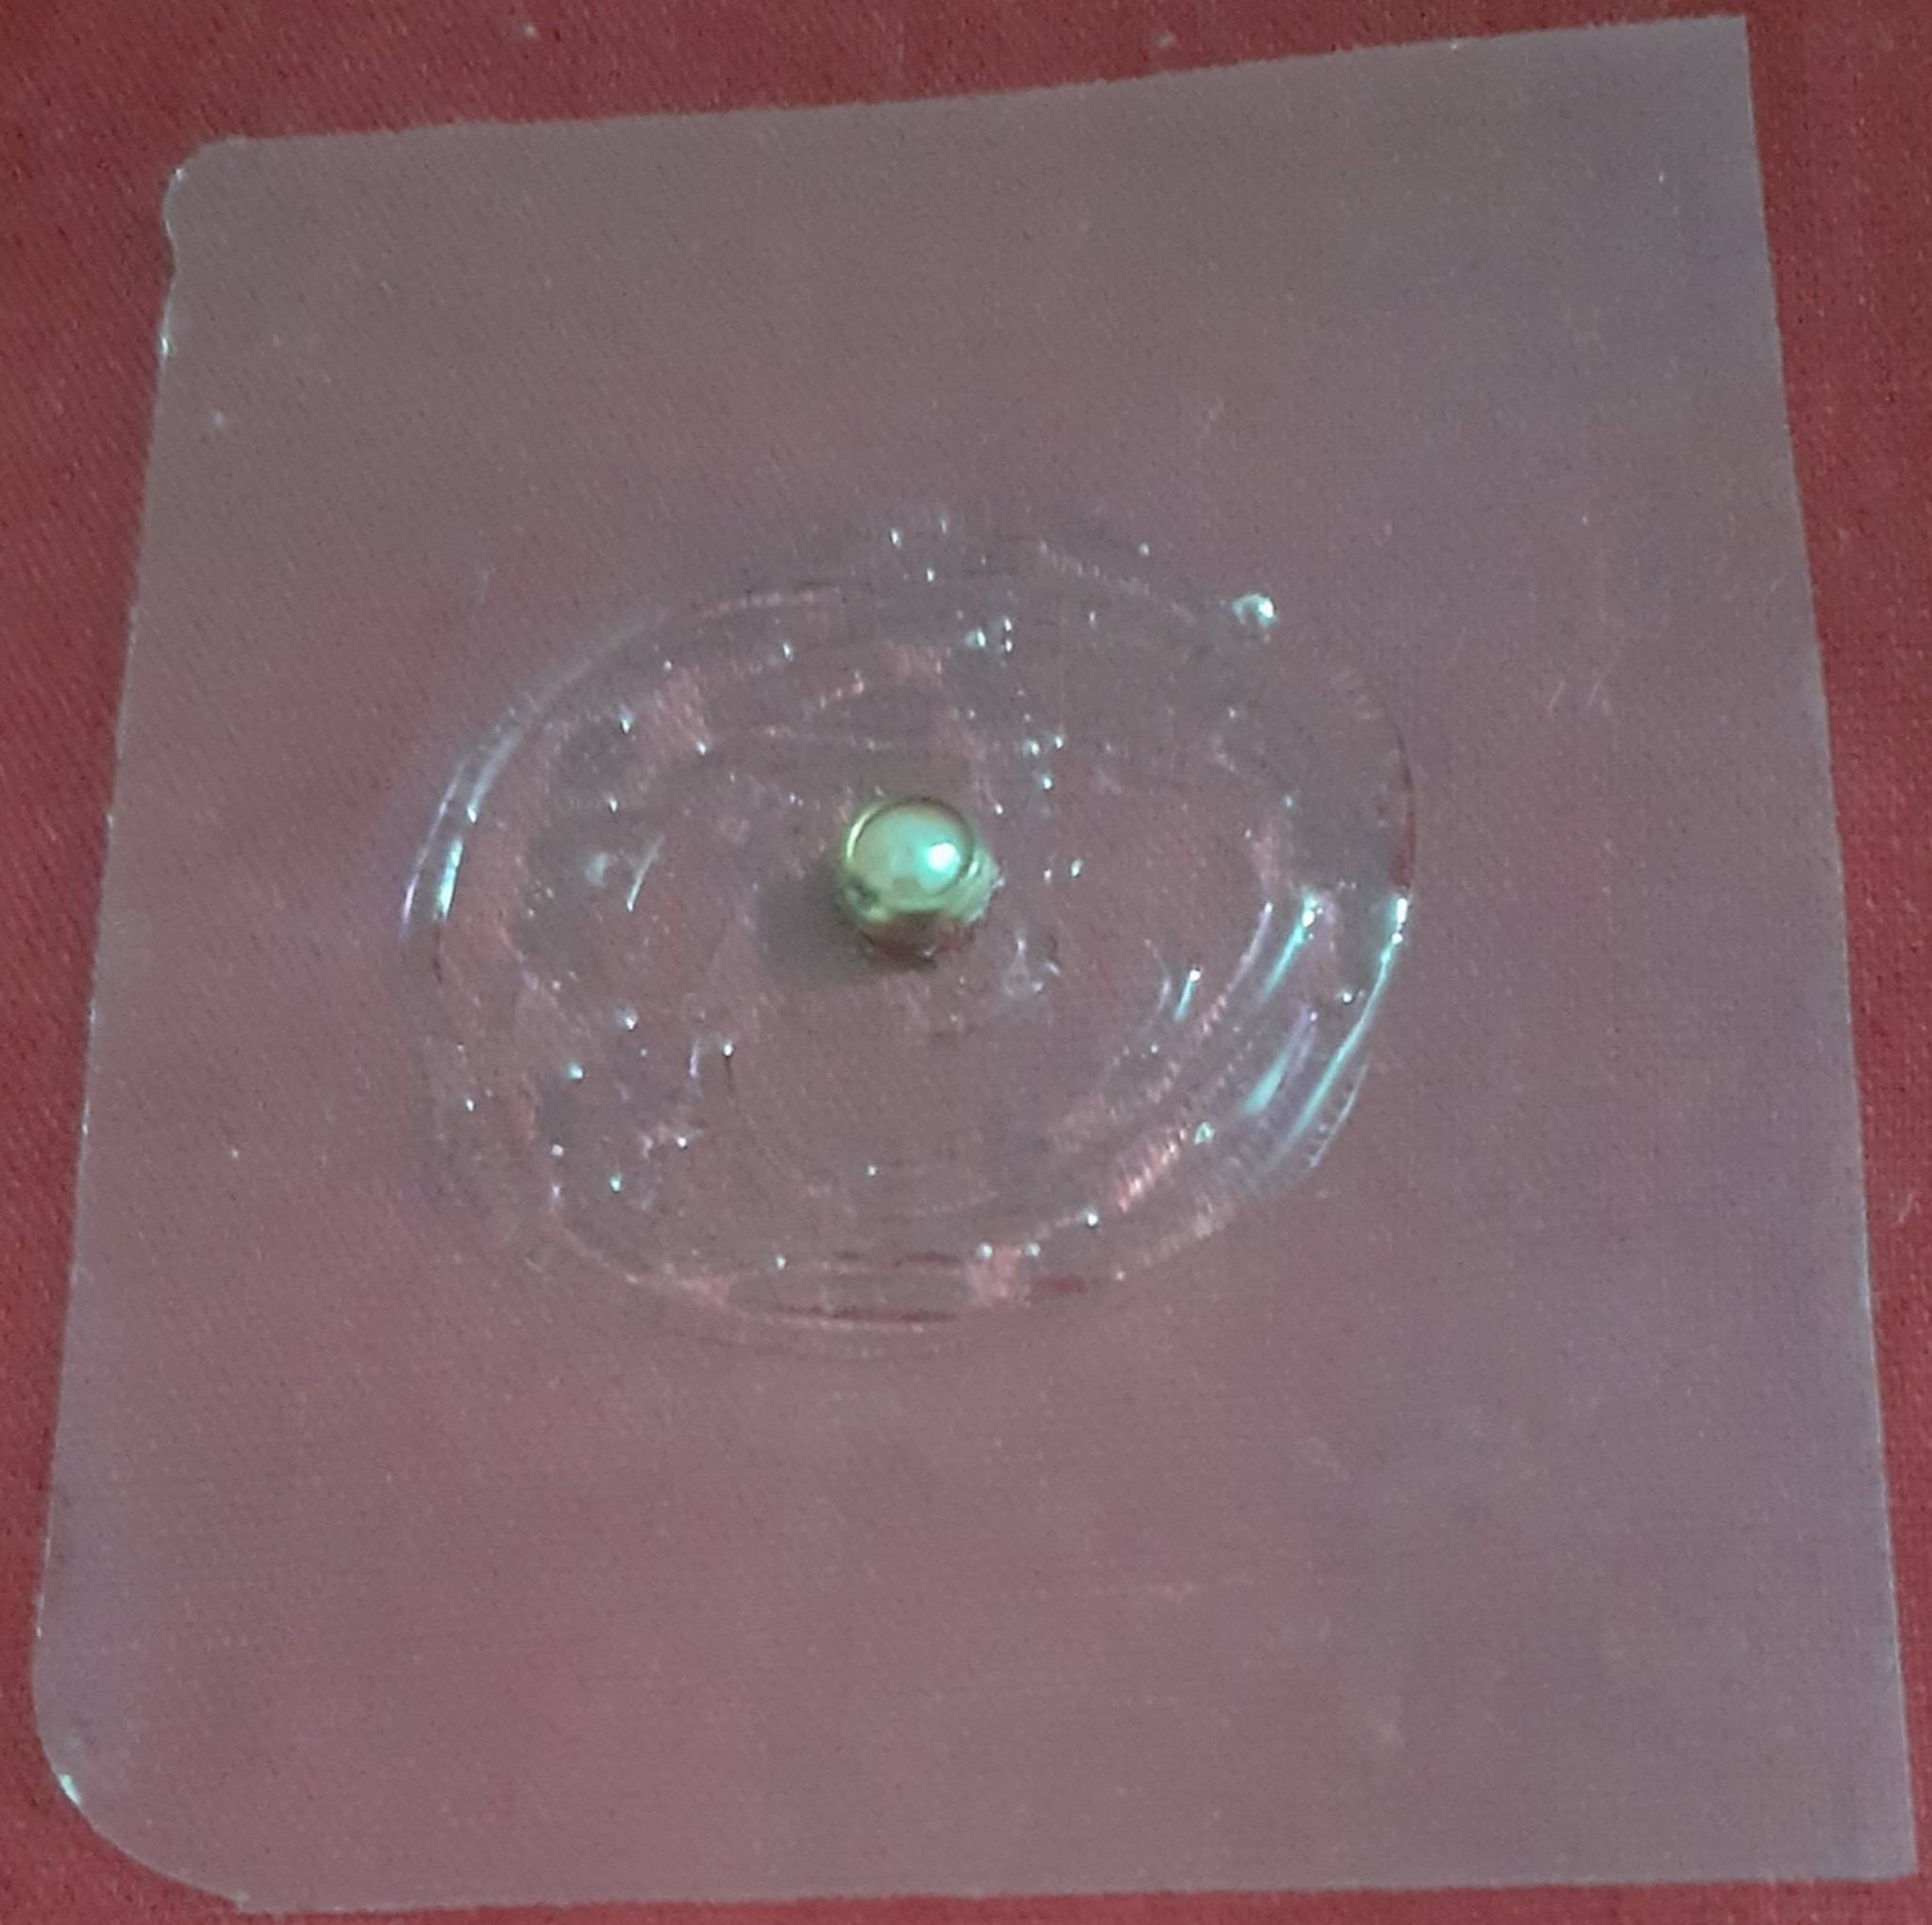
First, I applied glue to the transparent sheet. Then, I placed a round decorative stone onto the glue.
Step-2
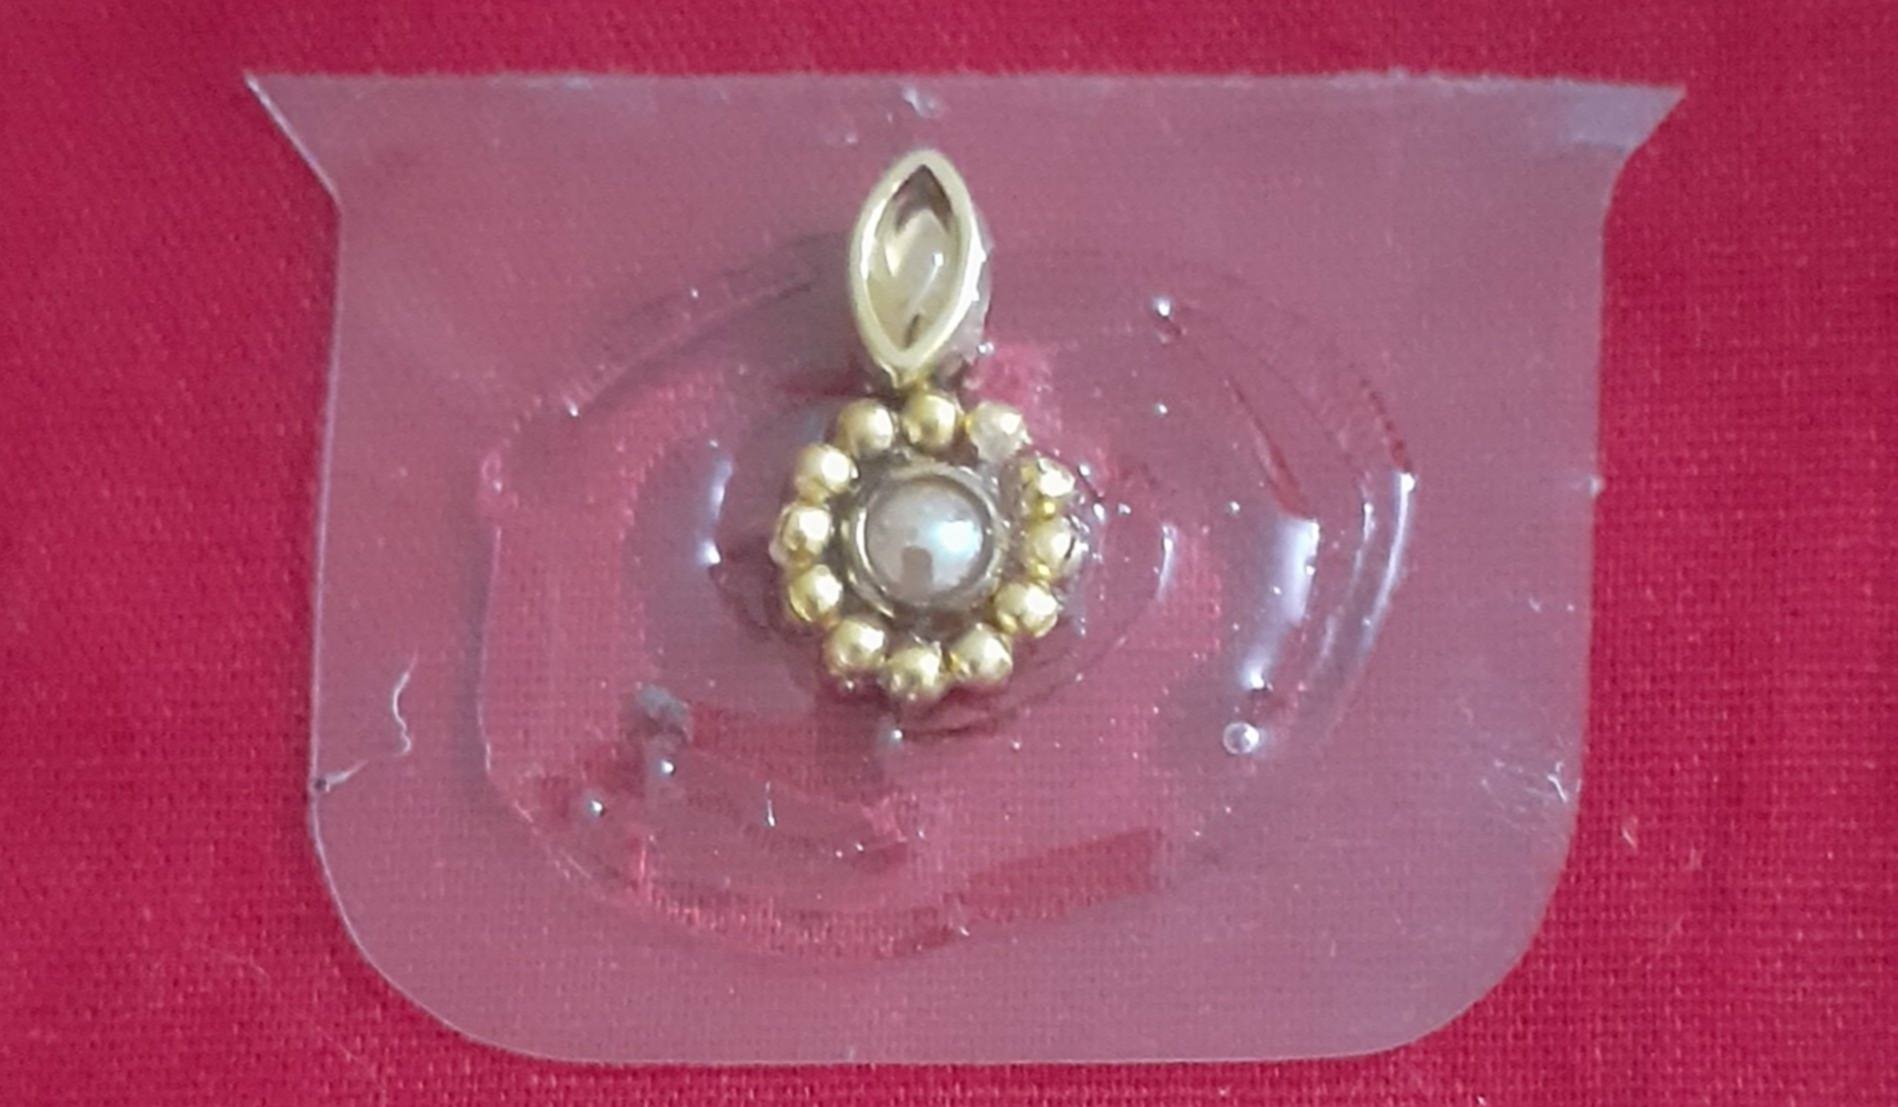
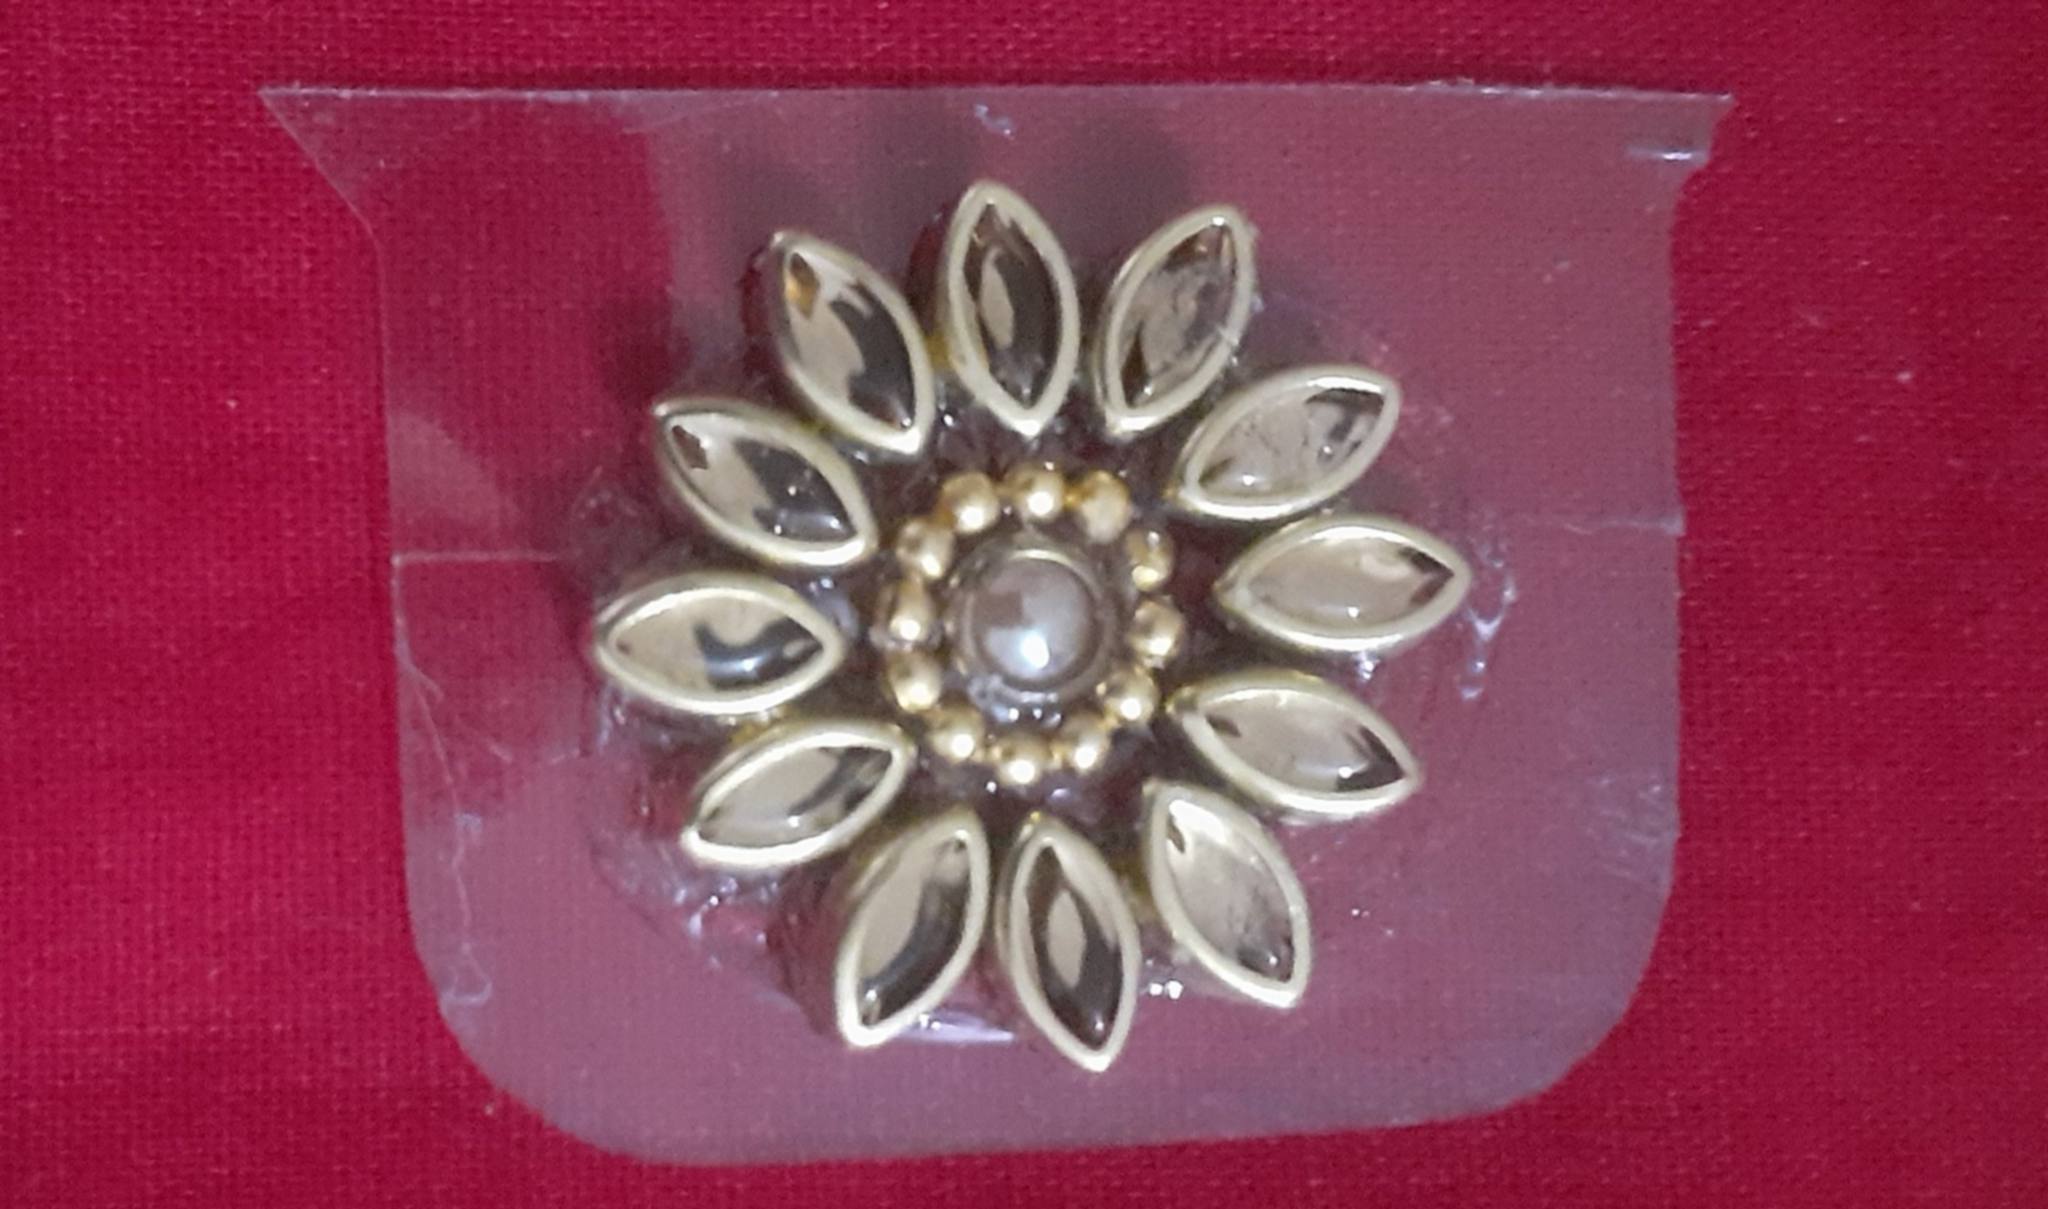
Next, I attached the gold-colored chain around the round stone using glue. After that, I arranged the leaf-shaped stones around the gold chain to form a flower. I left it aside for a while to allow the glue to dry.
Step-3
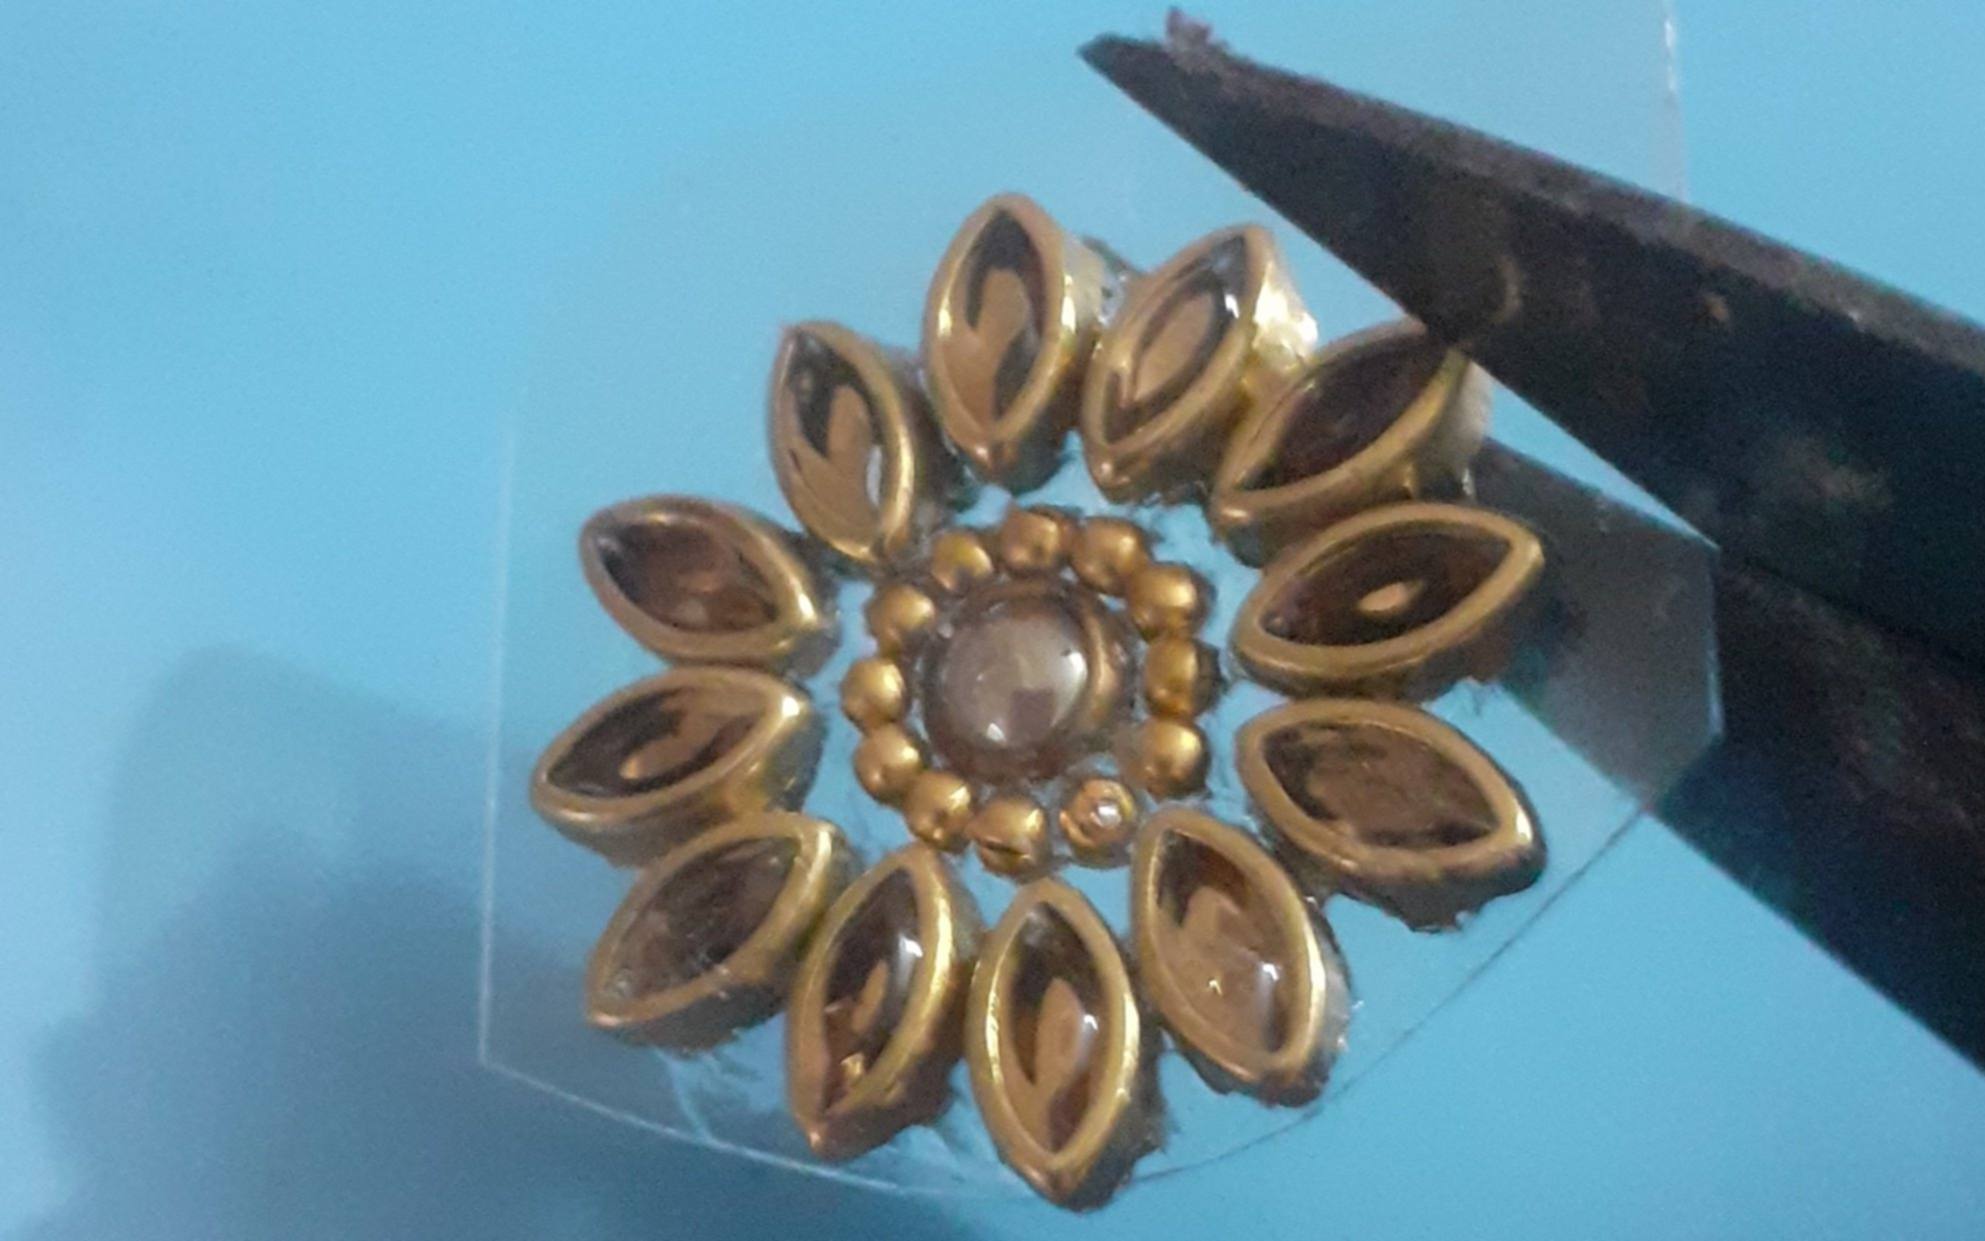
Once the glue had dried, I used a cutter to trim away the excess parts of the transparent sheet.
Step-4
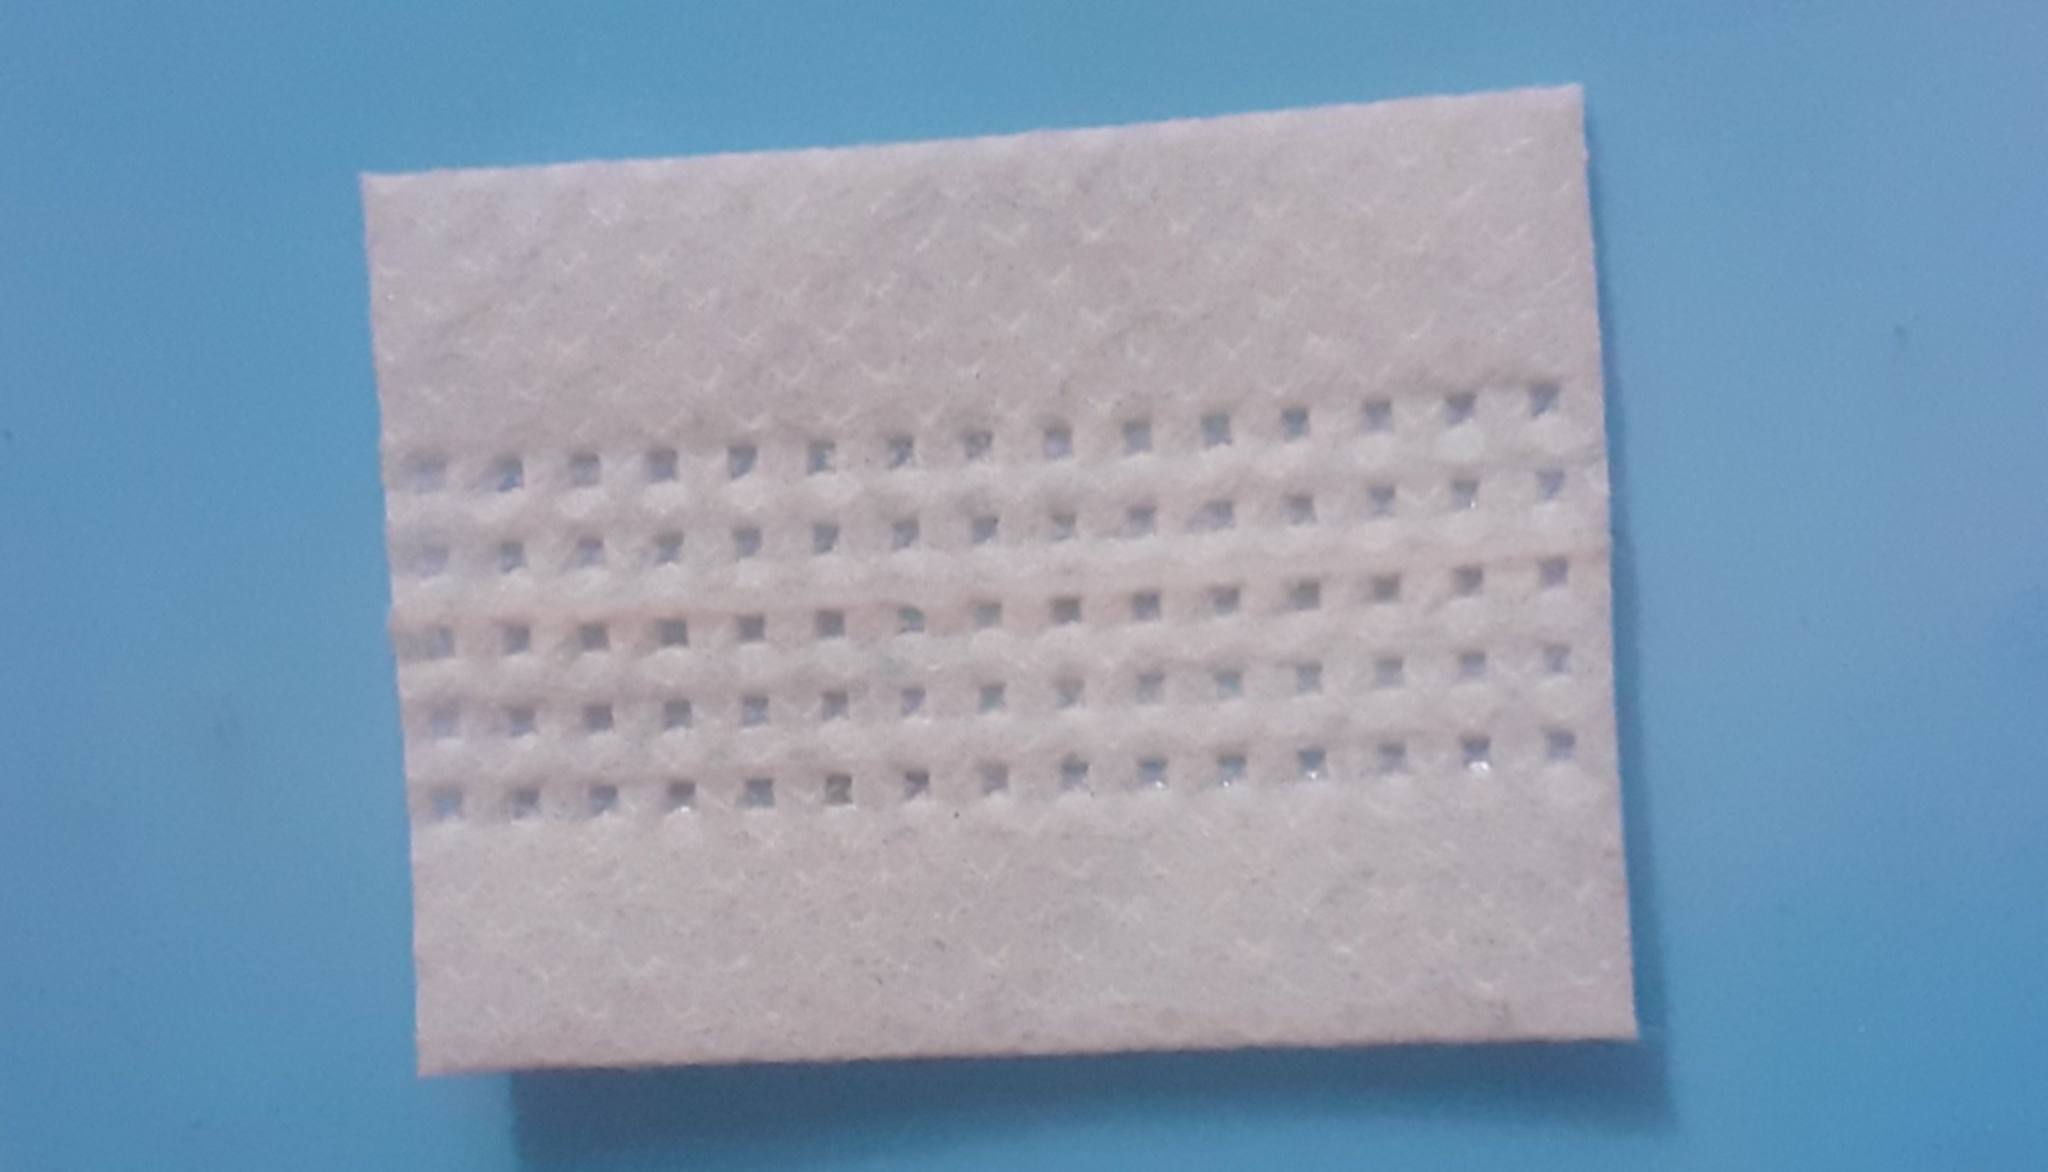
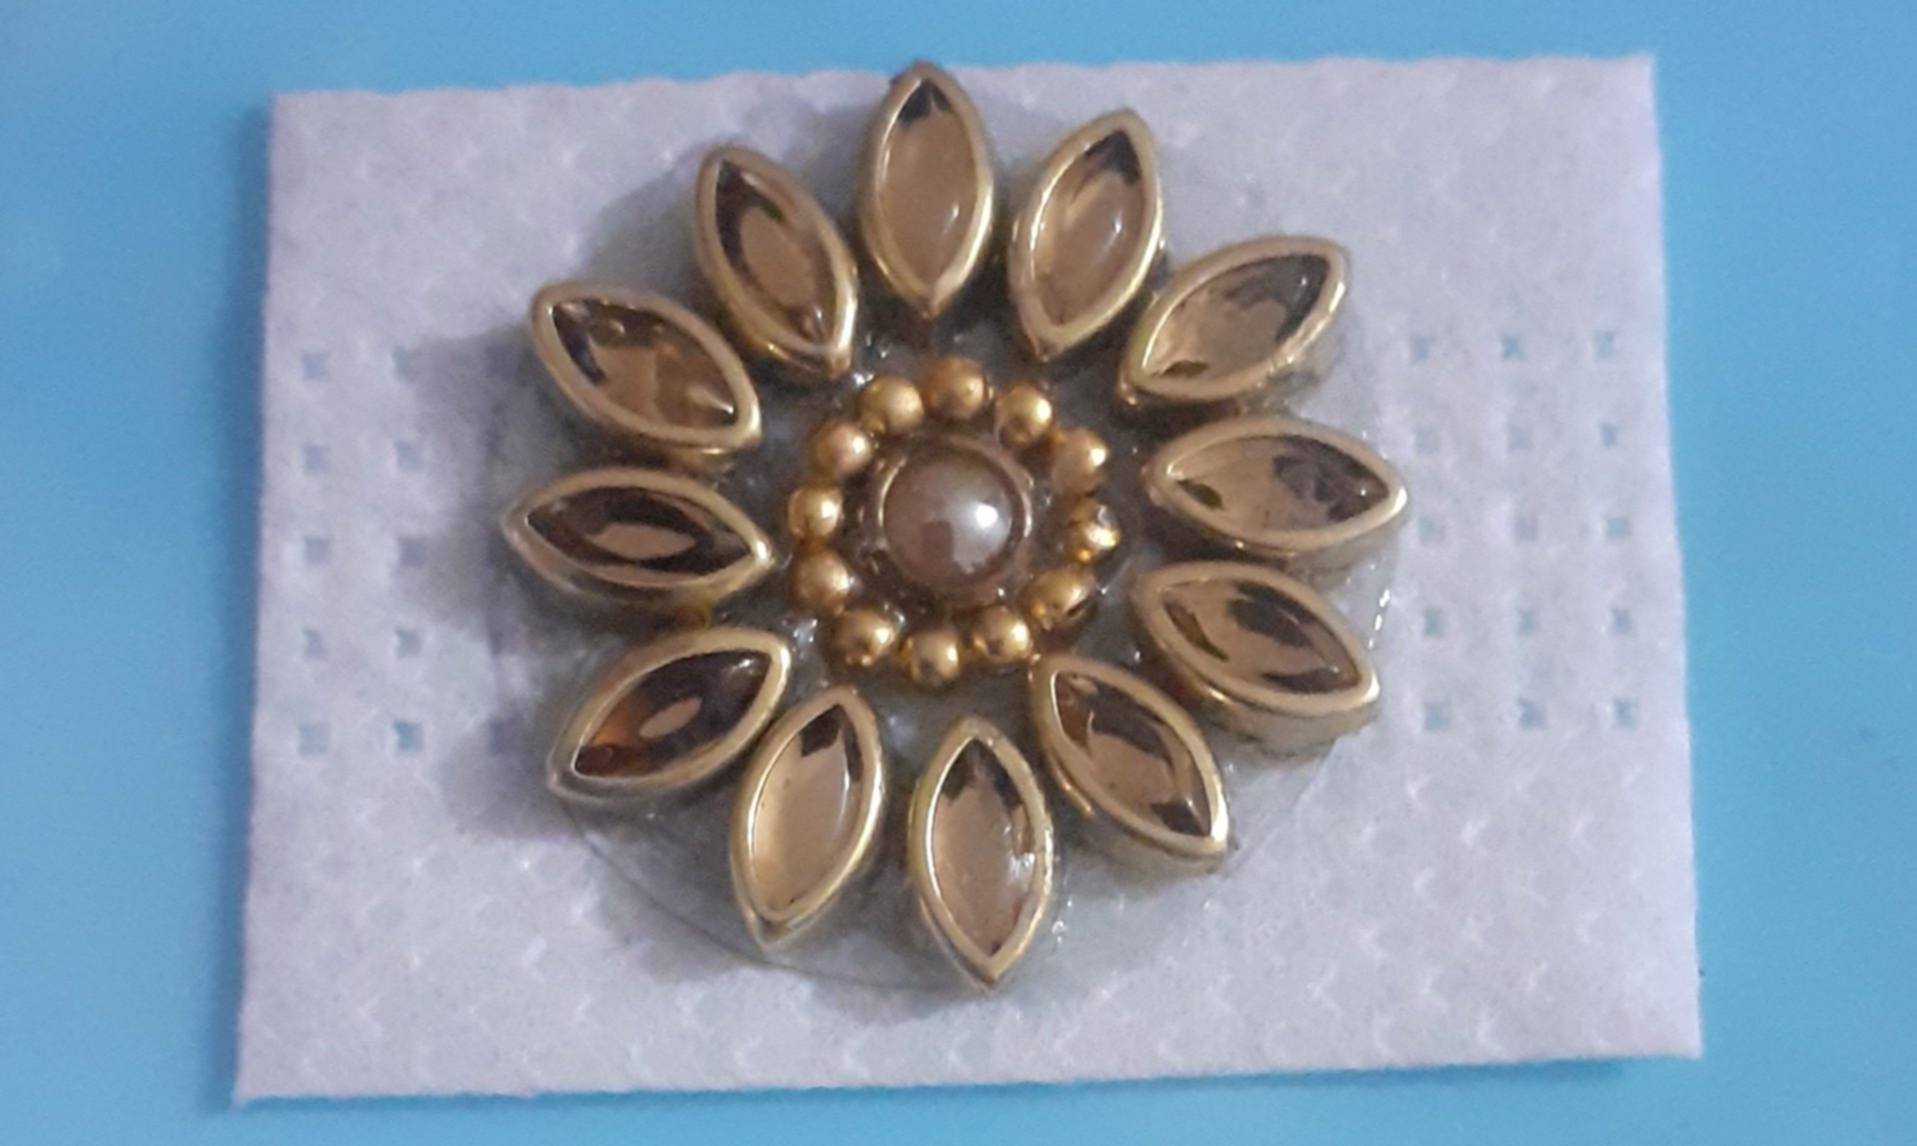
Then, I cut a piece from a shopping bag. I attached the stone-and-chain flower onto this piece of the shopping bag using glue. Once the glue dried, I trimmed off the excess material from the shopping bag using the cutter.
Step-5
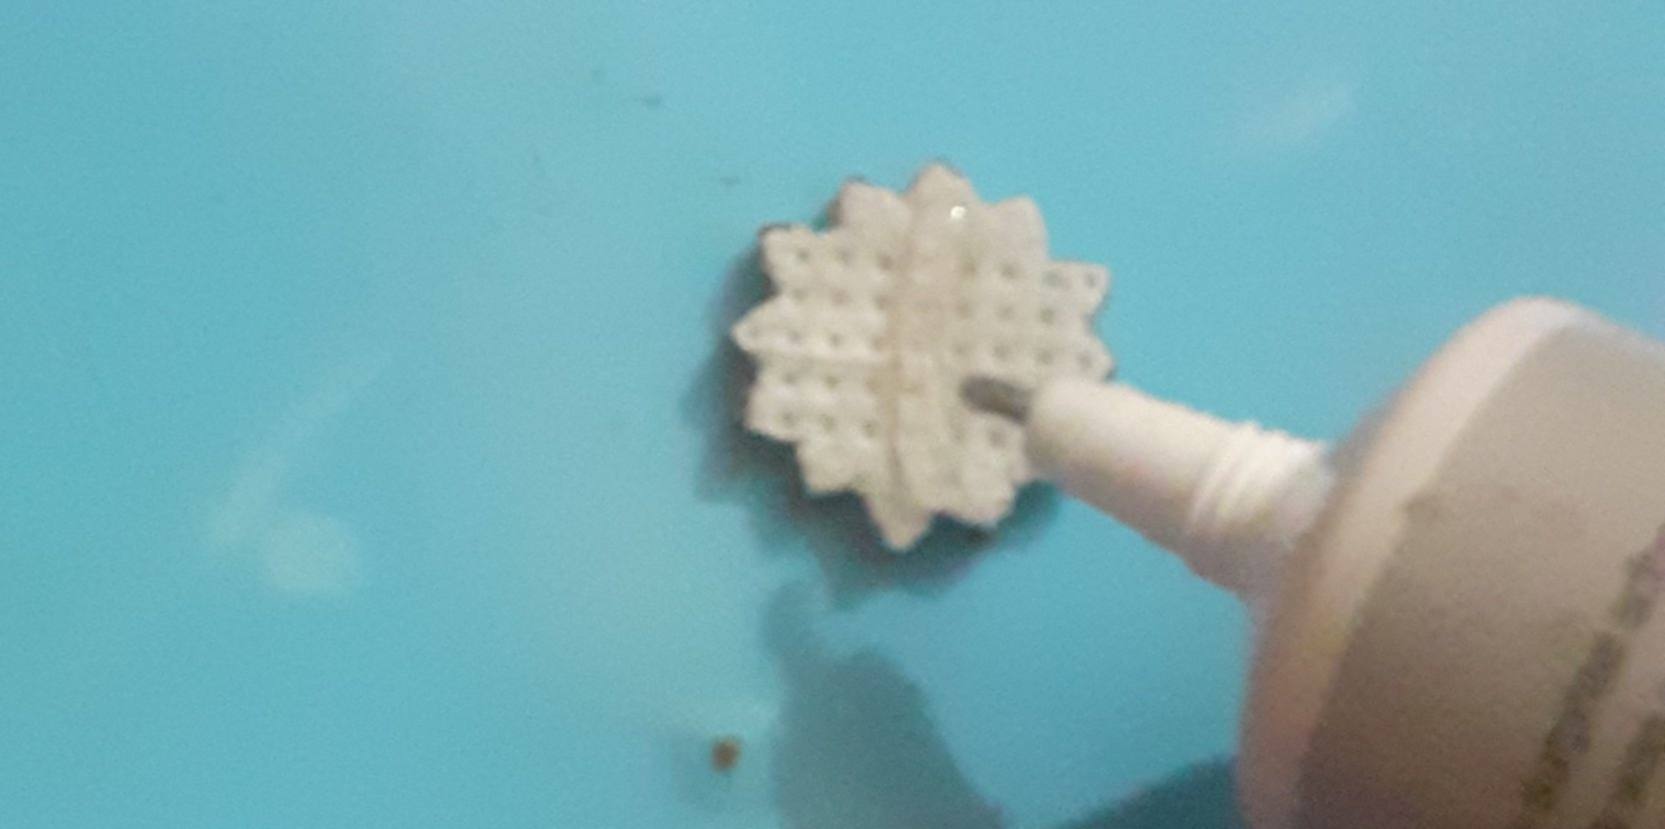
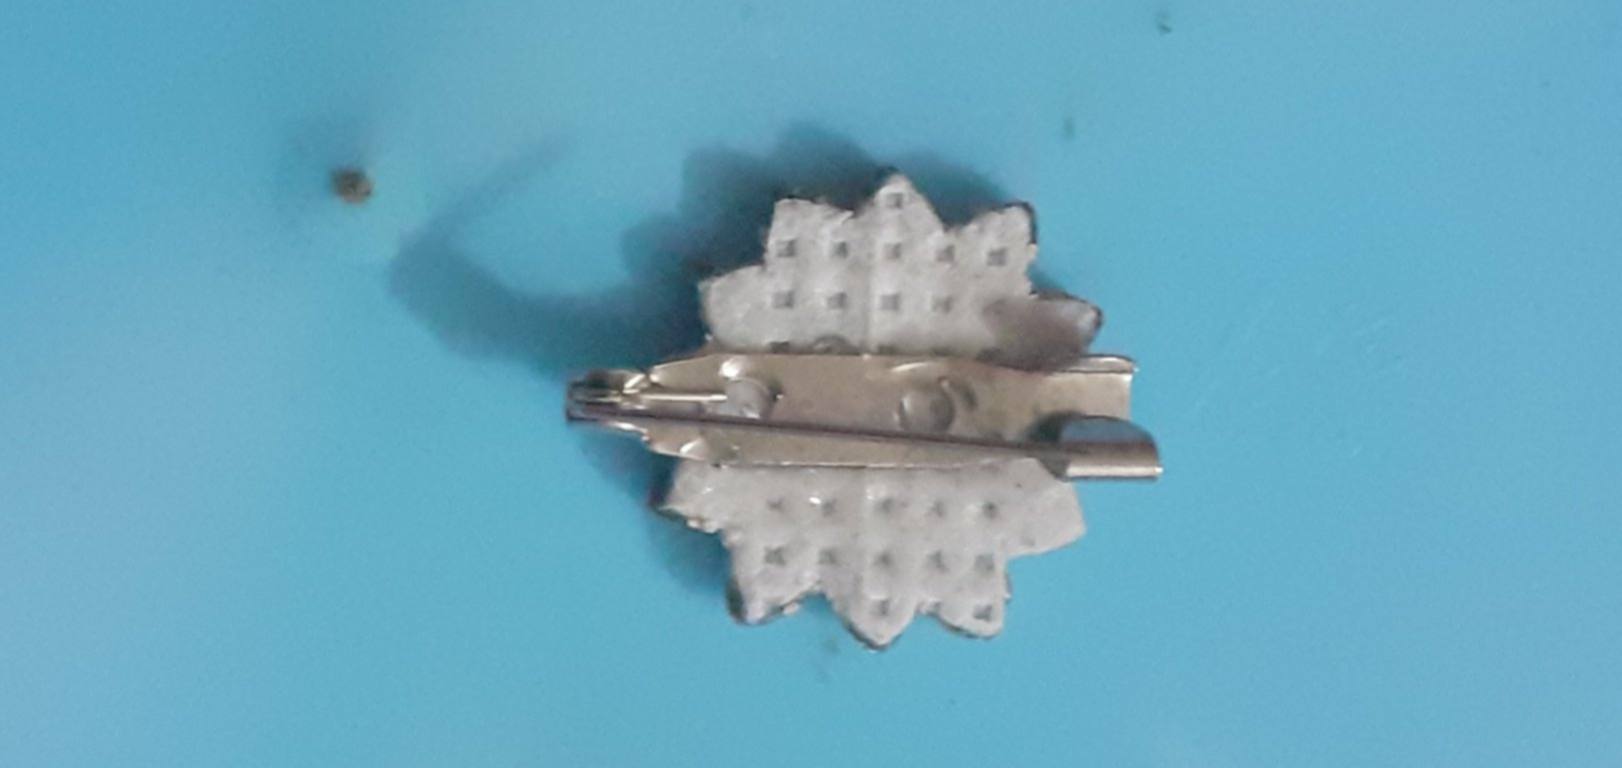
Finally, I attached the brooch base to the back of the stone-and-chain flower, completing the brooch.
Final Look
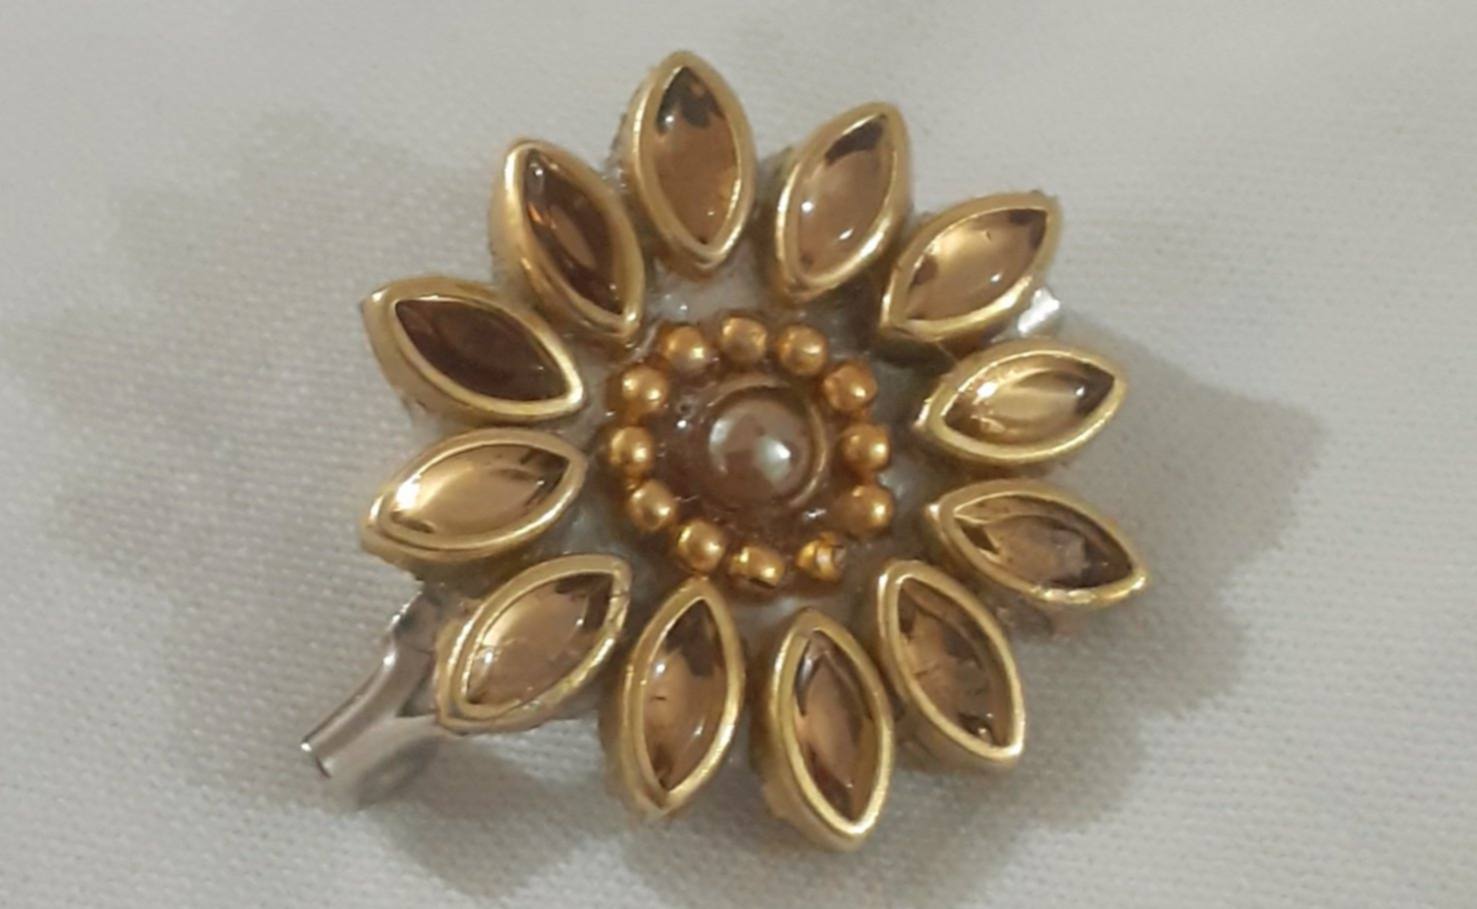
I hope you like the brooch I’ve made! That’s all for today. We’ll meet again with a new blog post. Until then, take care, everyone.
Post Details
| Category | DIY |
|---|---|
| Device | Galaxy A10 |
| Location | Bangladesh |
I would like to invite—
@monira999
@soron555
@bdwomen
thanks.
Post link:
https://steemit.com/steem-for-lifestyle/@selina75/all-in-one-challenge-or-share-your-passion-creativity-and-daily-life-week-1