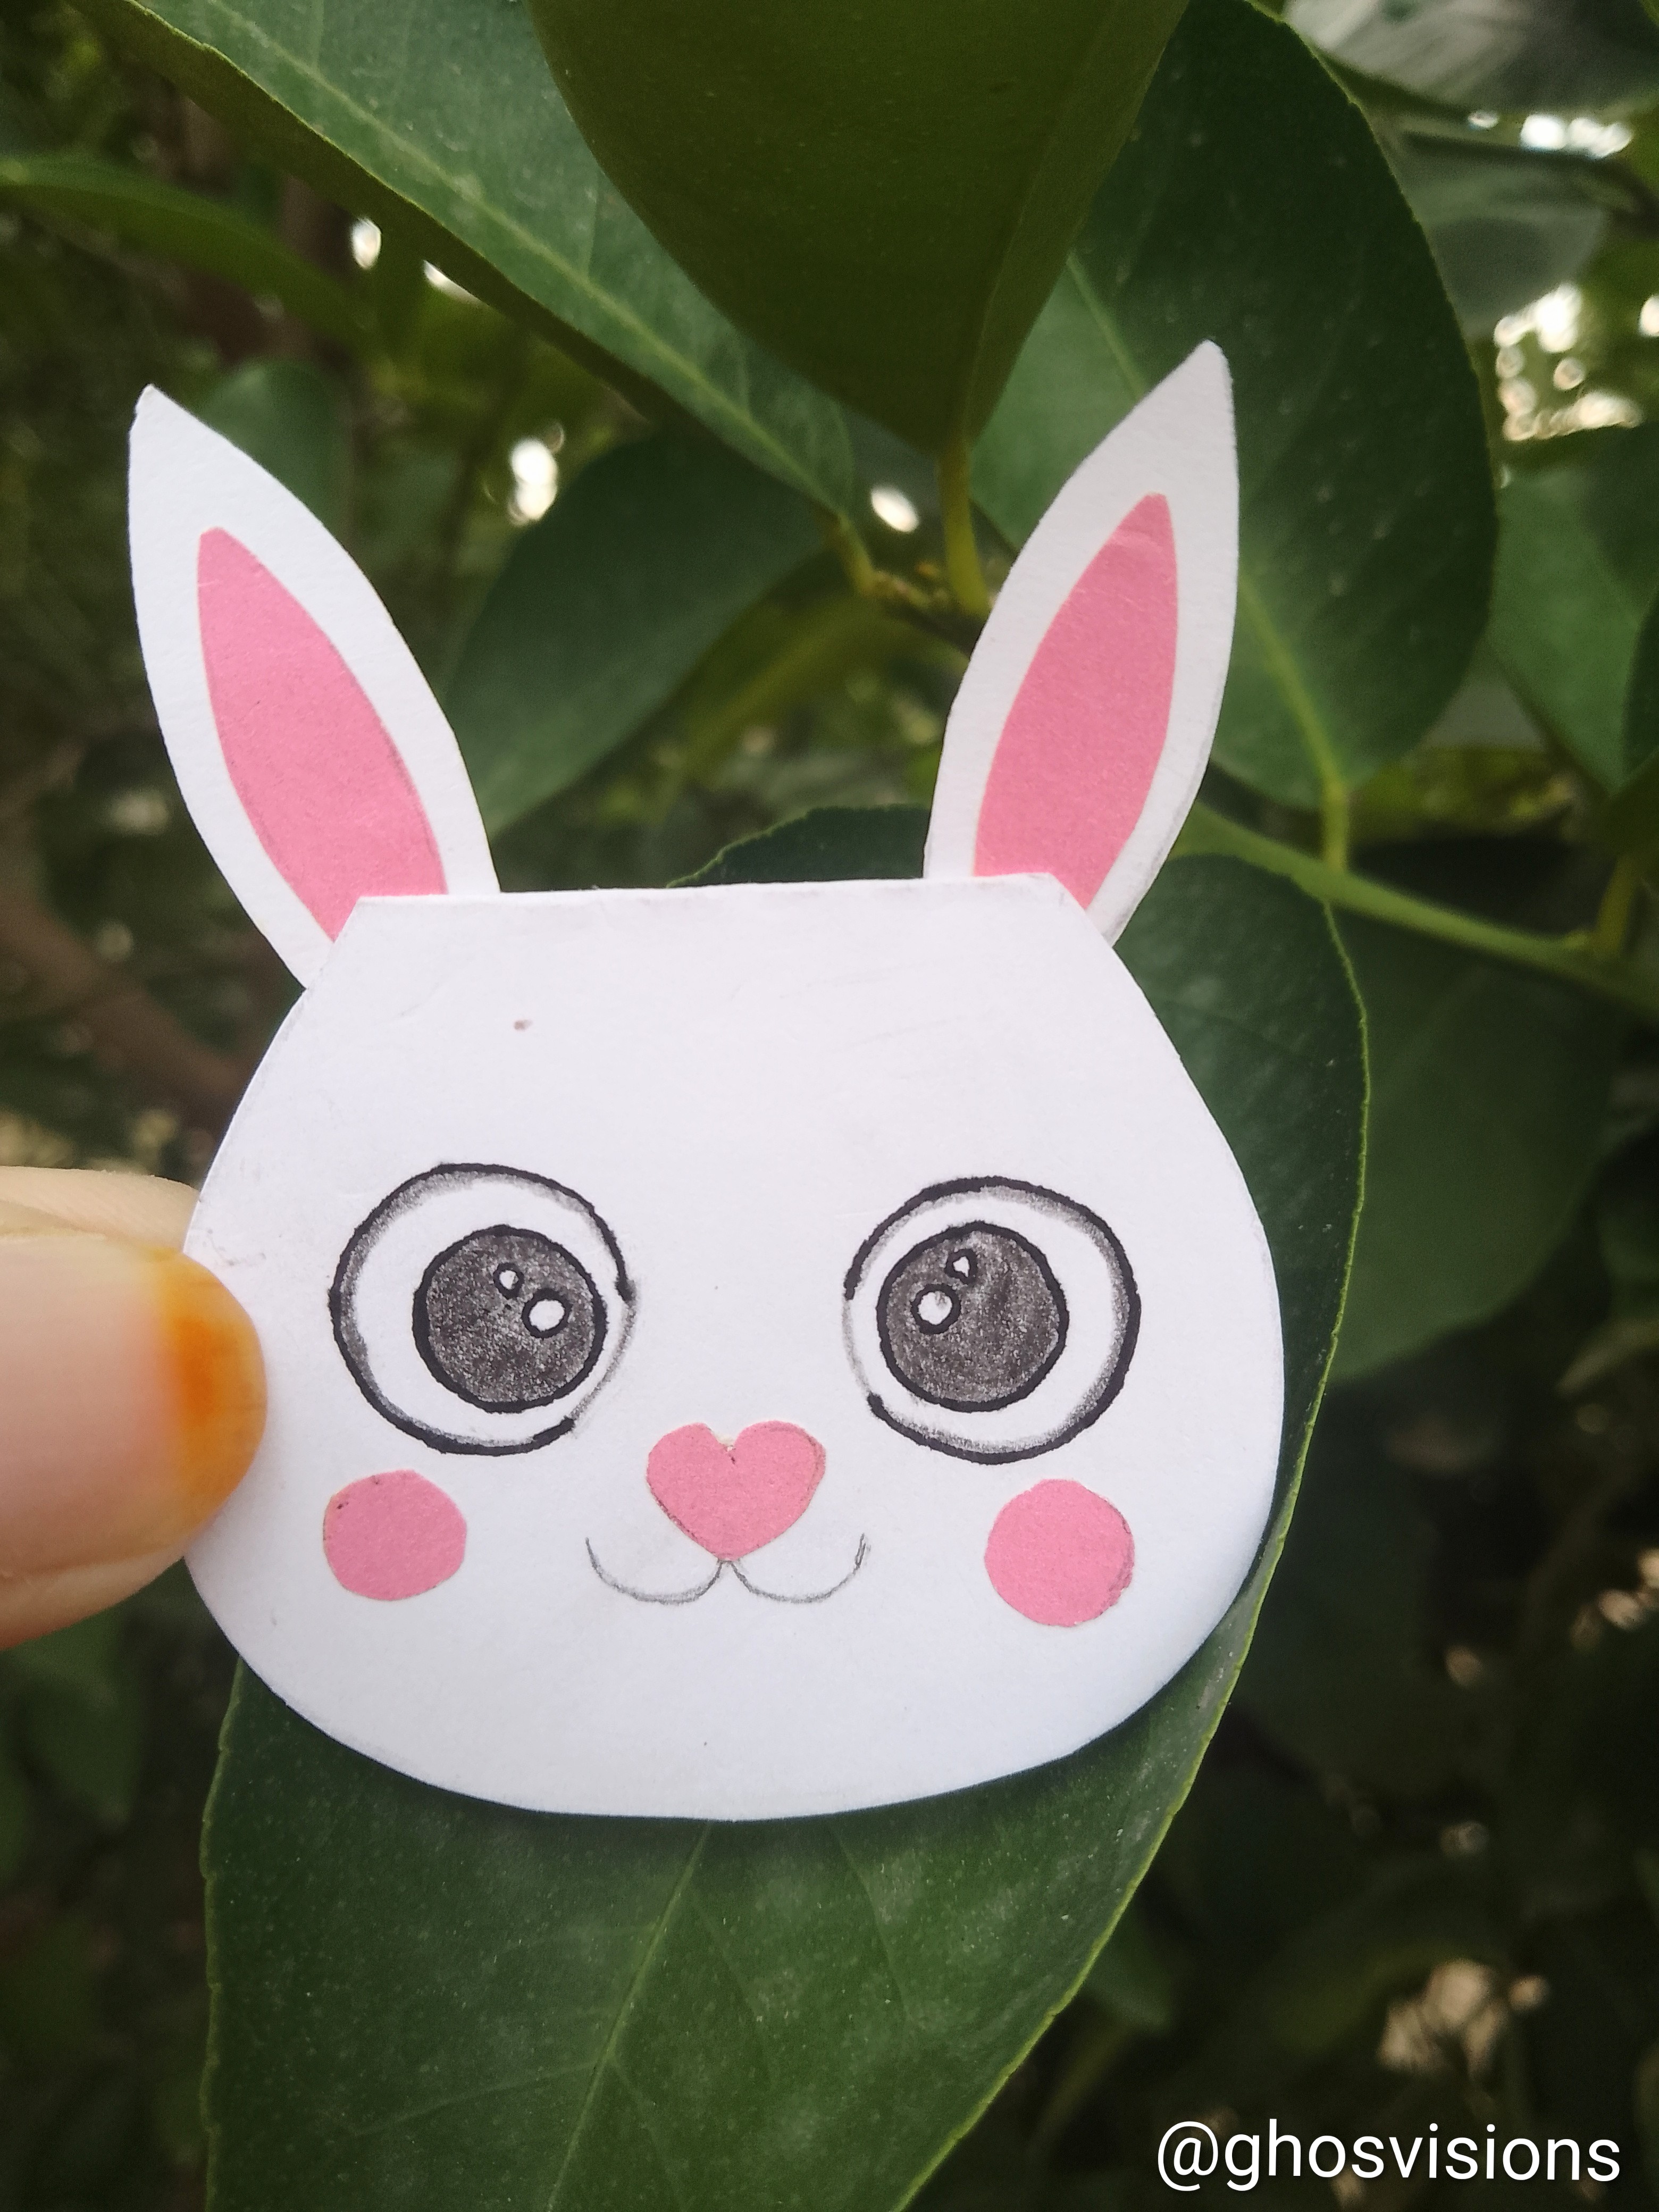
All in one contest Week 45: Handmade Cute Bunny 🐰 Card for Kids
Assalamualaikum Everyone. I hope all of you are doing well and having a great time.
I am Ghosia from Pakistan. Today, I am going to participate in the All in one Contest Week 45: Writing Expedition and Food Challenge. This contest includes many topics to choose from. So, today the topic I chose for this contest is Craft.
I am very thankful to @steemkidss for organizing this contest and giving us this opportunity to showcase our talent and creativity.
So today, I will share with you tutorial on making a Handmade Cute Bunny Card. It's very easy to make. Kids love such cute cards. I will share the whole process of this cute card step-by-step so kids can make it easily for themselves. You can also make it for them by following all the steps I will share. I am sure they will love it.
- White and pink chart
- Black pointer
- Lead pencil
- Scissor
- Glue stick
First, take a white hard chart and cut it into a rectangular shape as shown in the photo. You can adjust its size according to your card requirement.
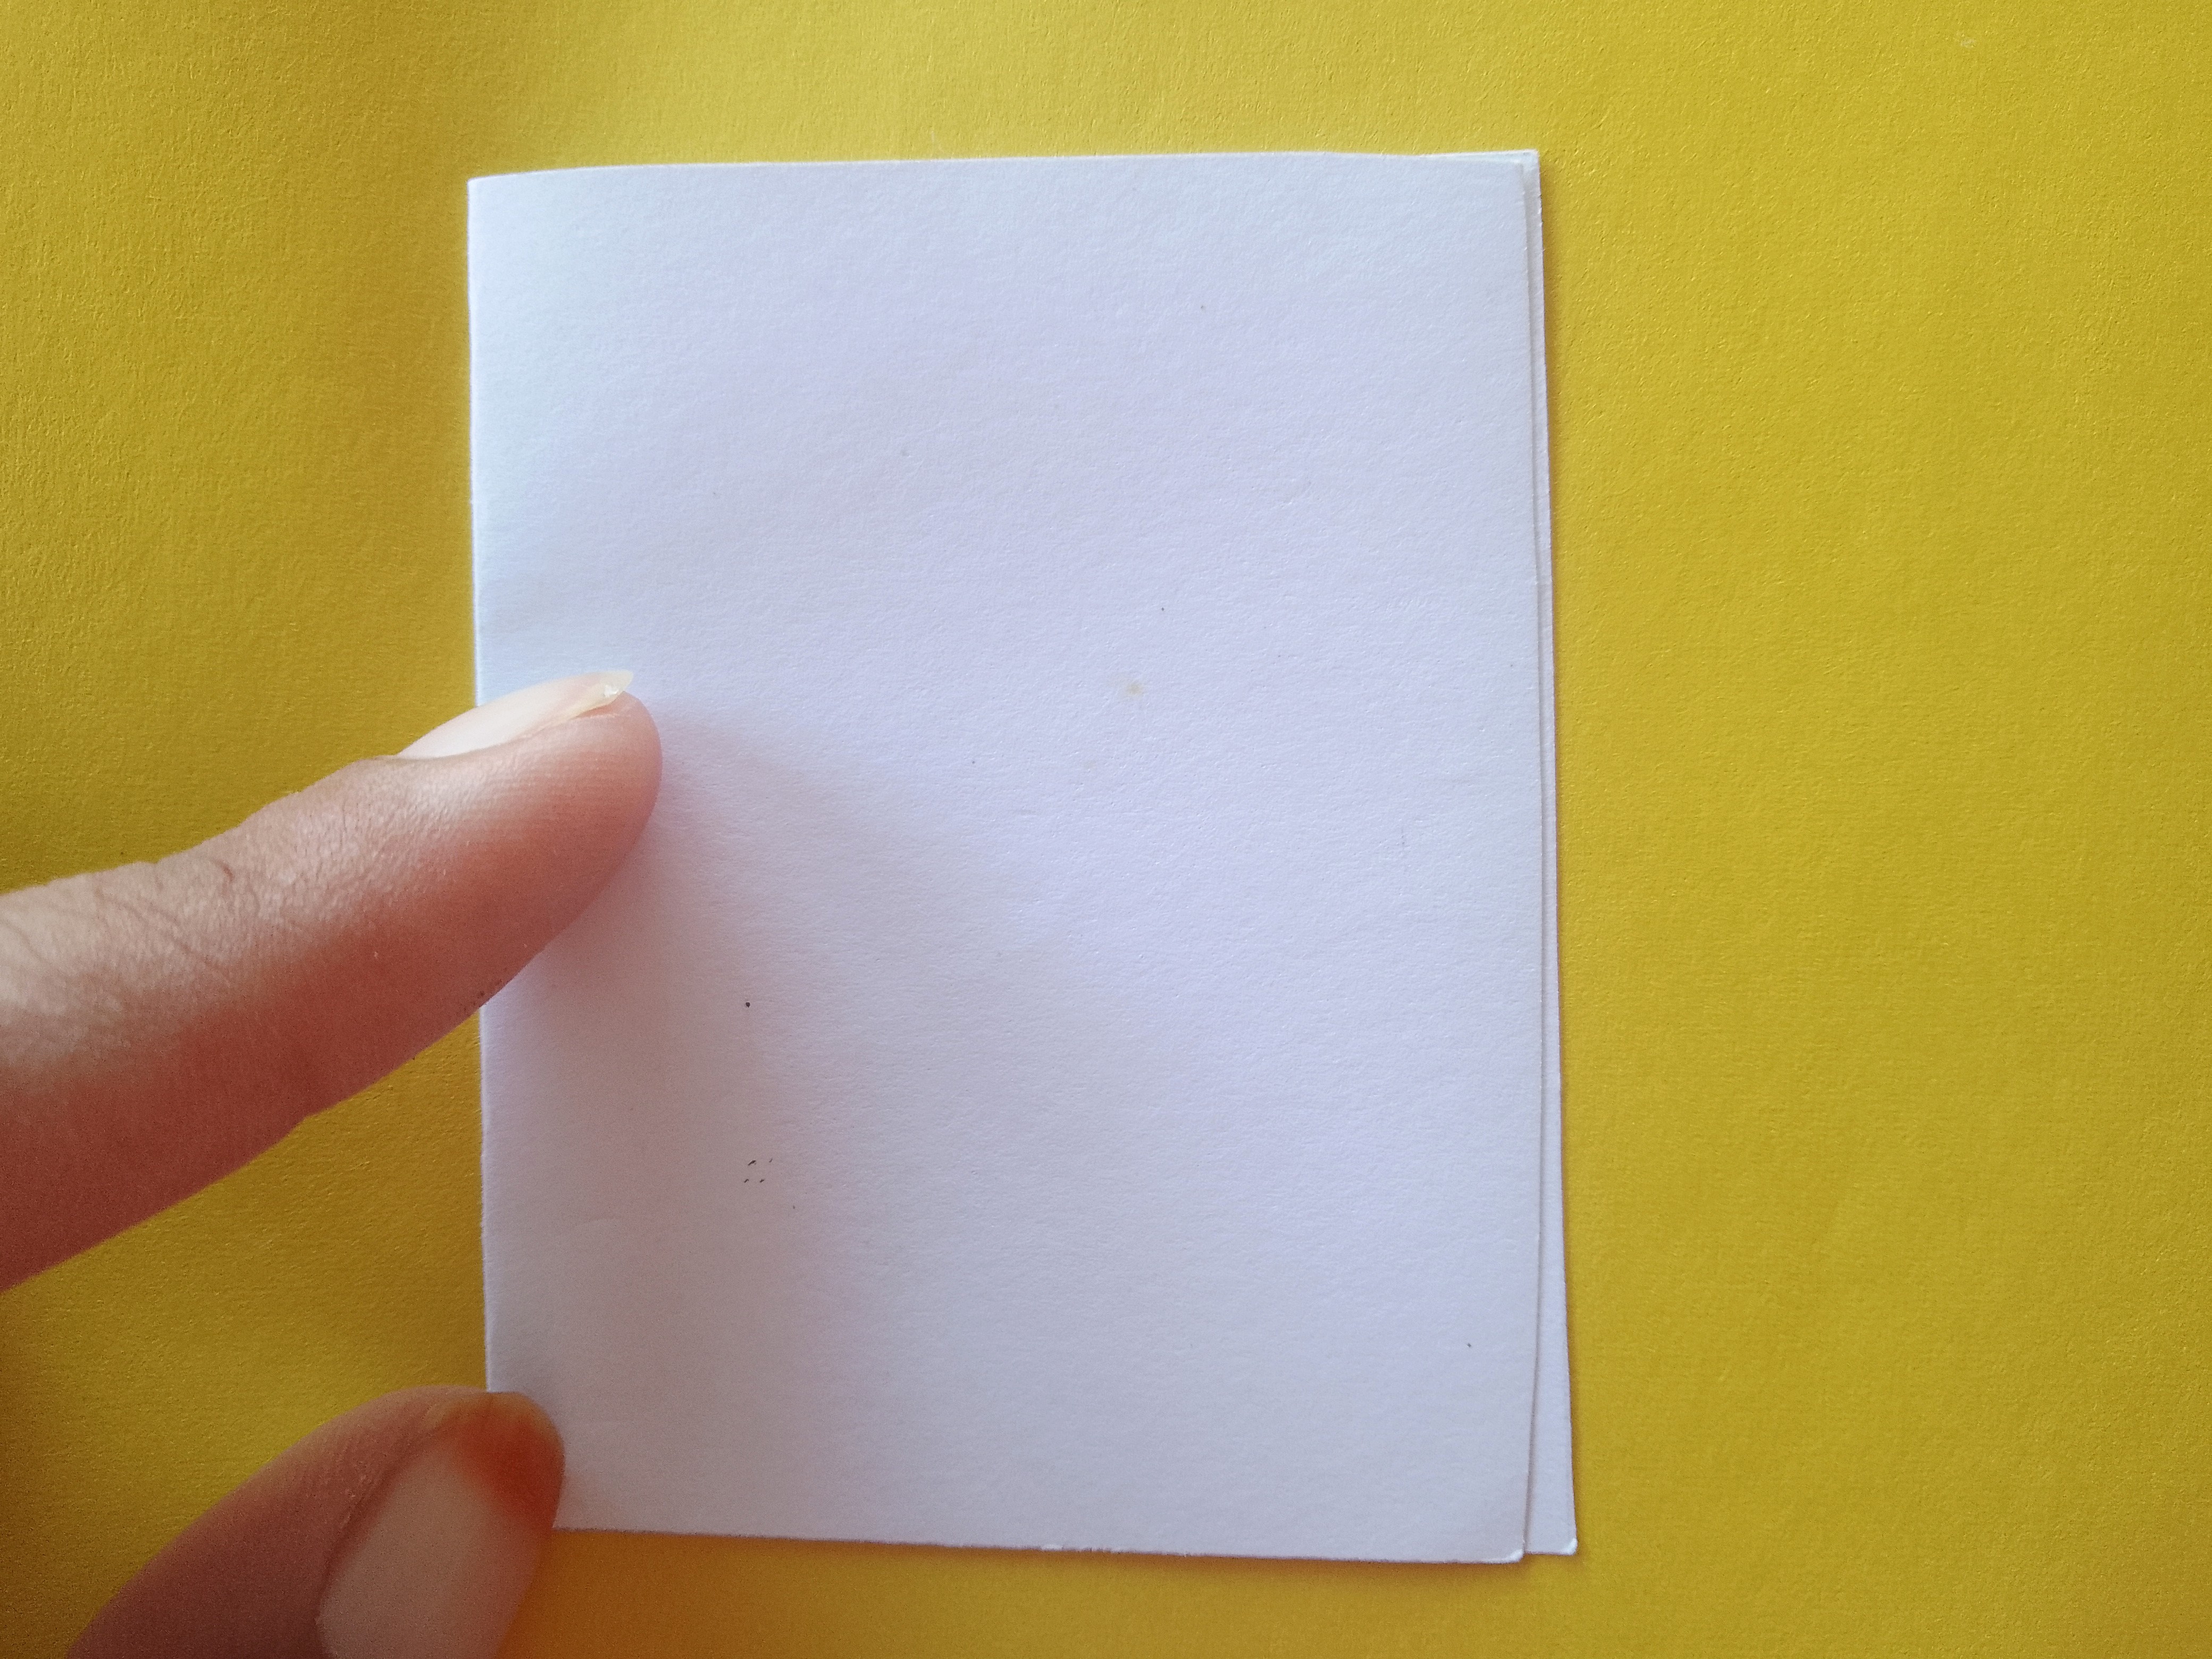
Now fold the rectangular chart in half to make it into a proper card shape as shown in the photo.
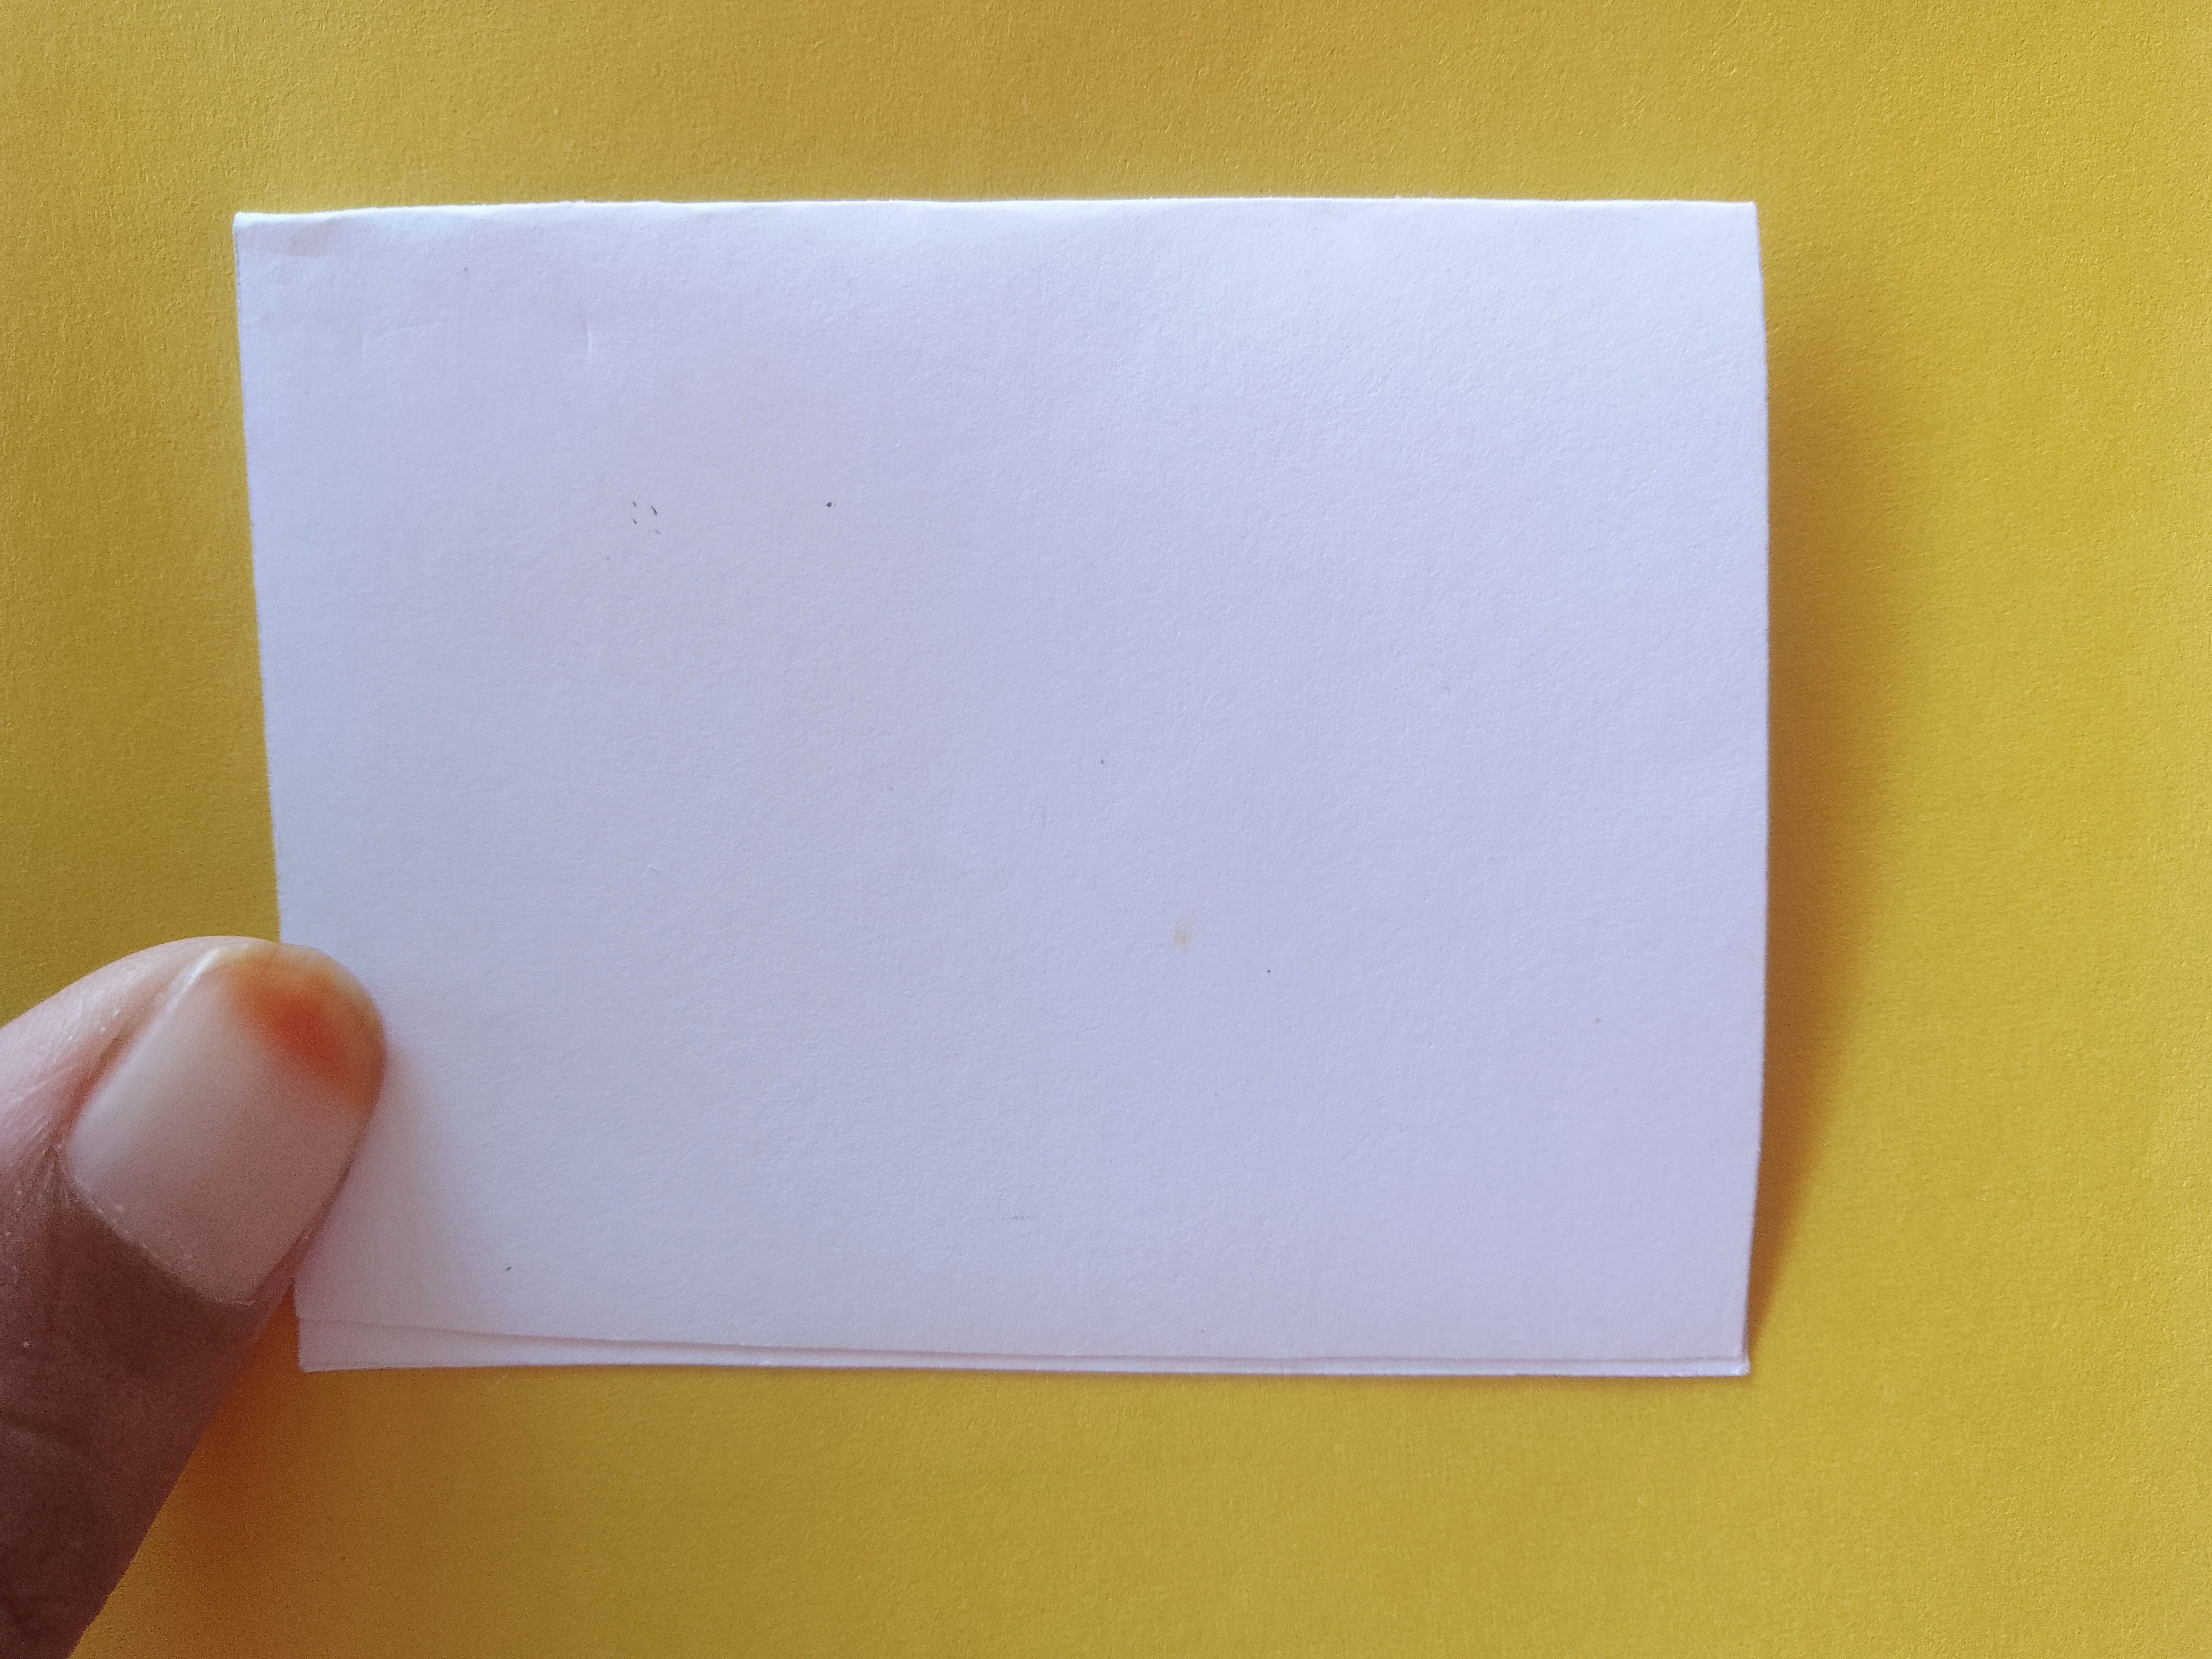
Turn the card so that its folded side is at the top as shown in the photo.
Draw the basic structure of the bunny's face with a lead pencil on it as shown in the photo.
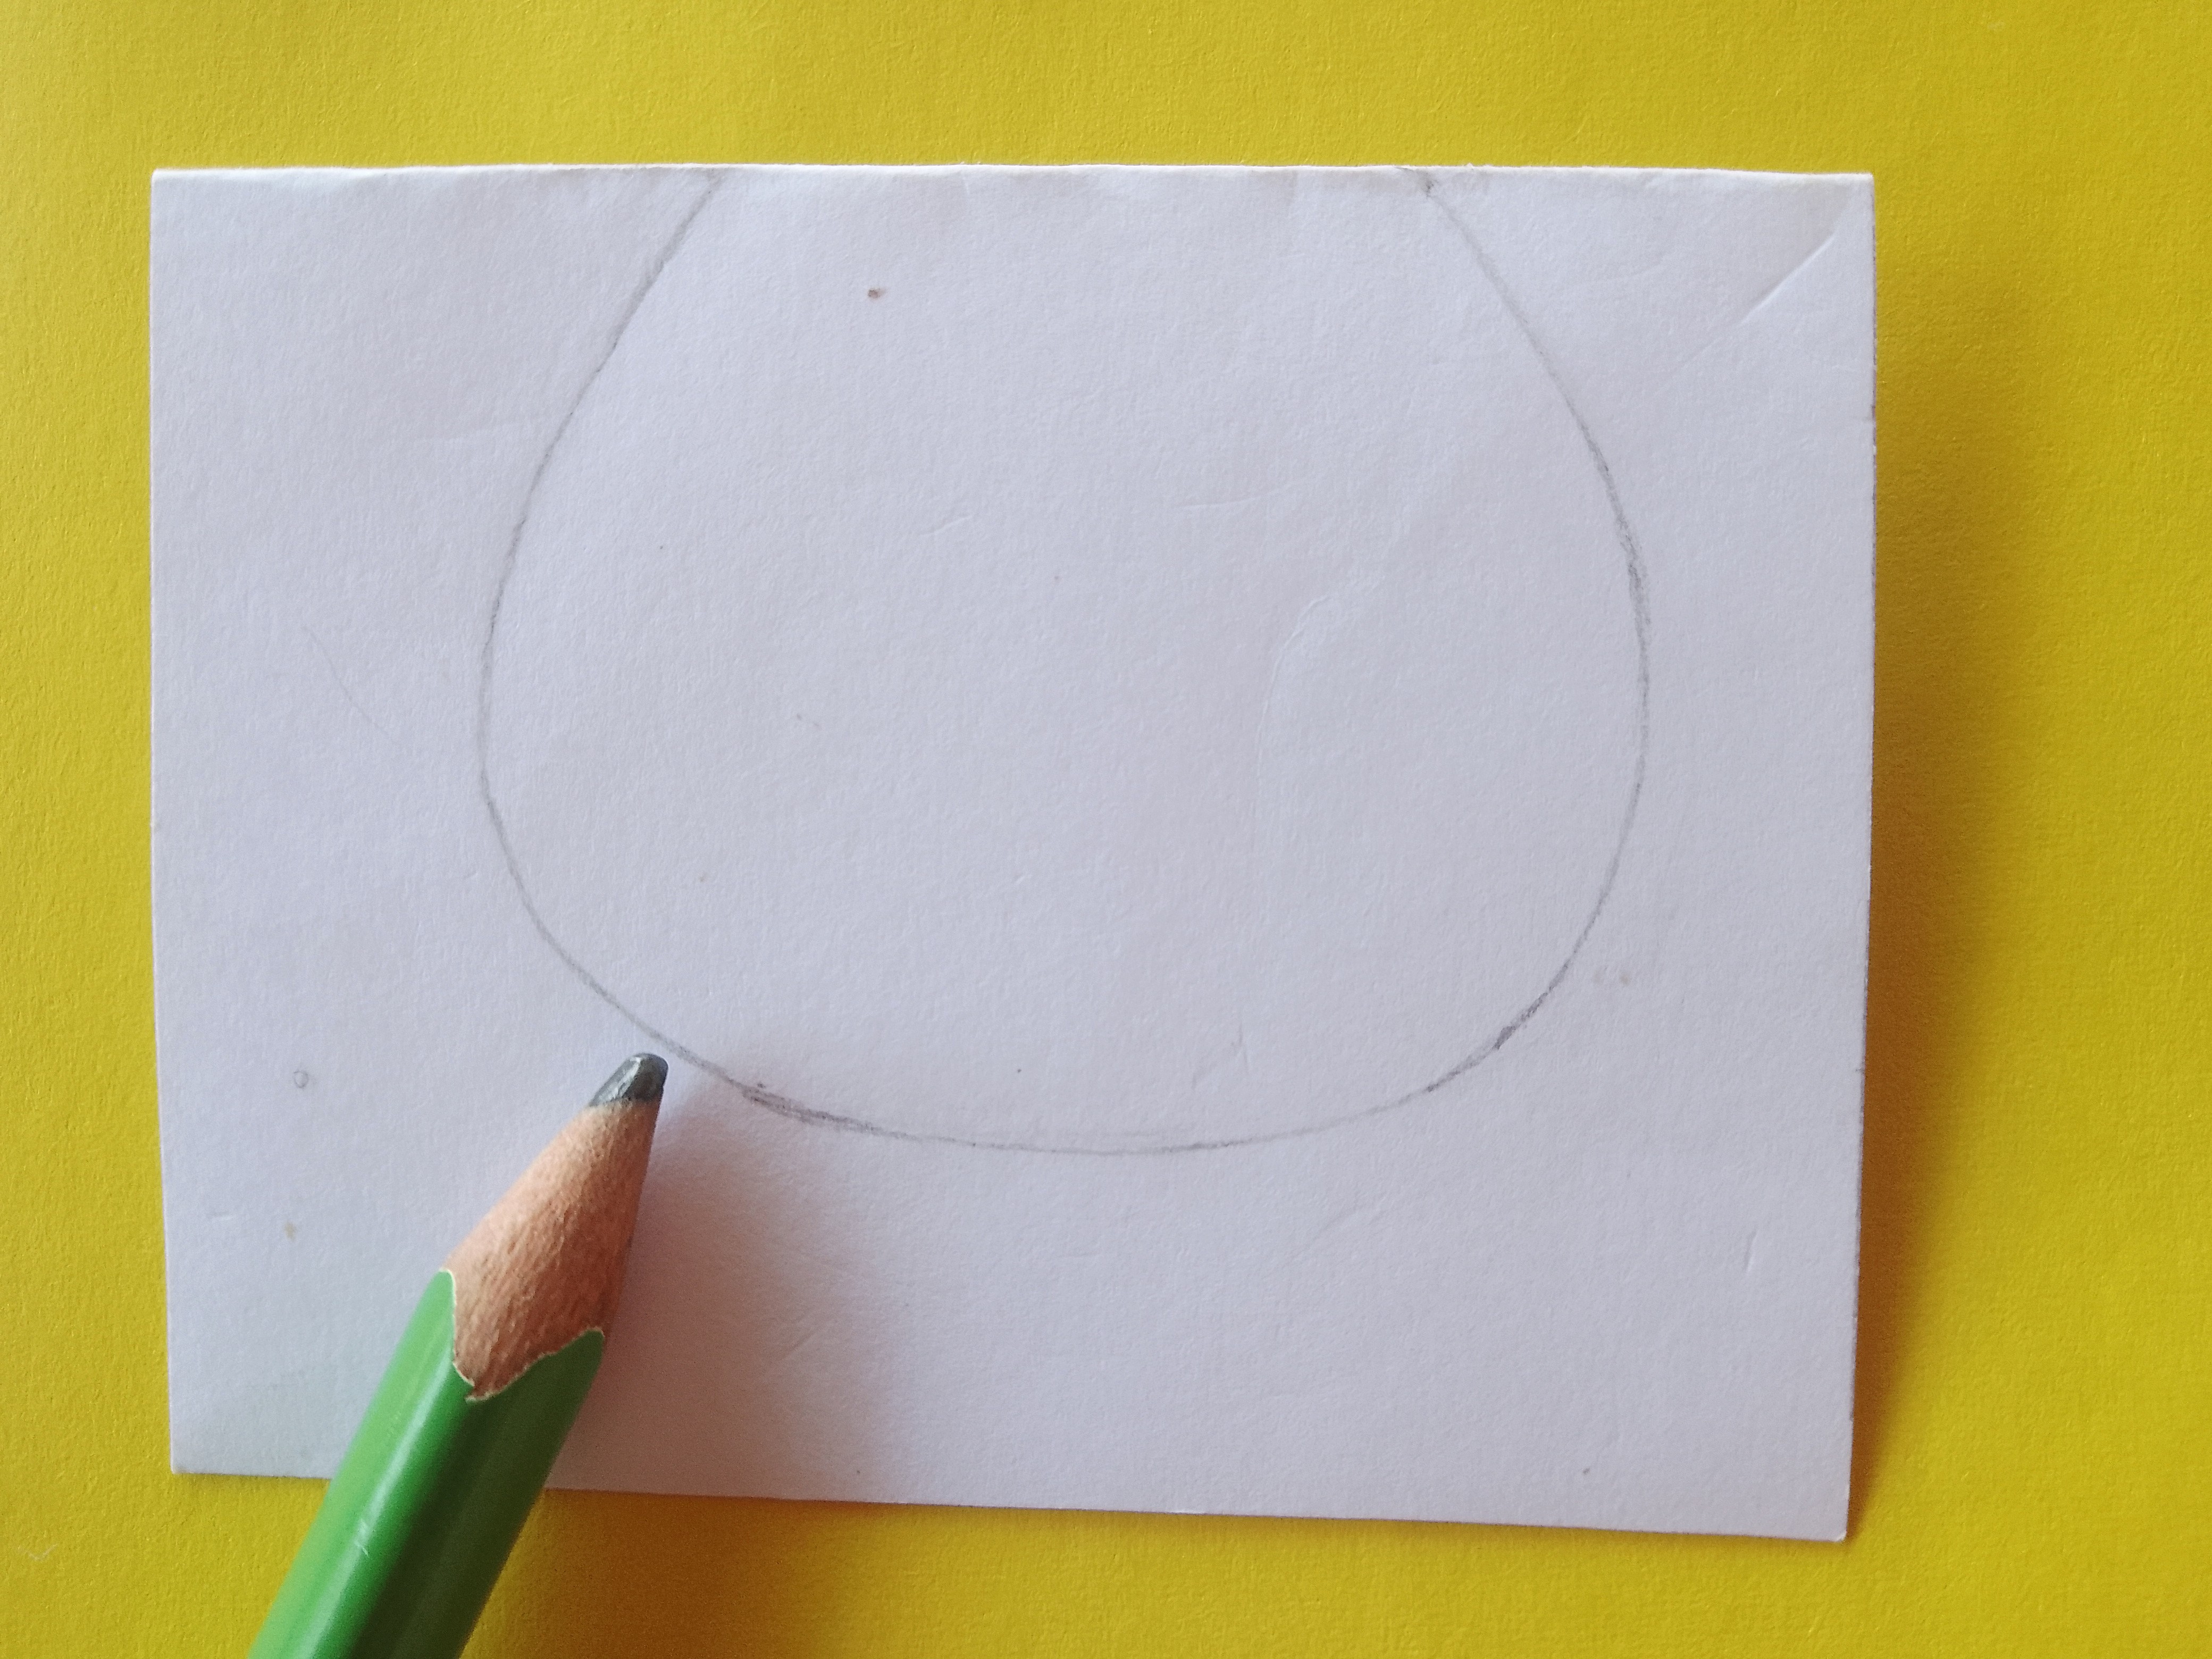
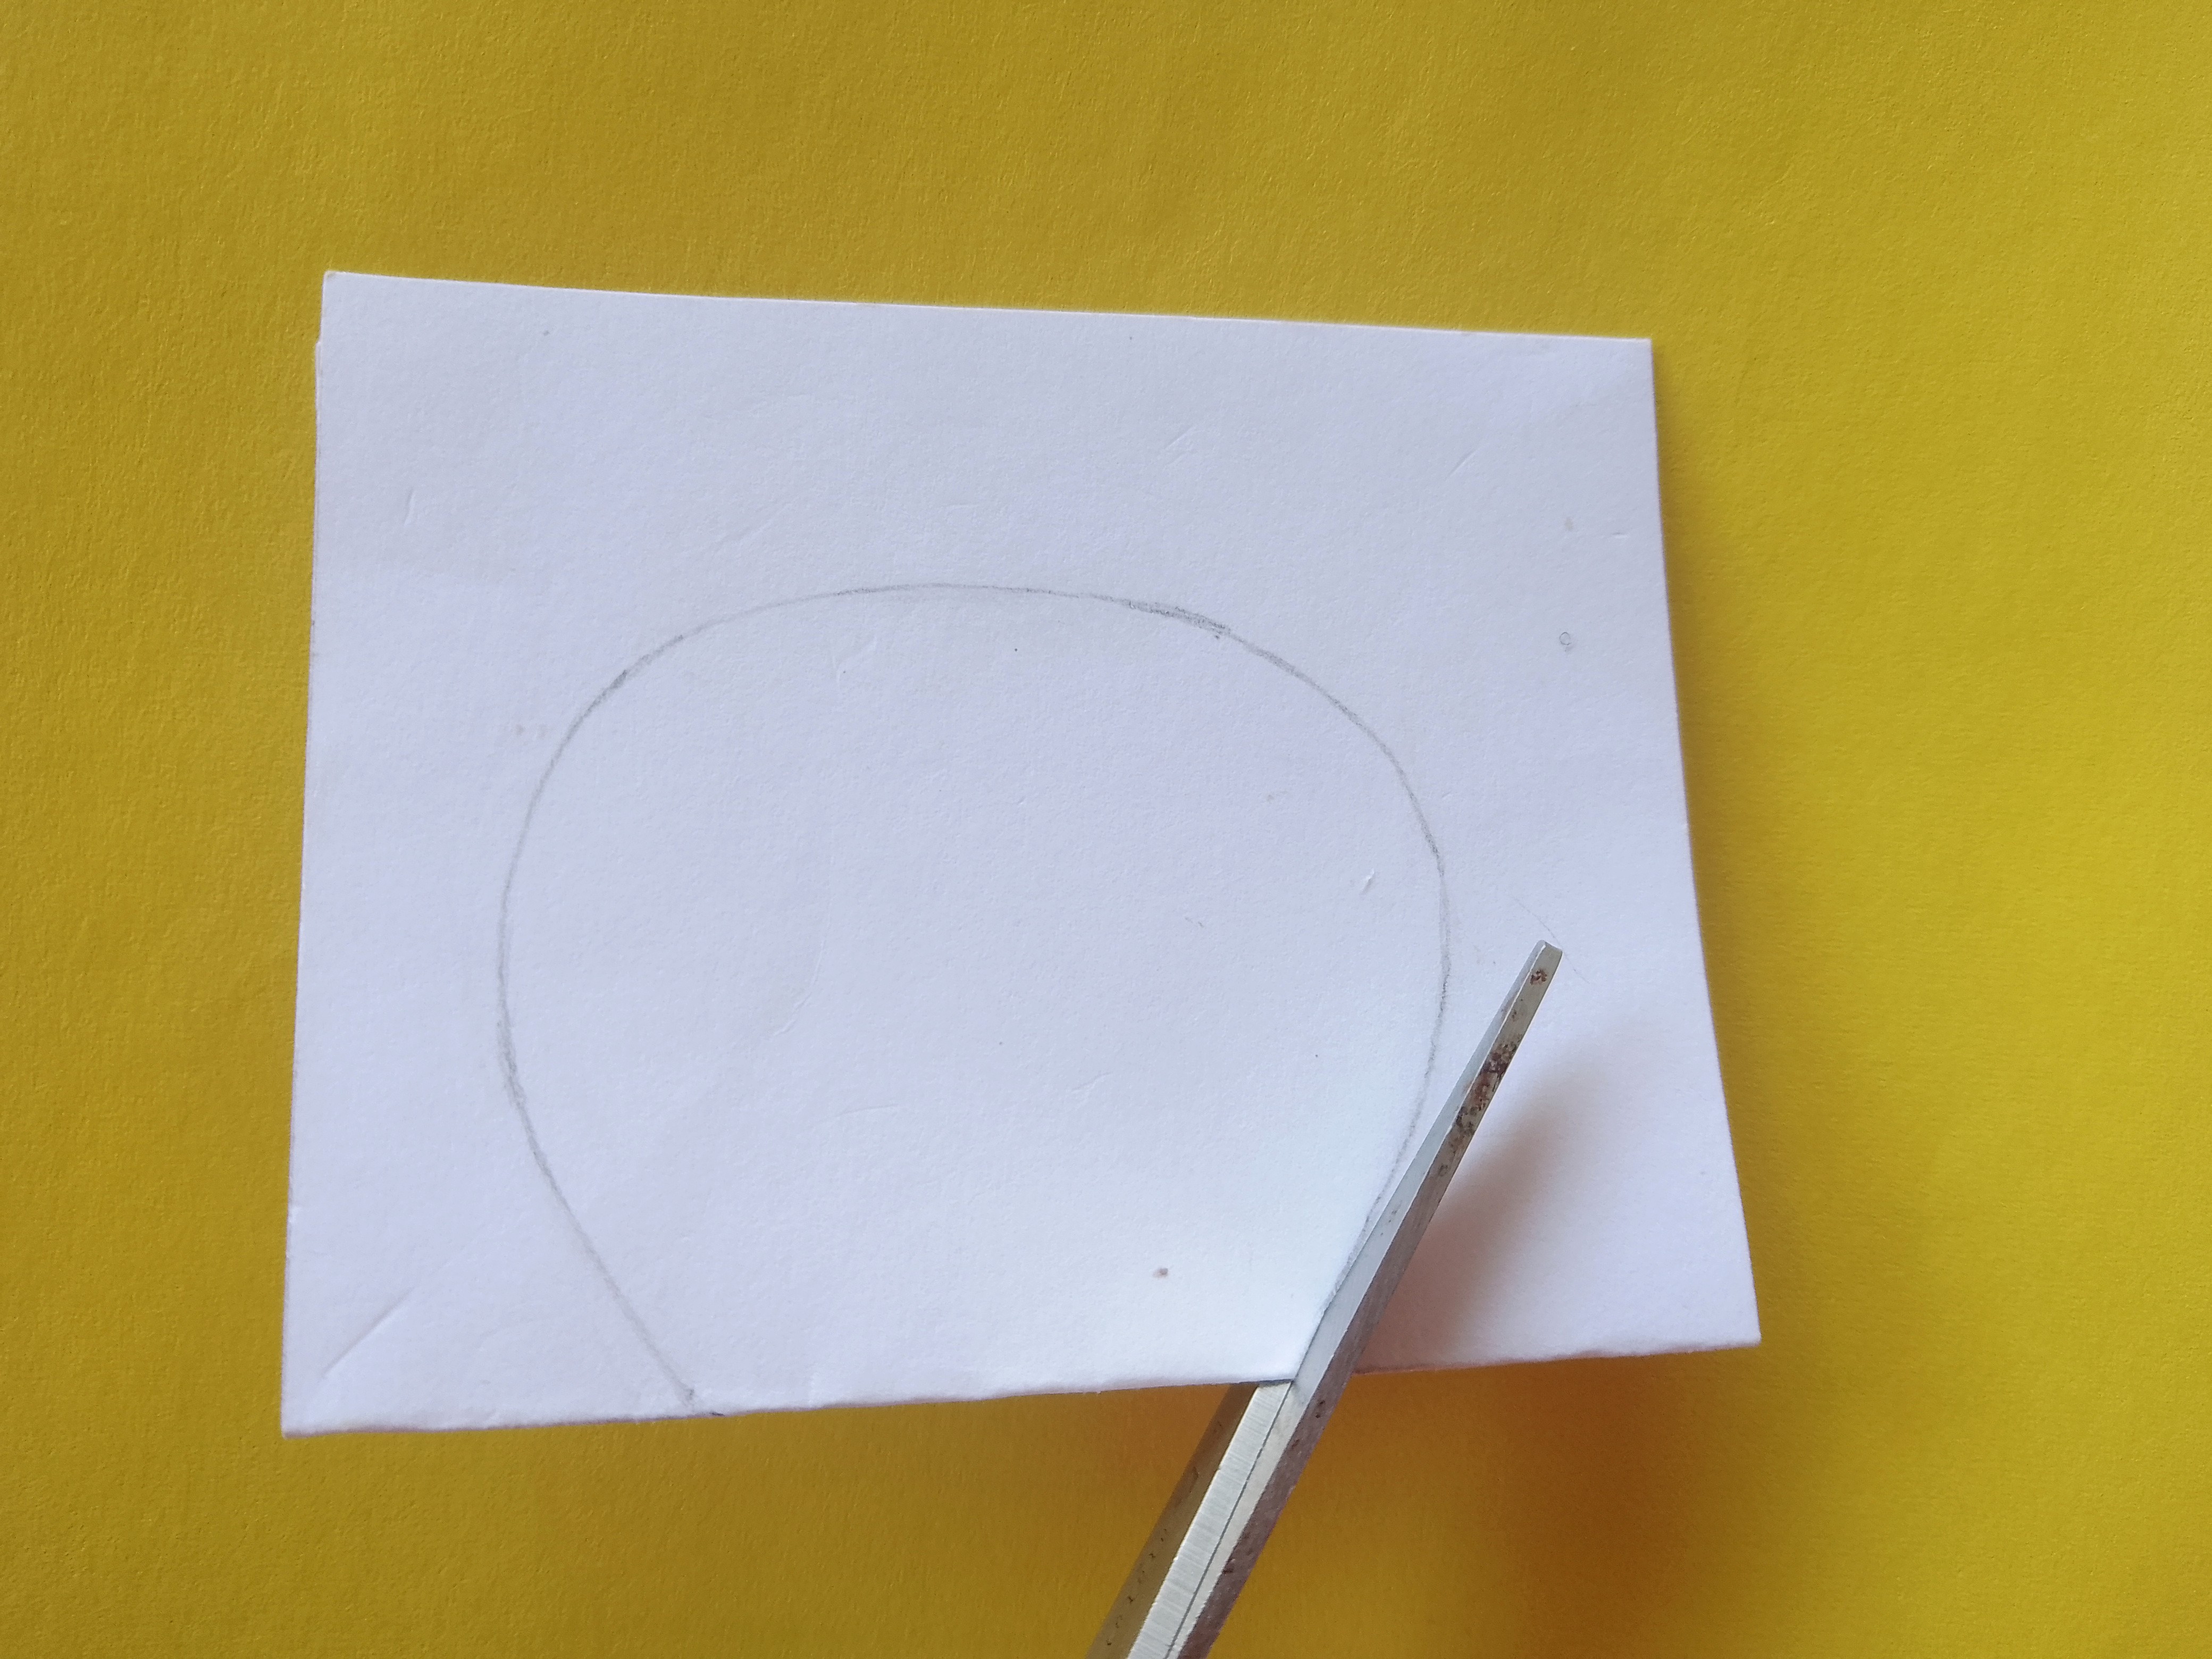
Now with the help of scissor carefully cut it along the drawn line as shown in the photo.
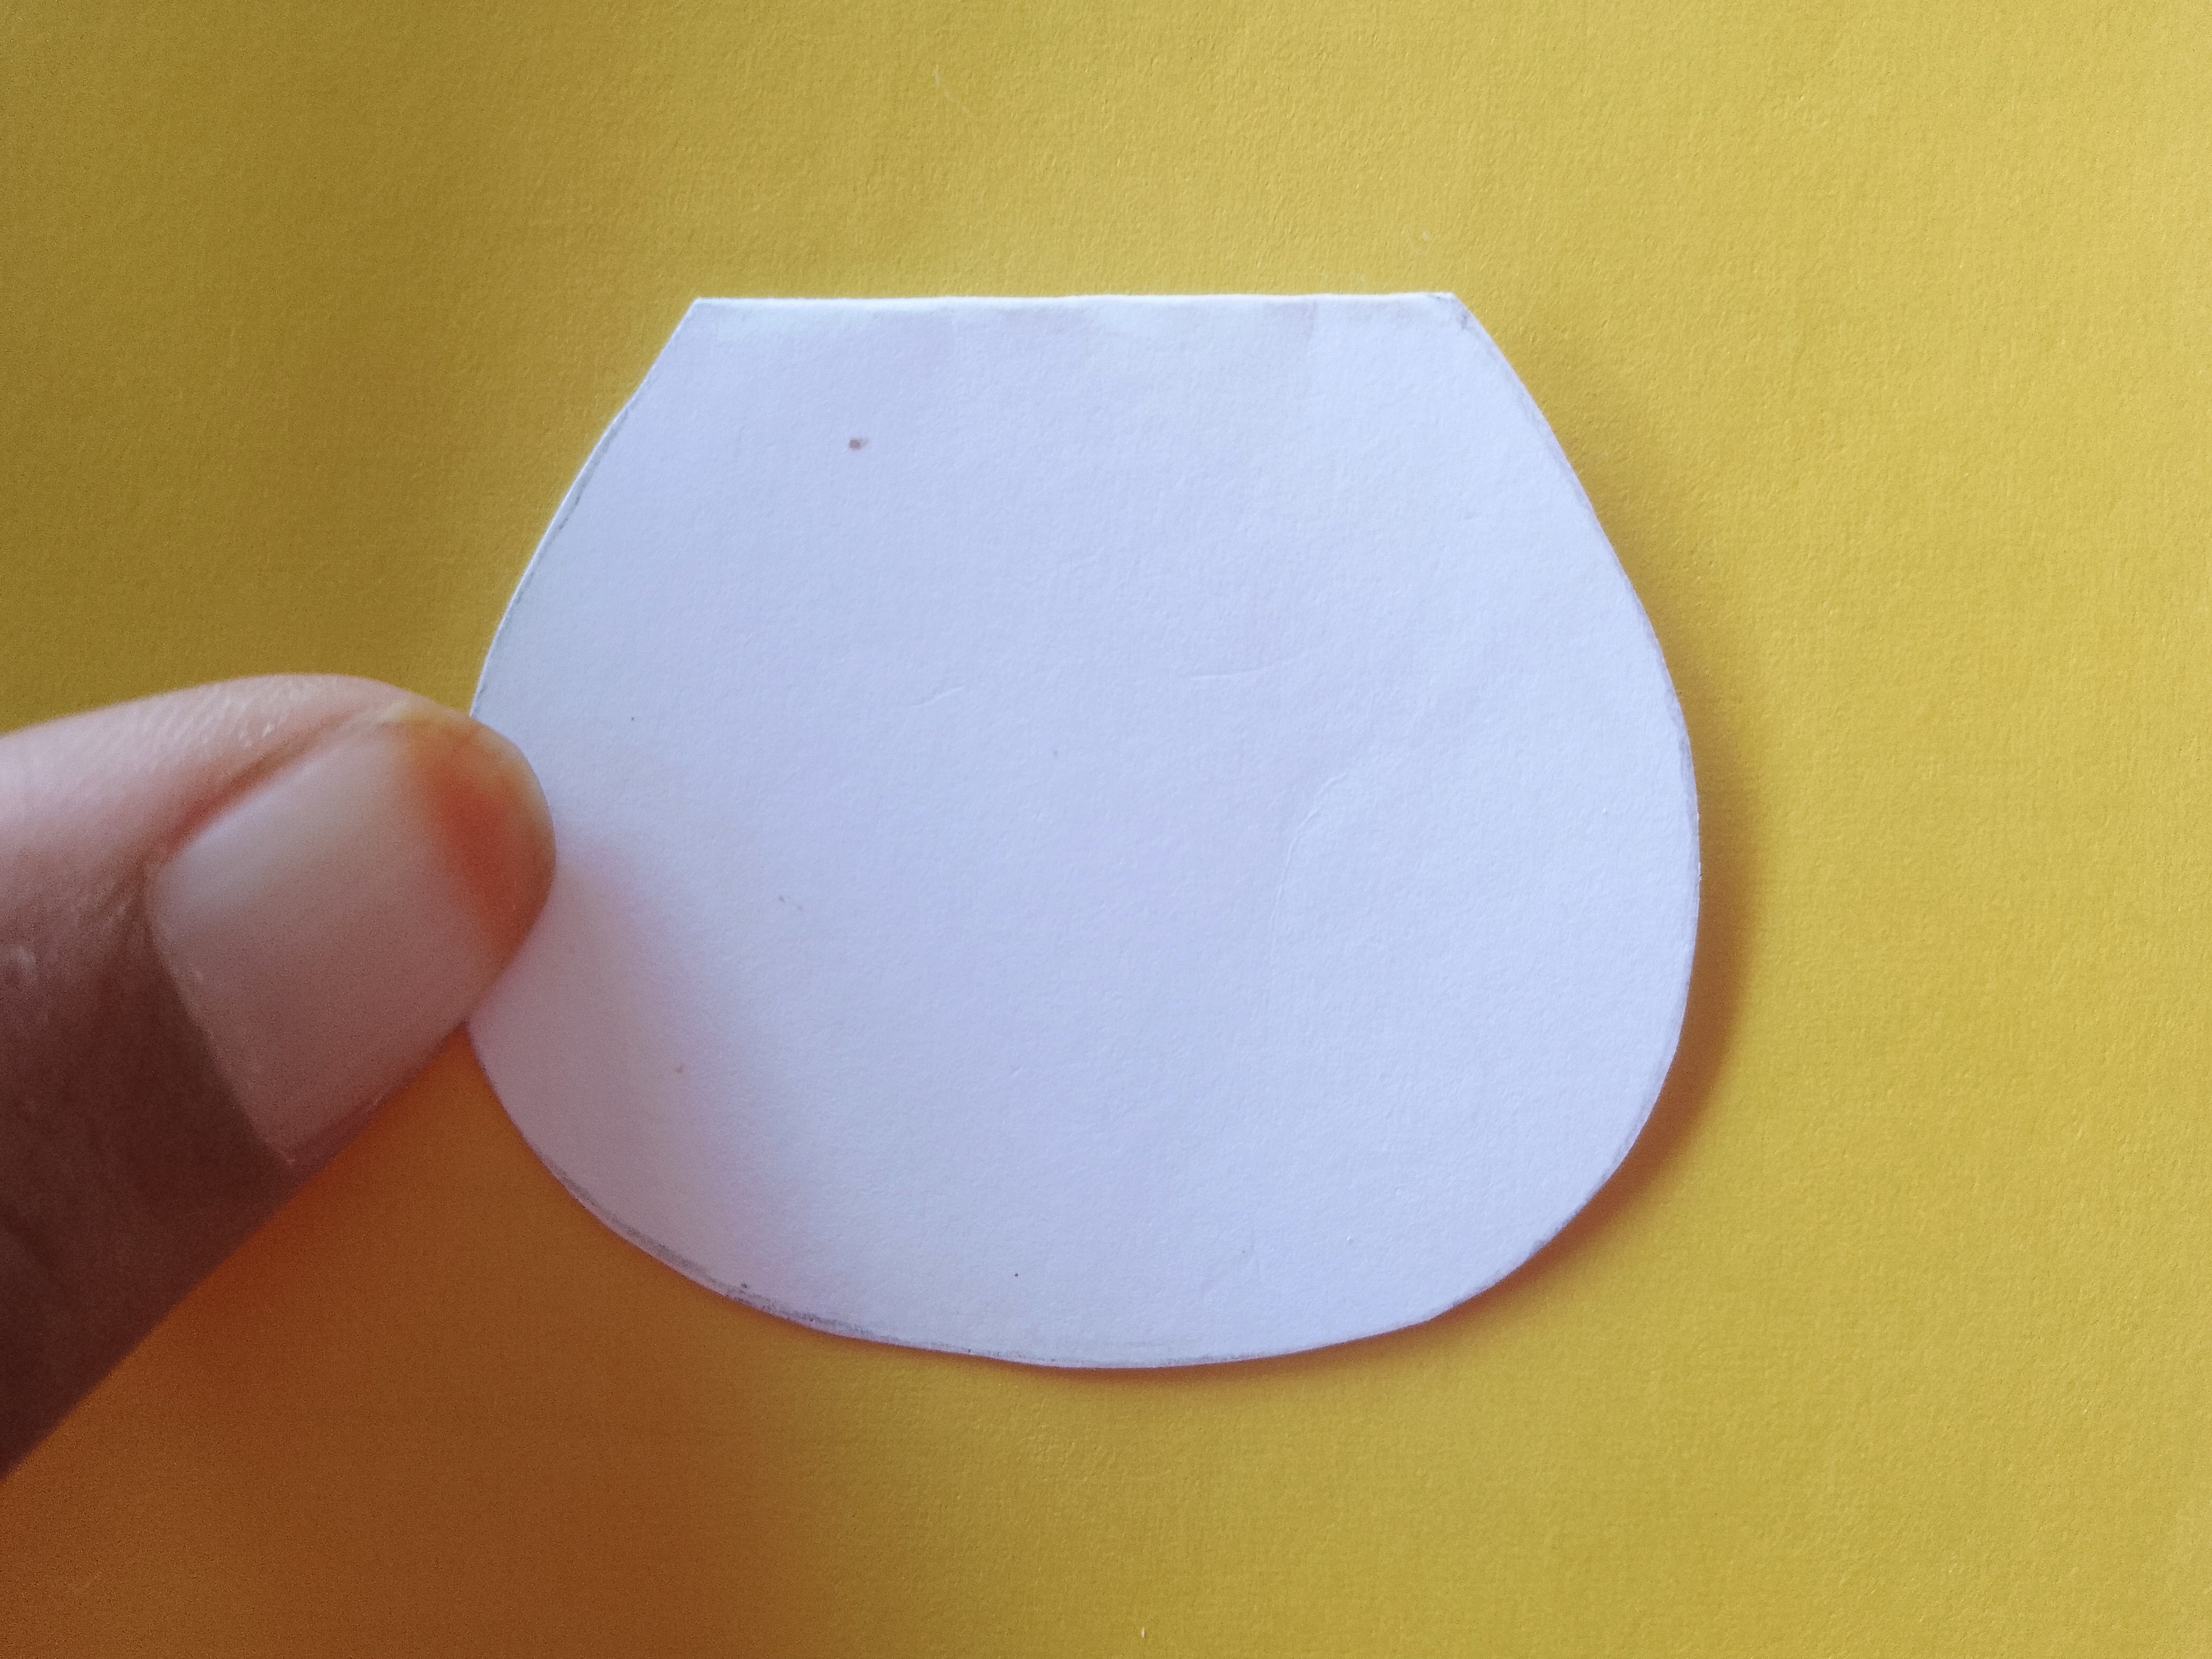
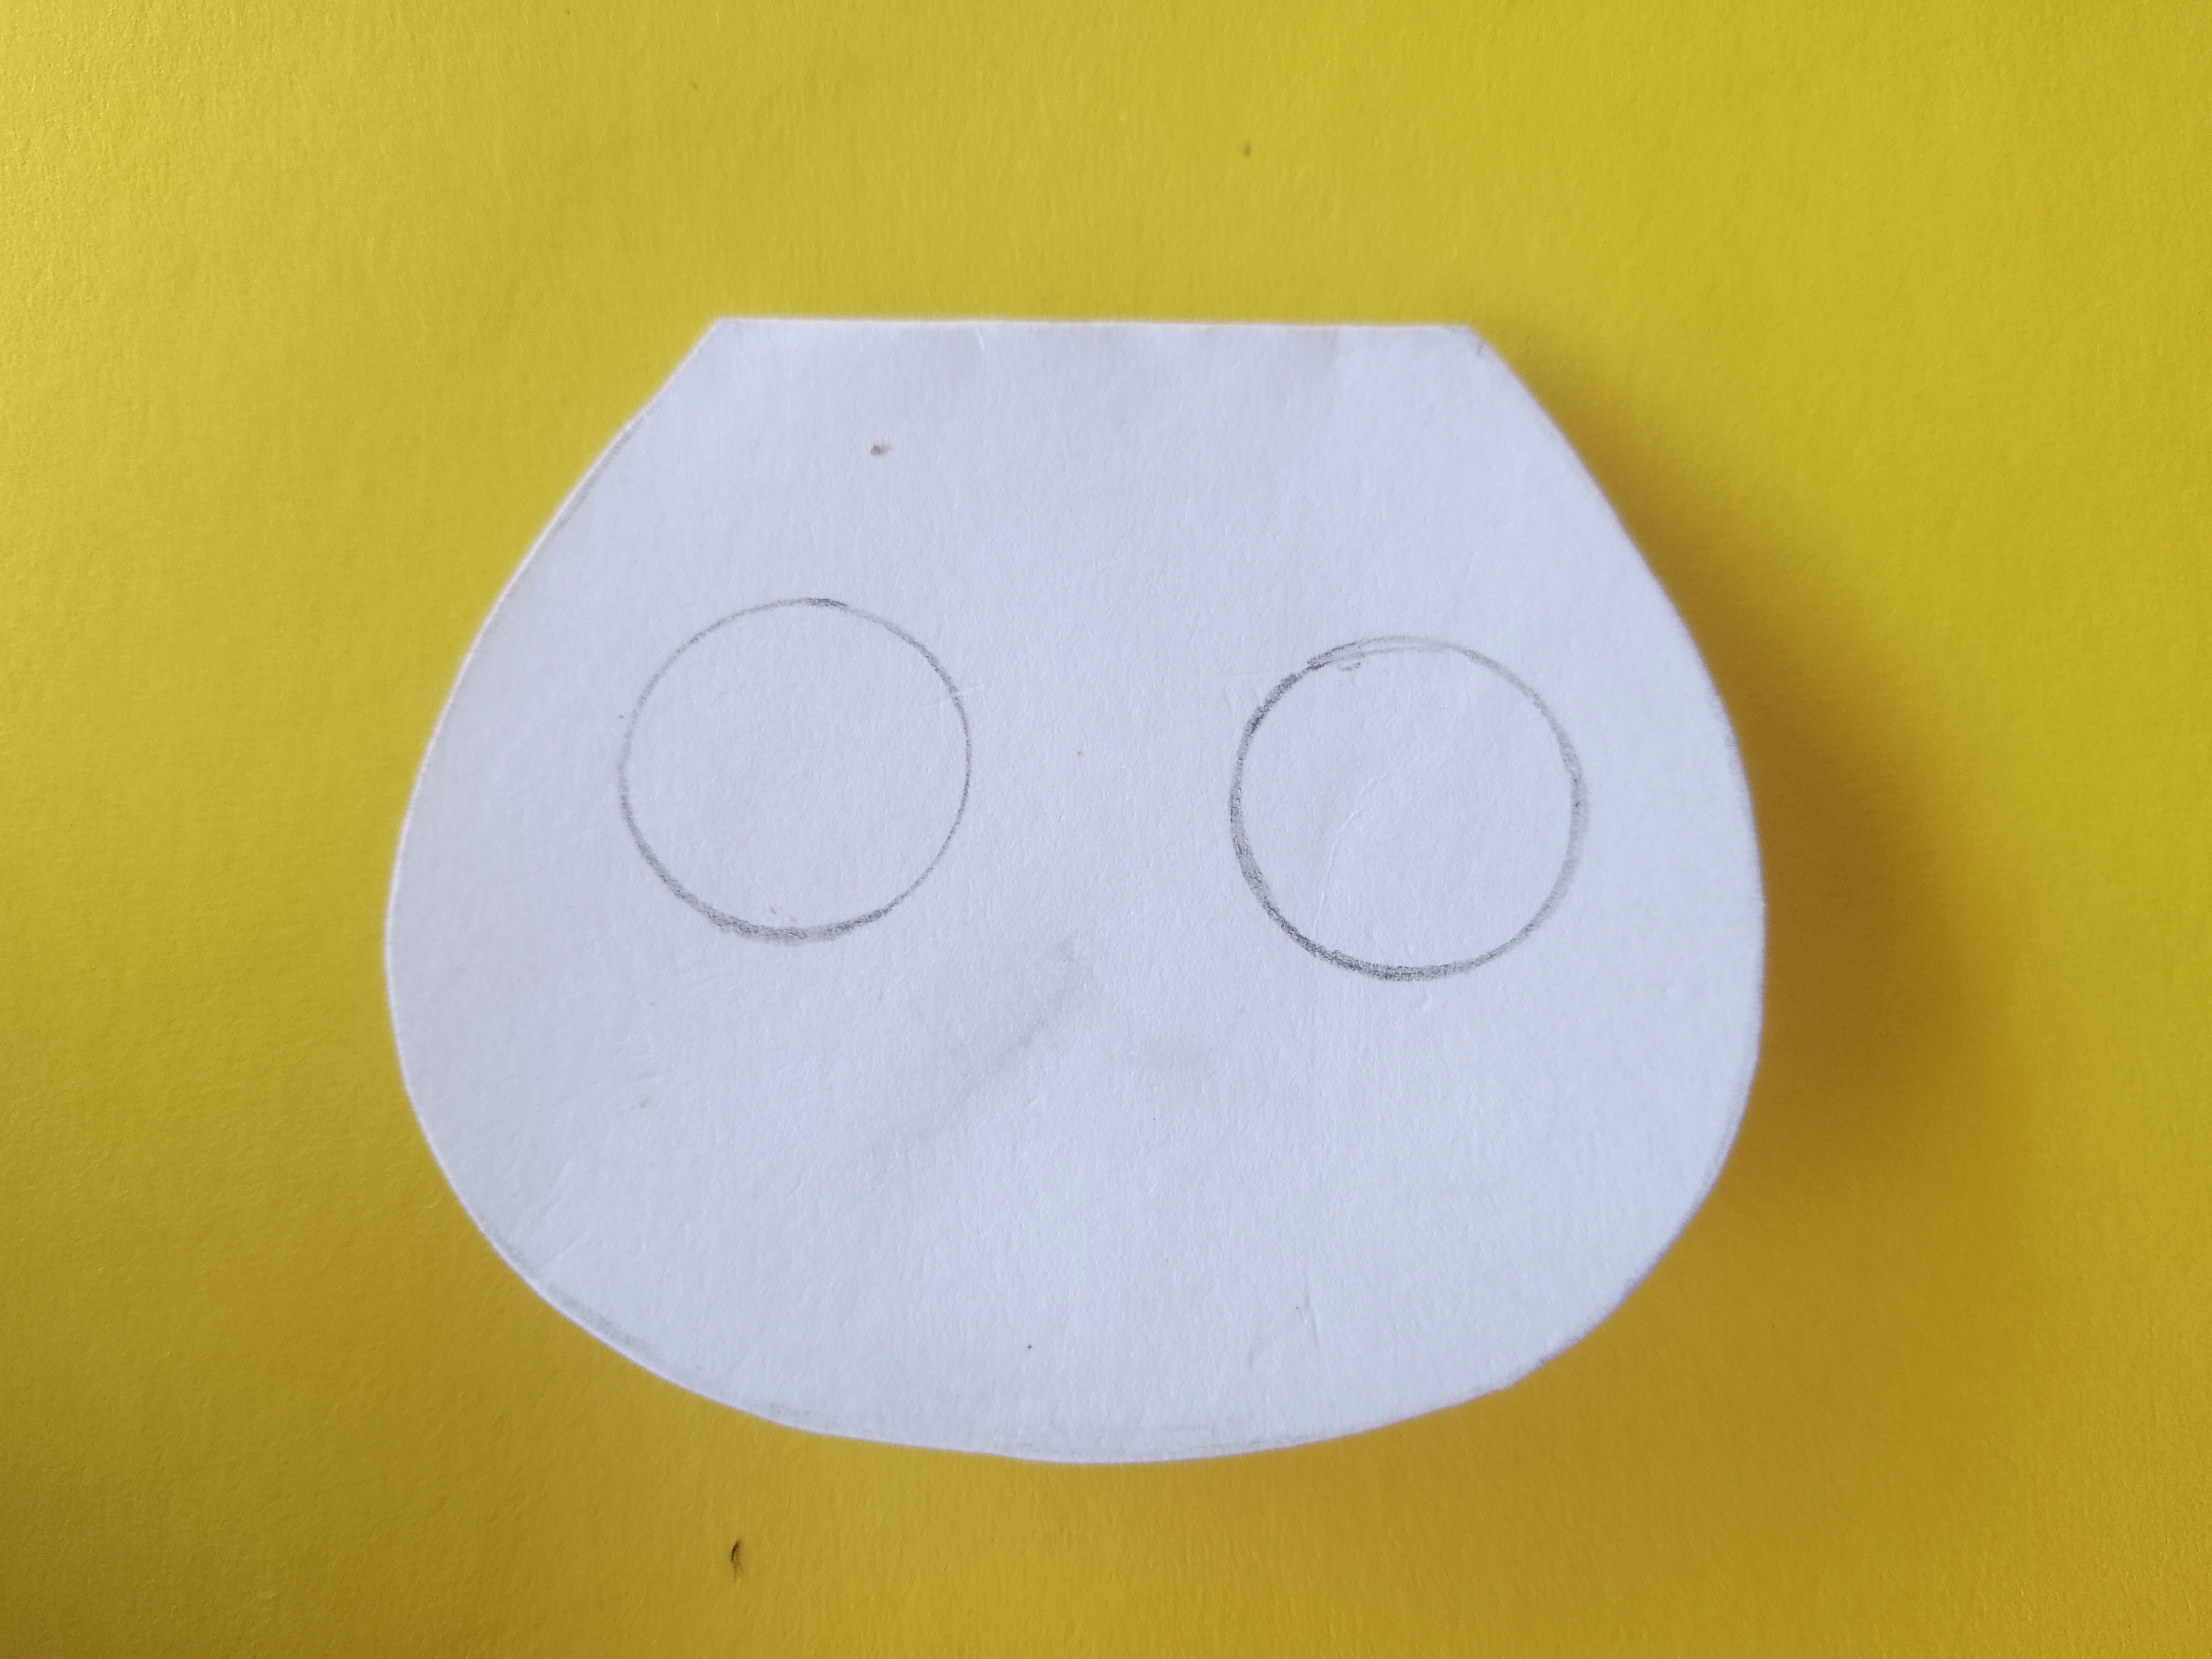
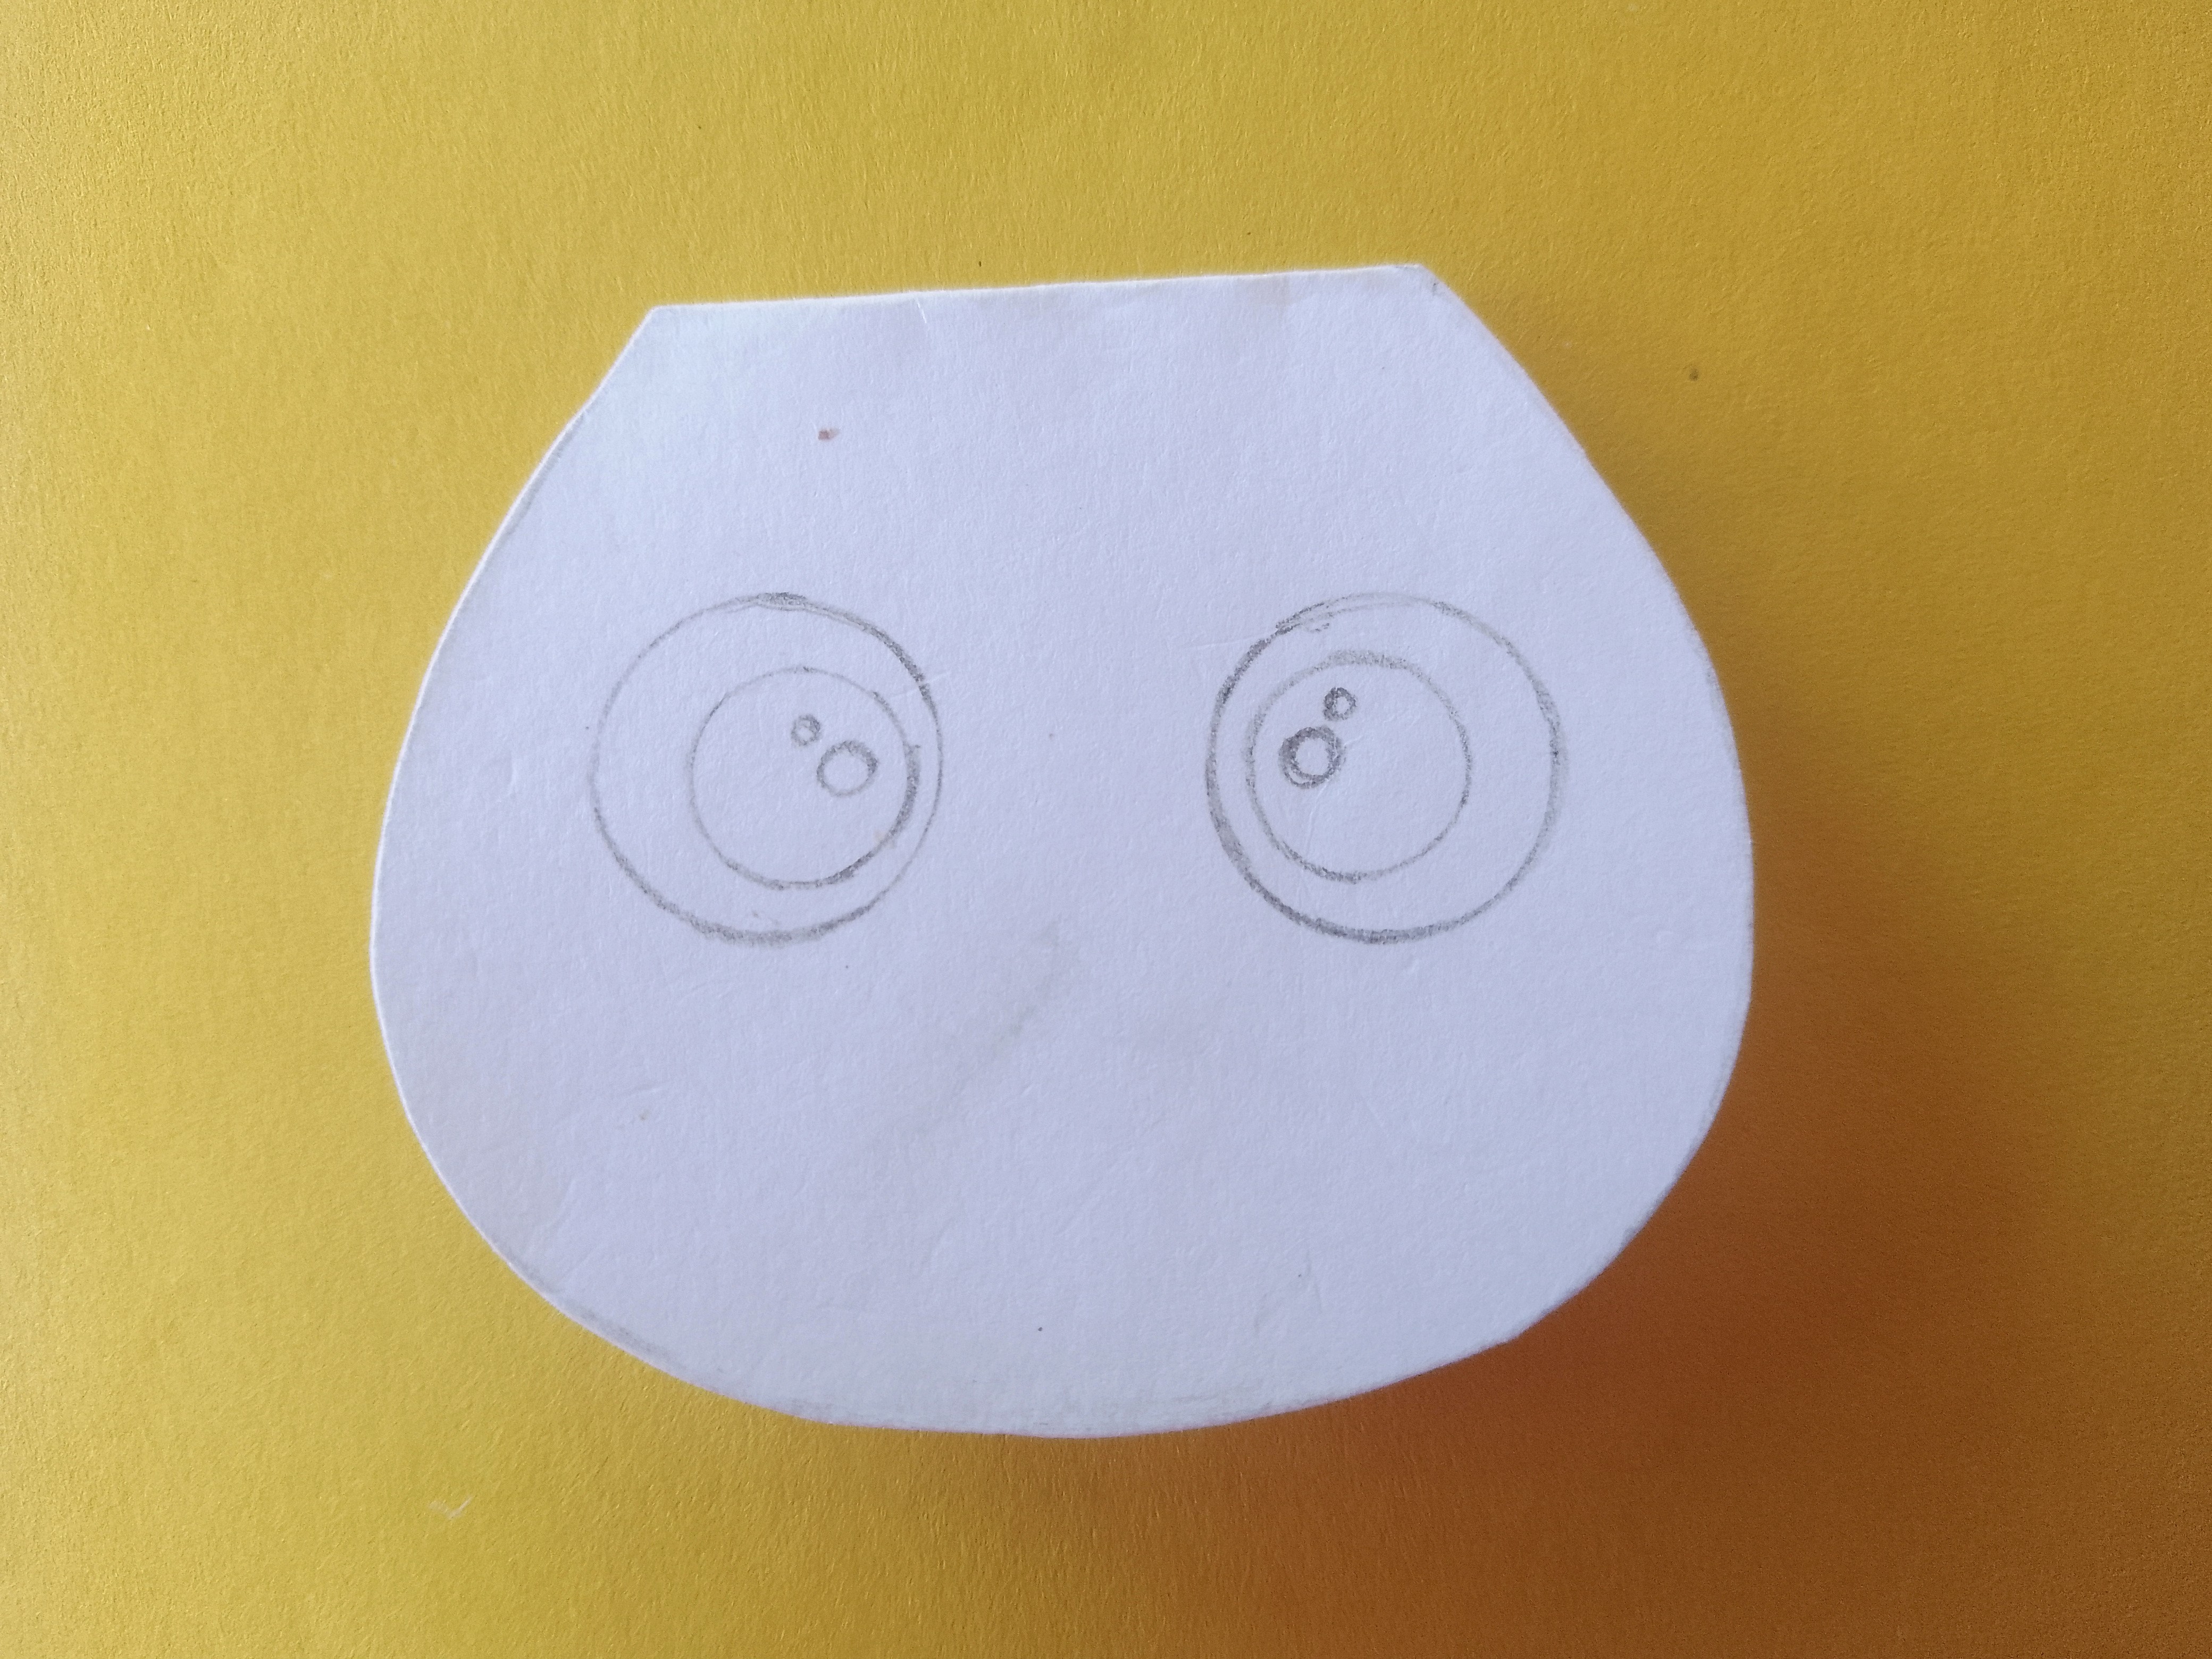
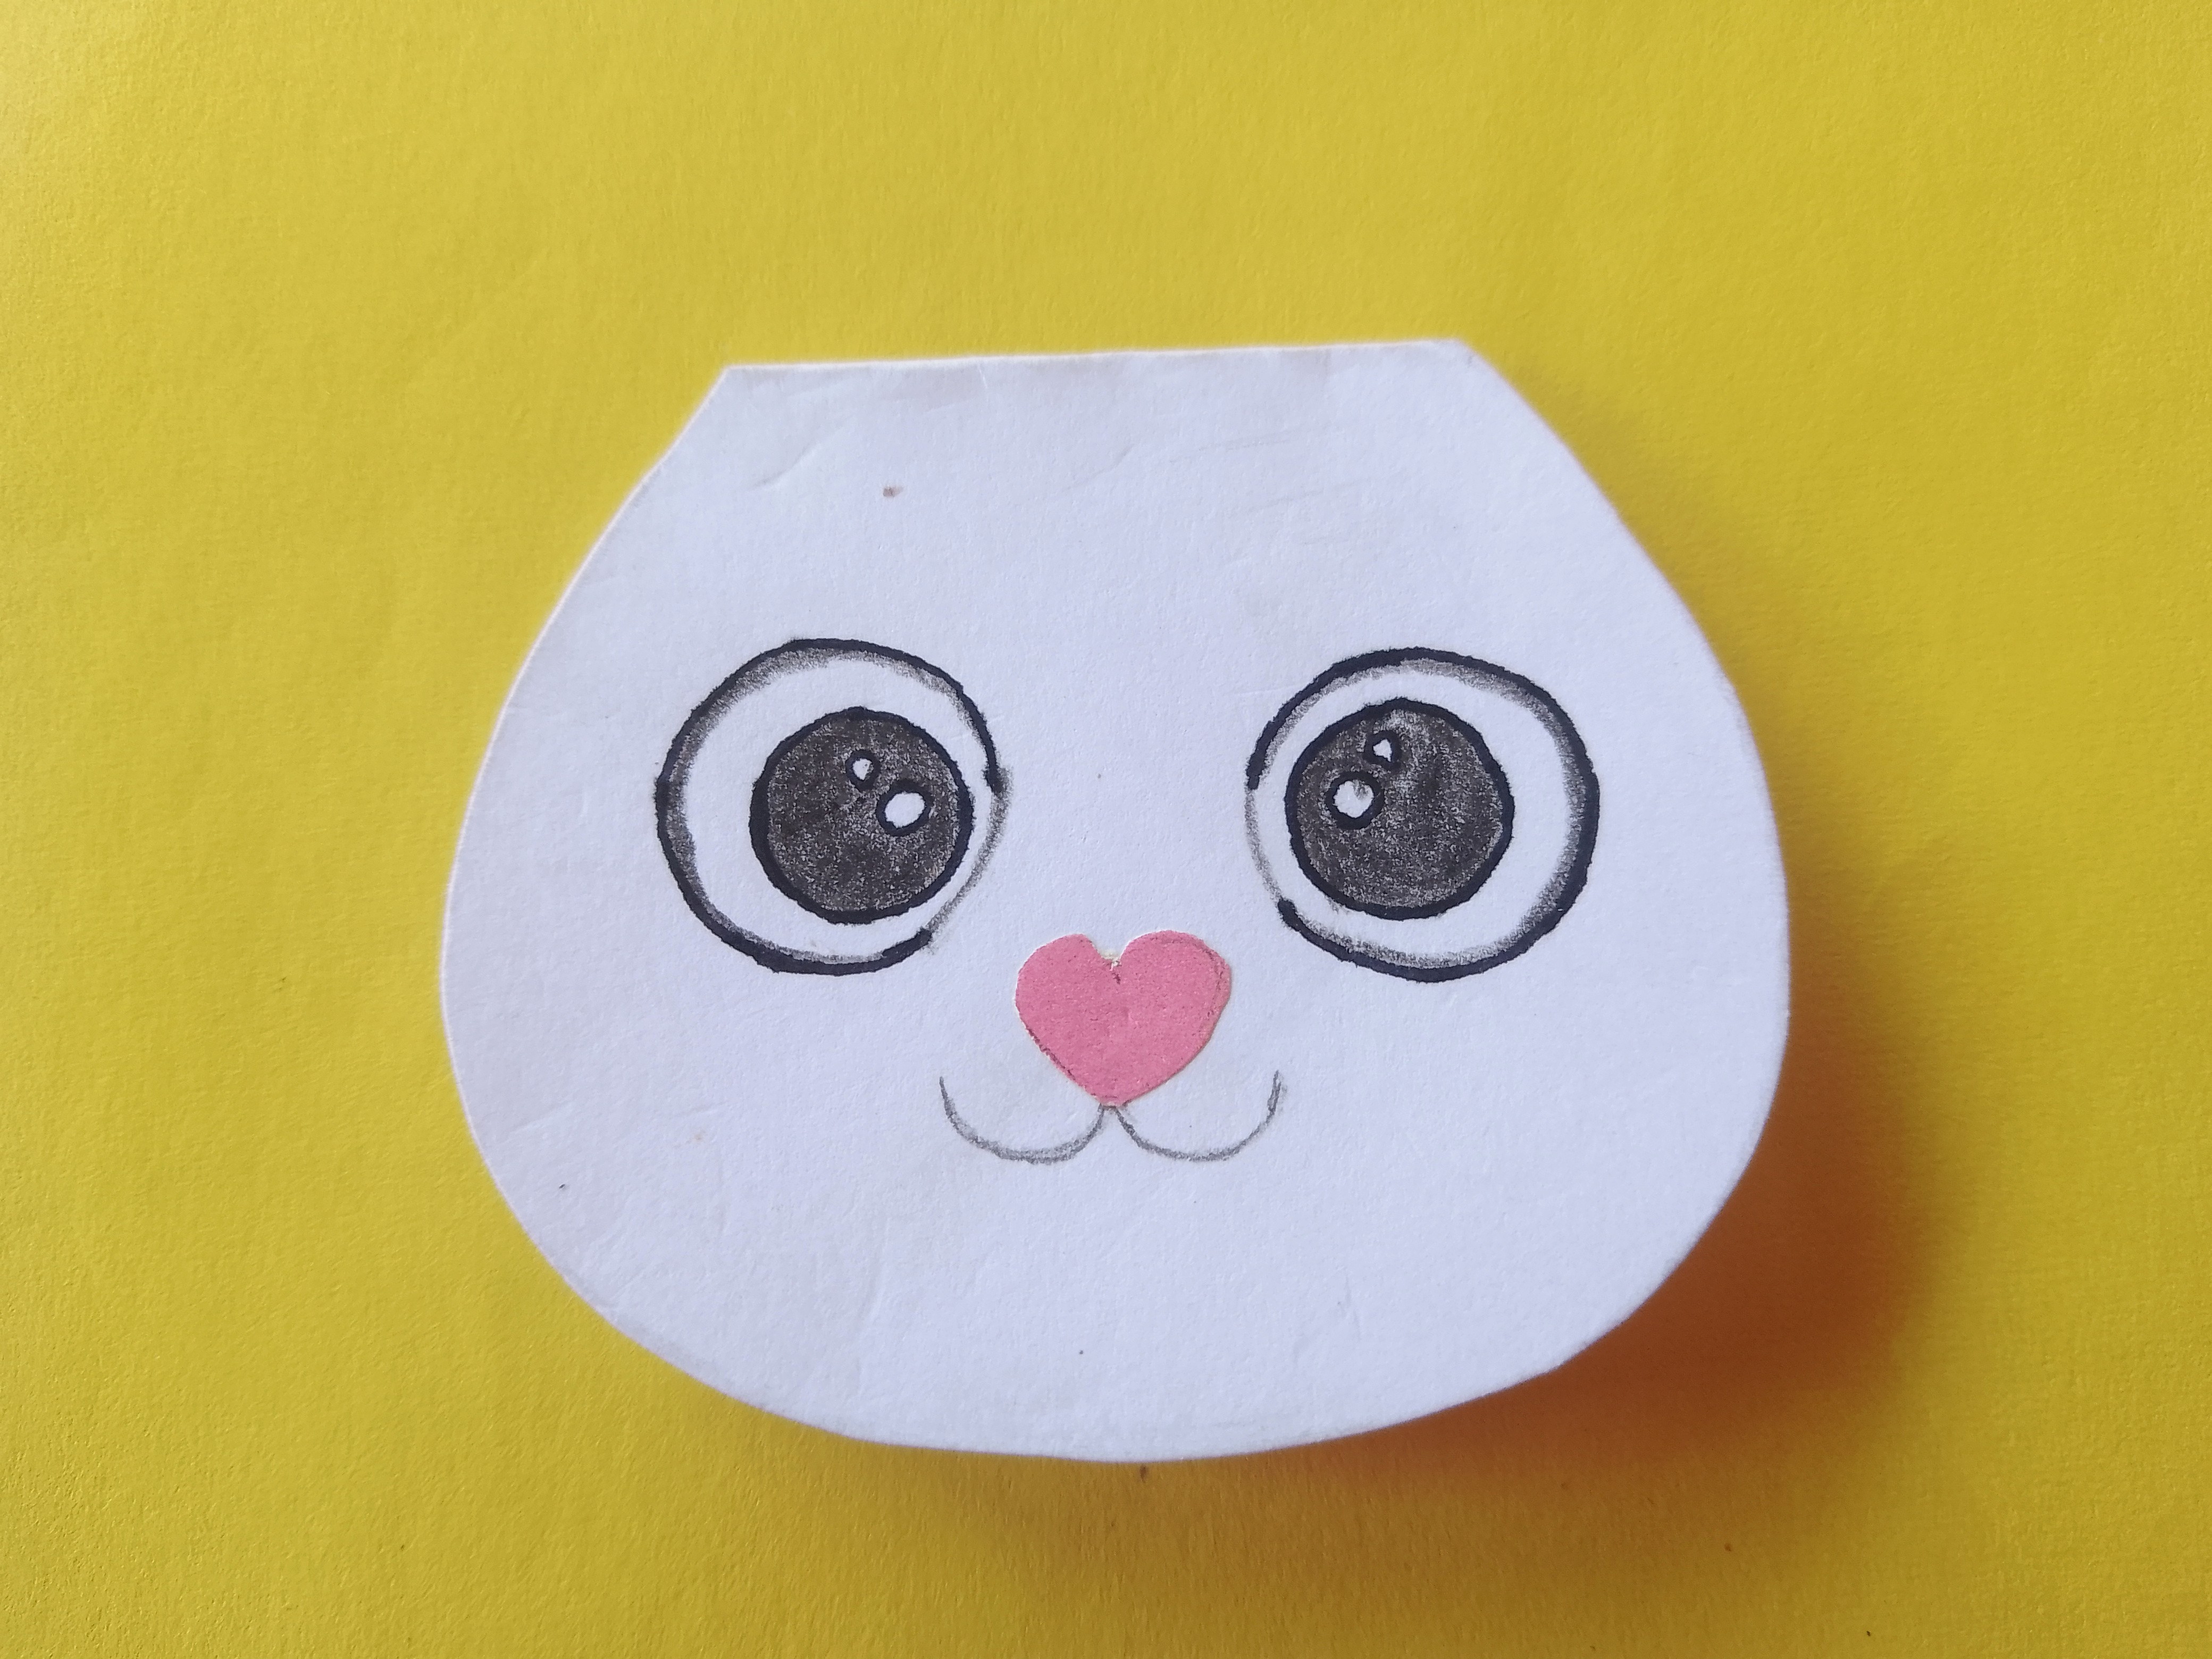
Draw two equal circles on it with some space between them to make the basic structure of the bunny's eyes and then complete it by making the inner details as shown in the photo.
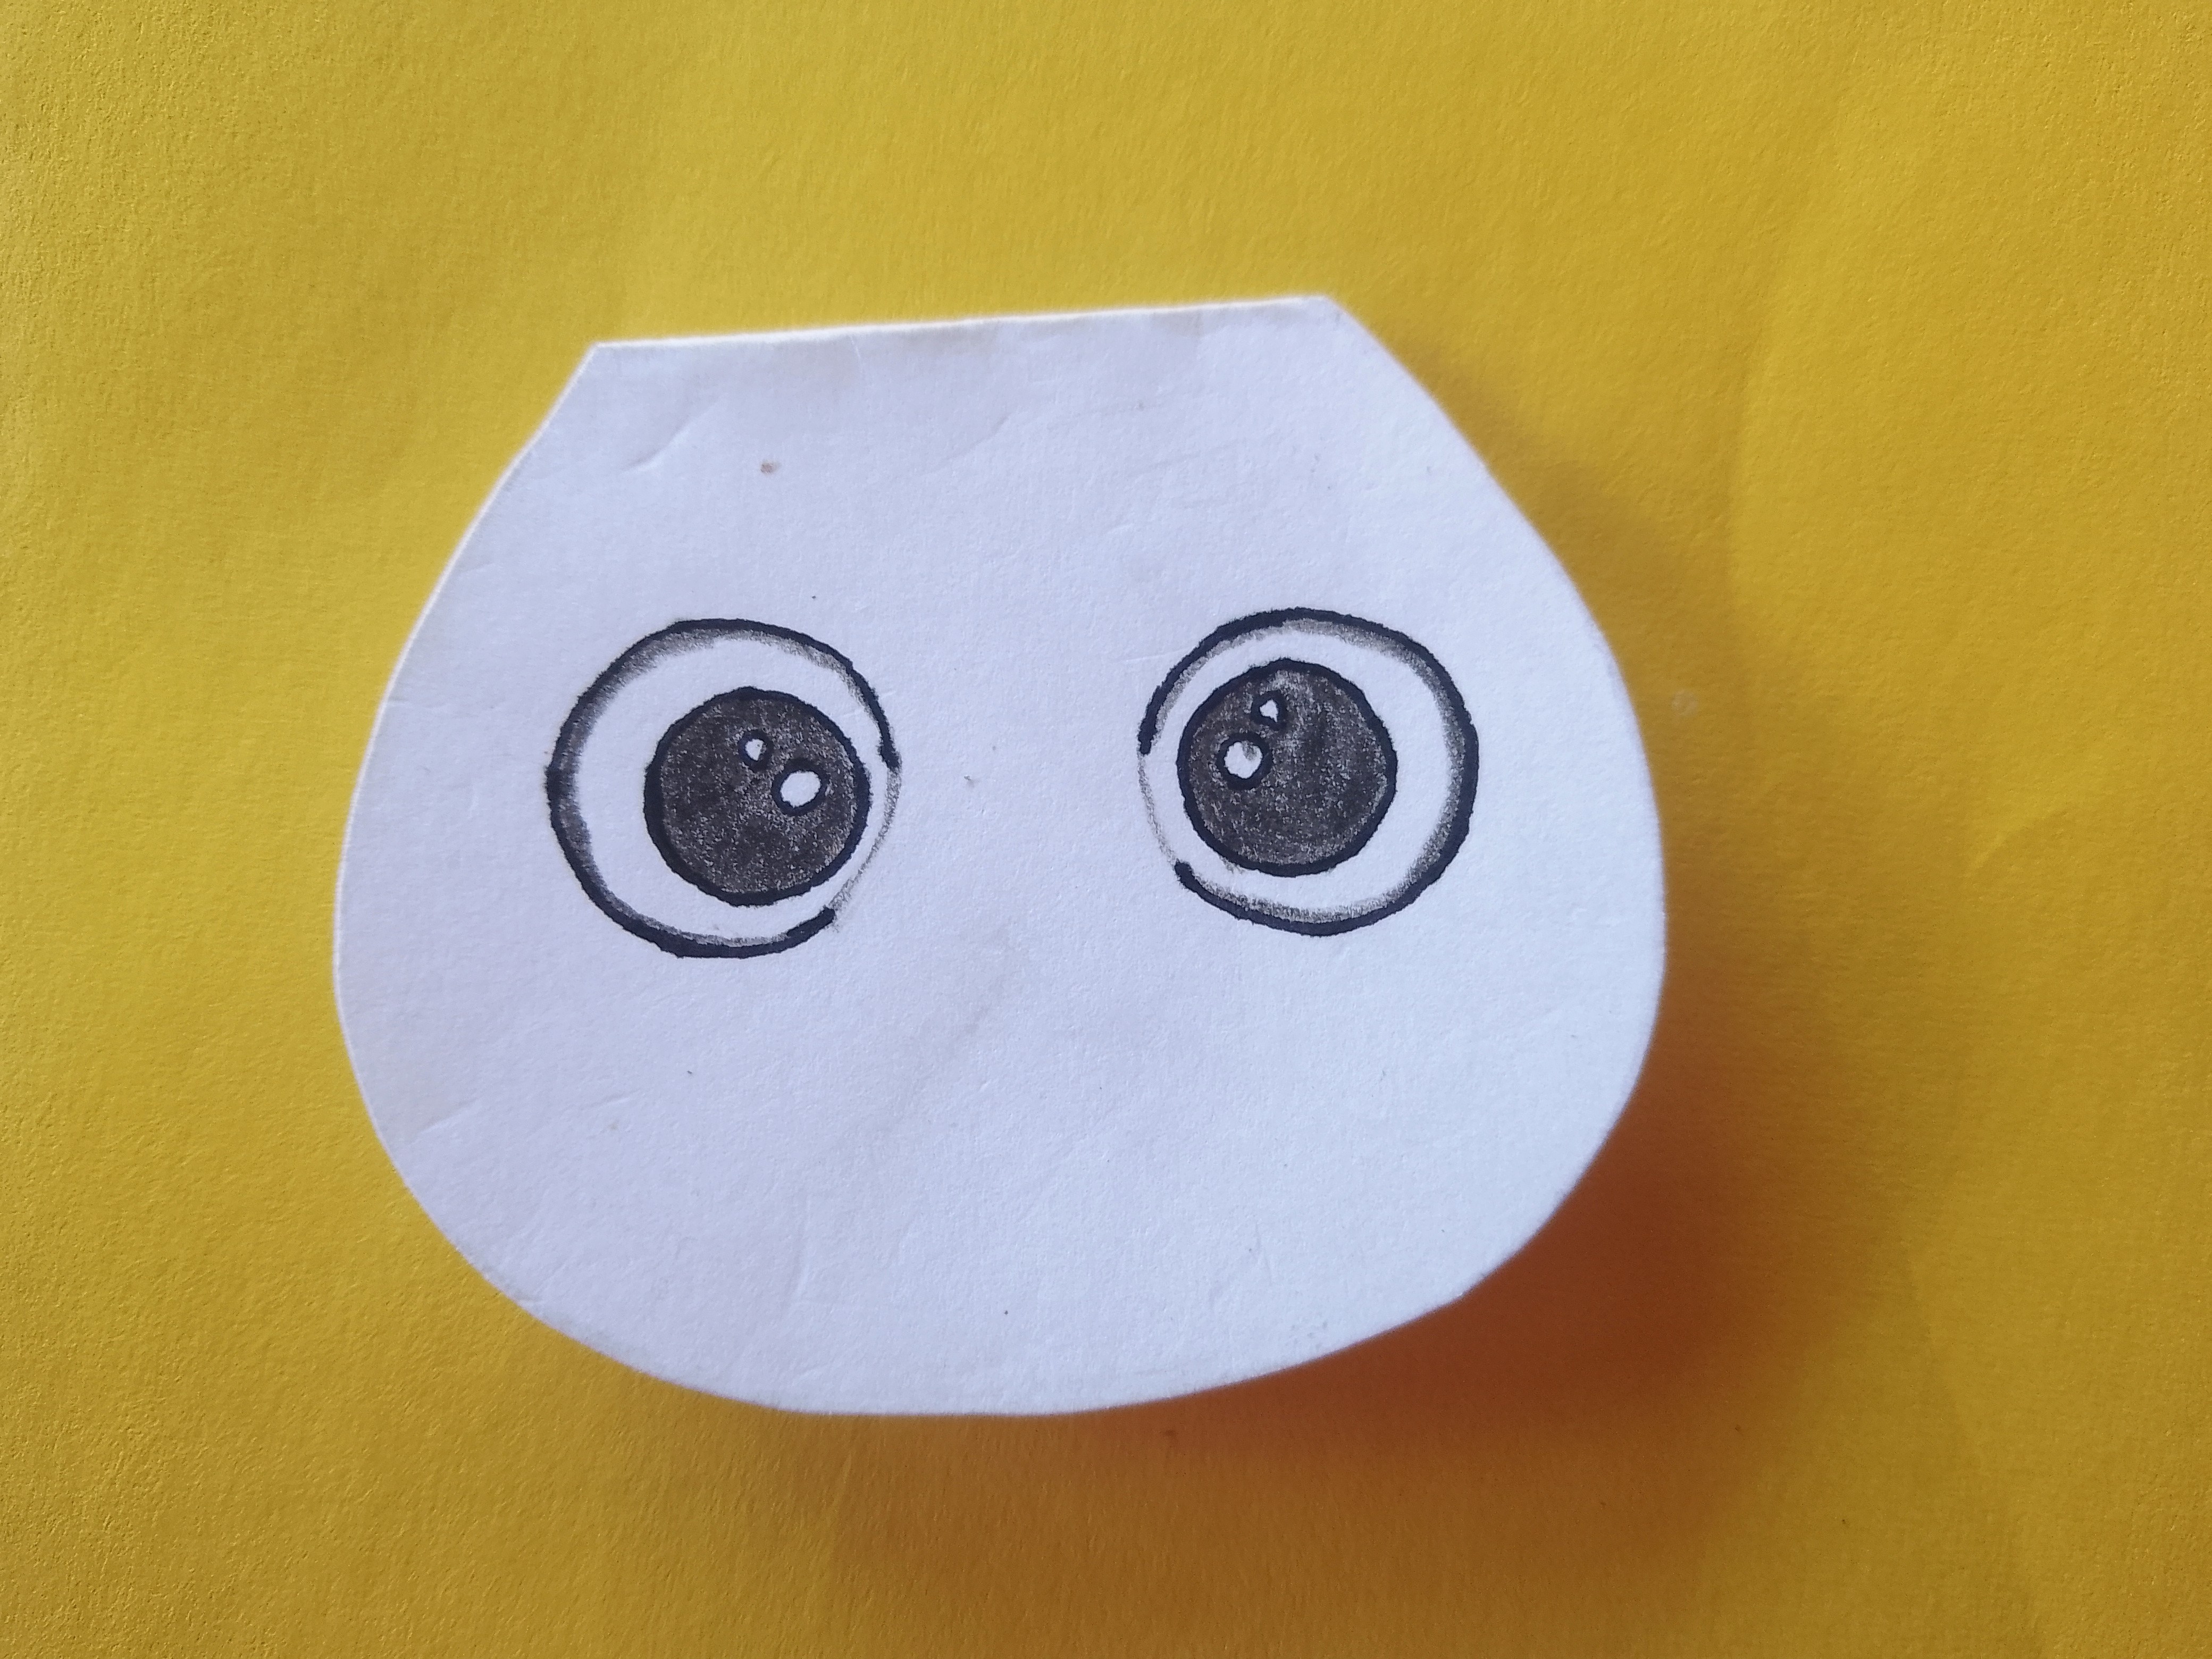
Outline the bunny eyes with black pointer to make them more prominent. Then, fill black color in the inner circle leaving some spots white for a shining look as shown in the photo.
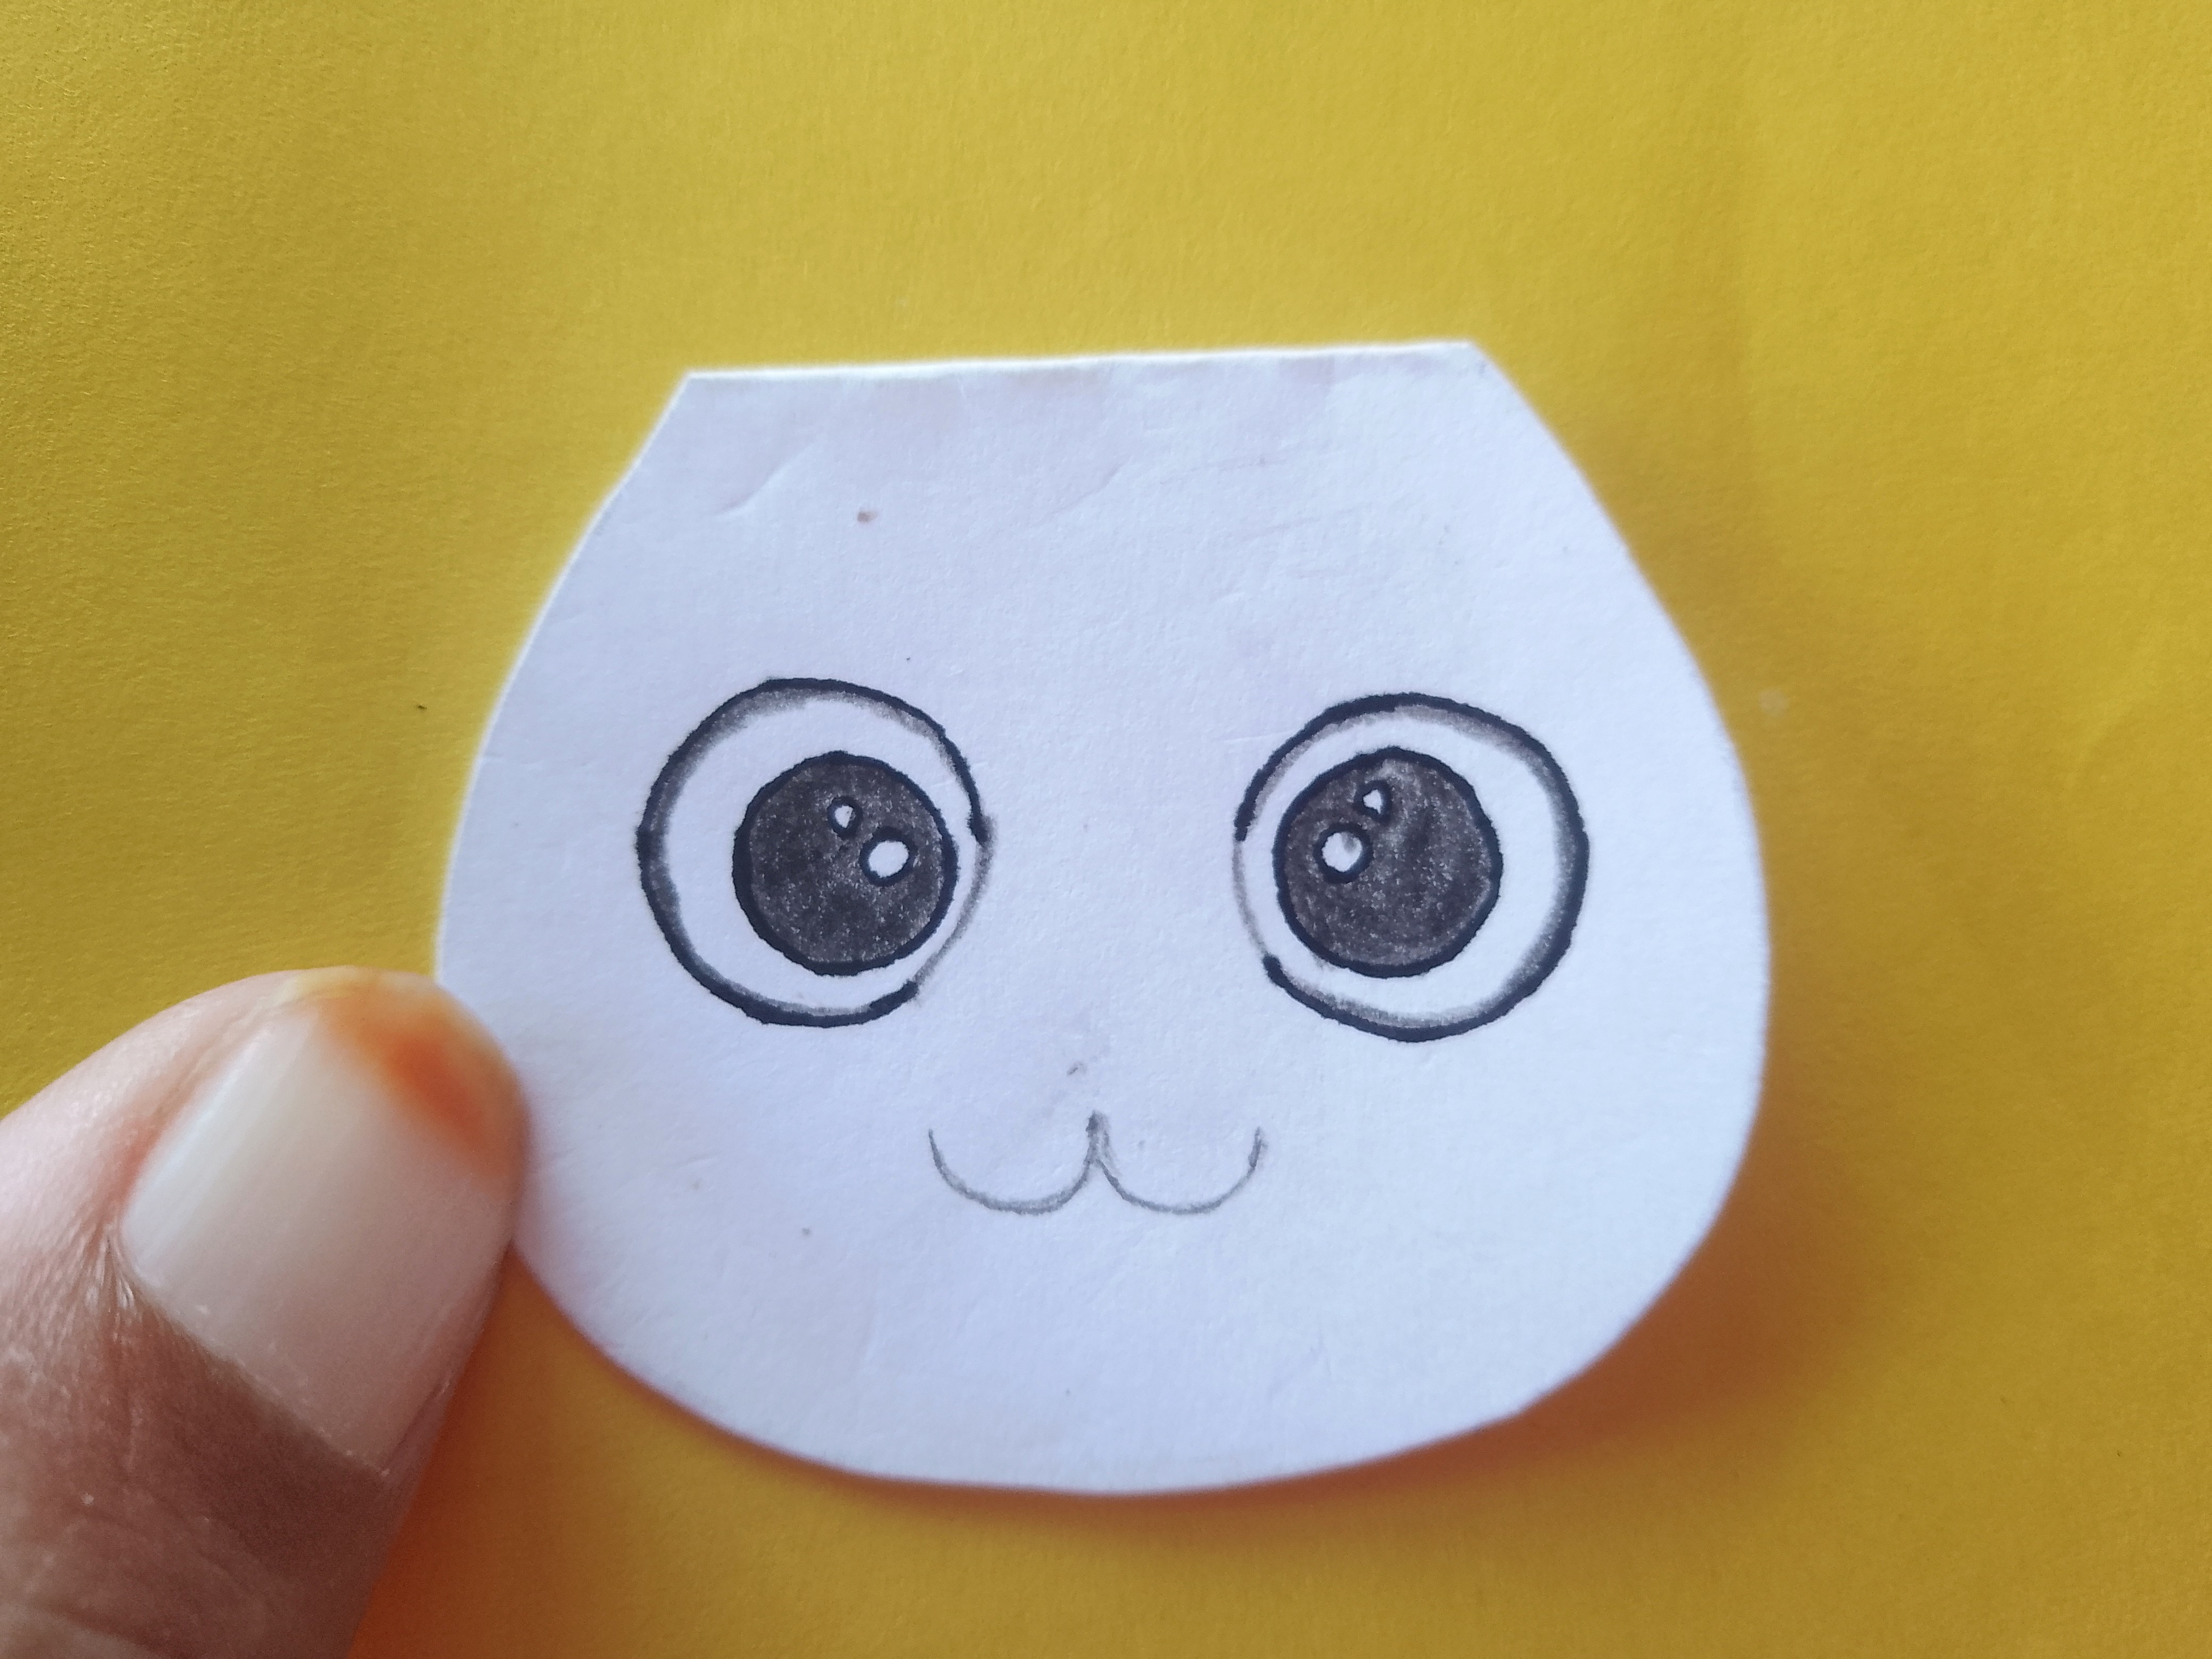
Draw a curve "w" shape in the center below the eyes to make the bunny's mouth.
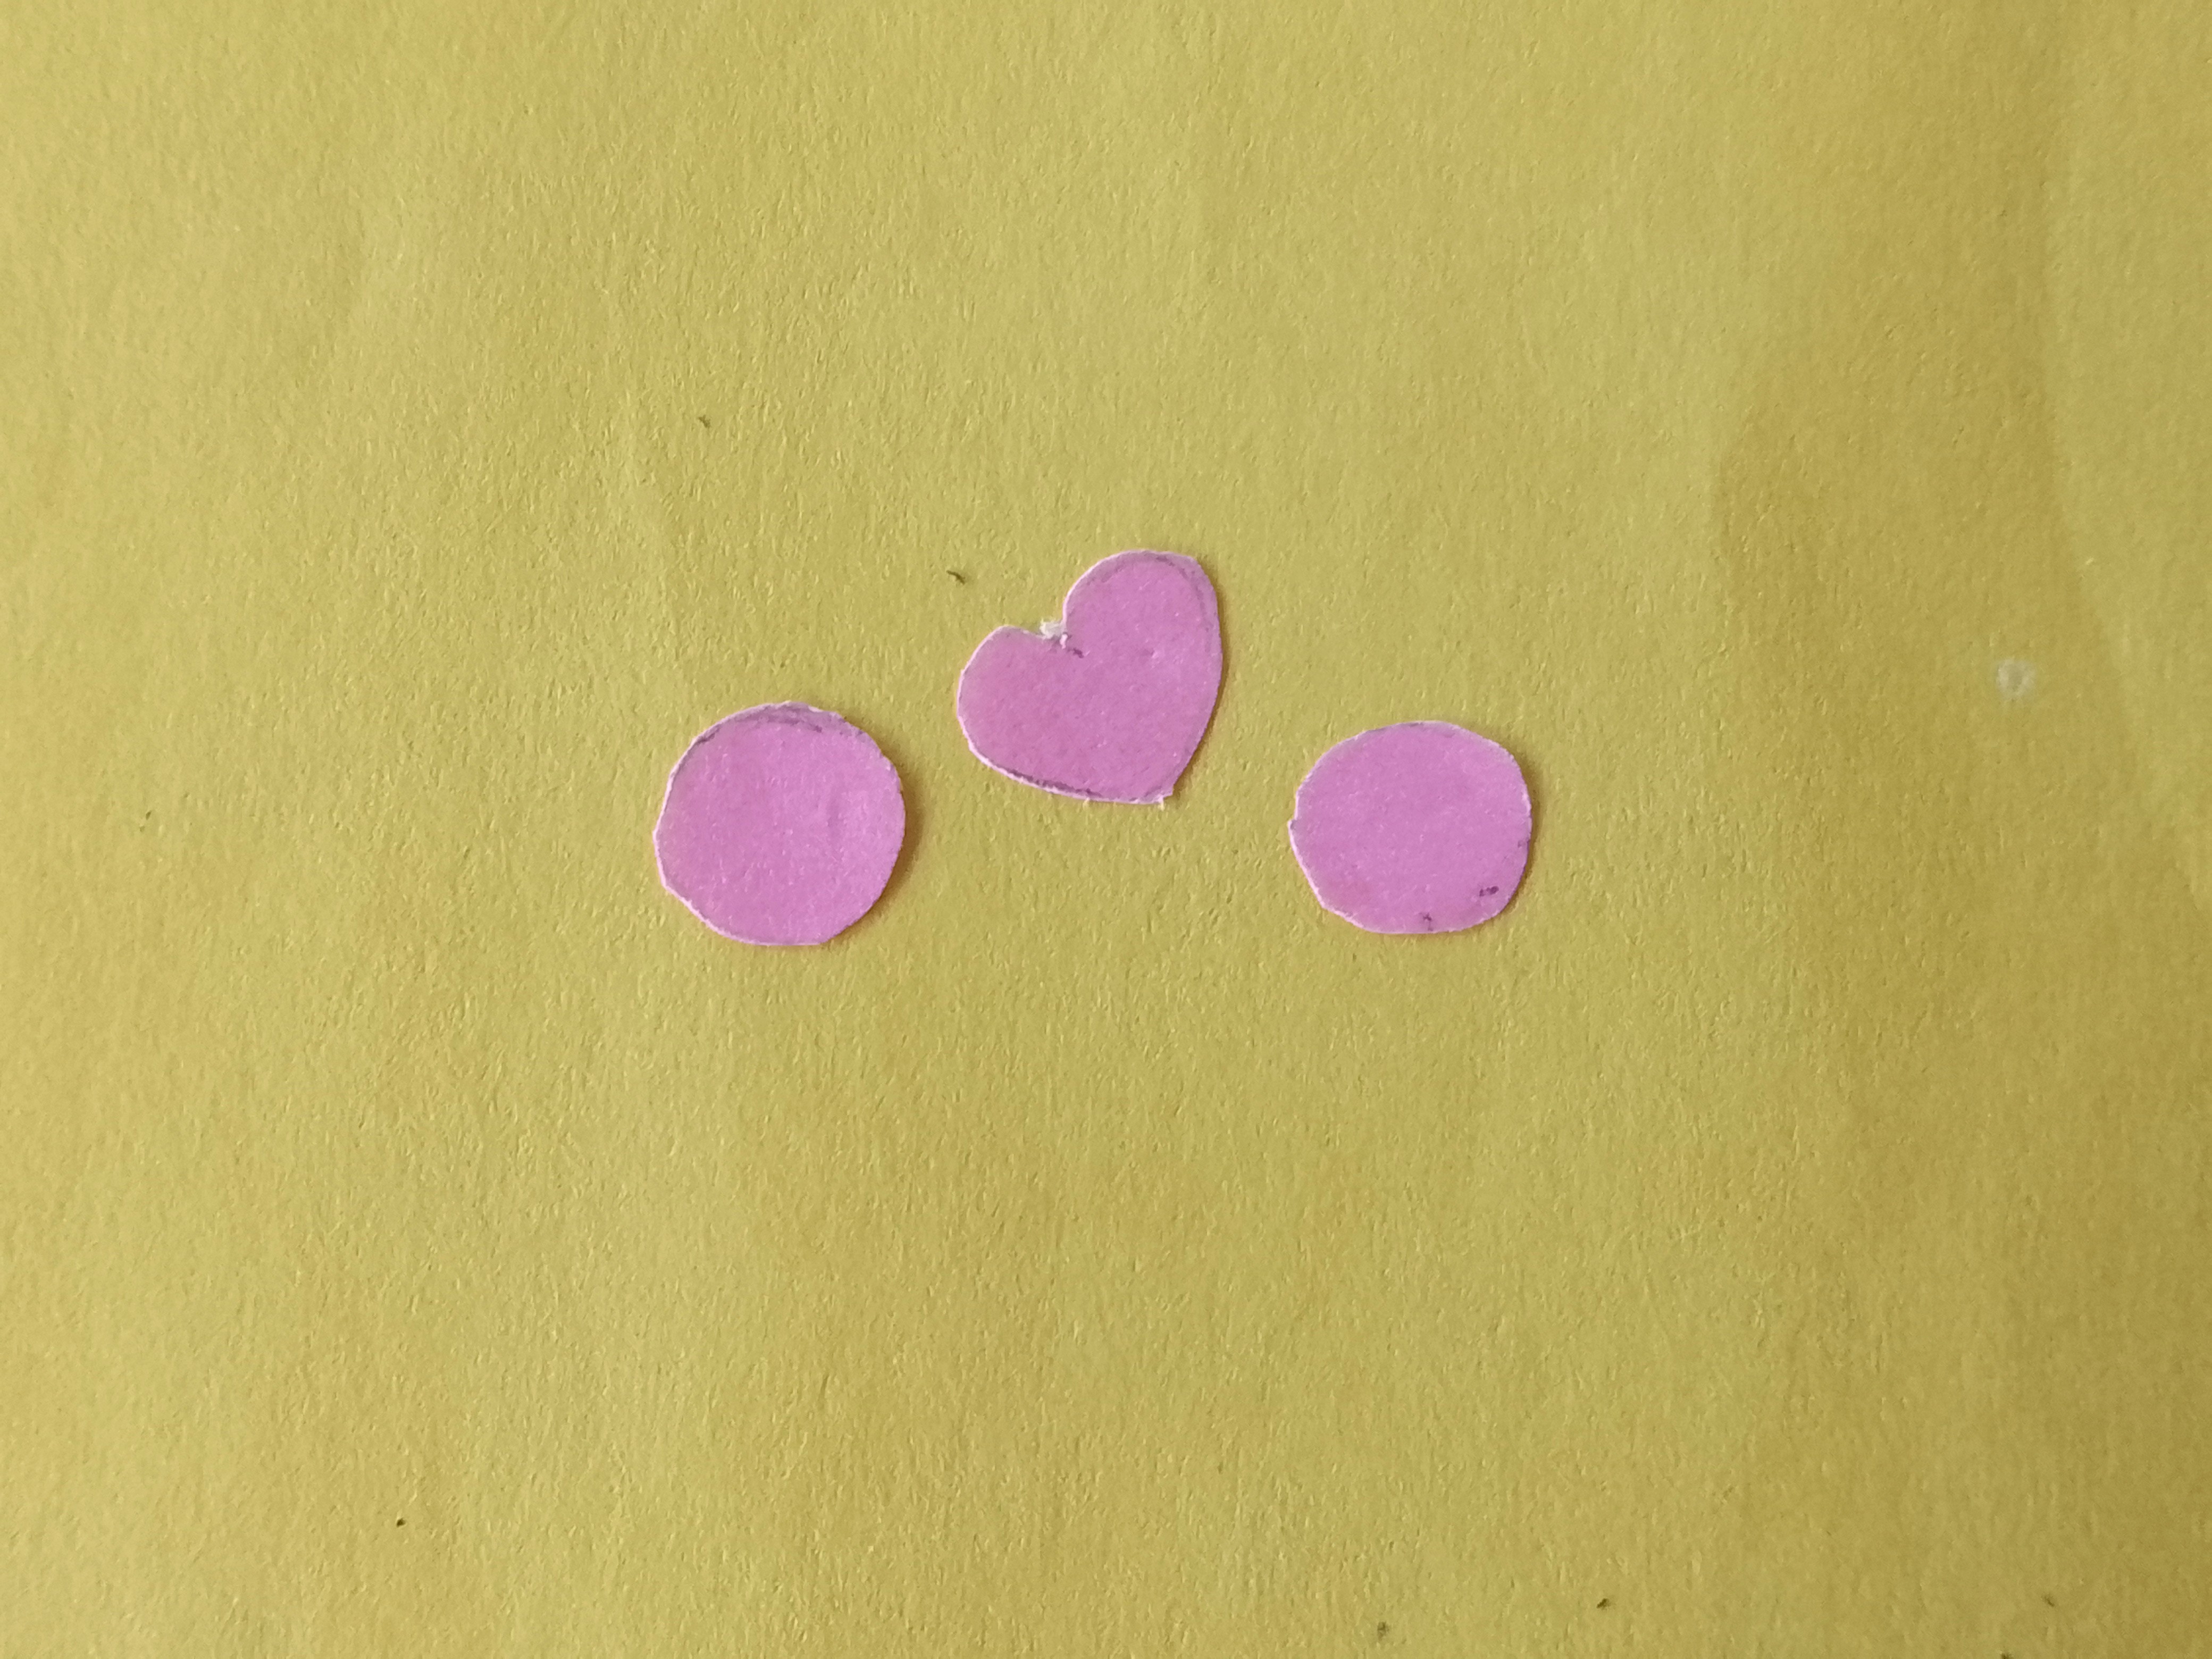
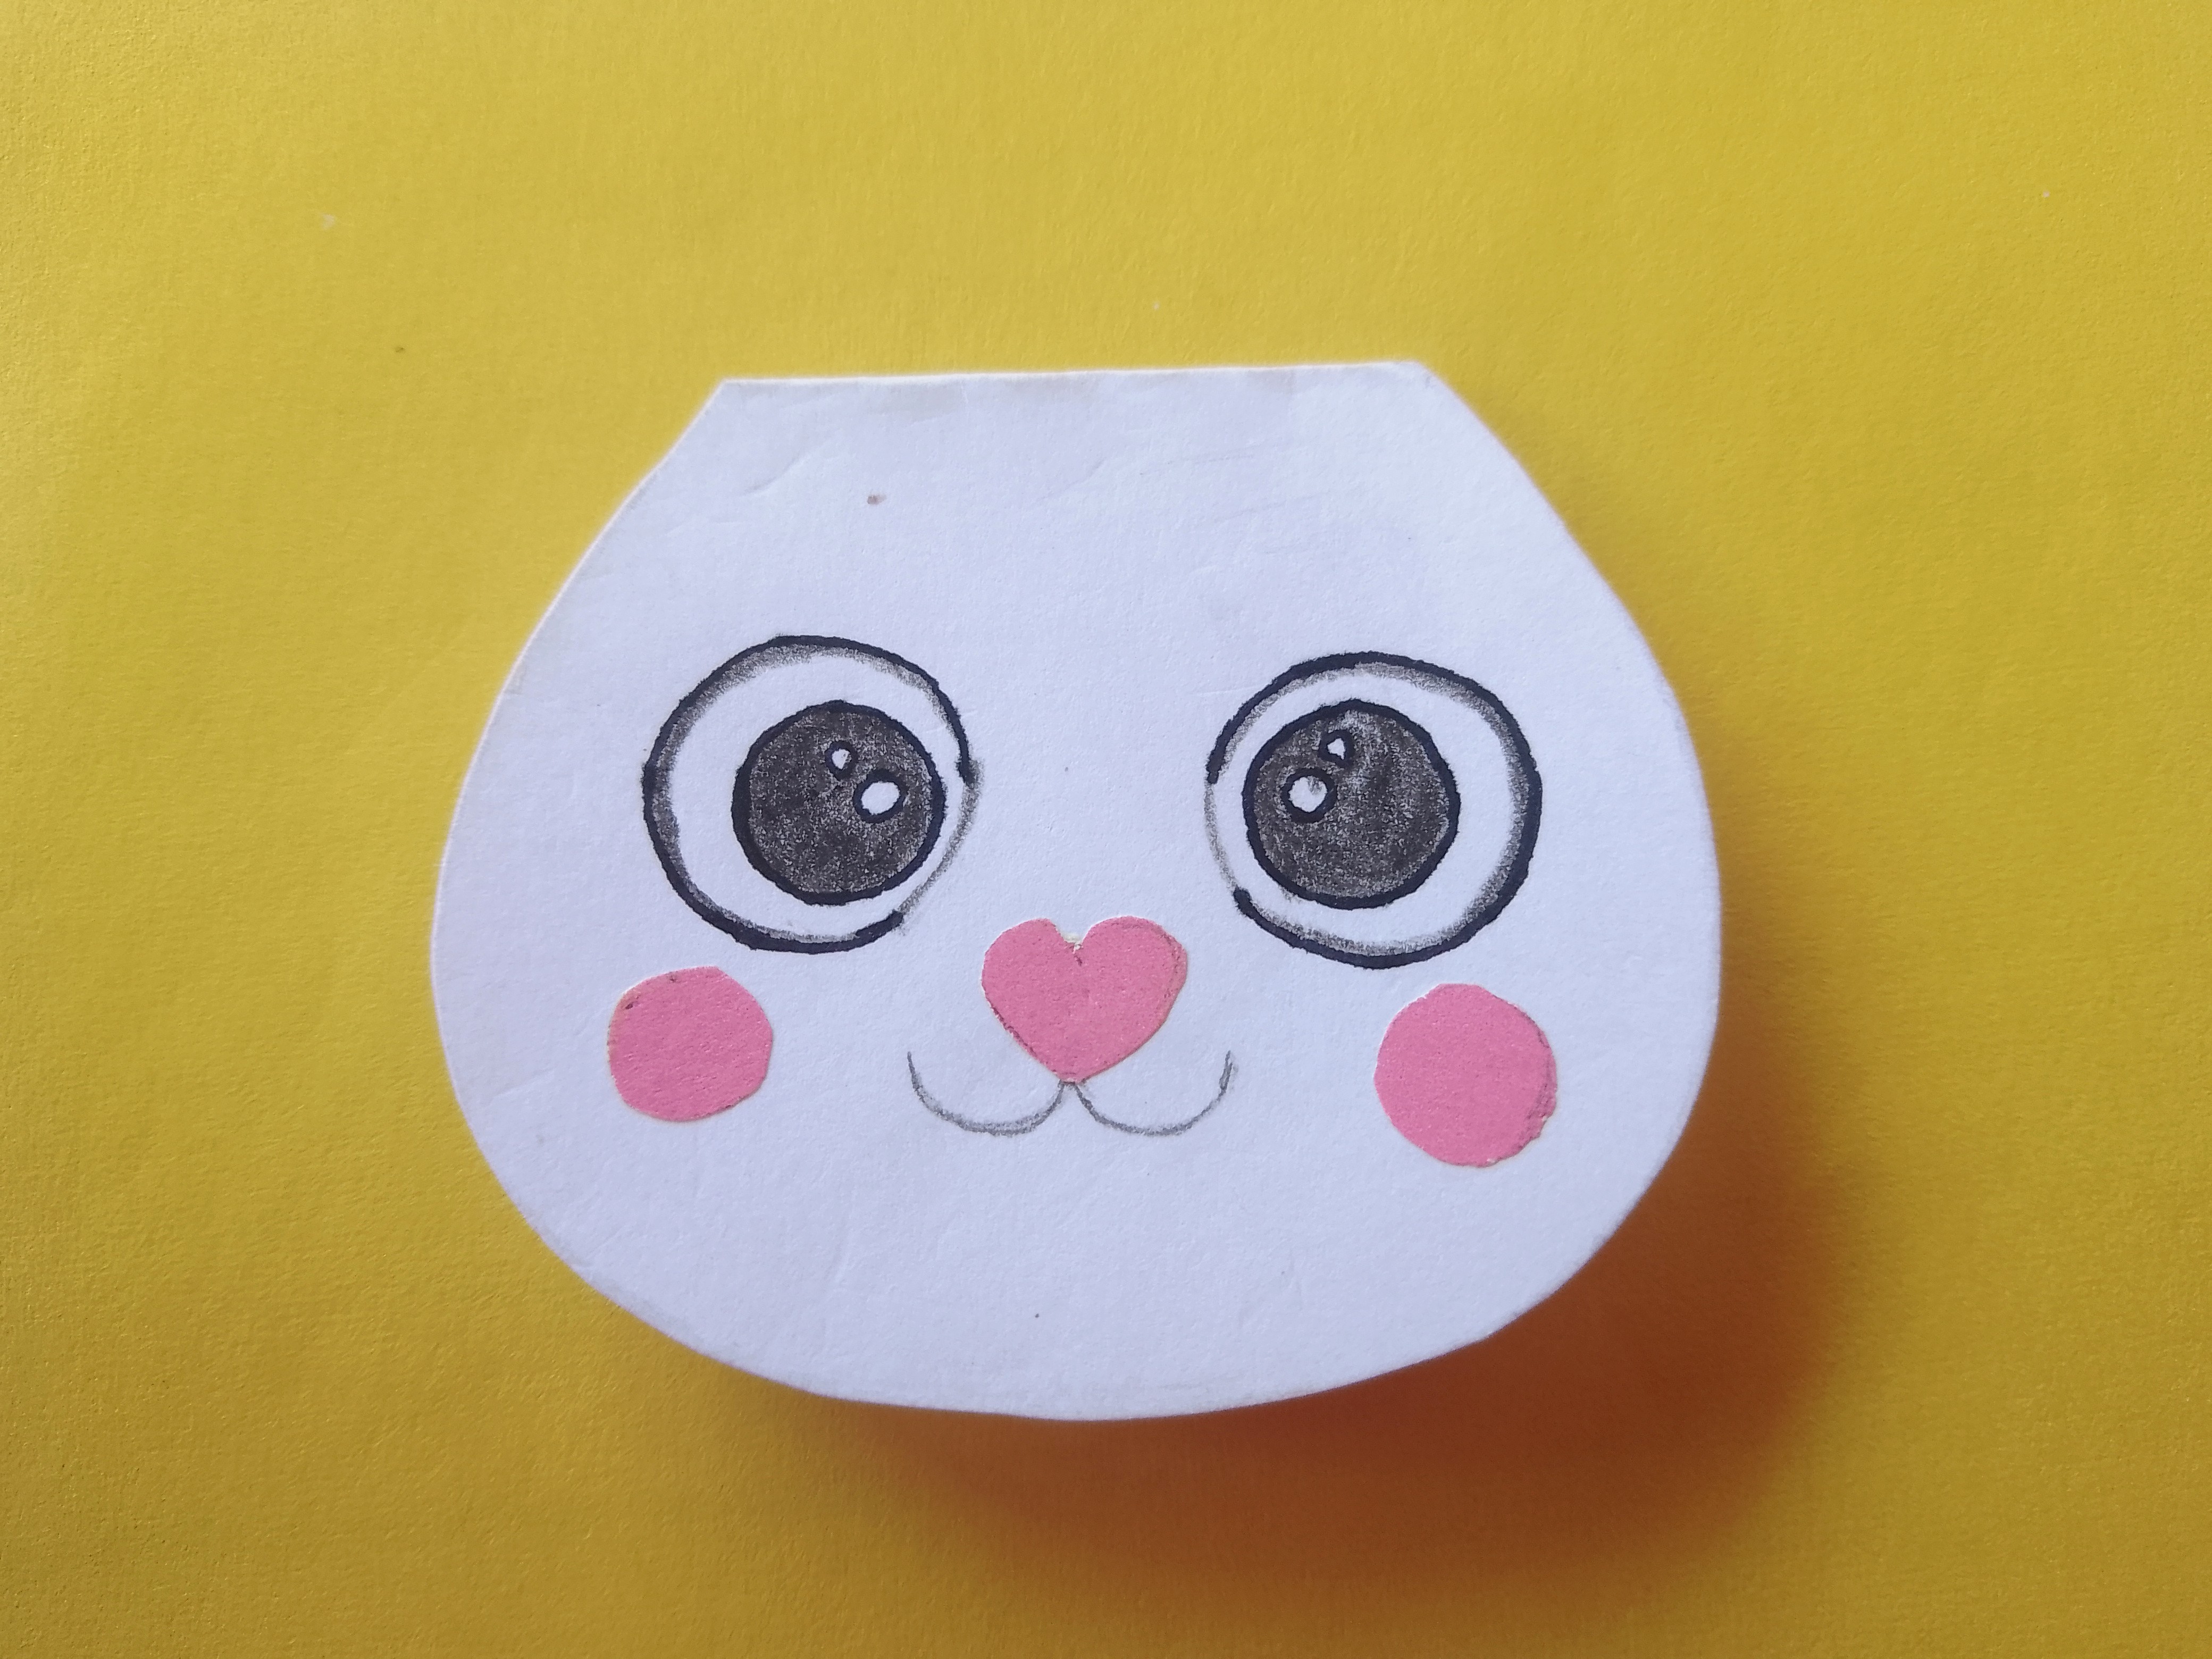
Draw and then cut two small equal pink circles and one heart shape to make the cheeks and nose of the bunny.
Paste them by using a glue stick as shown in the photo. Now the bunny's face is complete.
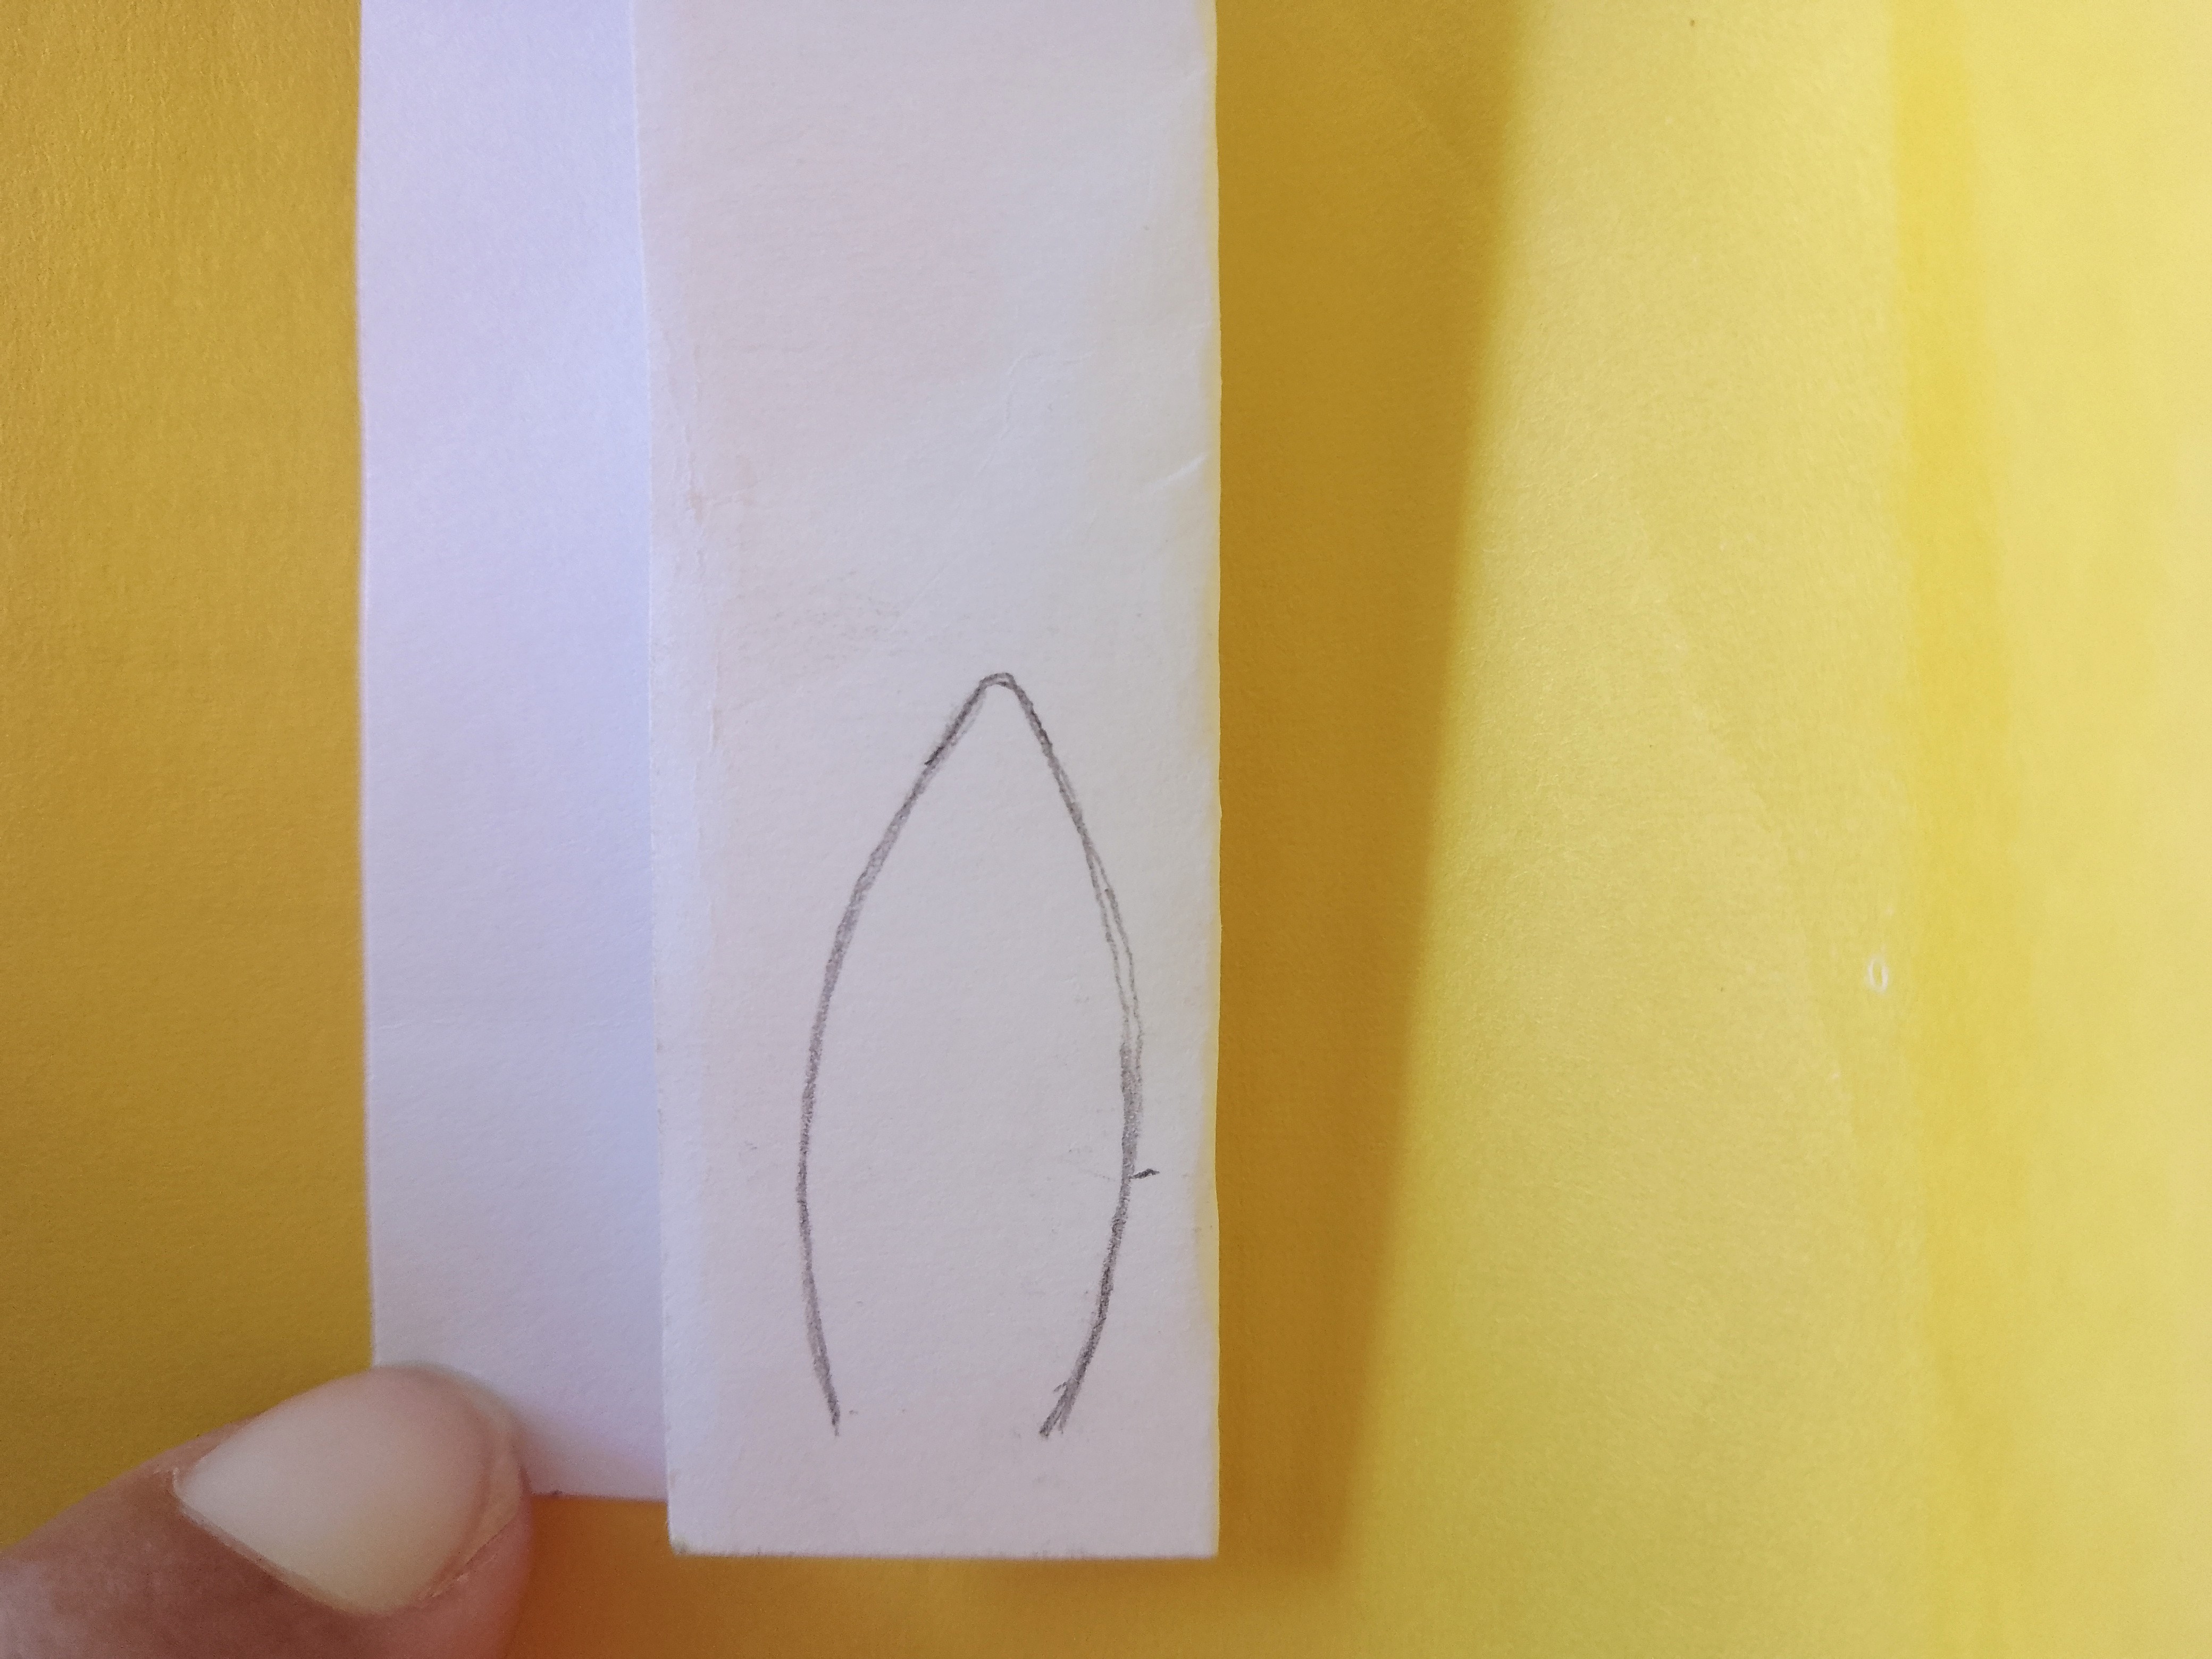
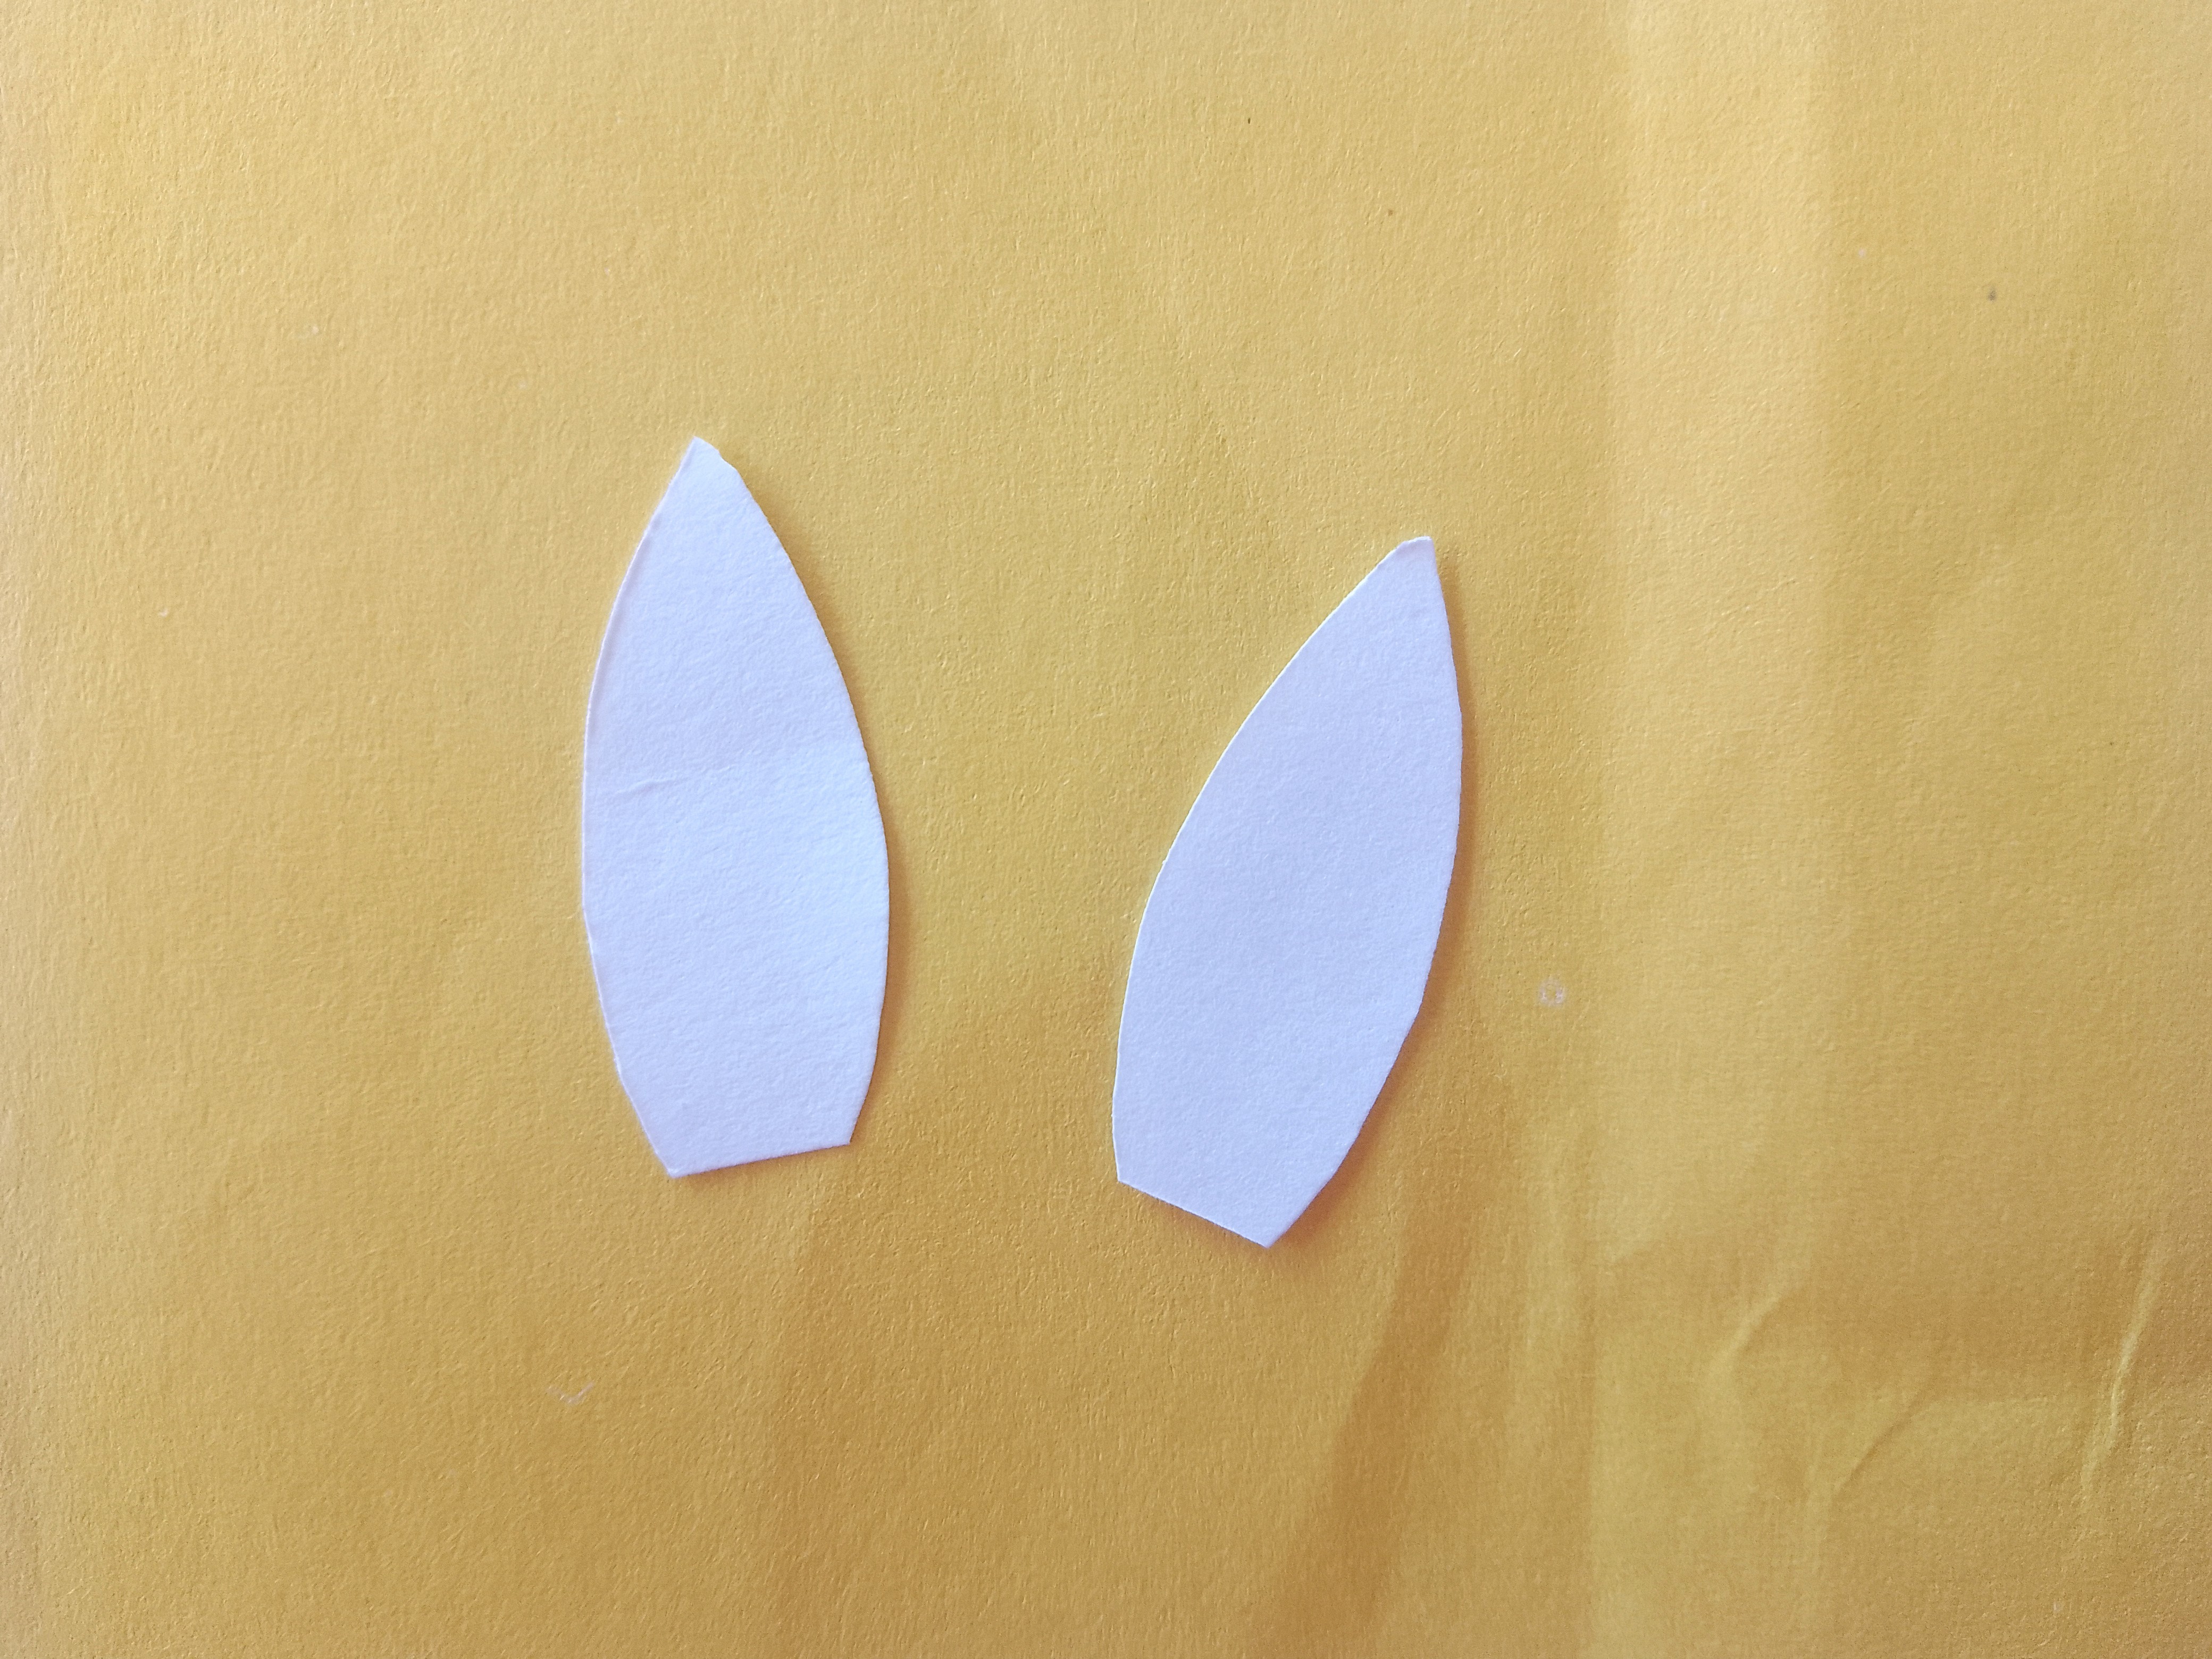
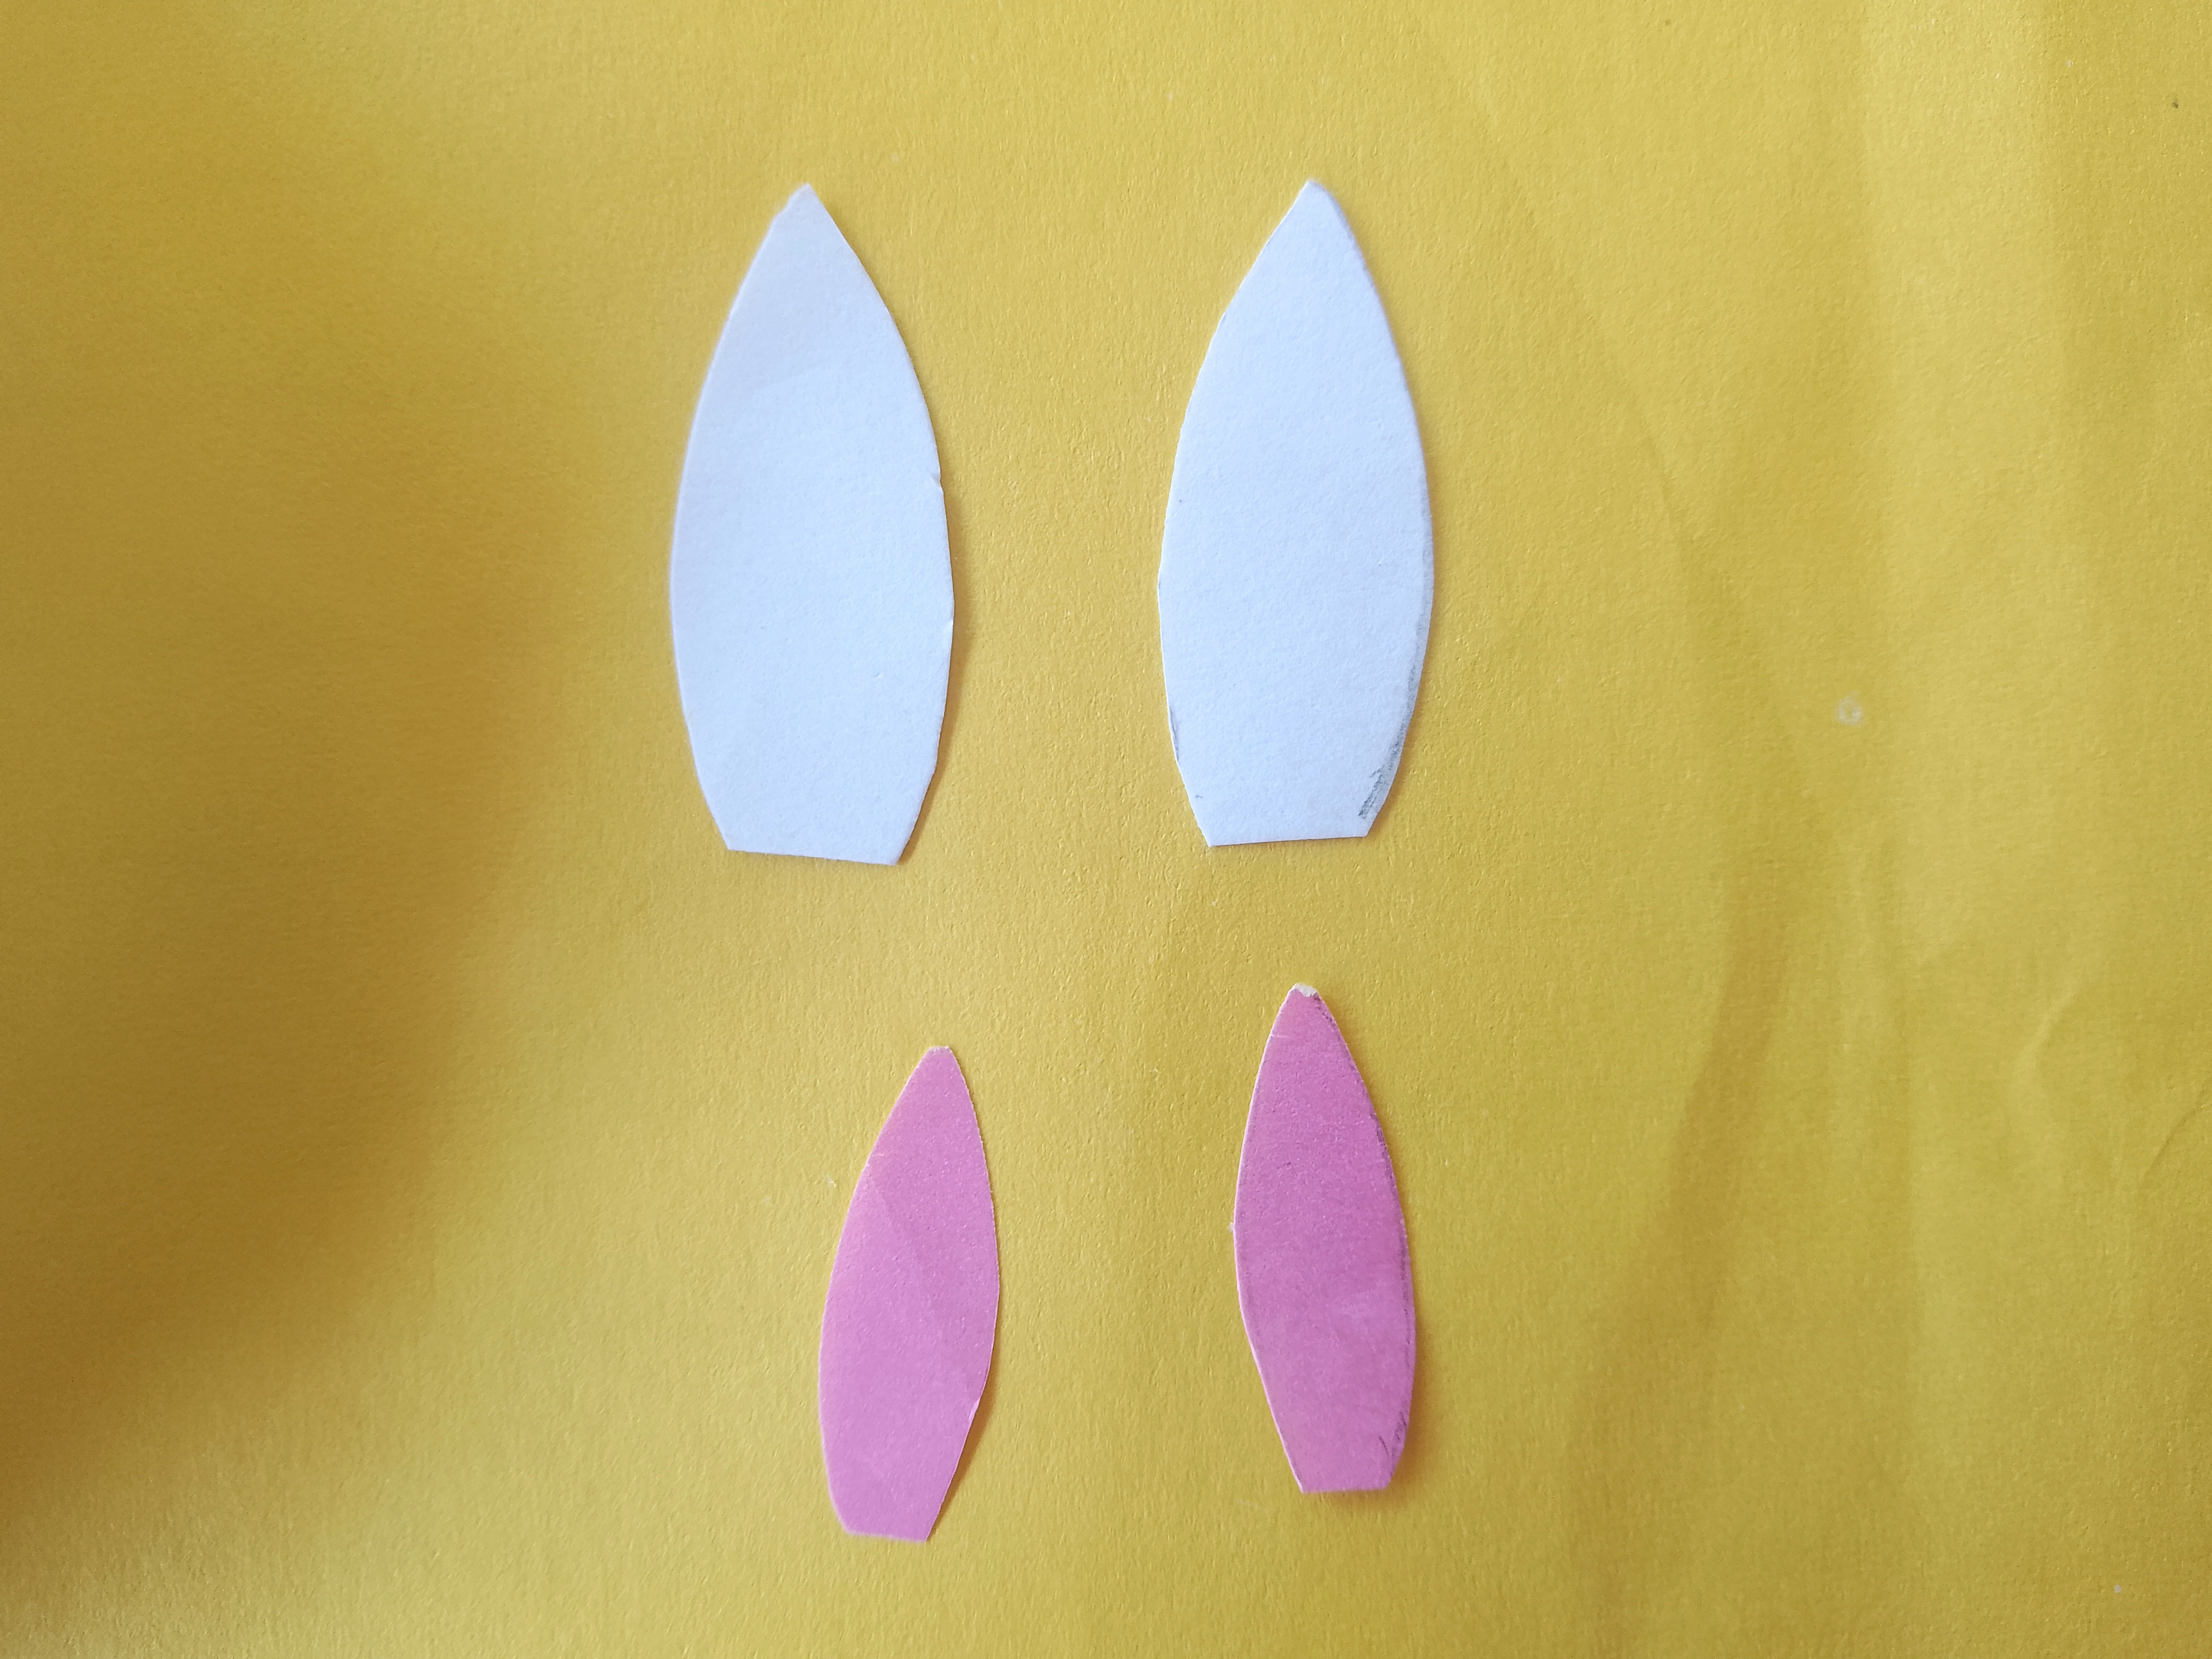
Now, we will make the bunny's ears. For that, draw an ear on a folded piece of white chart as shown in the photo. Cut it along the drawn line and you will get two equal-sized white ears.
By repeating the above step, make two equal smaller pink ears and paste it onto the center of the white ears as shown in the photo.
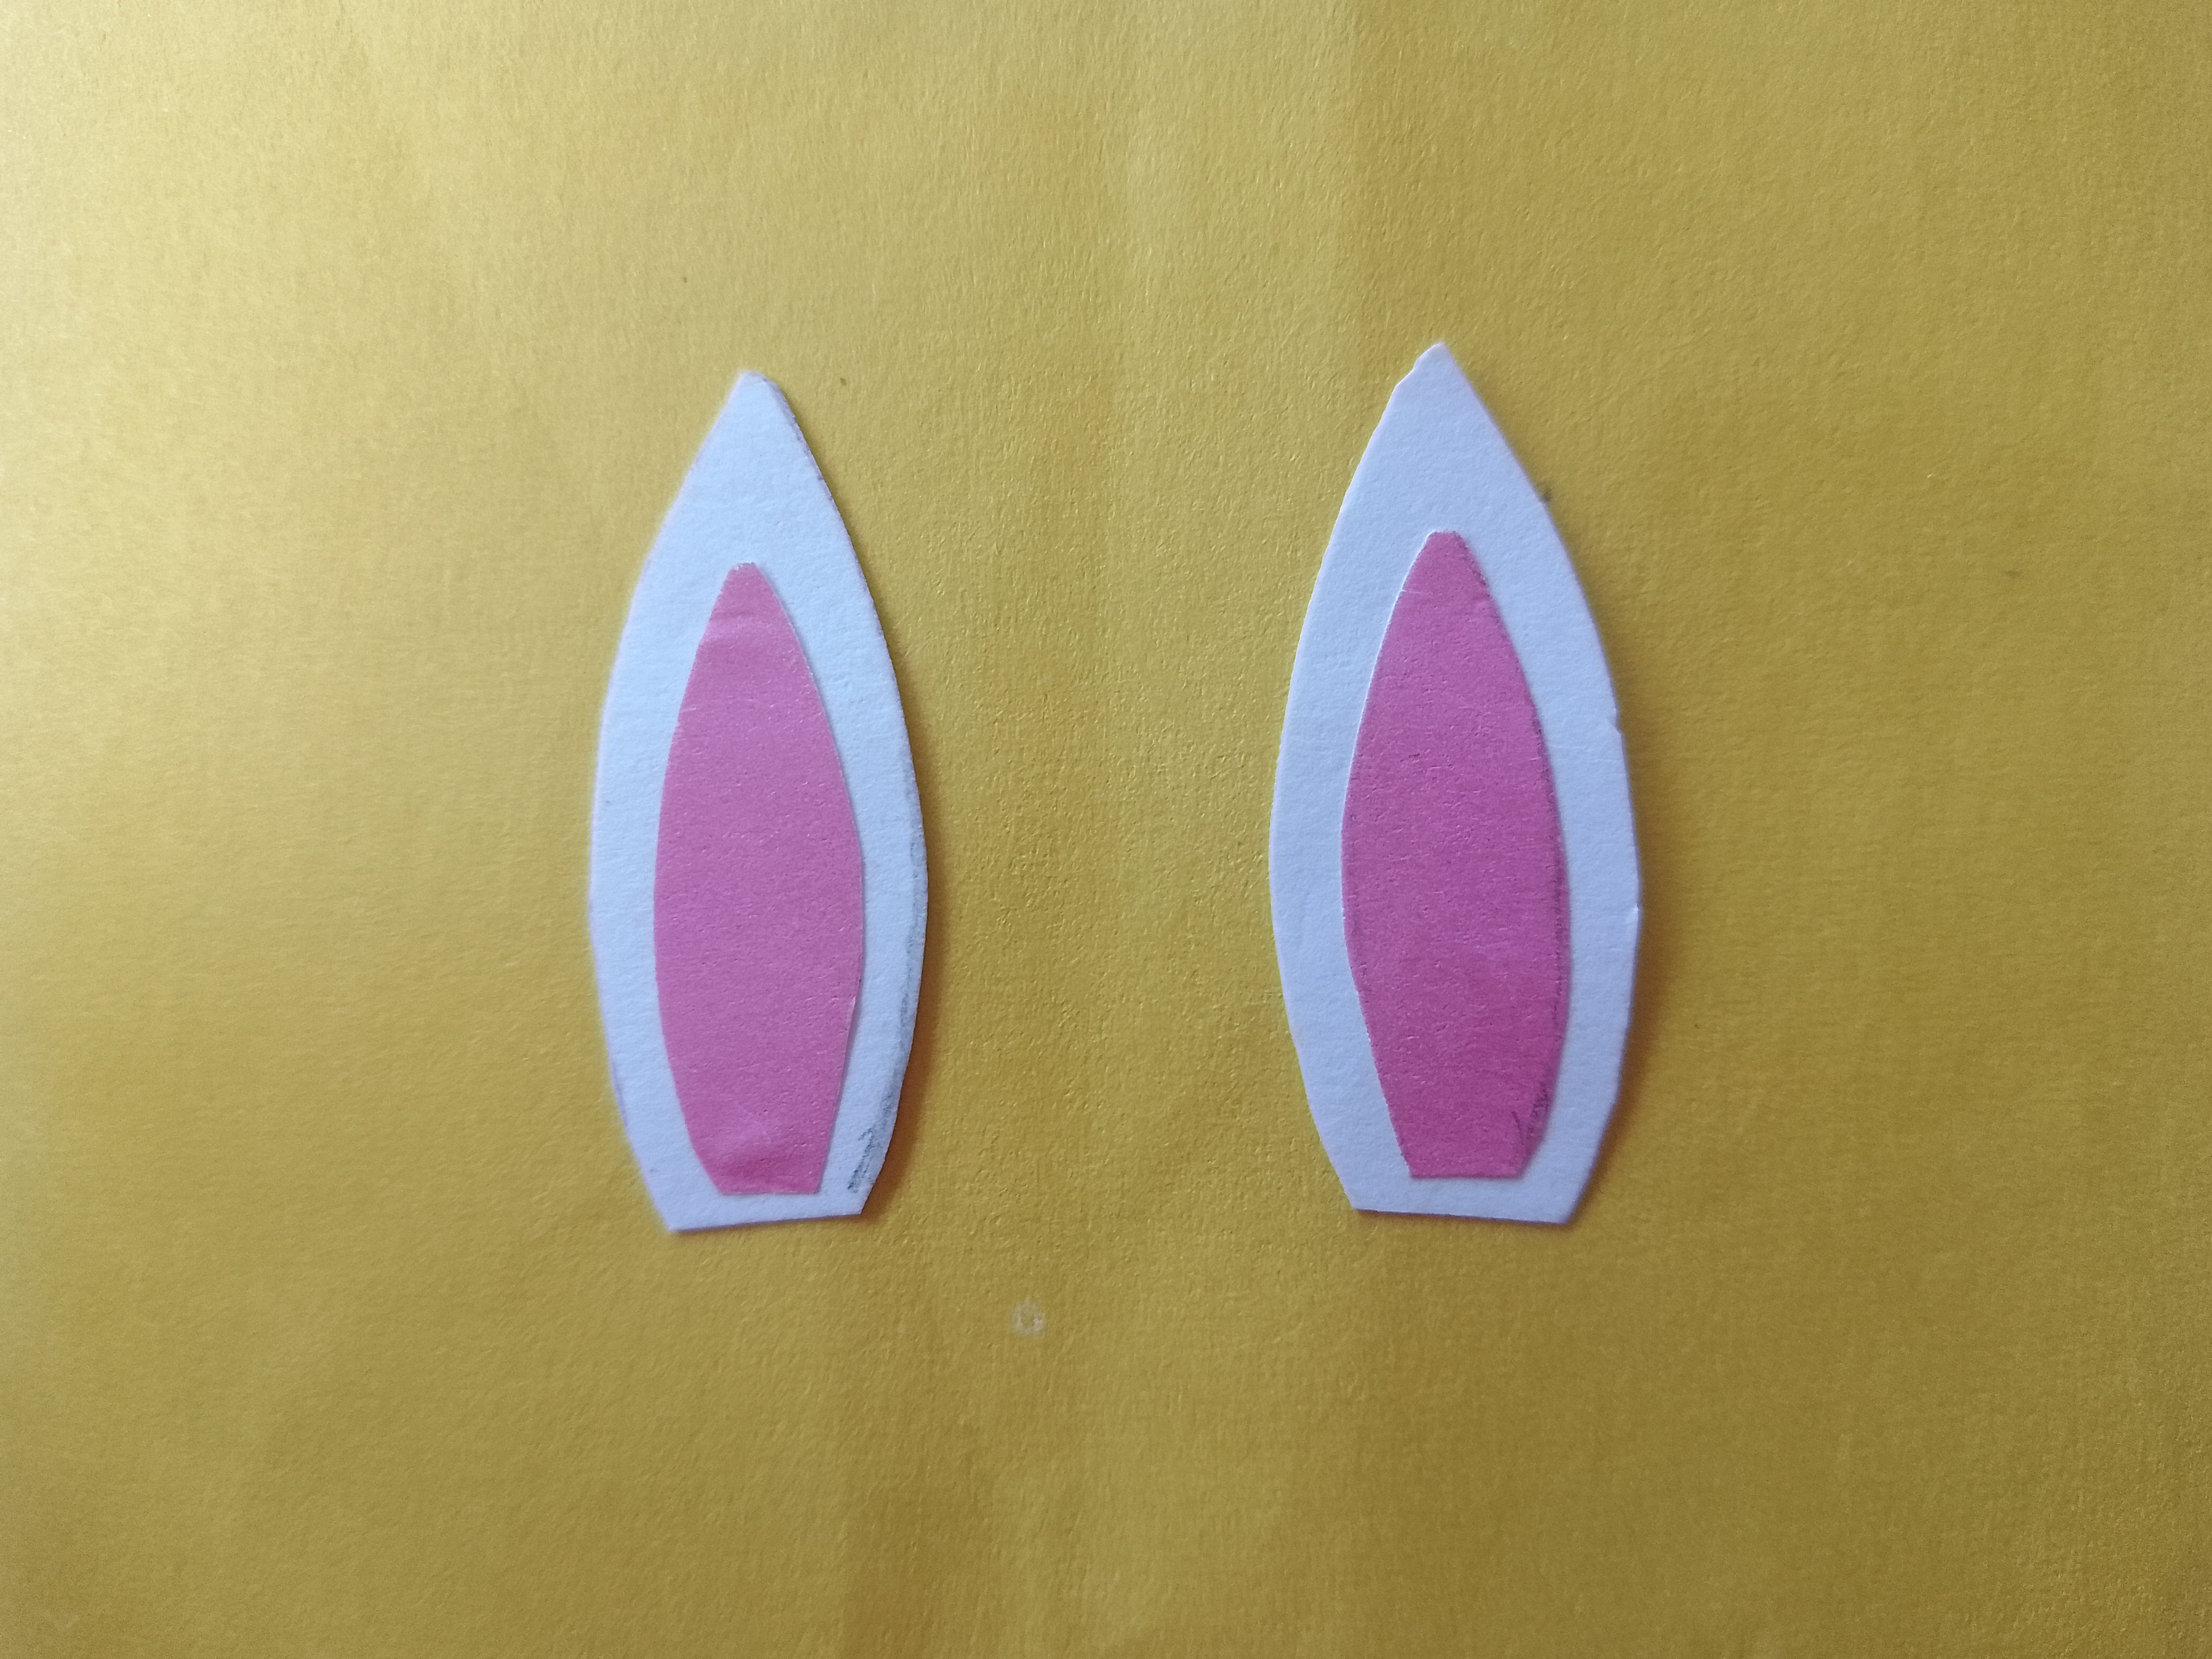
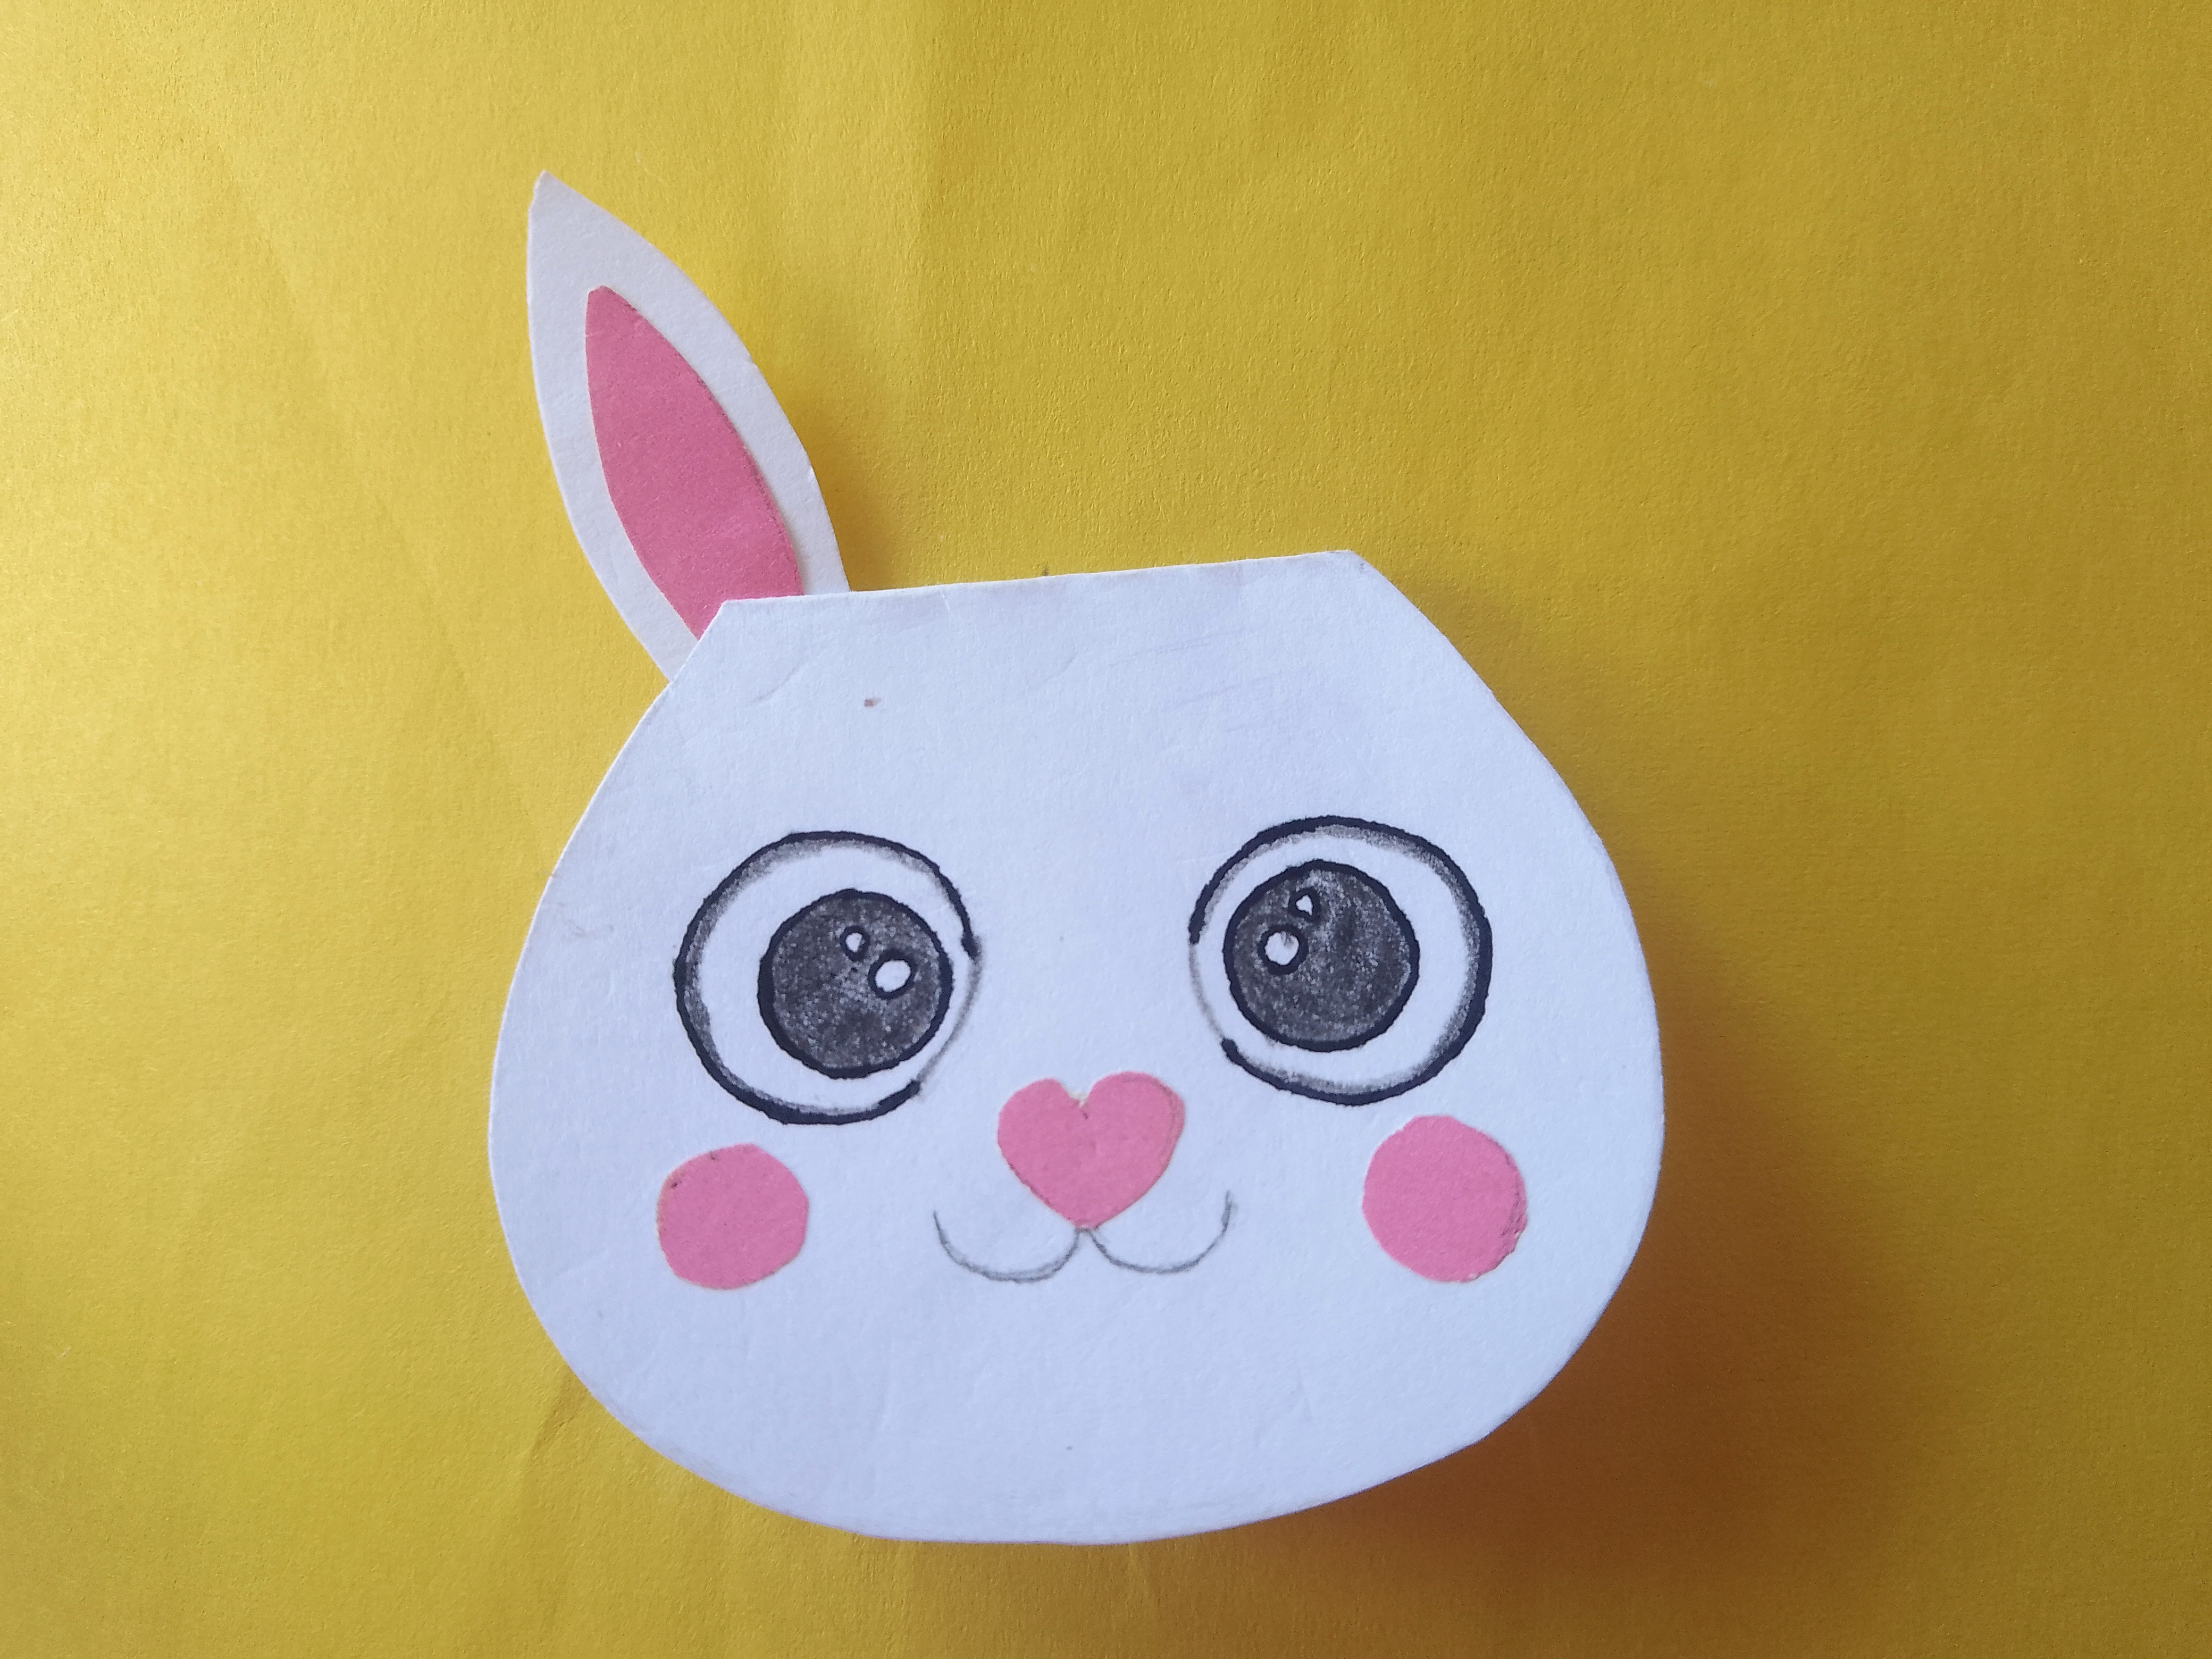
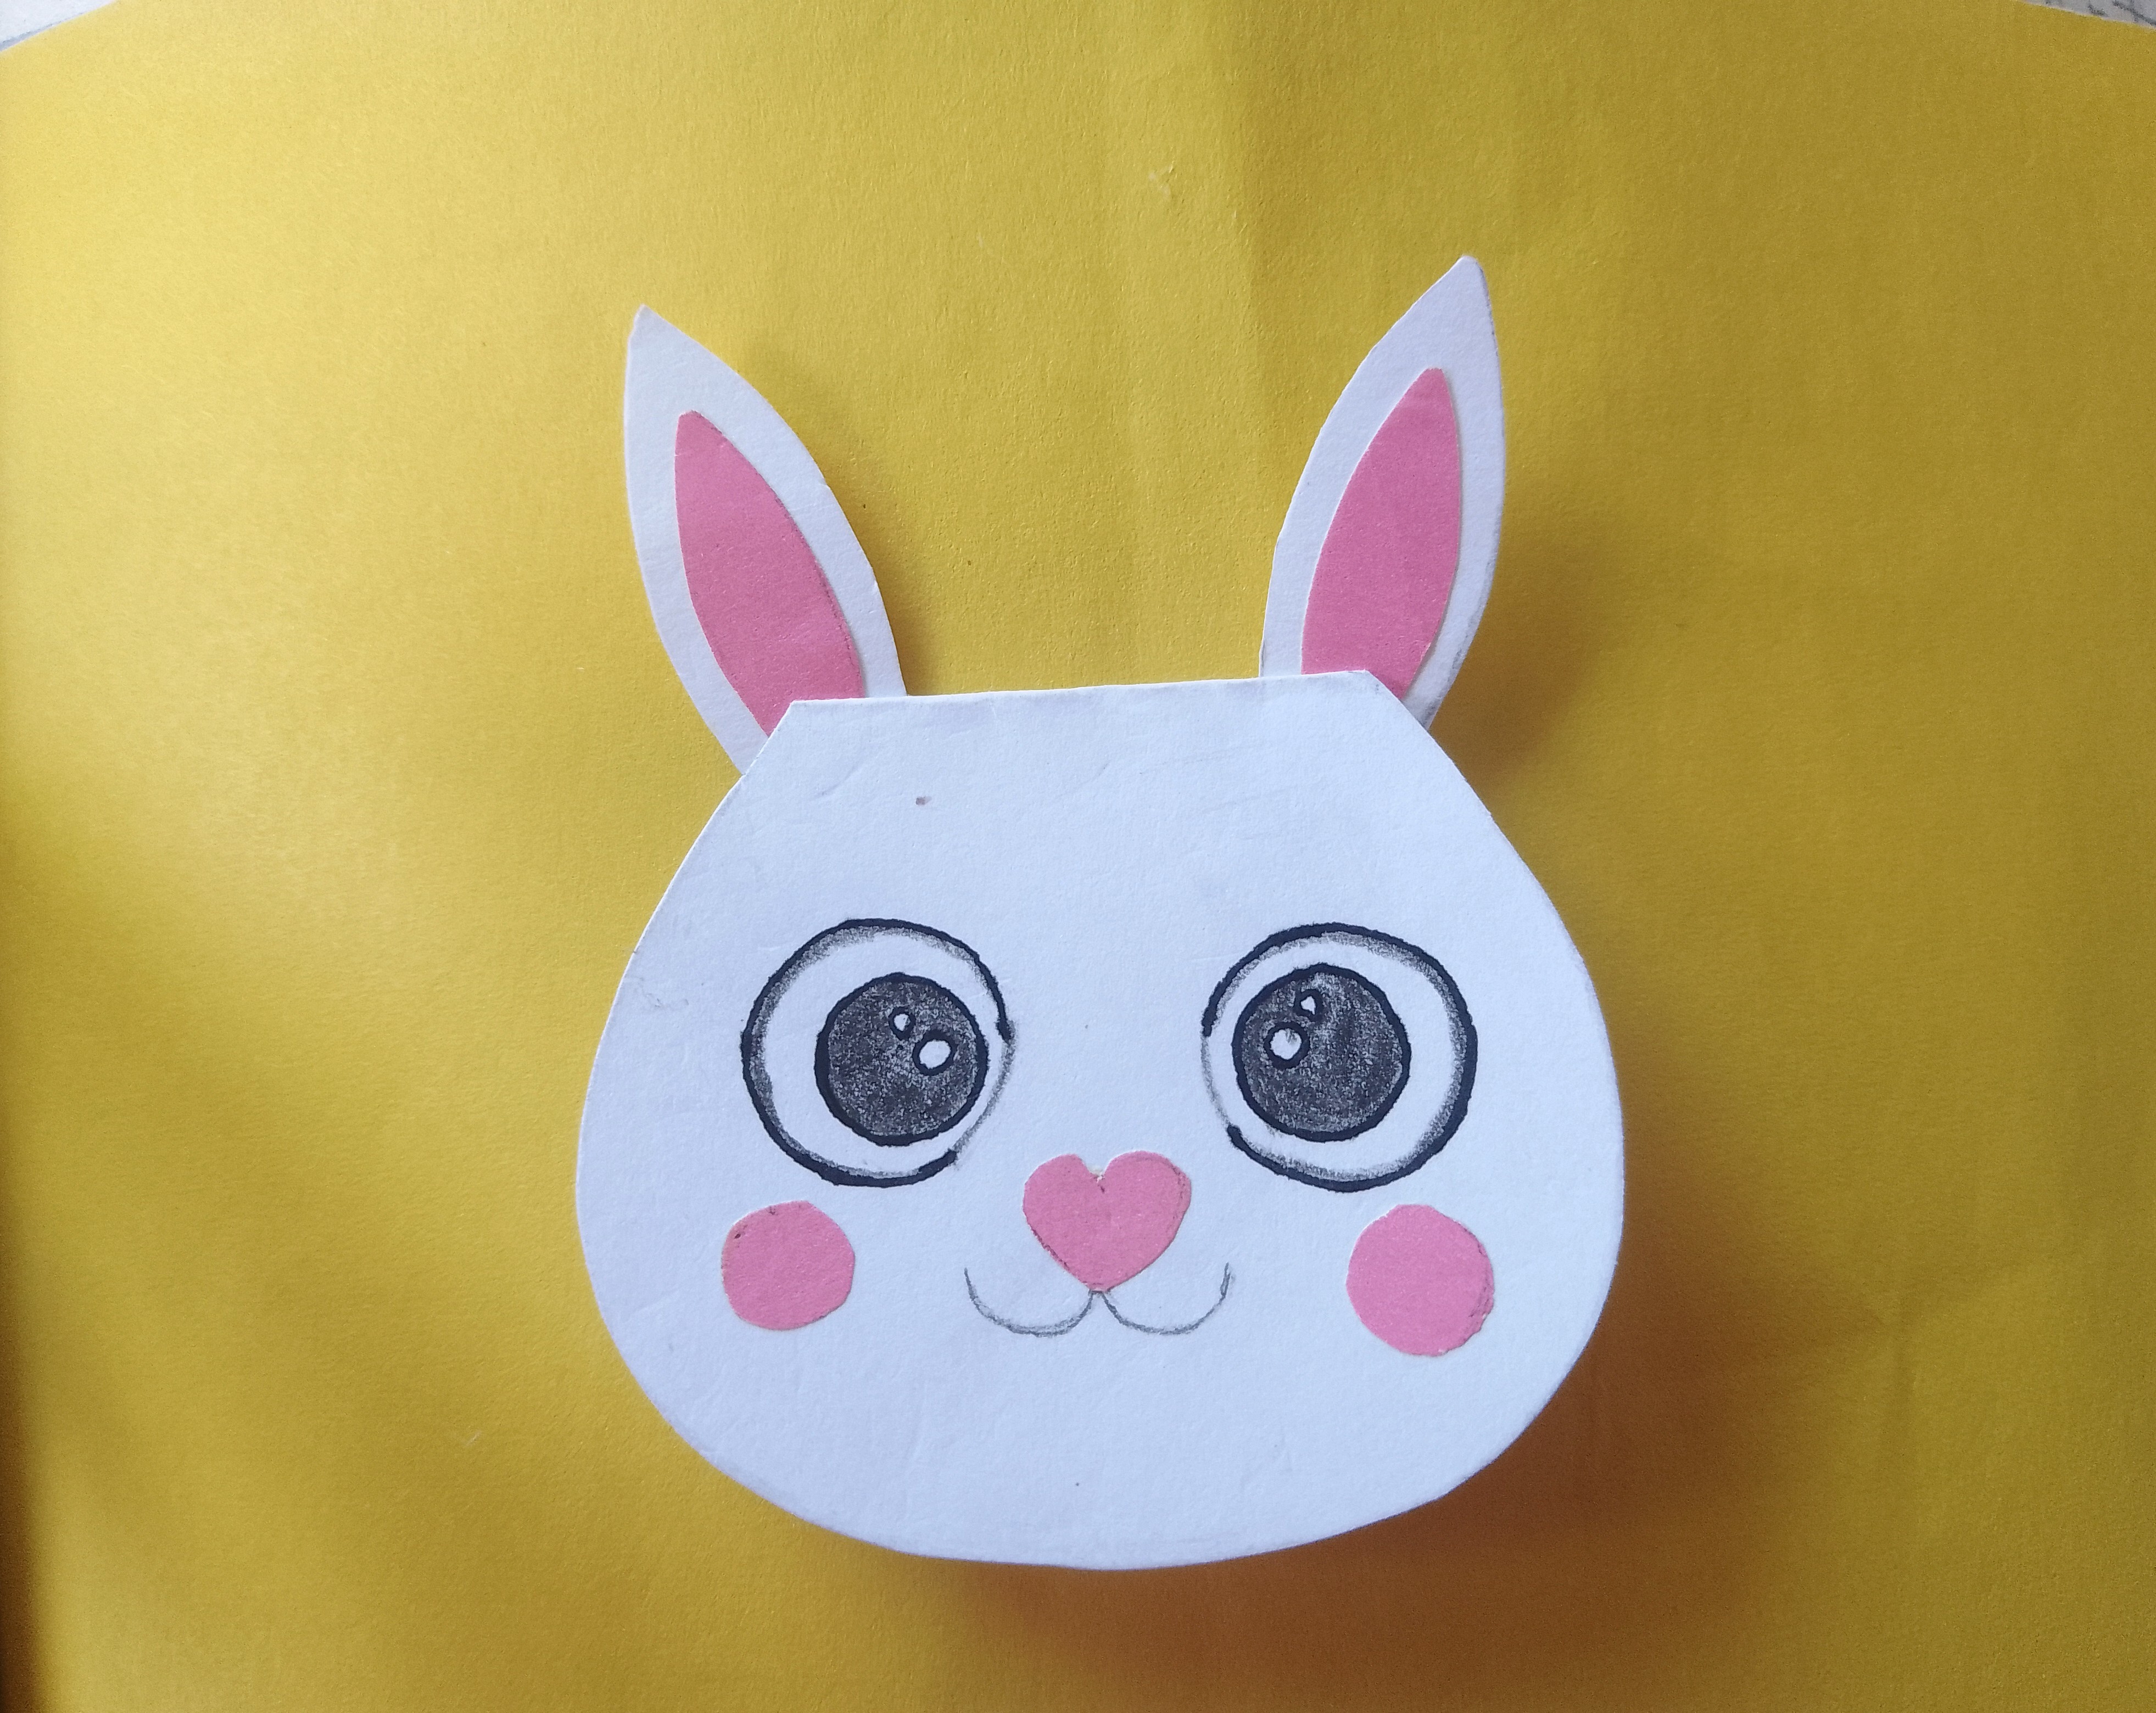
Paste both of ears with some distance between them, onto the back side of the bunny face as shown in the photo. Now your handmade cute bunny card is complete.
Open the card and you can write anything inside it, your personalized message or any wishes as shown in the photo.
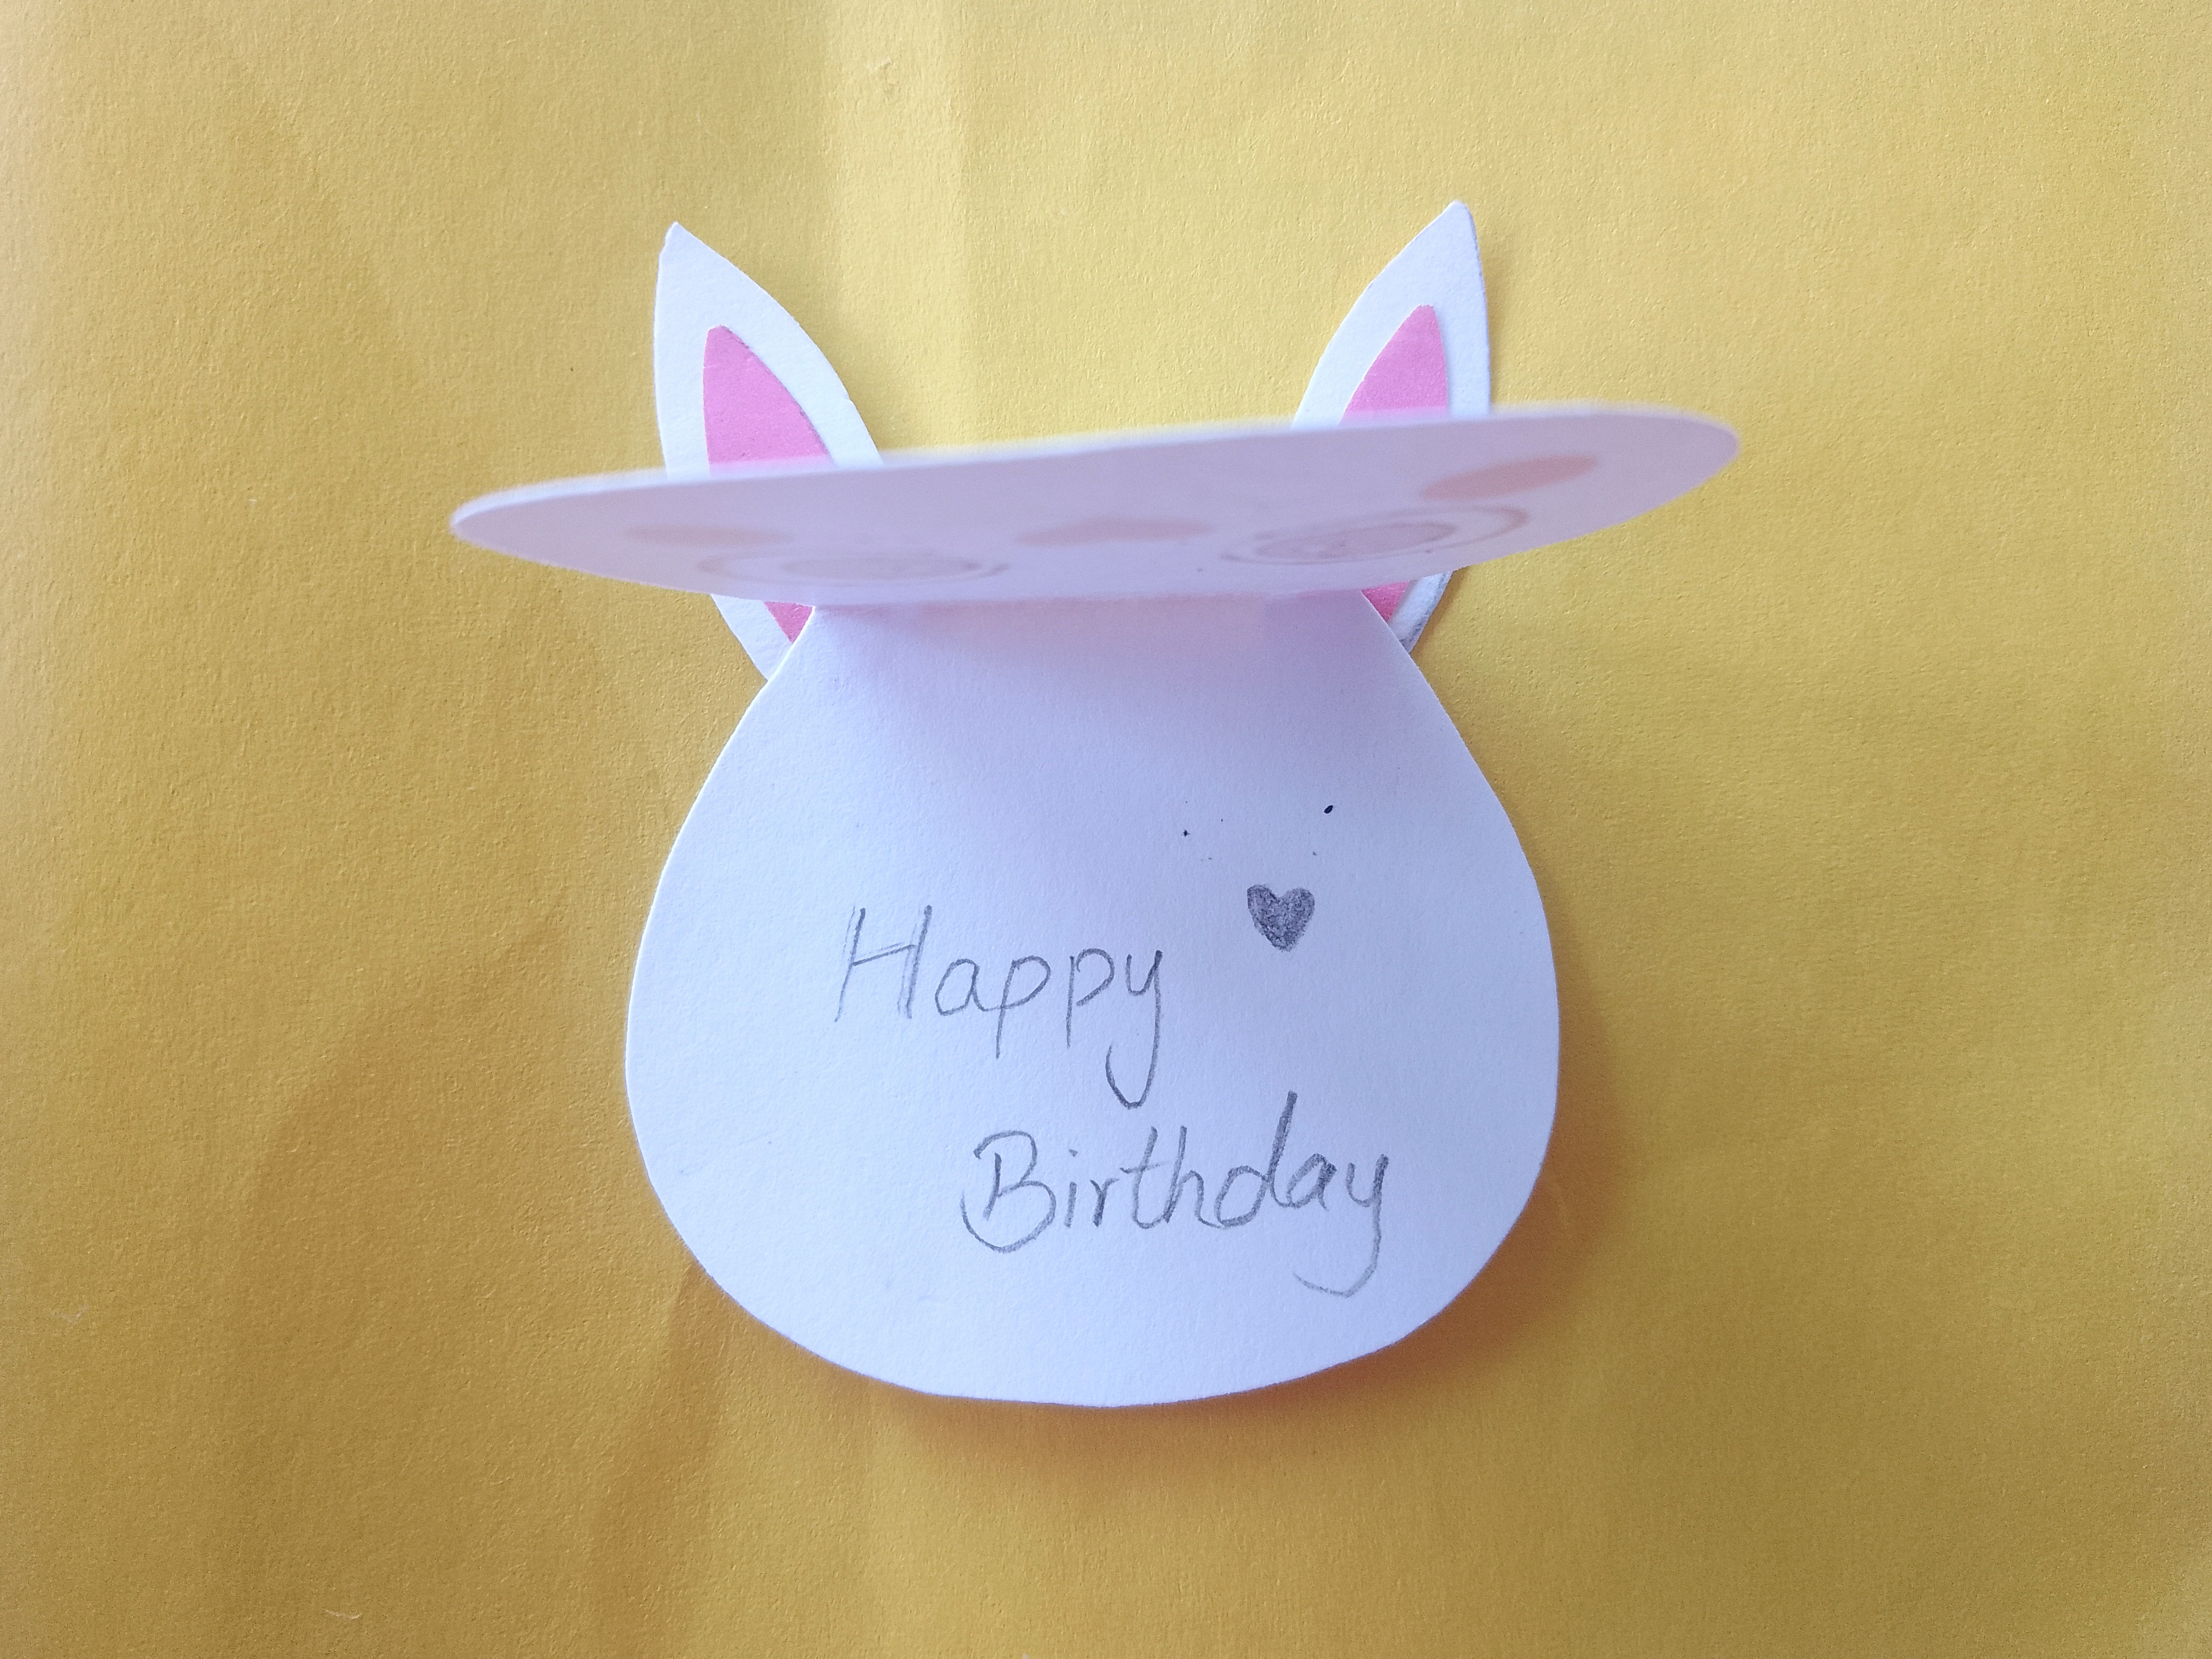
At the end, I wrote my username and here is the bunny's card final look.
I hope you enjoyed this tutorial. I would like to invite @mohammad1076, @taaher1 and @roohiasif99 to participate in this contest and show their talent and creativity.
That's all for today. Till the next post, Allah Hafiz
It's so beautiful, you made it, I've followed all the steps and your hard work is visible in it, best of luck💐💐
0.00 SBD,
0.01 STEEM,
0.01 SP
Thank you so much @roohiasif99 for appreciating and noticing my hard work ❤️
https://x.com/i/status/2082698299732291869
Thank you 😊
Thank you for publishing an article in the Steem Kids & Parent community today. We have assessed your entry and we present the result of our assessment below.
MODs Comment/Recommendation:
Thanks for sharing your post with us.
Remember to always share your post on Twitter. This POST LINK is a guide to that effect.