Contest alert- All in one contest W45 : Blooming Creativity | Handmade Paper Flower Tree
بِسْمِ اللّٰهِ الرَّحْمٰنِ الرَّحِیْمِ
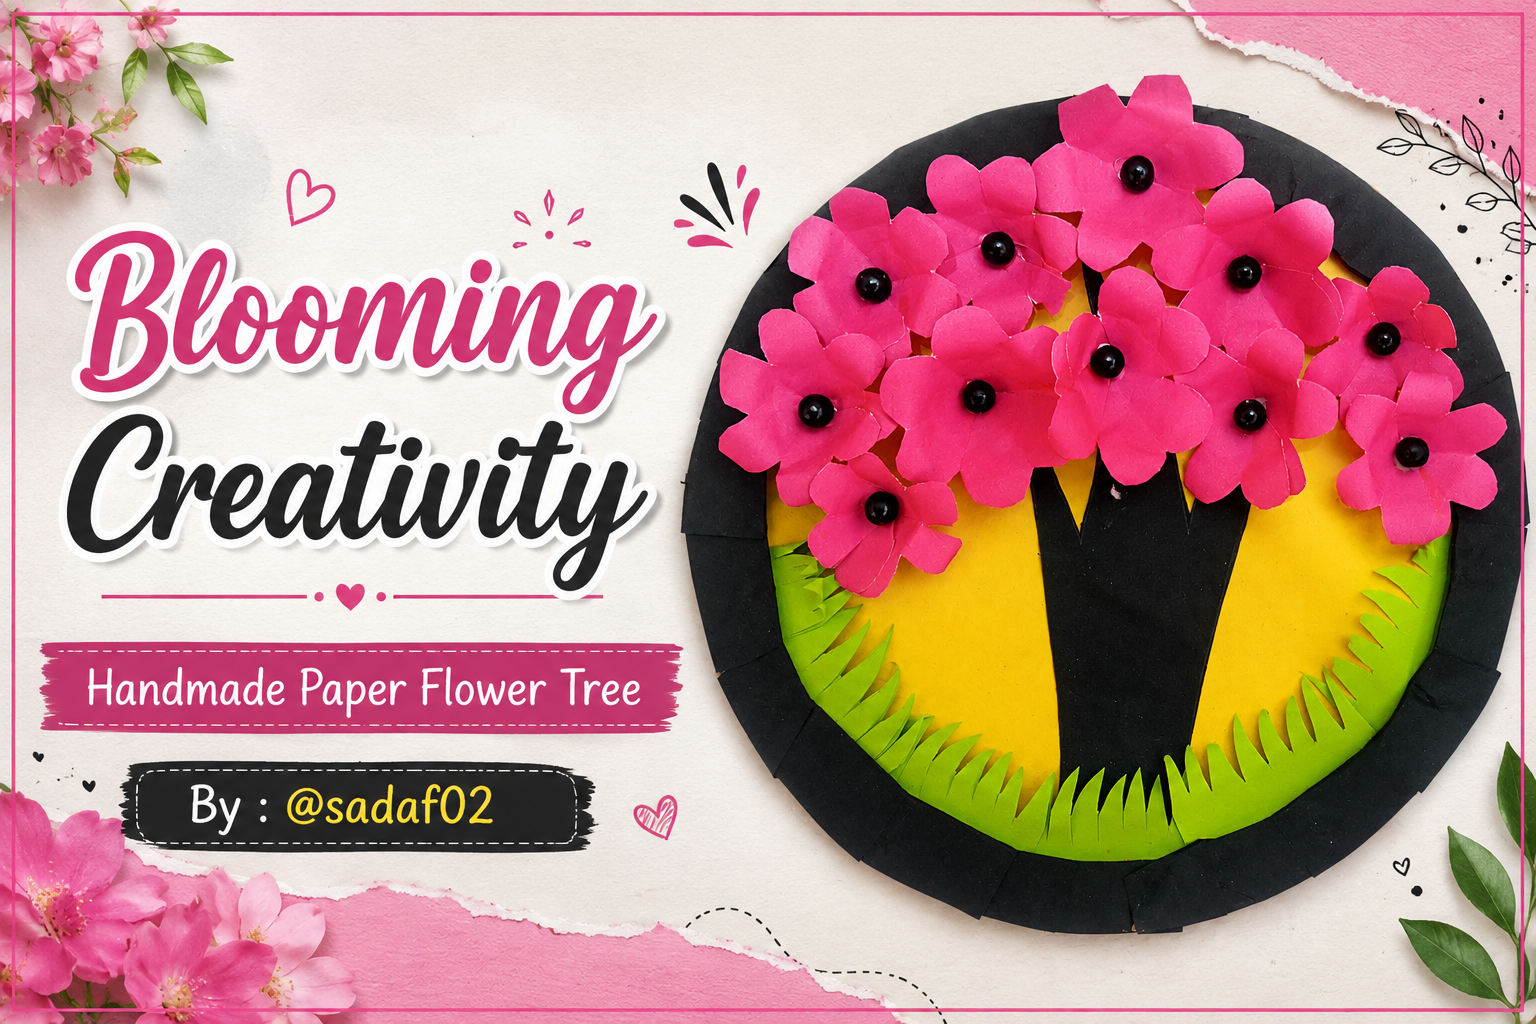
Thumbnail Image
༻꧂Good Morning Steemians༻꧂ |
|---|
Hey everyone! I hope you are all doing well. Today I want to share a paper flower tree craft. I made in my free time. I enjoy making simple handmade crafts. They help me relax. It give me a chance to be creative. I used colorful paper to create this blossom tree. Well guys I really enjoyed the whole process. I hope you like my work as much as I enjoyed making it. Let's get started.
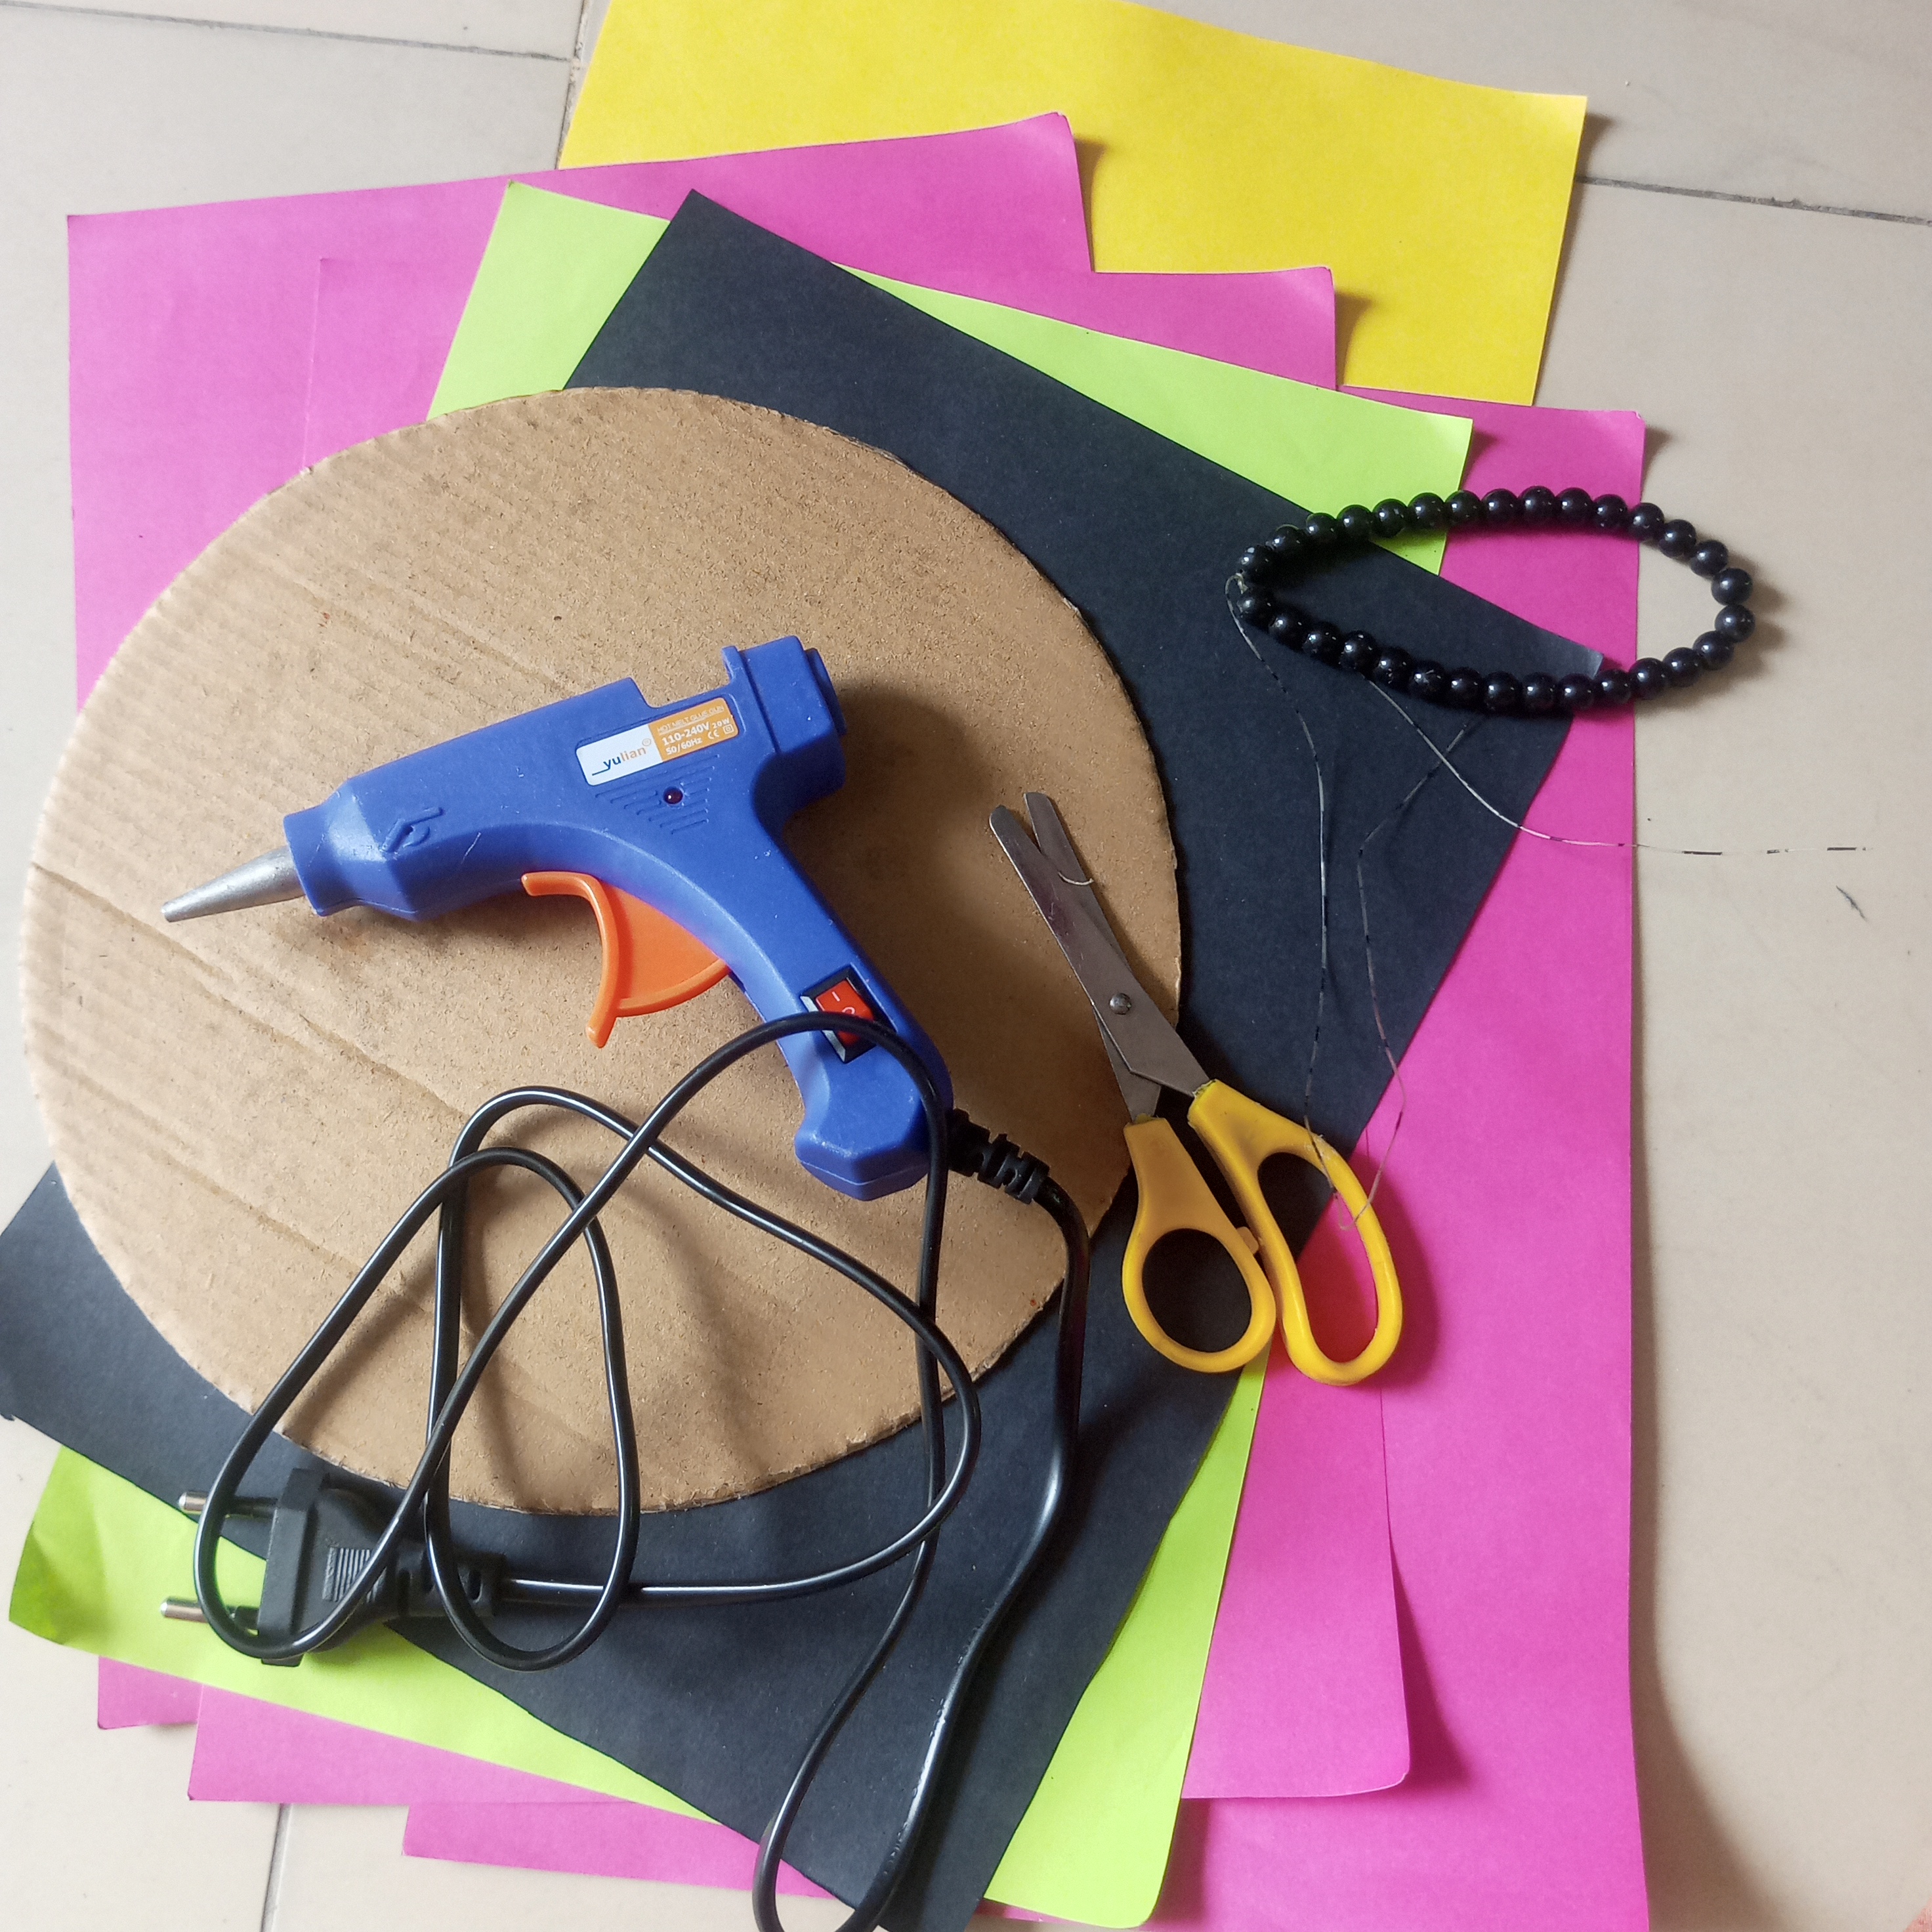
The Material Required For This Craft Is:
| SR | Material |
|---|---|
| 1 | Colorful Craft Papers |
| 2 | Scissor |
| 3 | Black Beads |
| 4 | Glue Gun |
| 5 | Cardboard |
༻Step 1༻
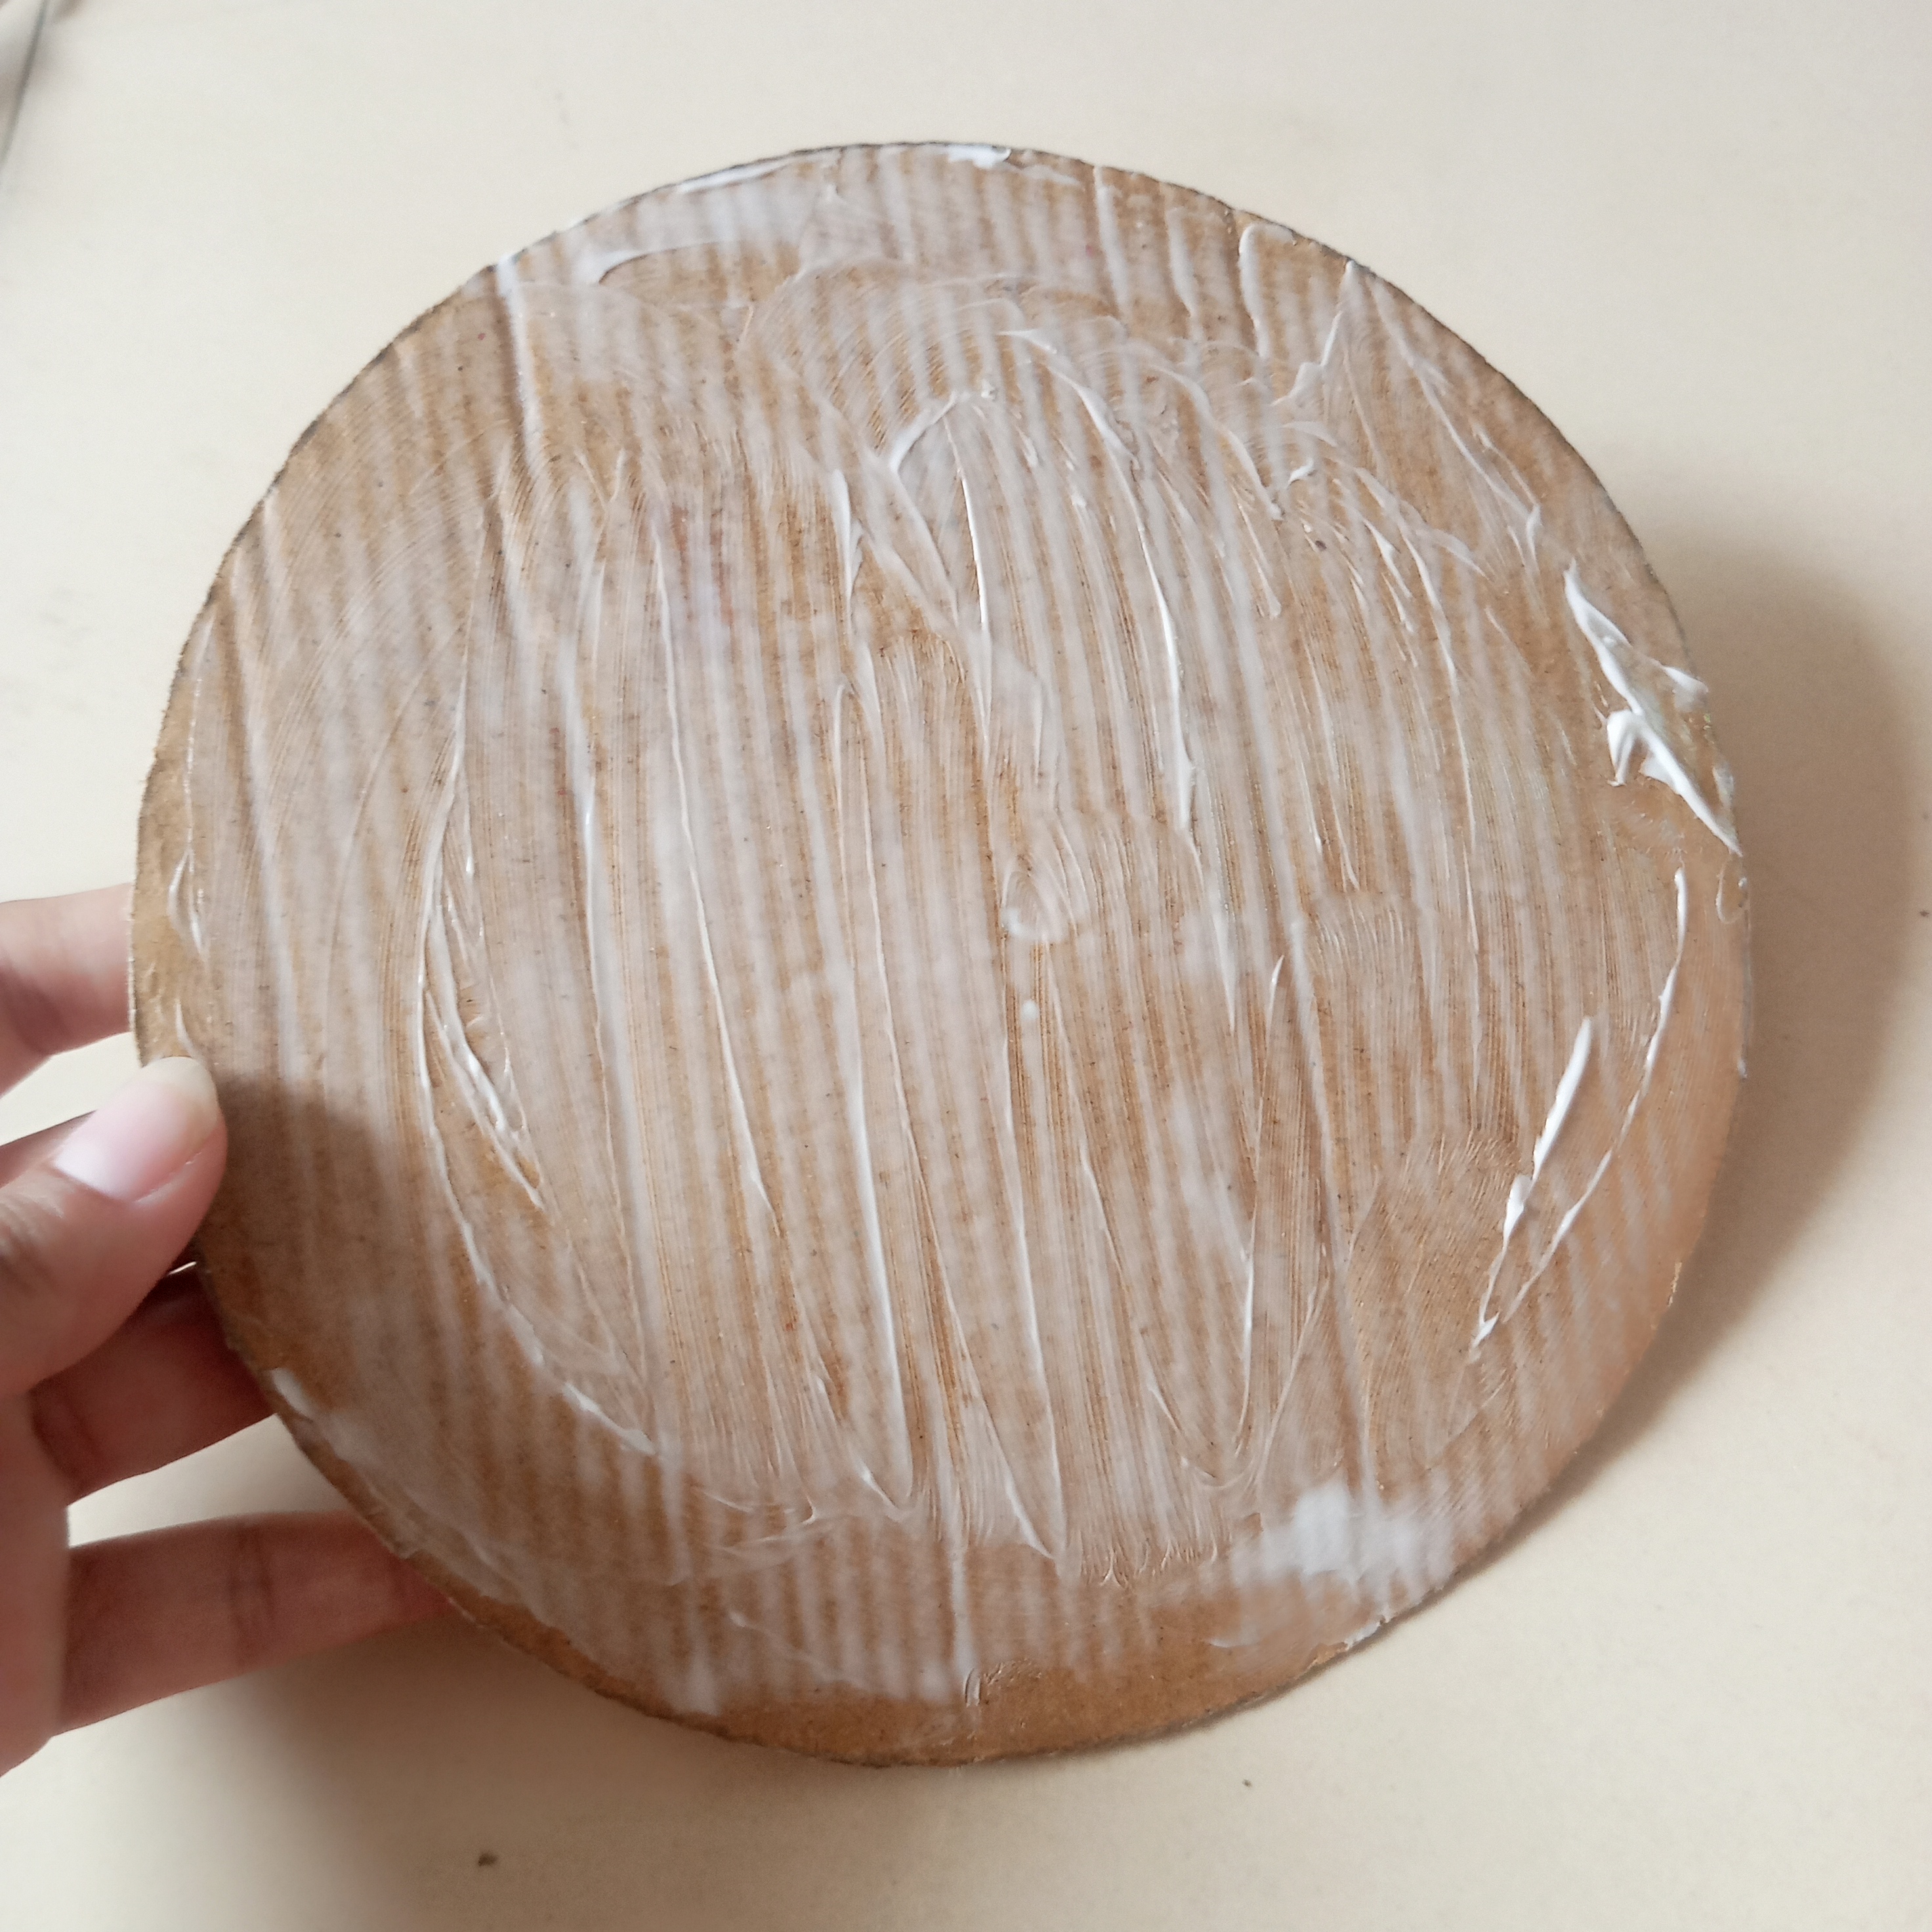
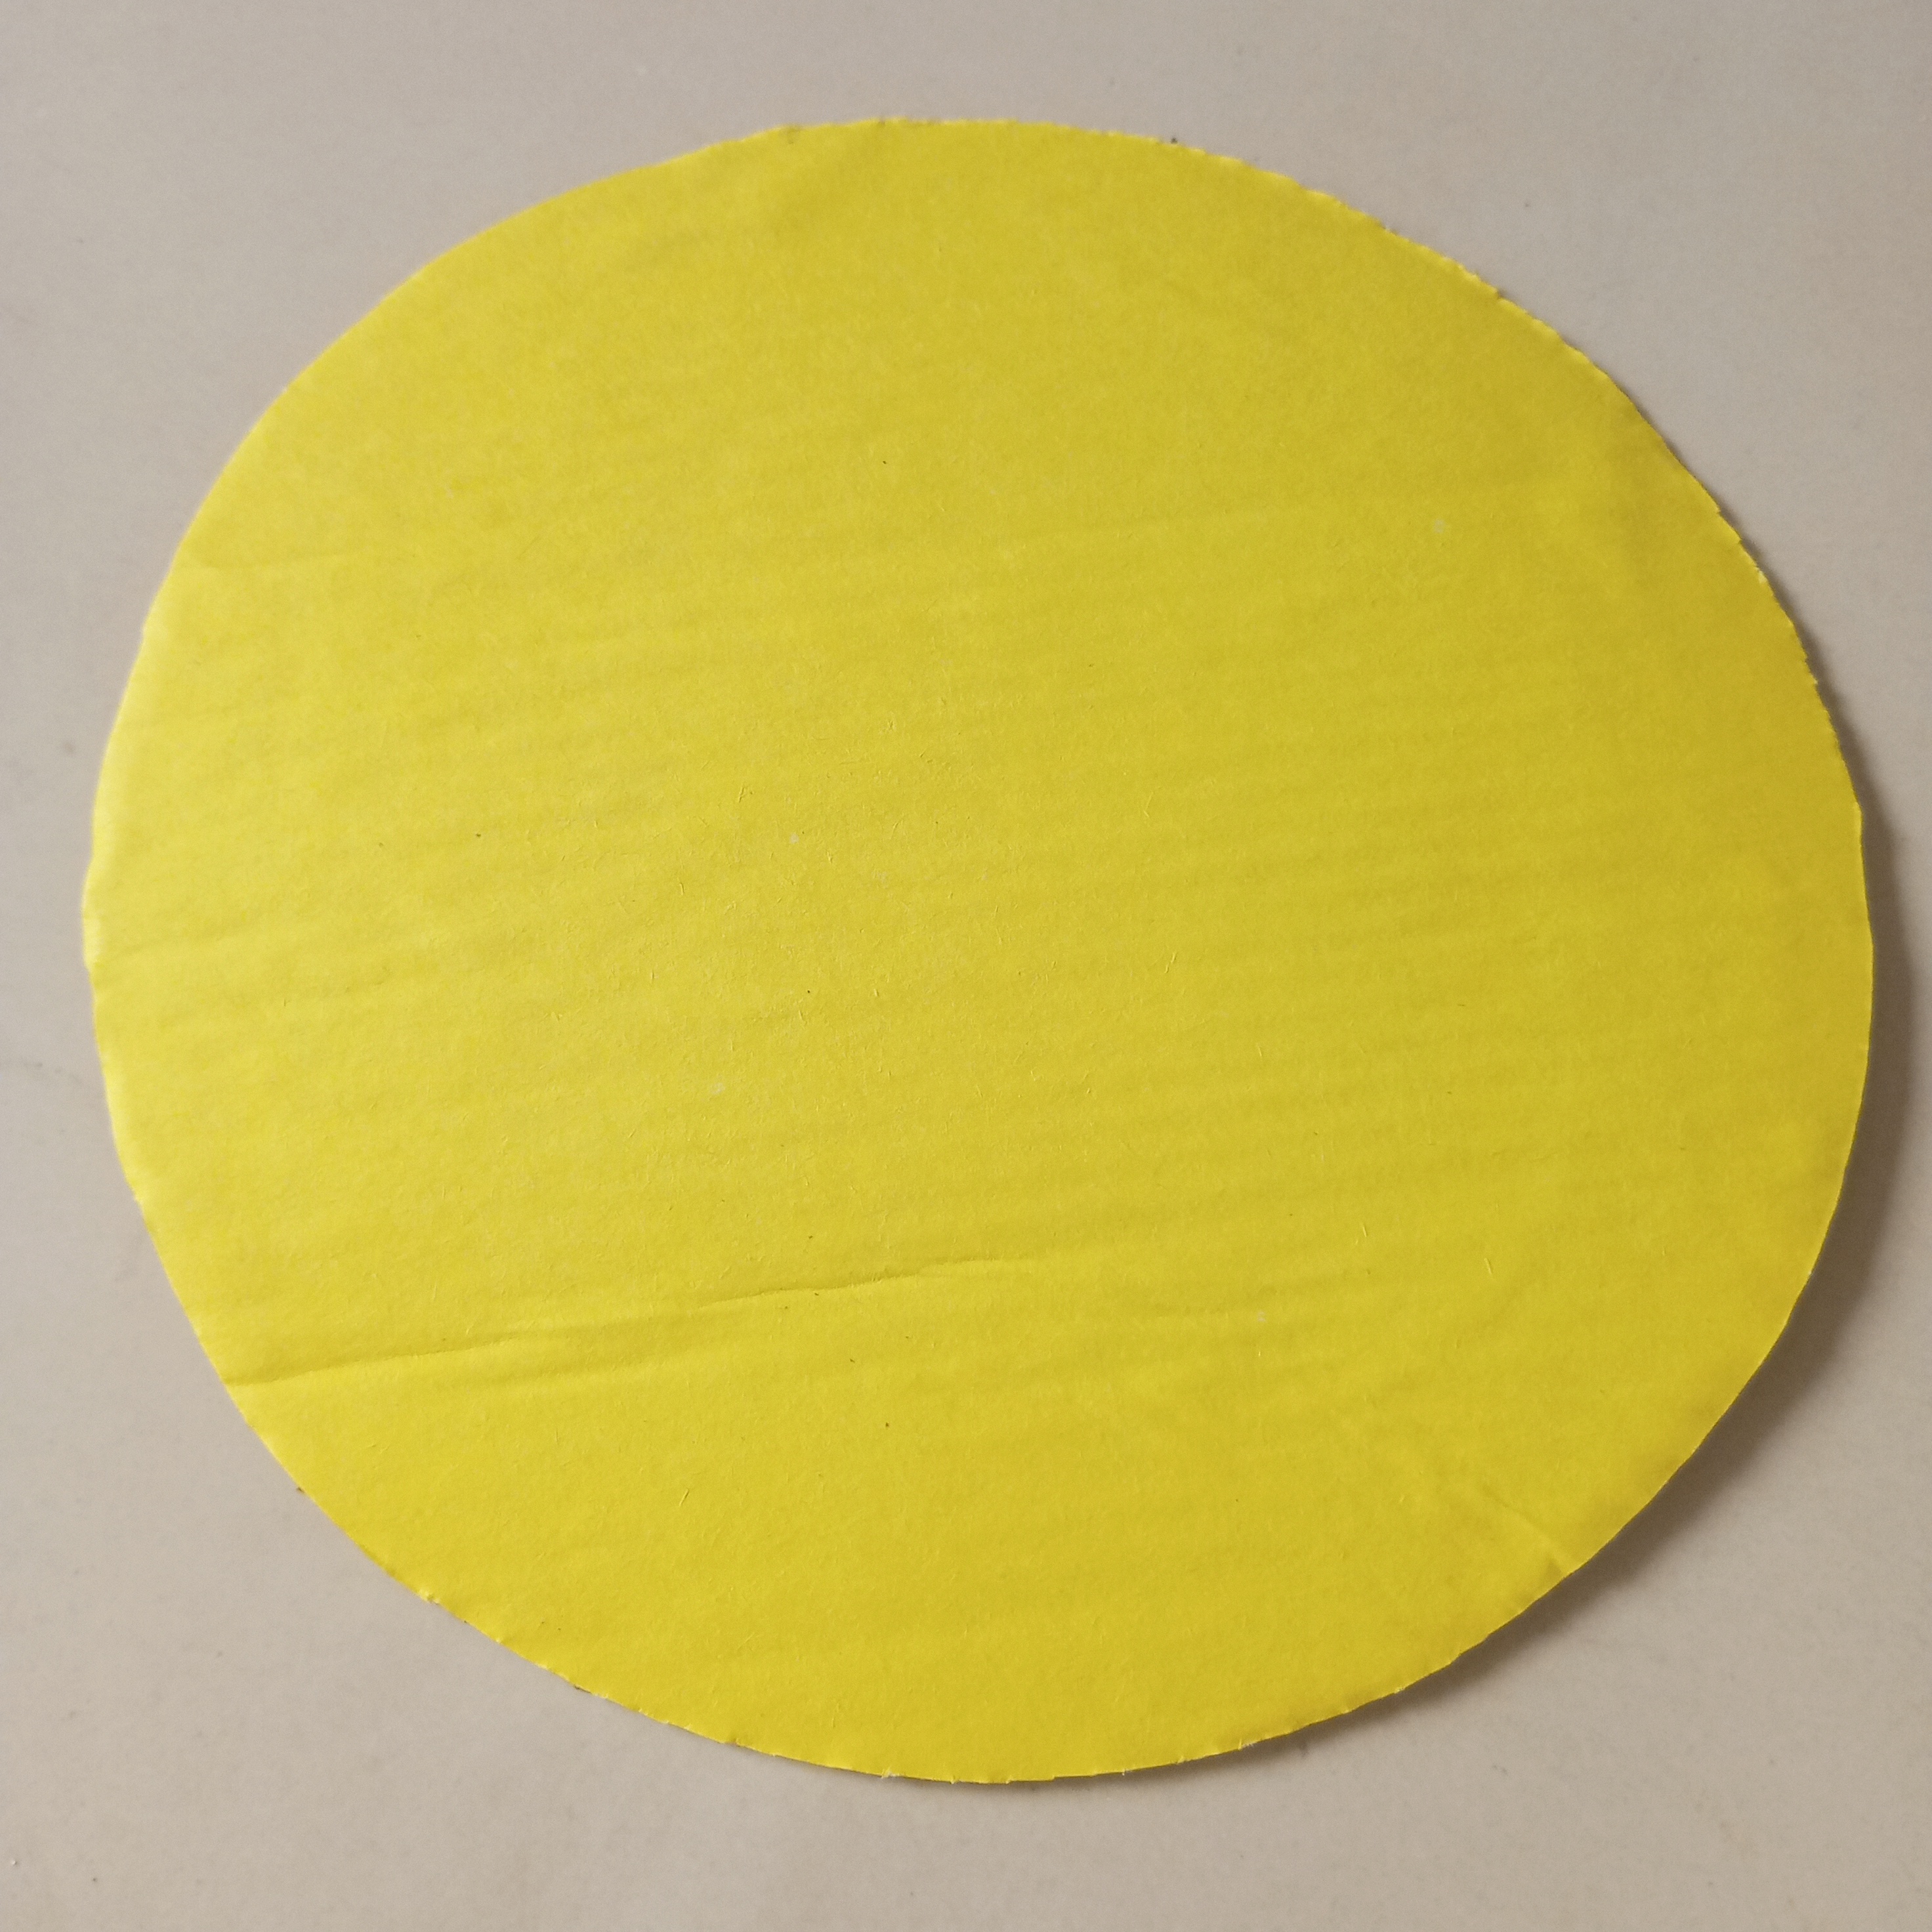
First I cut a round piece of cardboard to the size I wanted guys. After that apply the glue on it well all over the surface so that the chart paper sticks easily. Then I carefully placed yellow chart paper of the same size on top of it and pressed it flat with a light hand so that there were no bubbles or slots. Finally let it dry for a few minutes. This is to make the next step easier.
 |
|---|
 |
|---|
༻Step 2༻
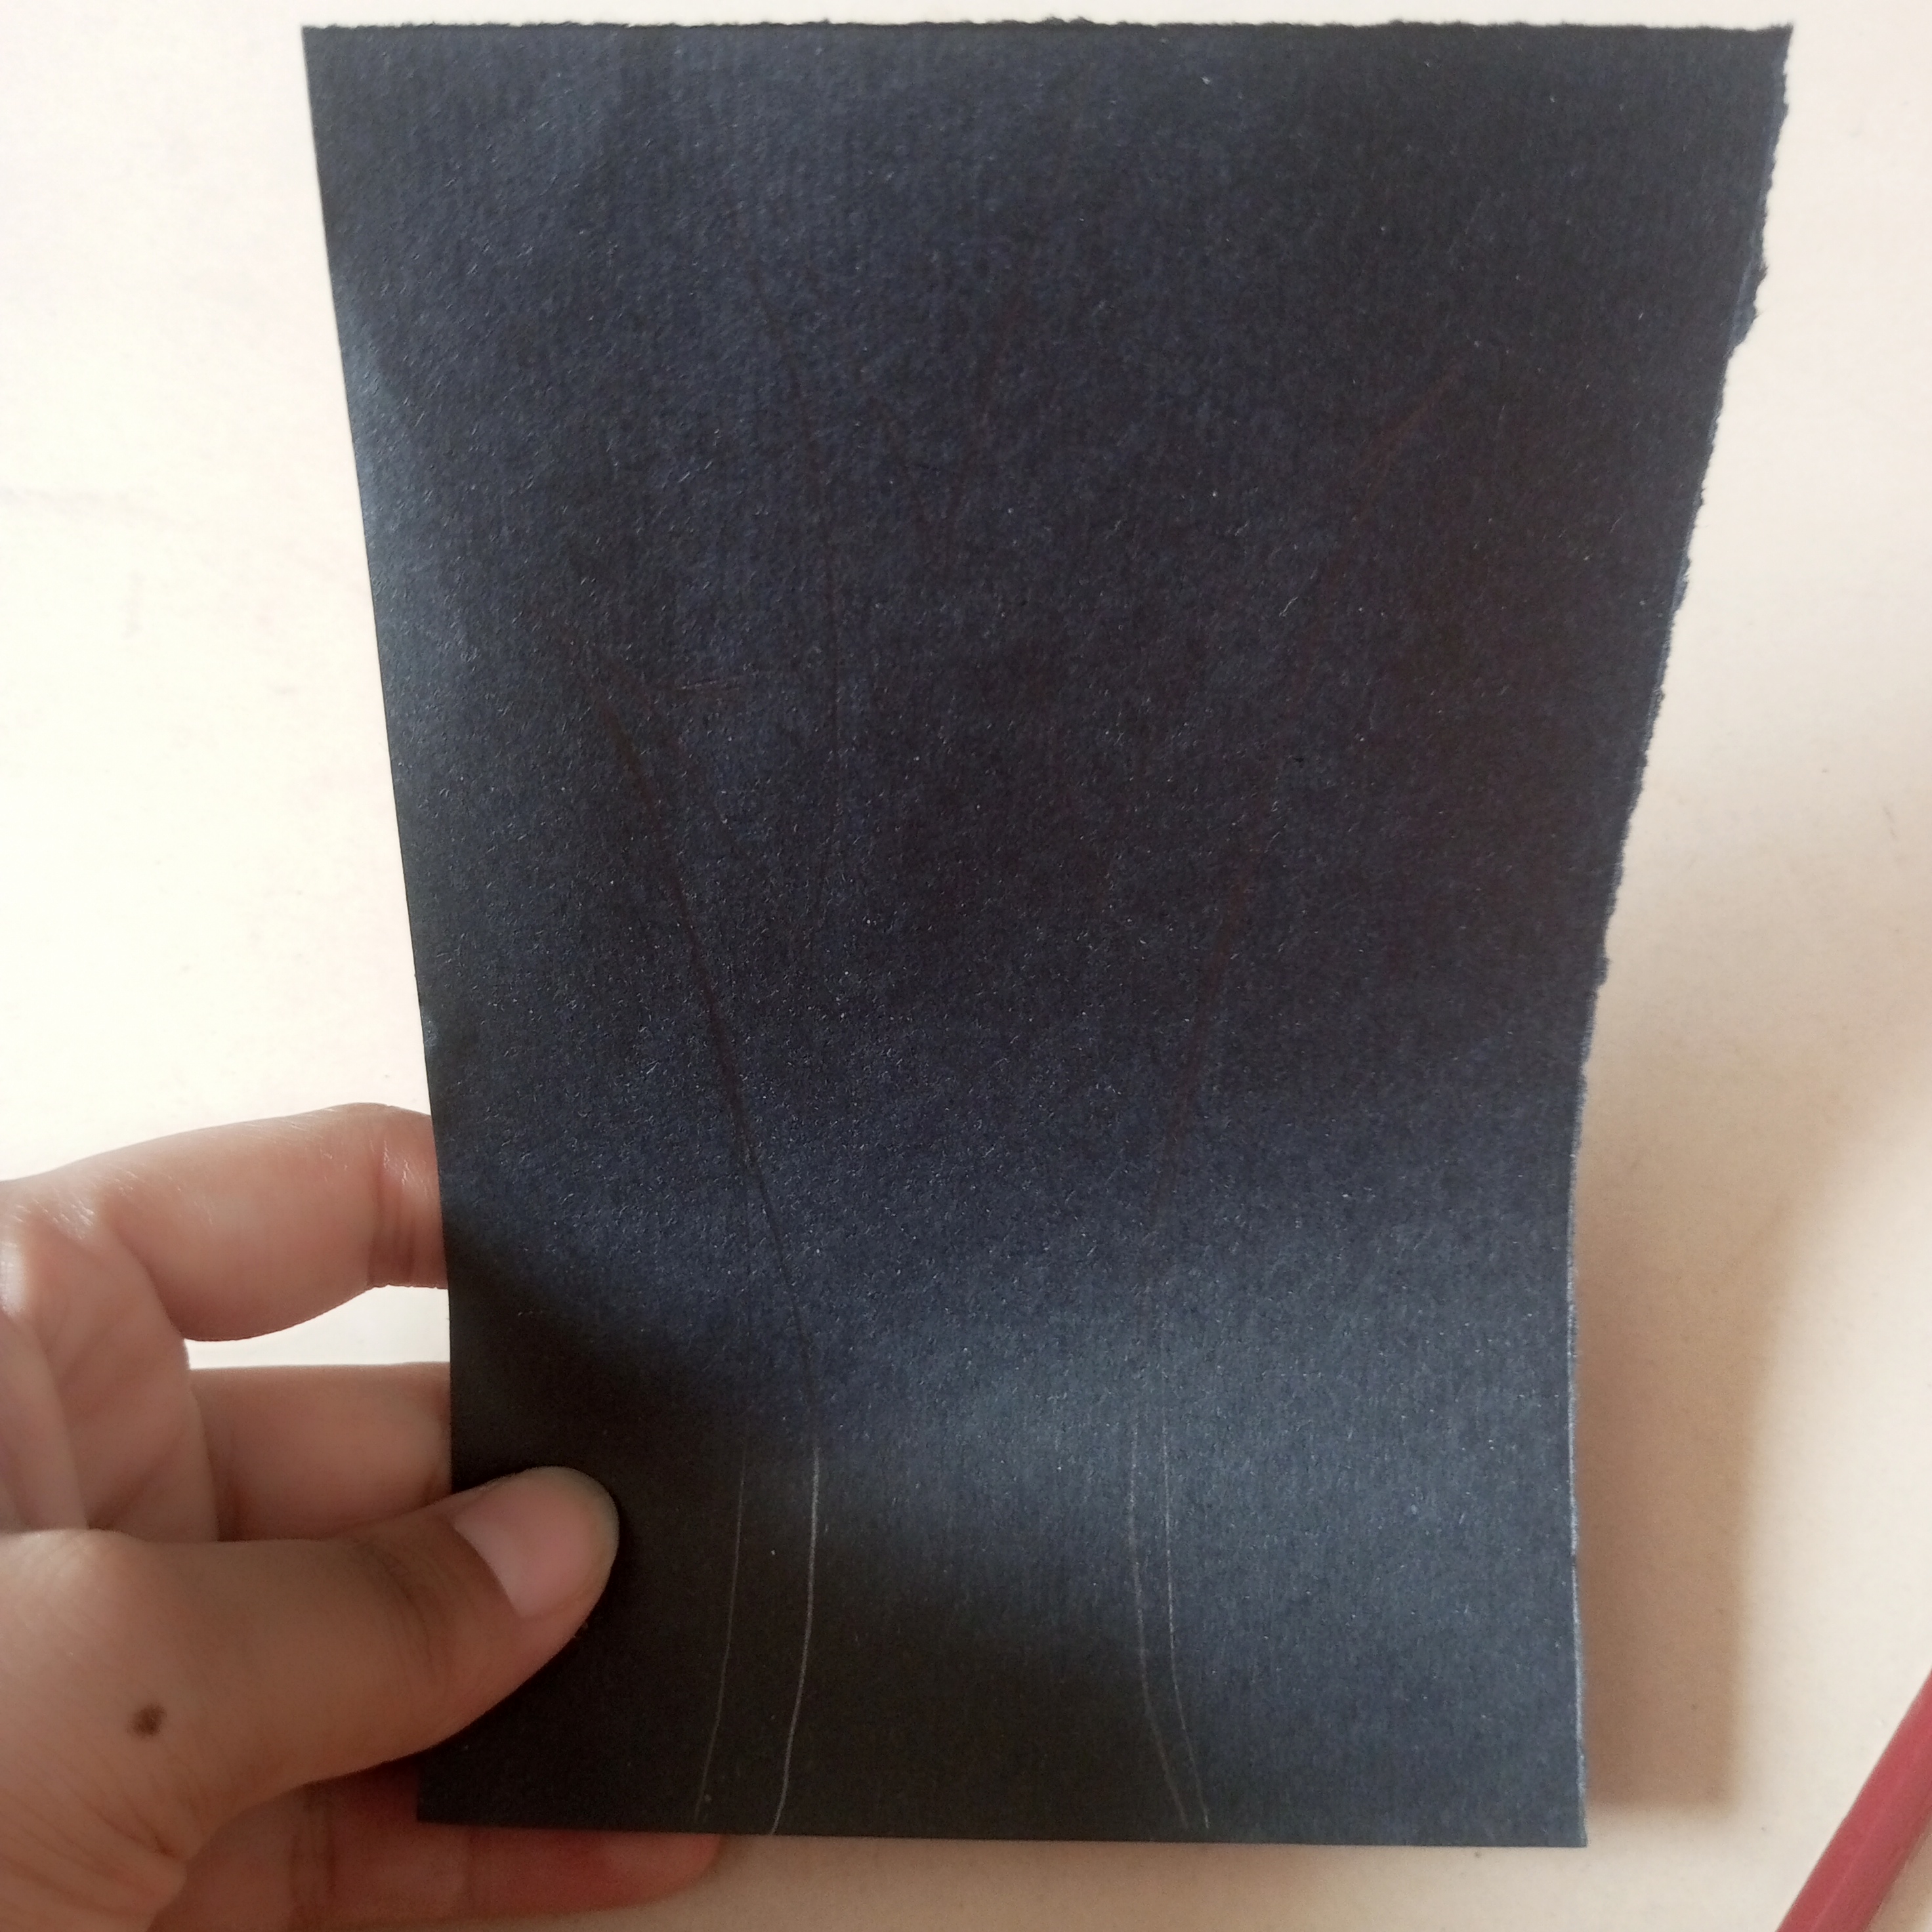
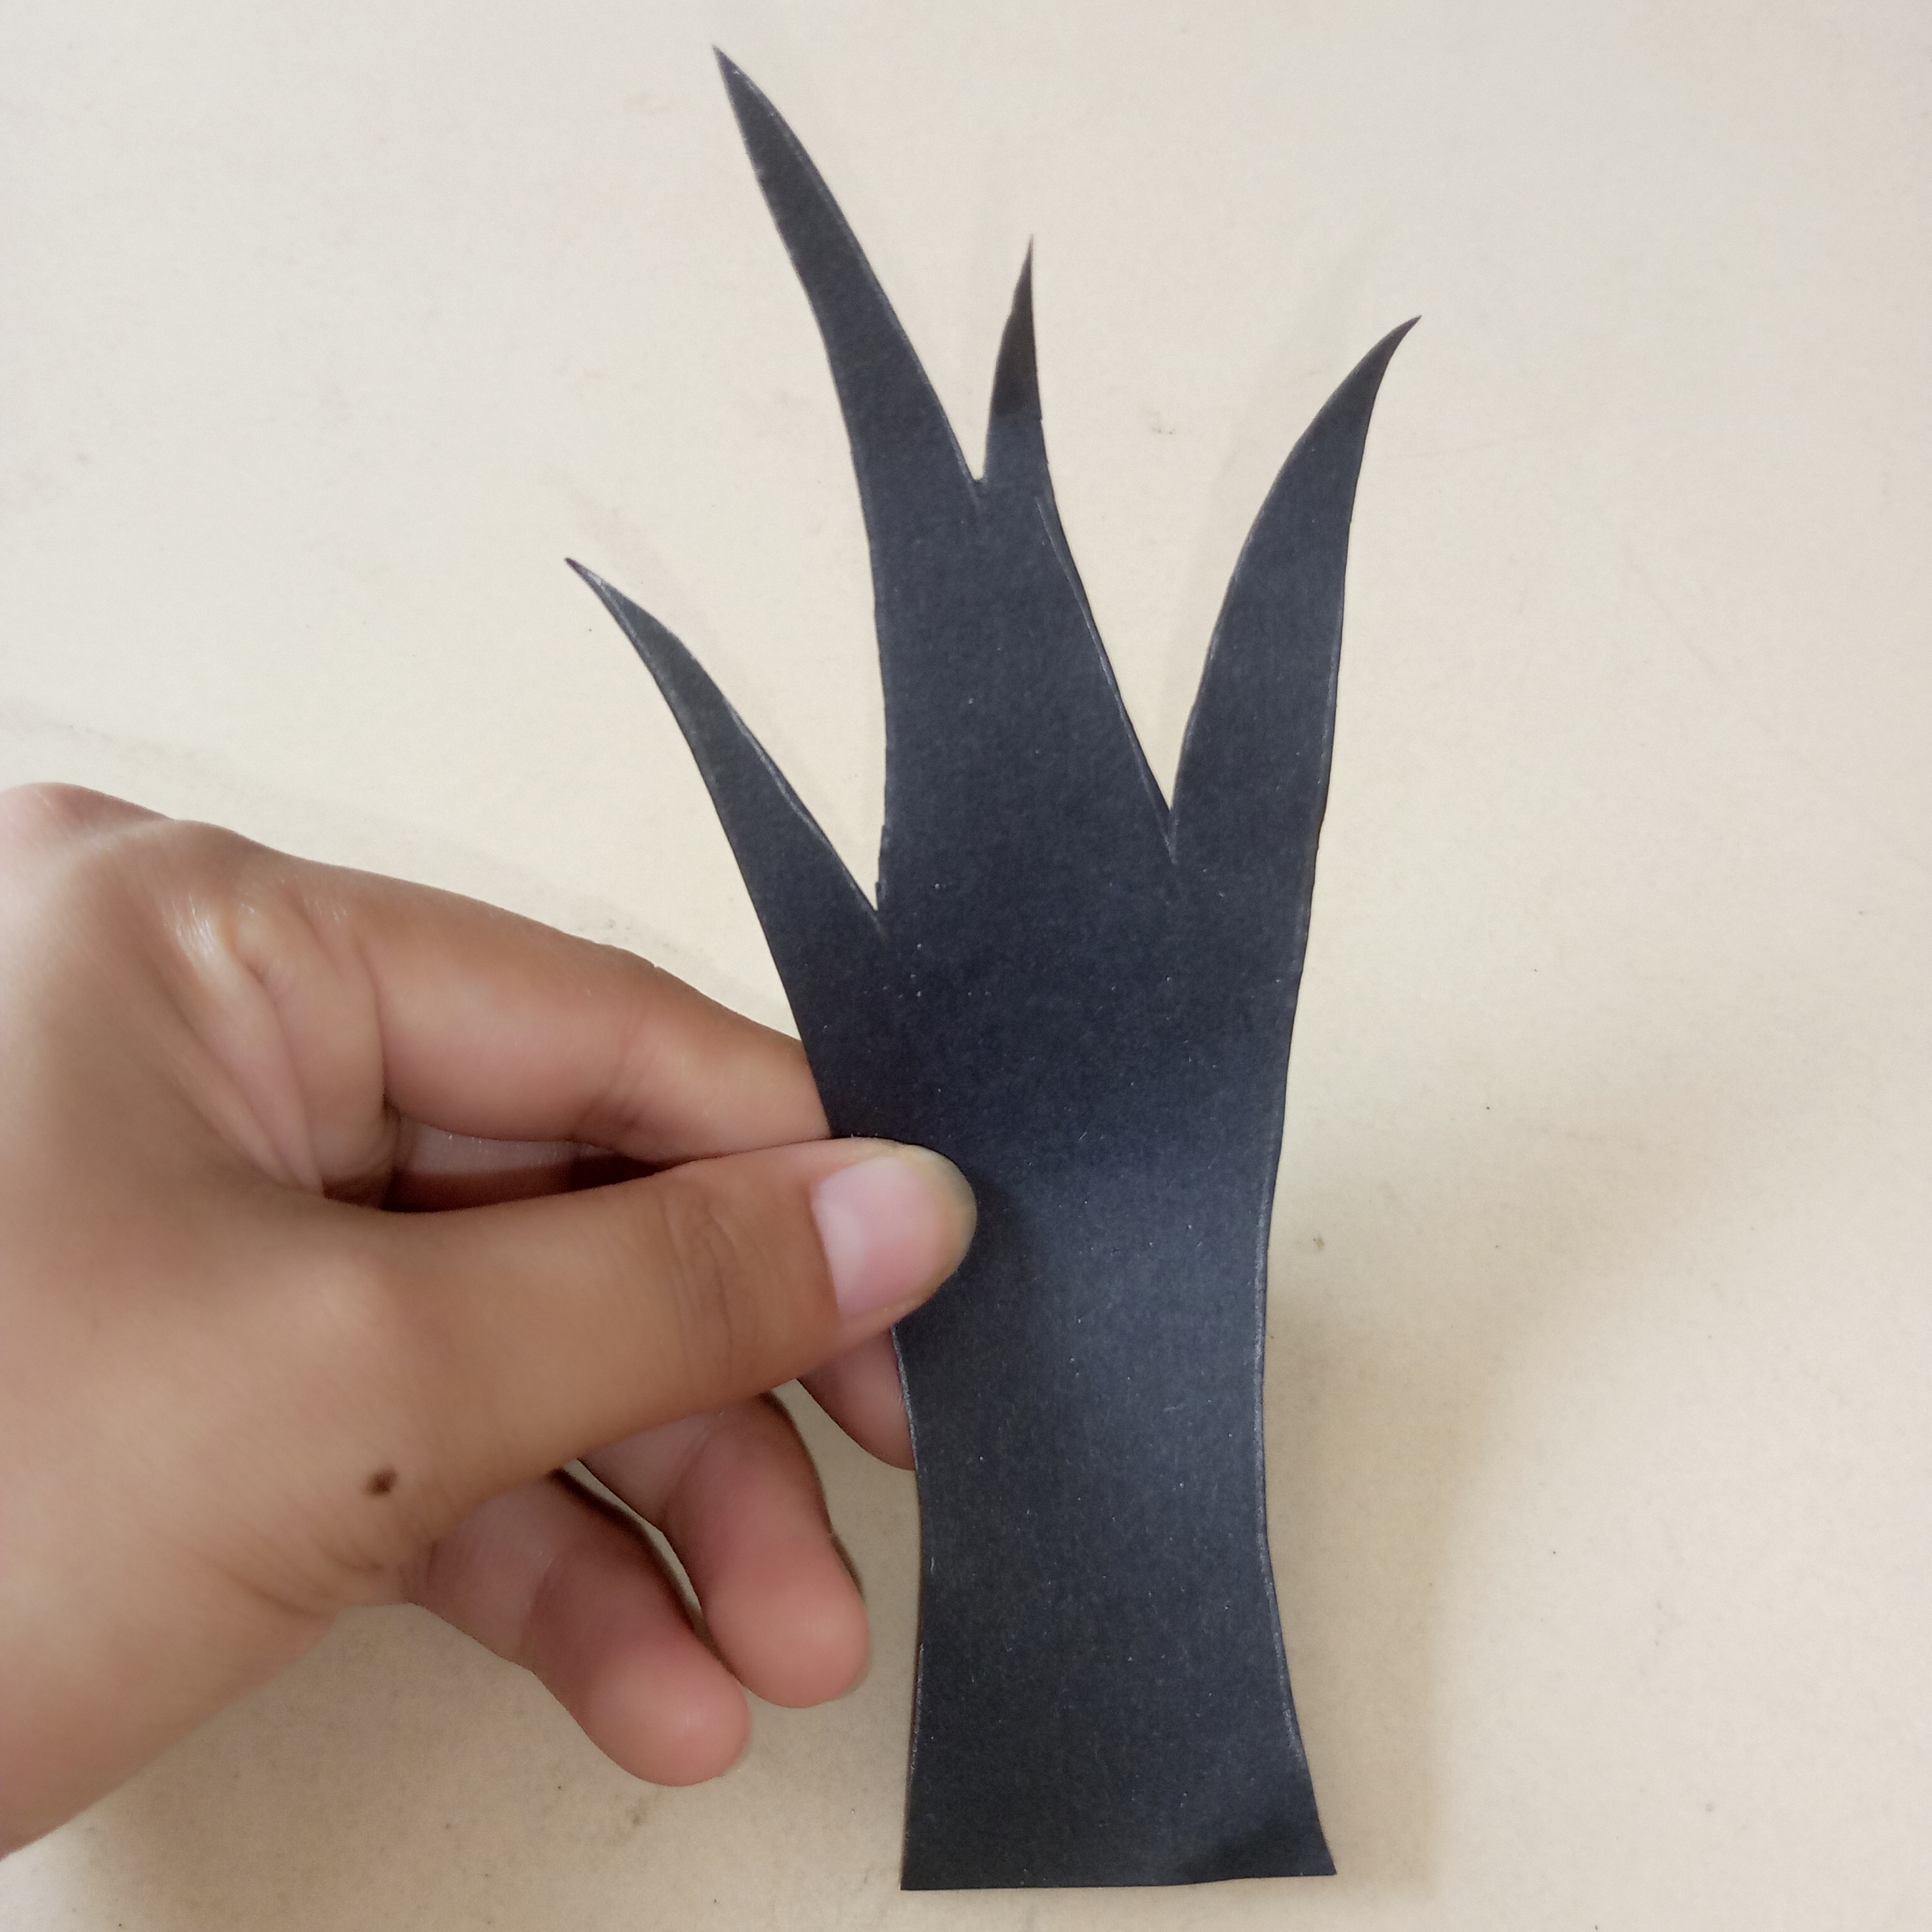
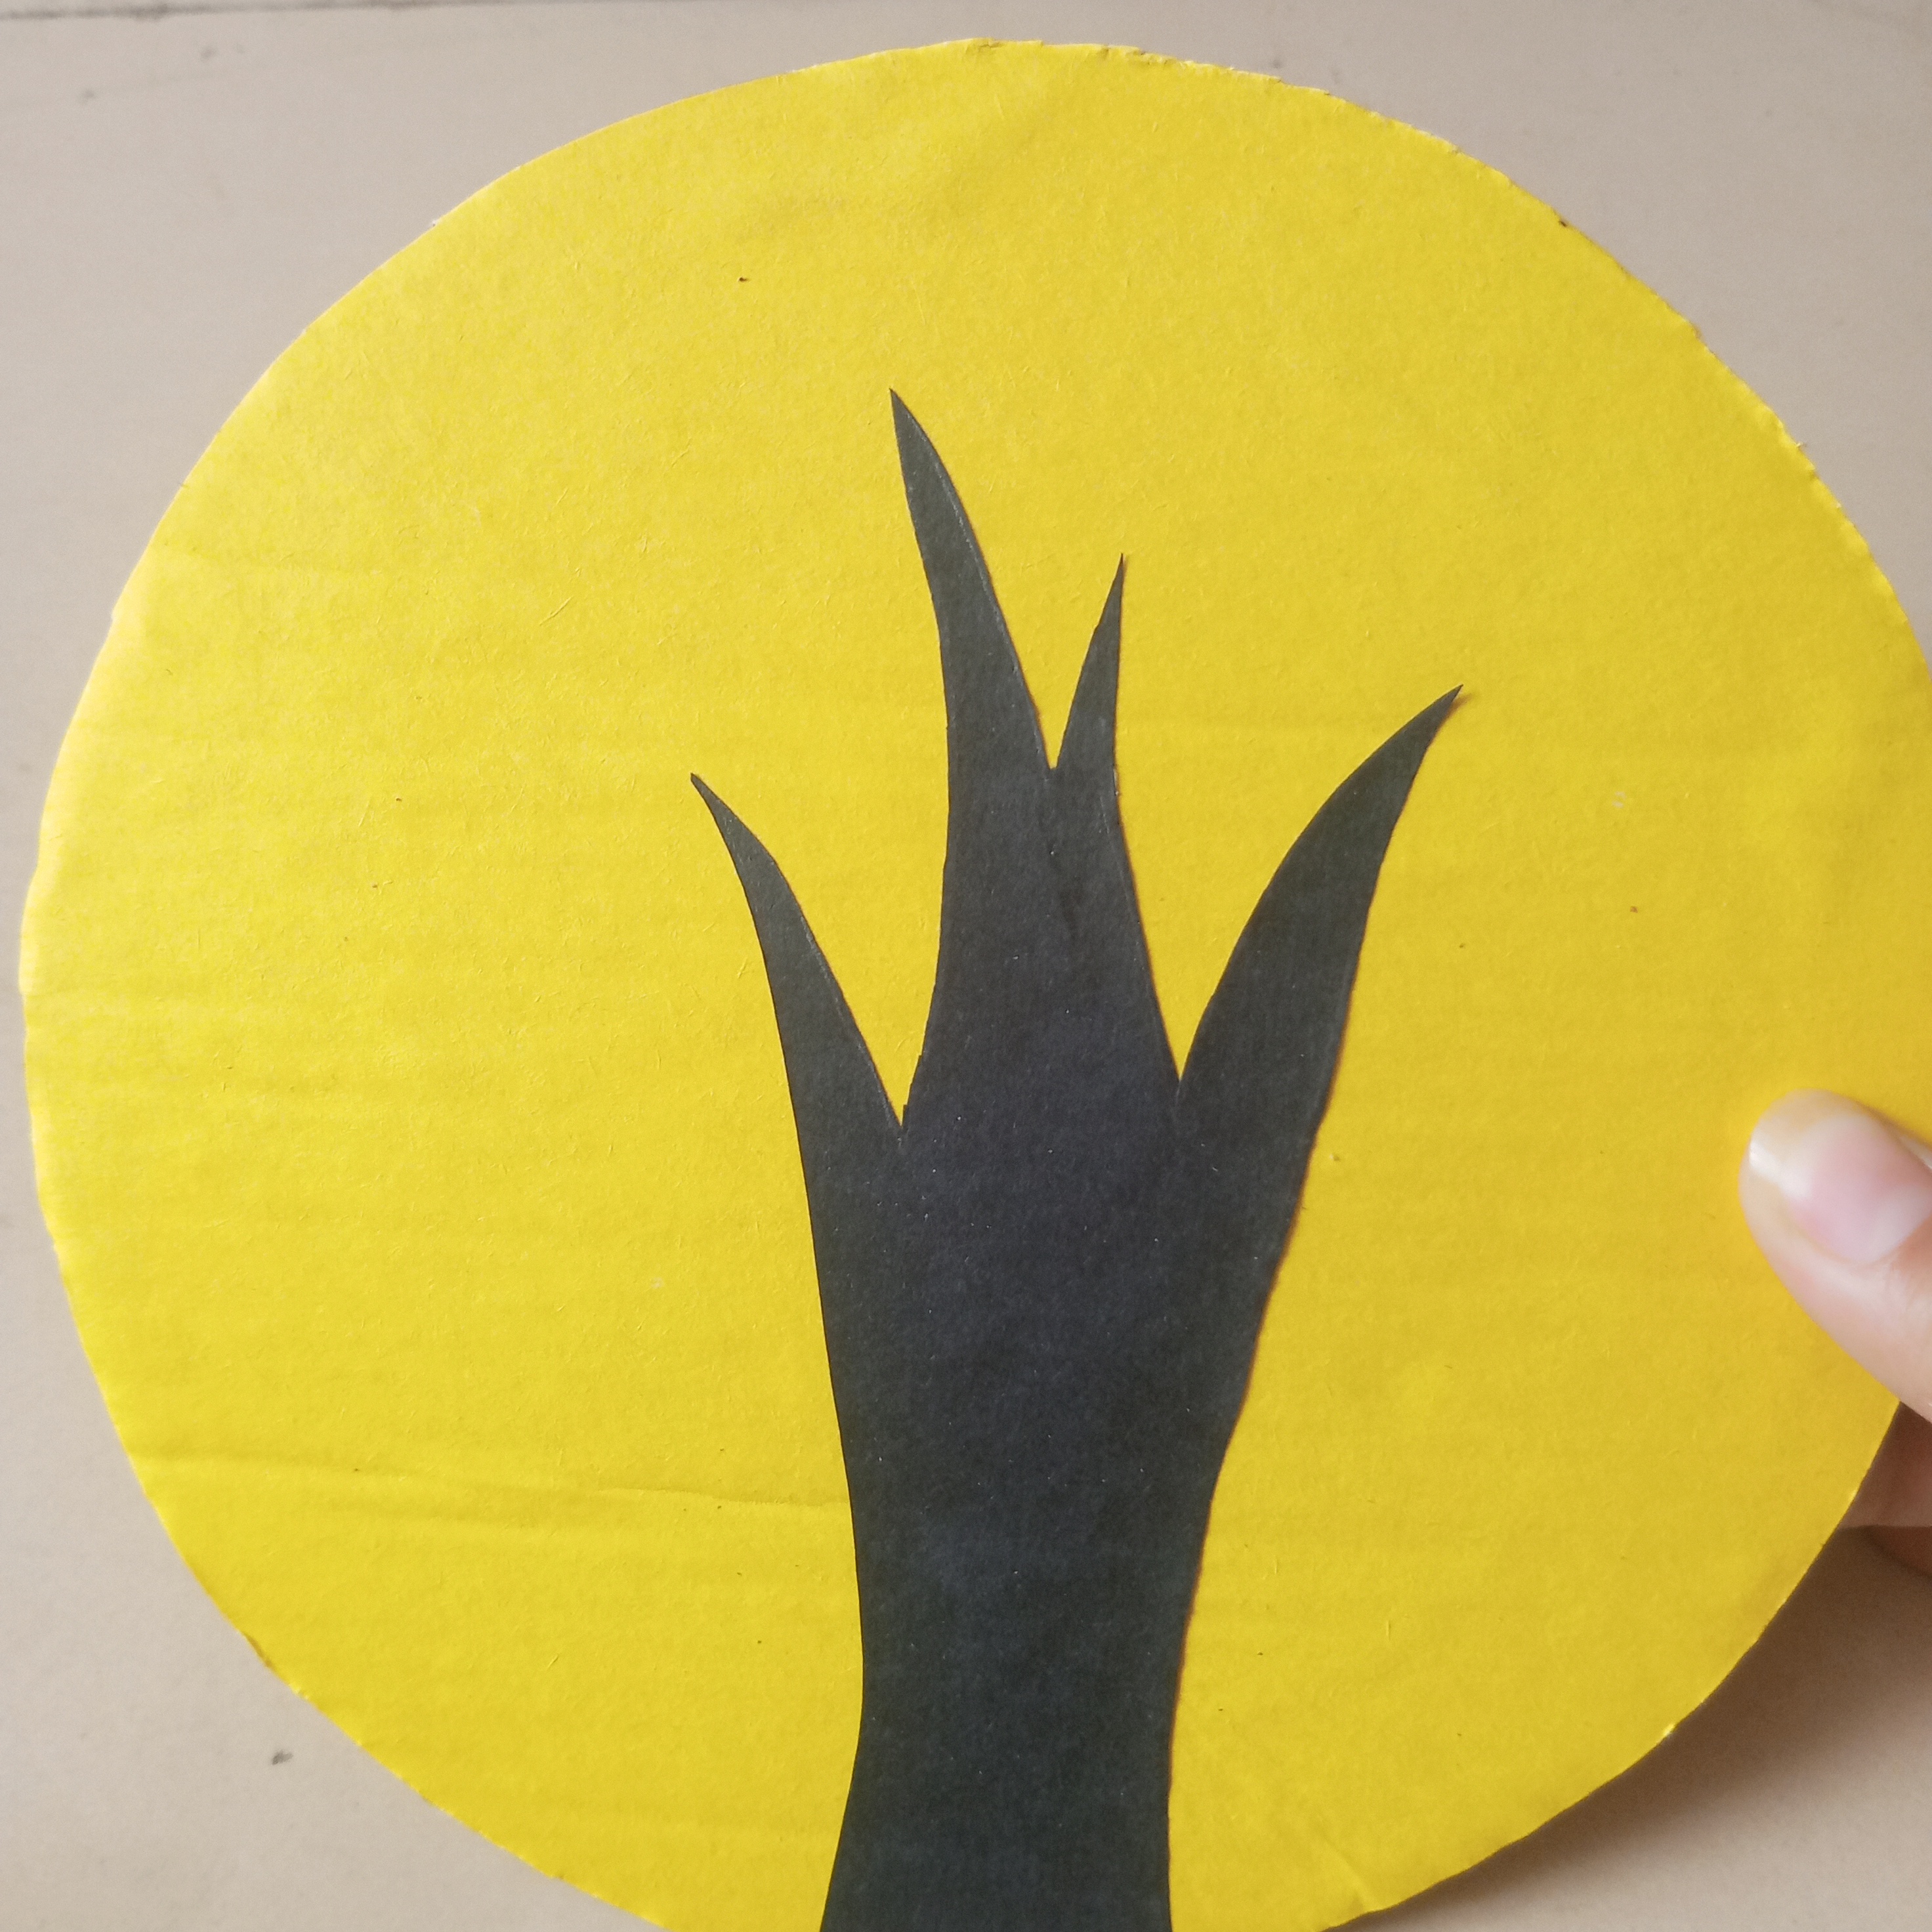
Then I drew a simple design of the tree trunk and branches on black craft paper. Well I carefully cut it with scissor. So that the edges are clean. When the design was ready, I put a little glue on it and stuck it well between the yellow round base. After this stage the basic shape of my craft started to take shape and the tree started to look clear.
 |  |  |
|---|
༻Step 3༻
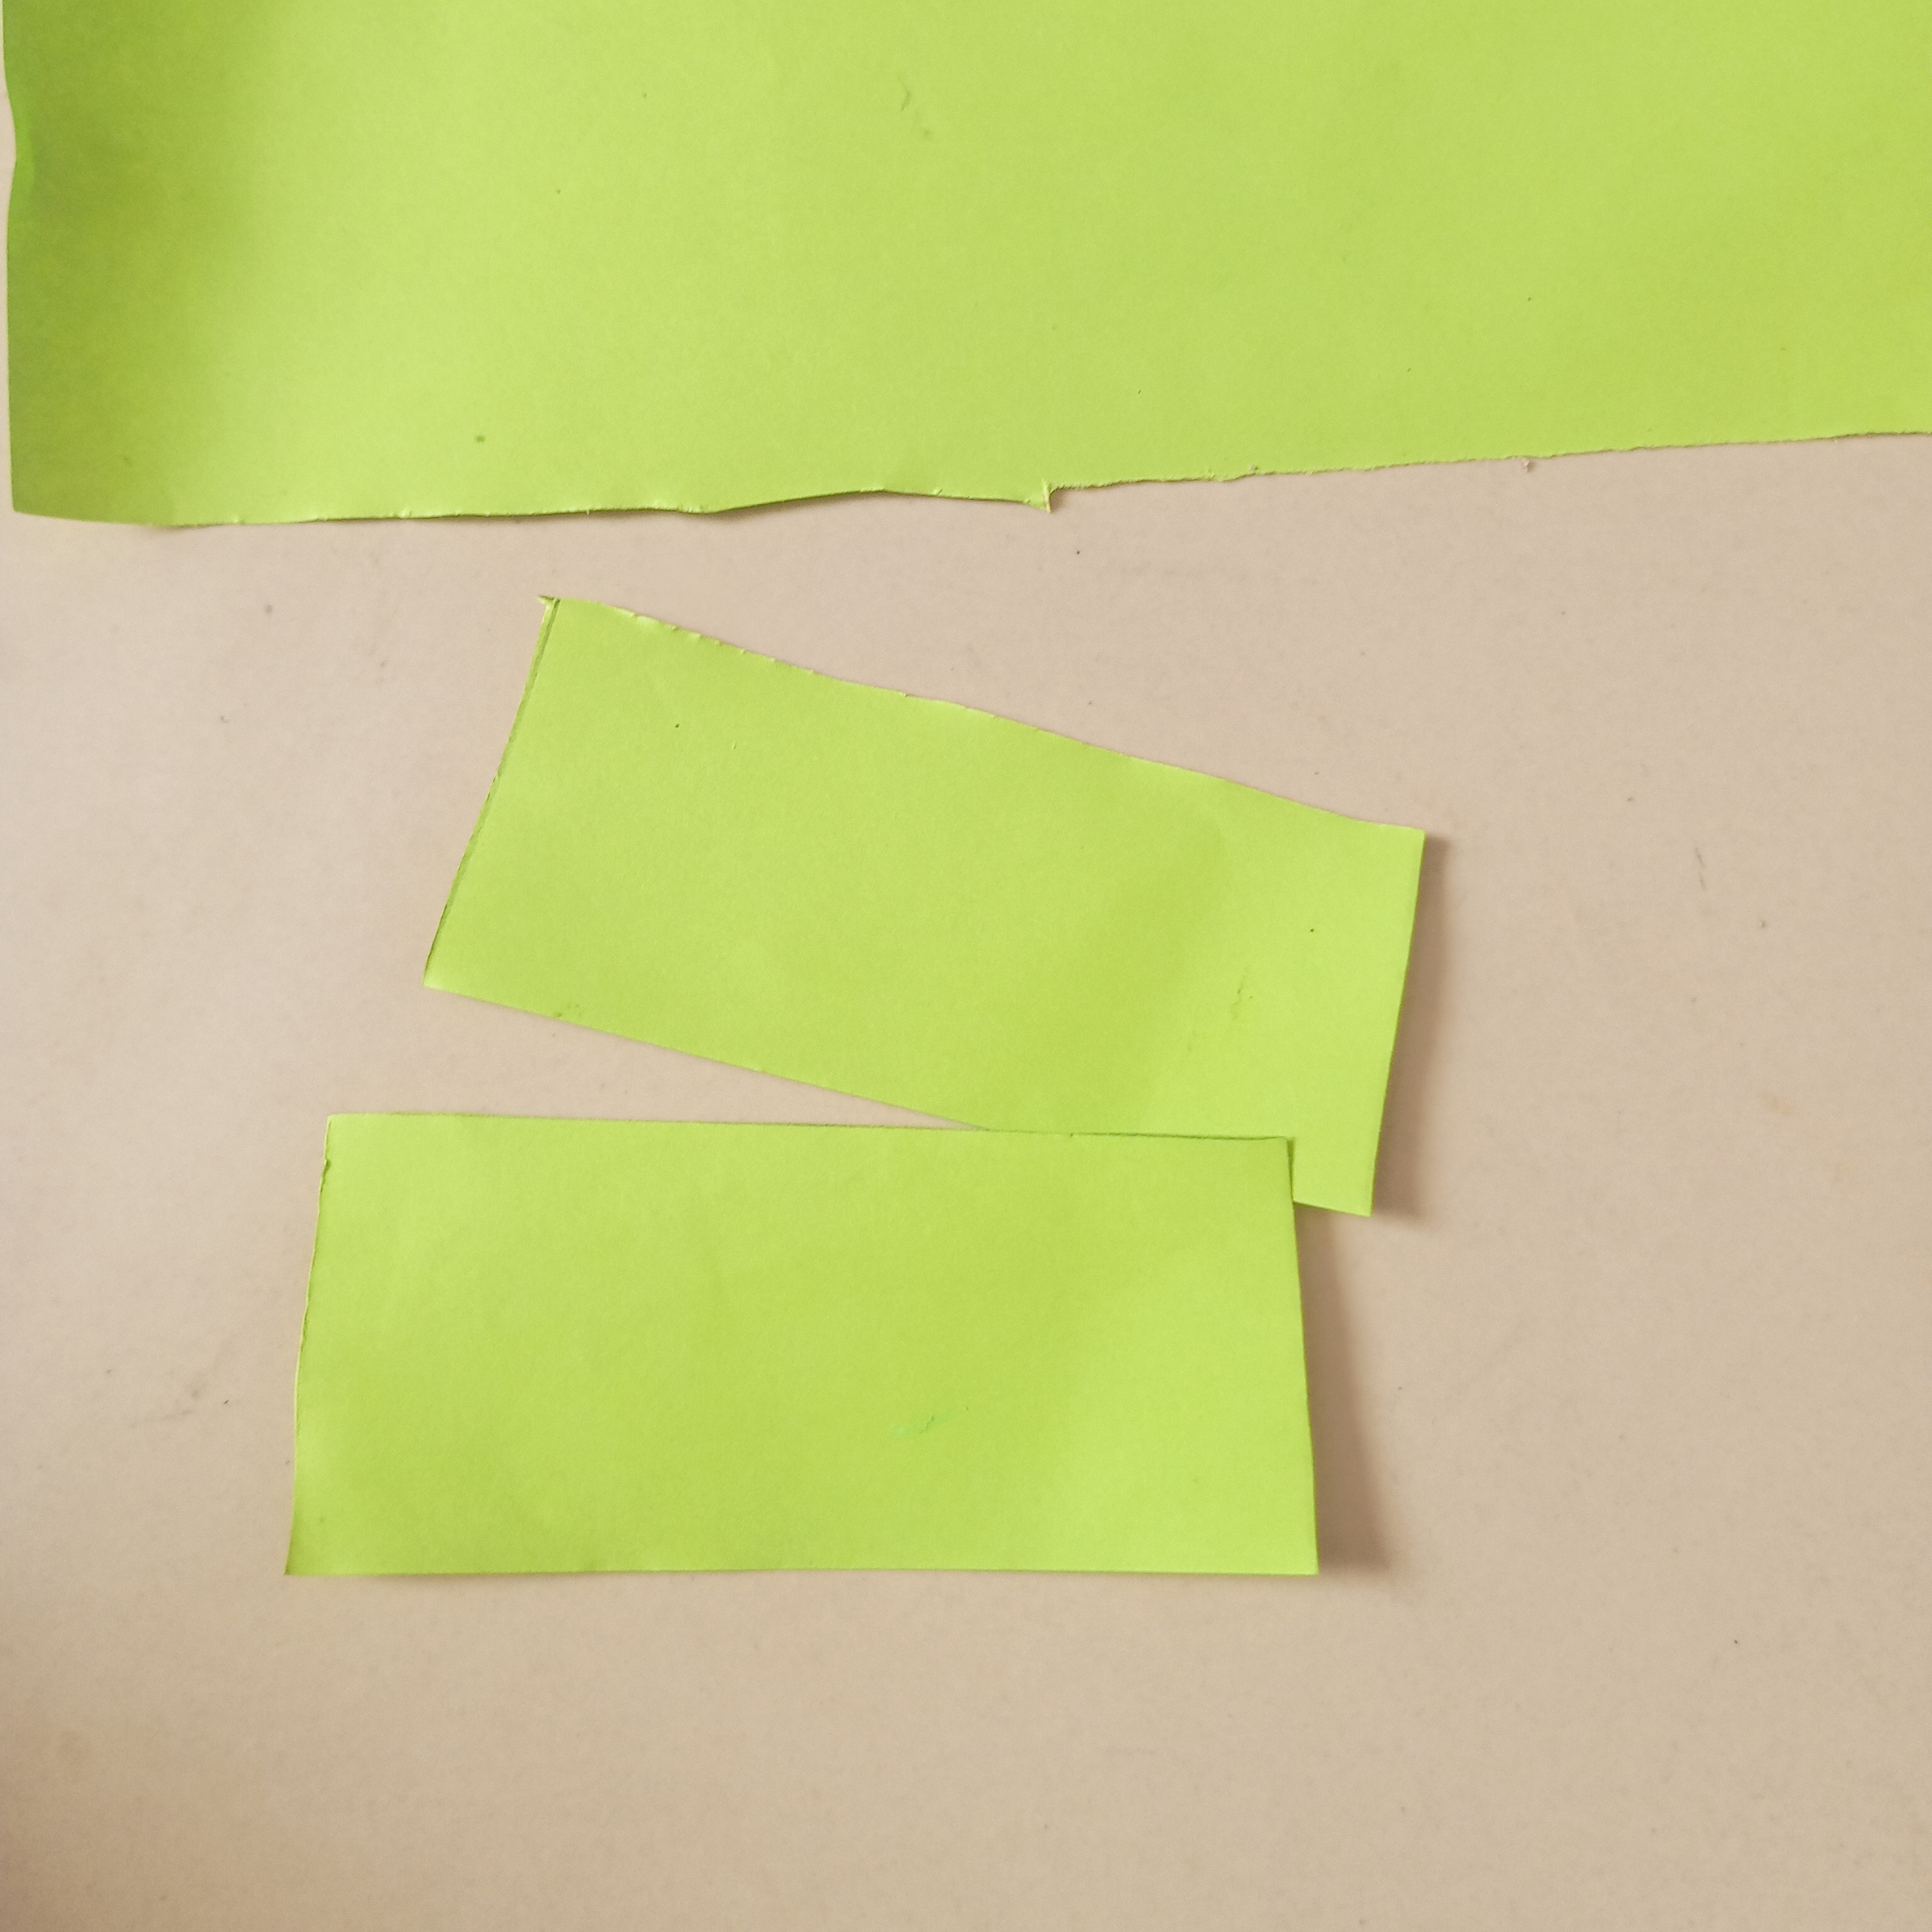
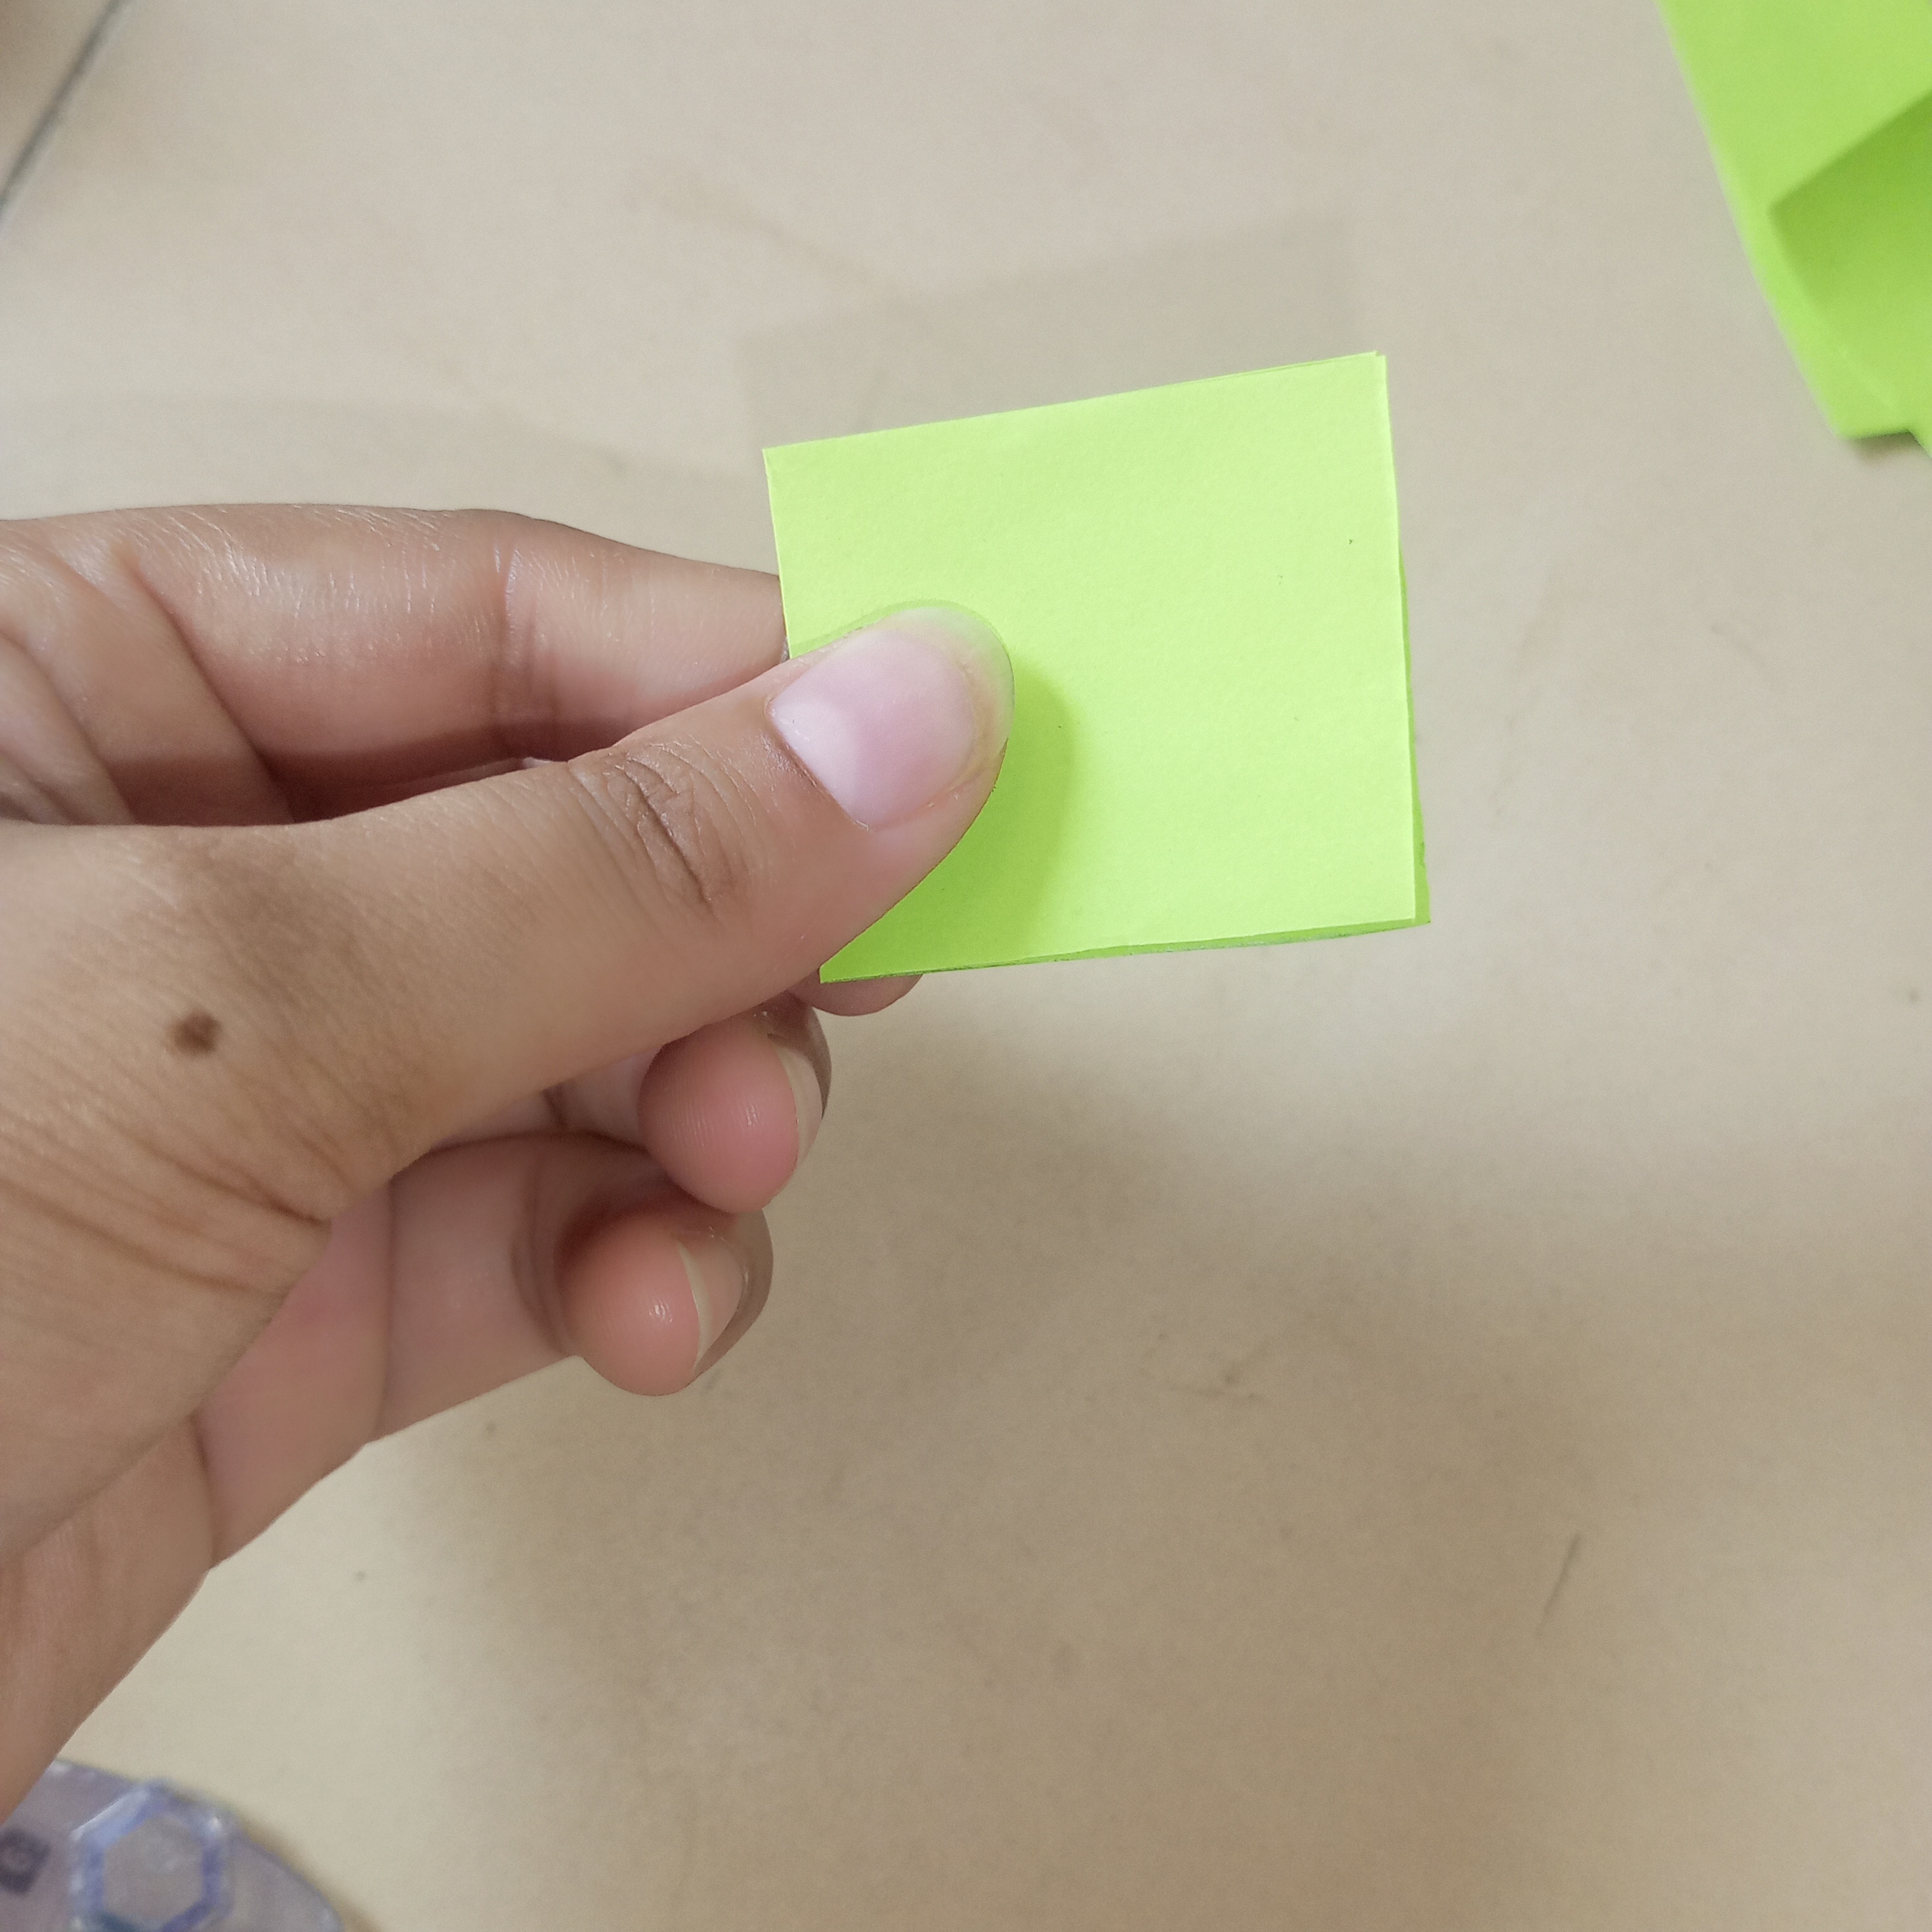
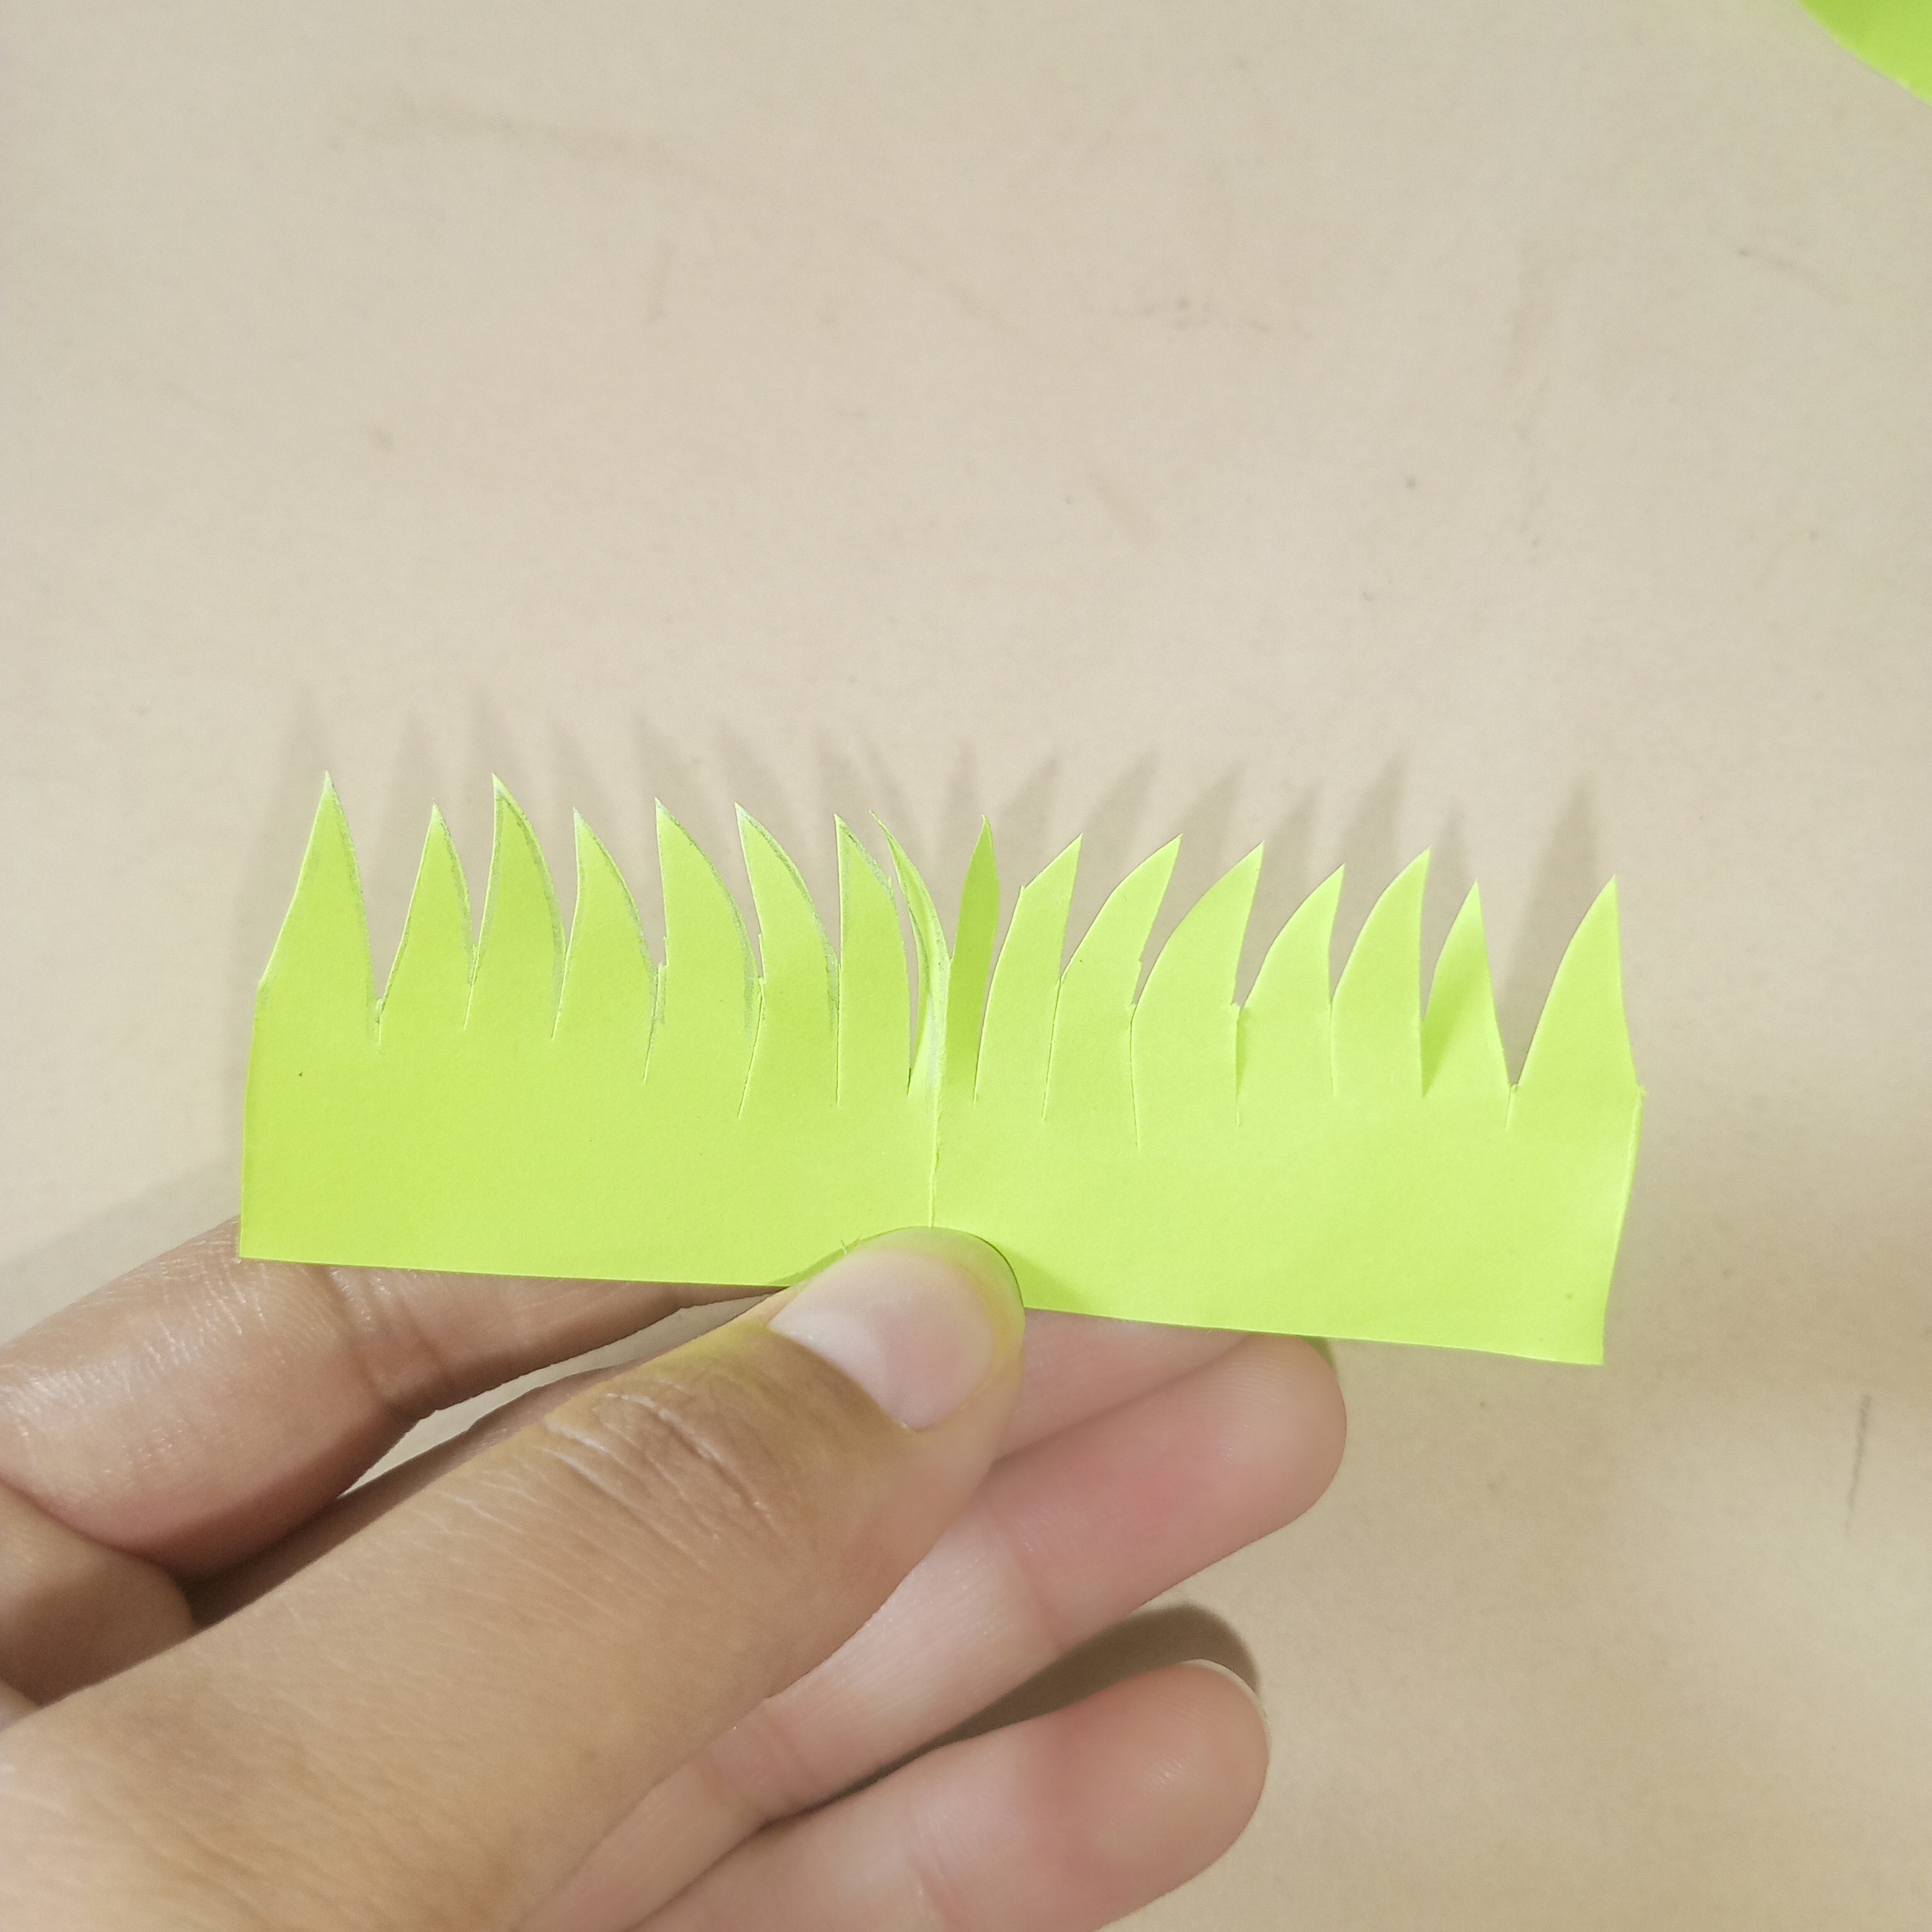
I then took the green chart paper and cut it into equal sized strips. Then folded each strip in half to make it easier to cut both sides at once. Then make thin and pointed cuts with the help of scissors so that it takes the form of grass. I also created a few more strips using the same method so that the grass would look thicker and nicer when applied to the base later. Finally put all the prepared hay aside for the next step.
 |  |  |
|---|
༻Step 4༻
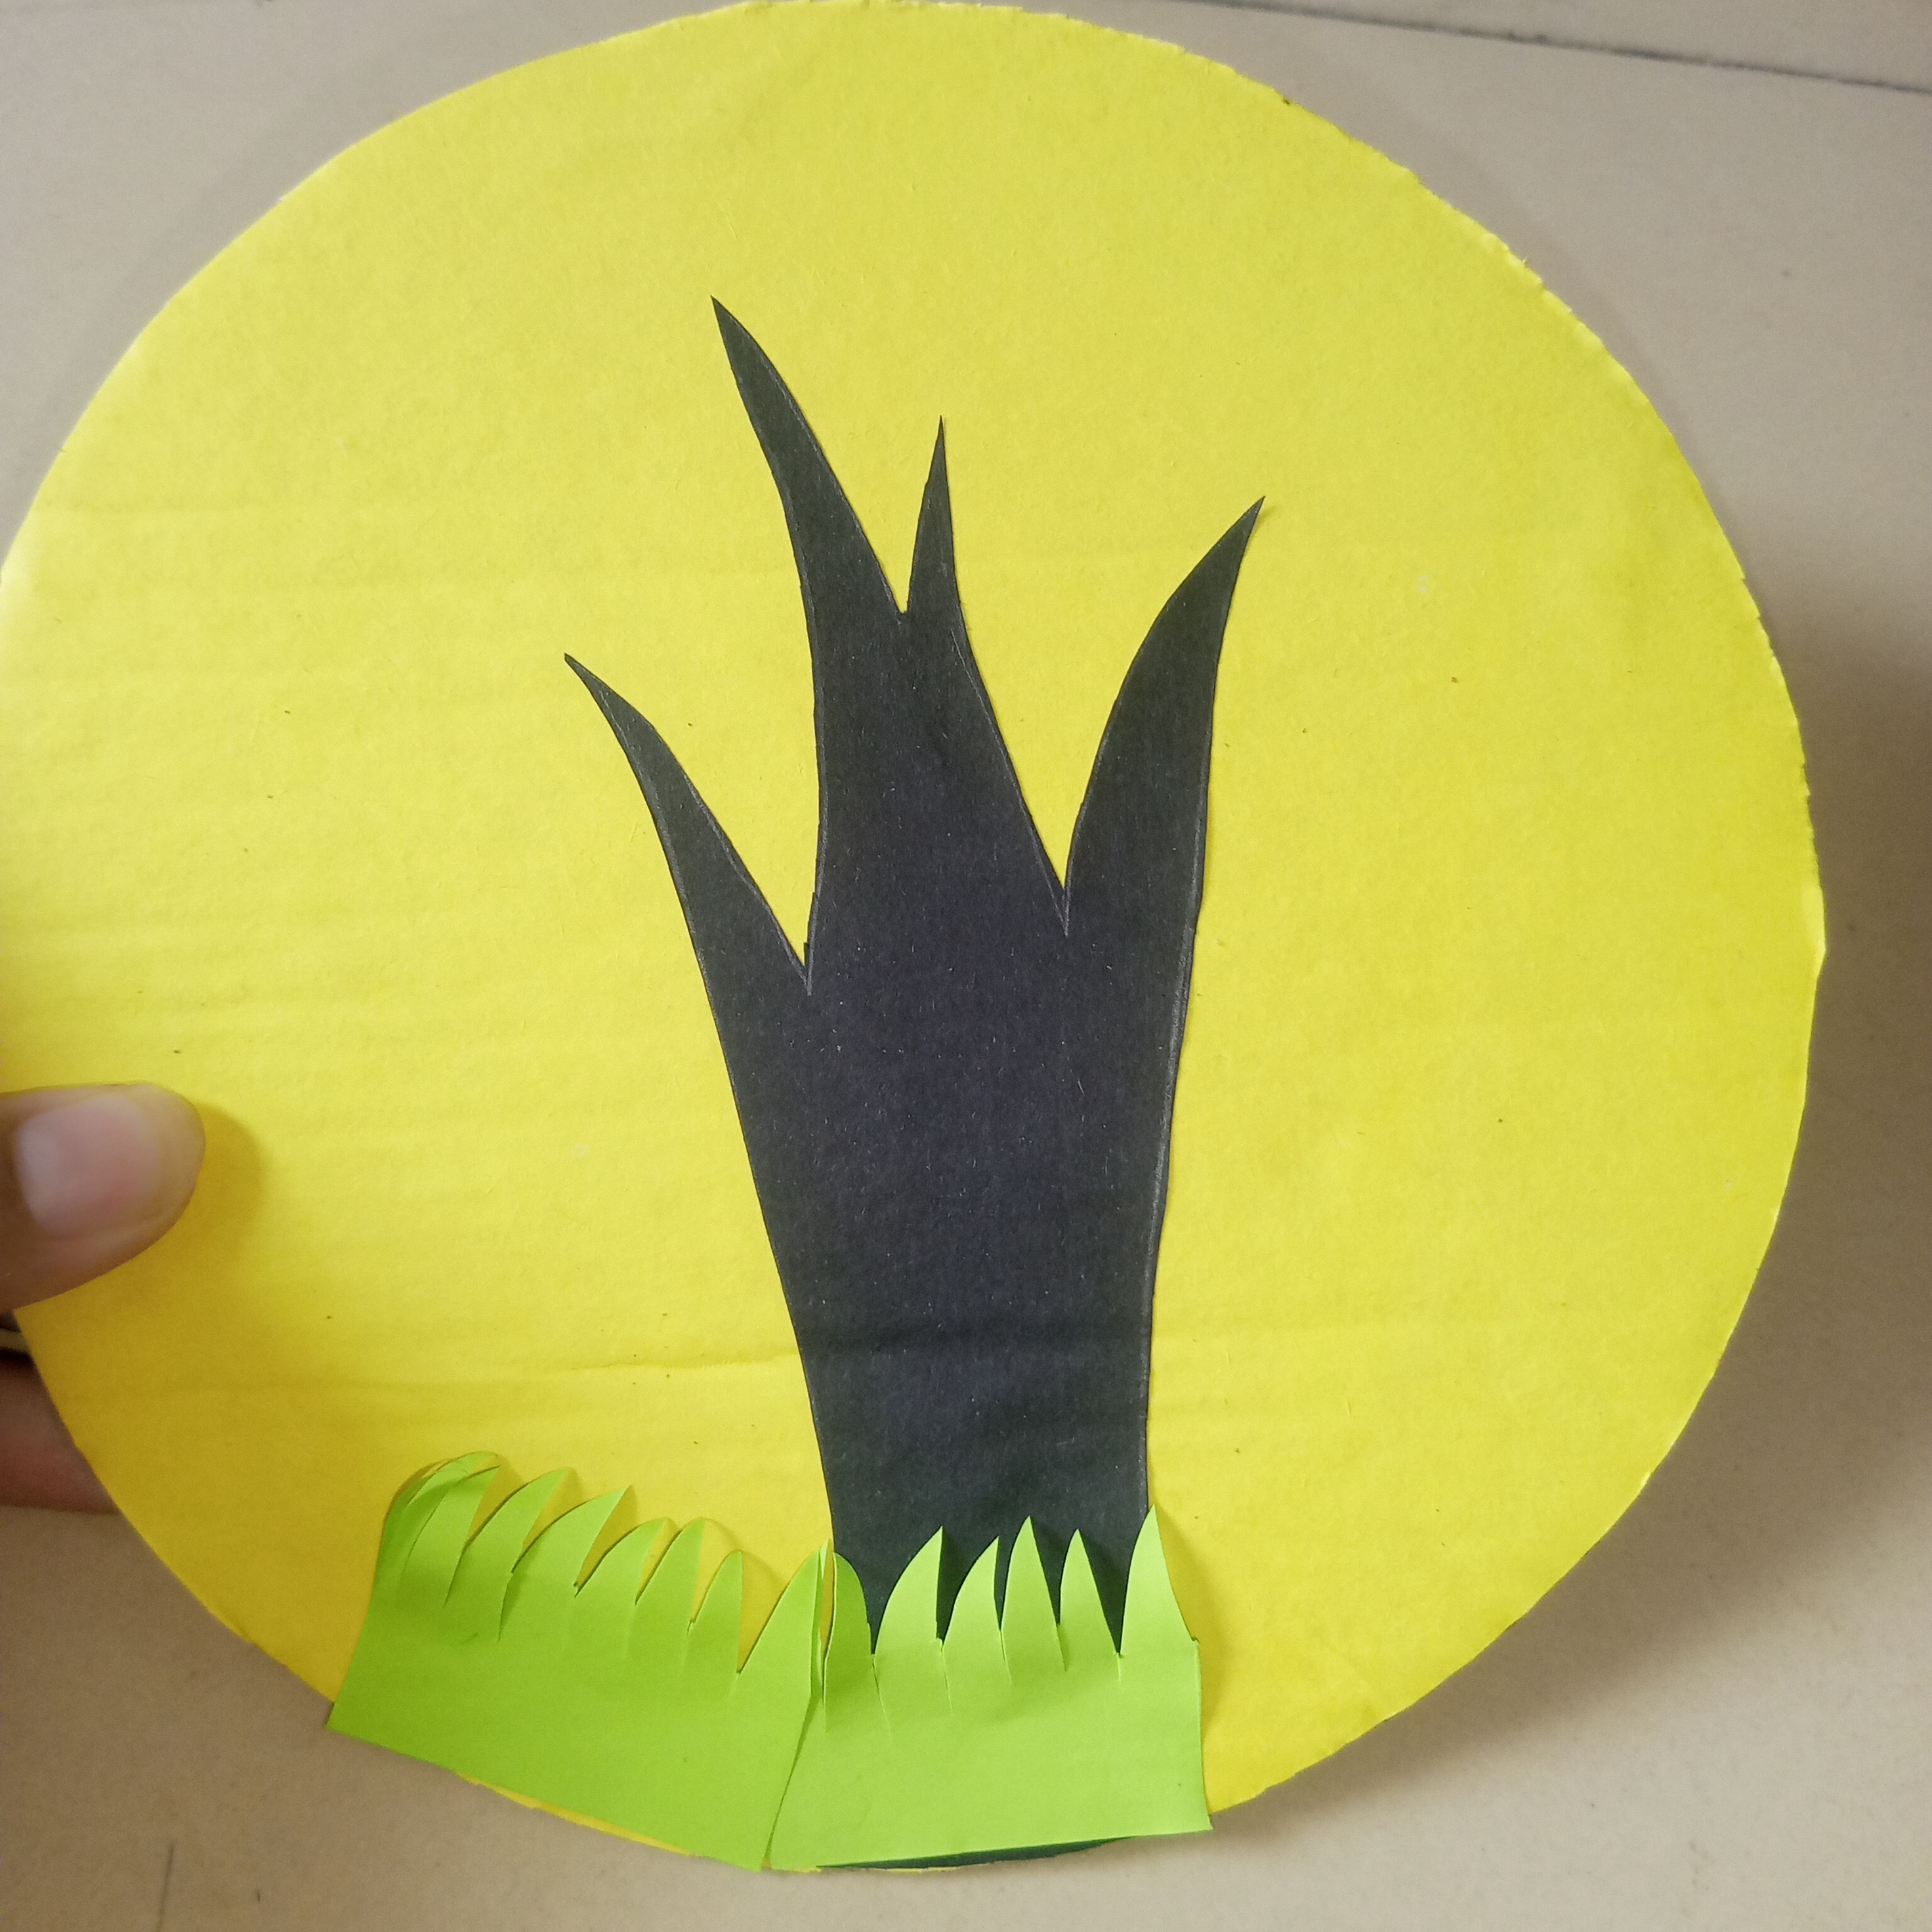
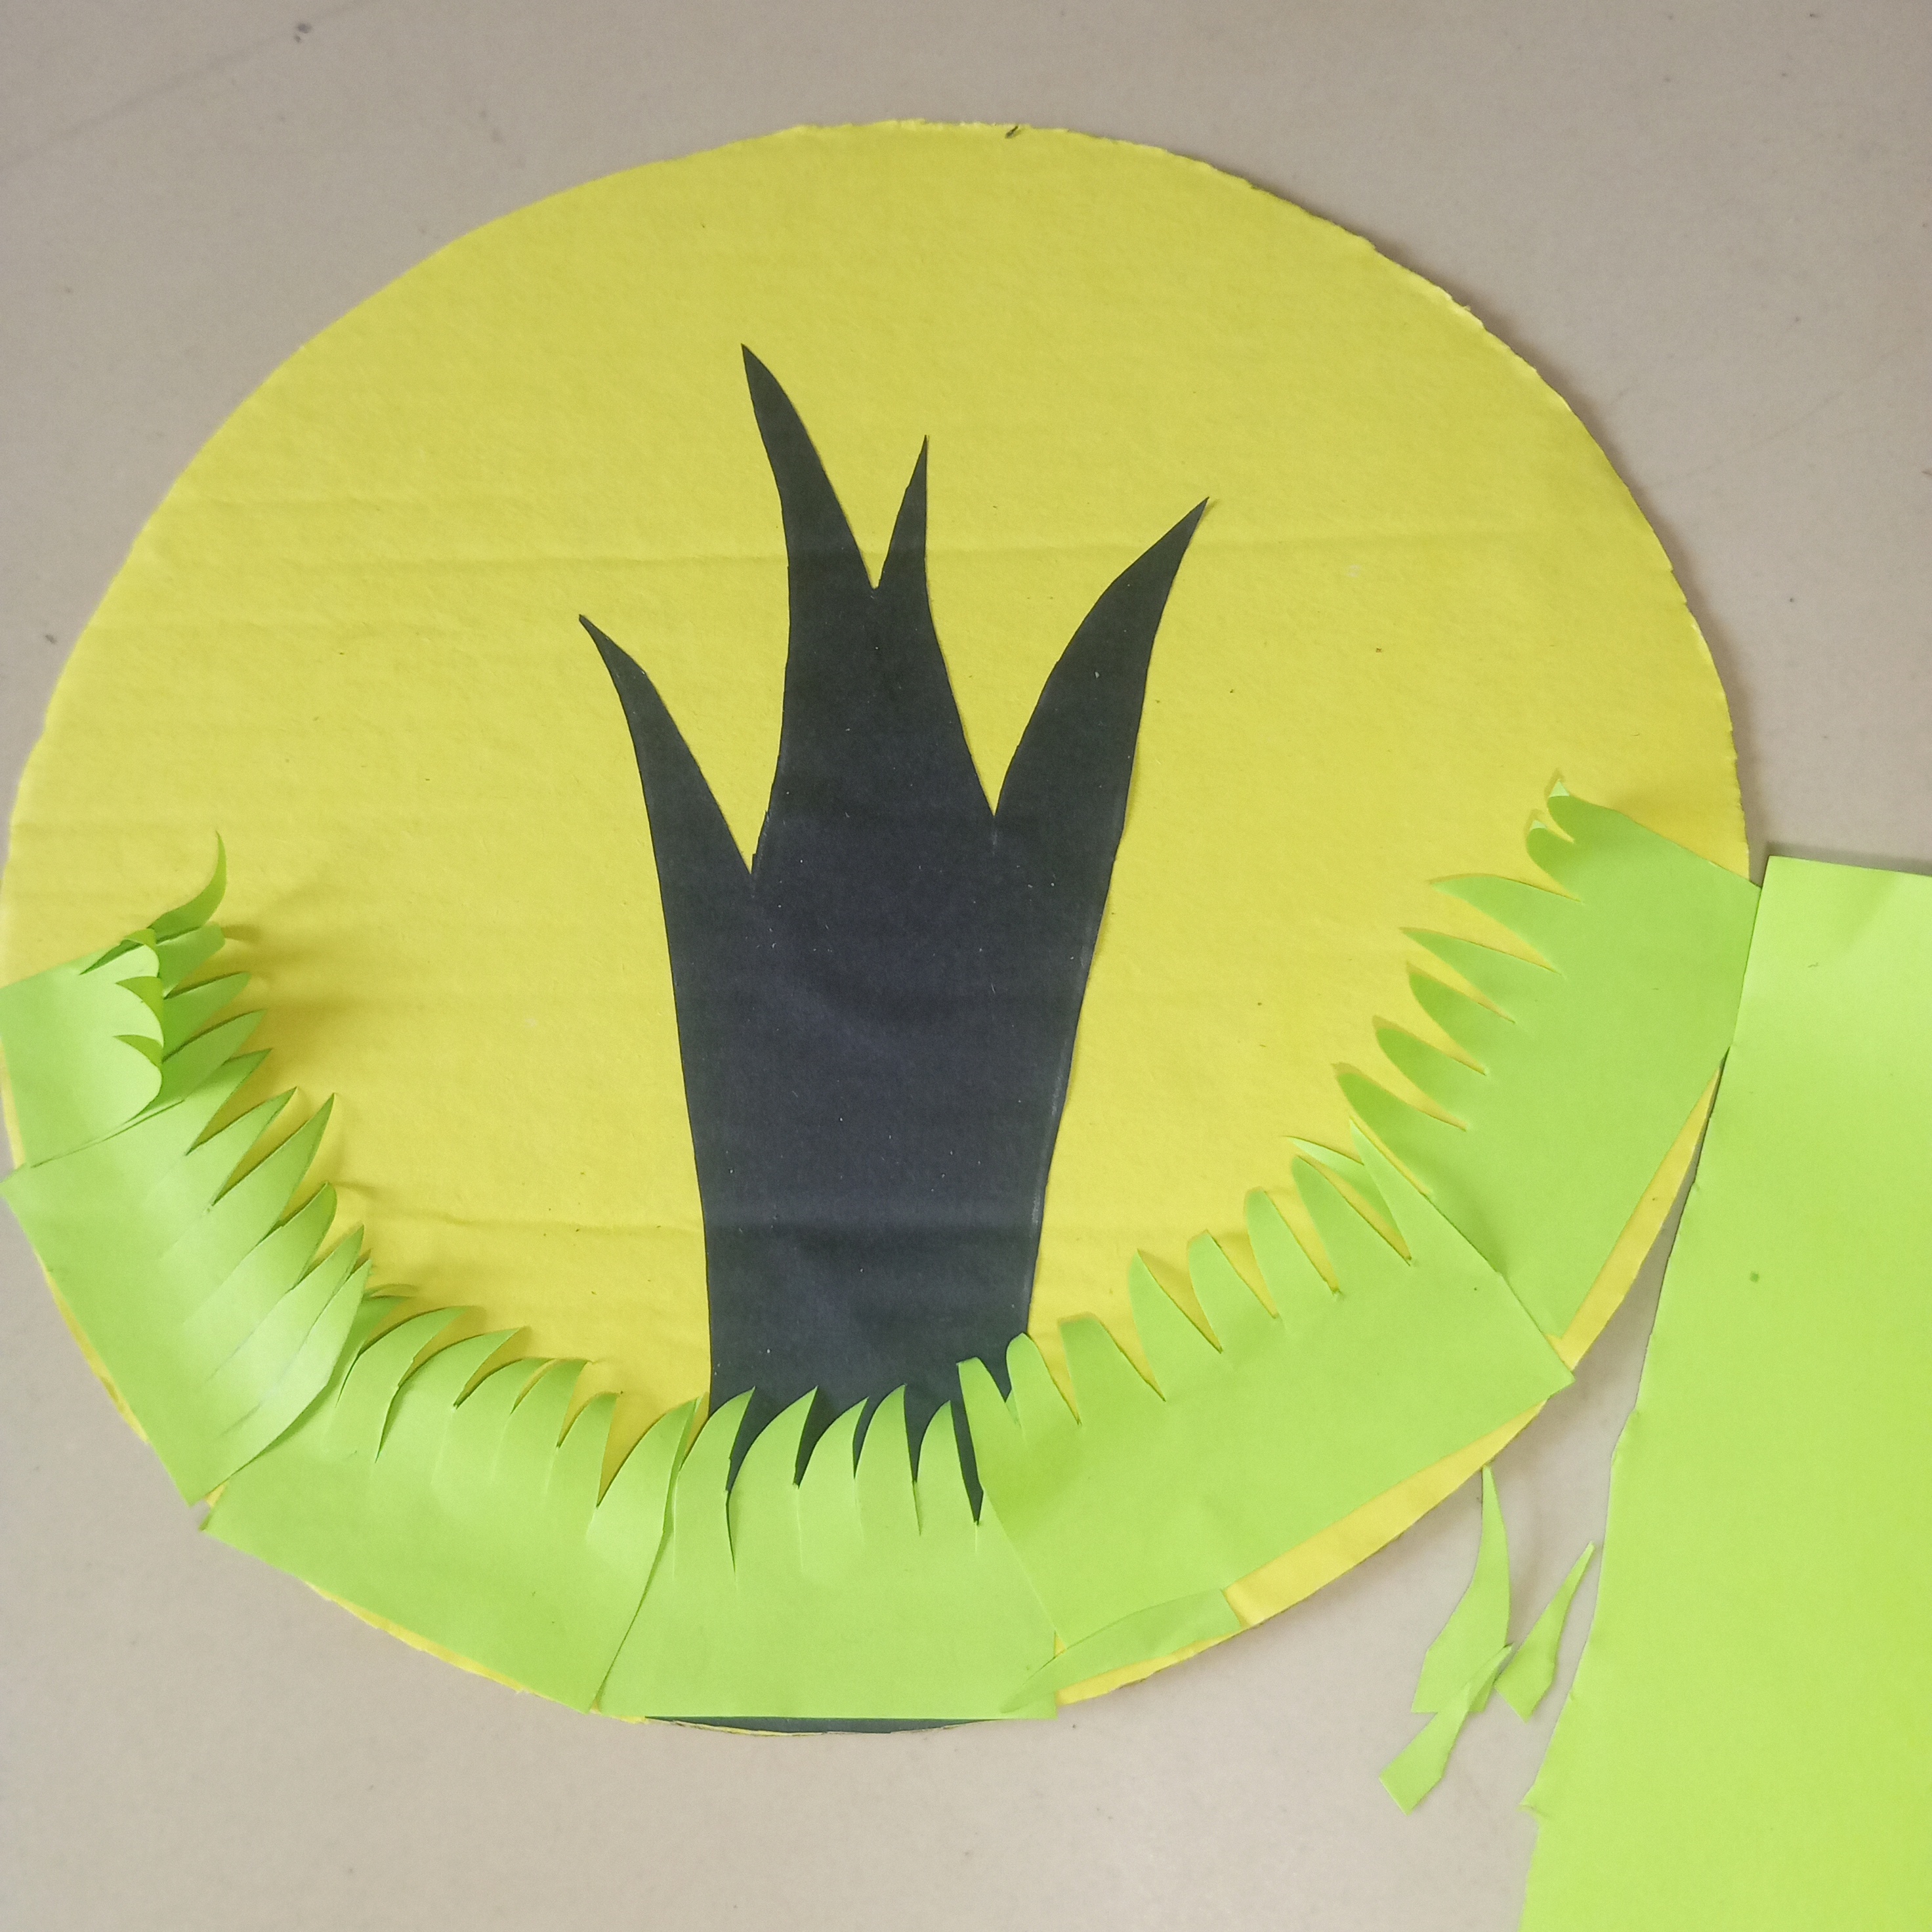
Now I applied glue to the pre-made grass strips and started gluing them one by one around the bottom of the base. I planted them in such a way that the grass looks even throughout the section and the tree trunk is clearly visible in the middle. Where needed, apply multiple strips to make the grass look denser and more natural. After this step the base of the craft started looking pretty good and ready for the next step.
 |
|---|
 |
|---|
༻Step 5༻
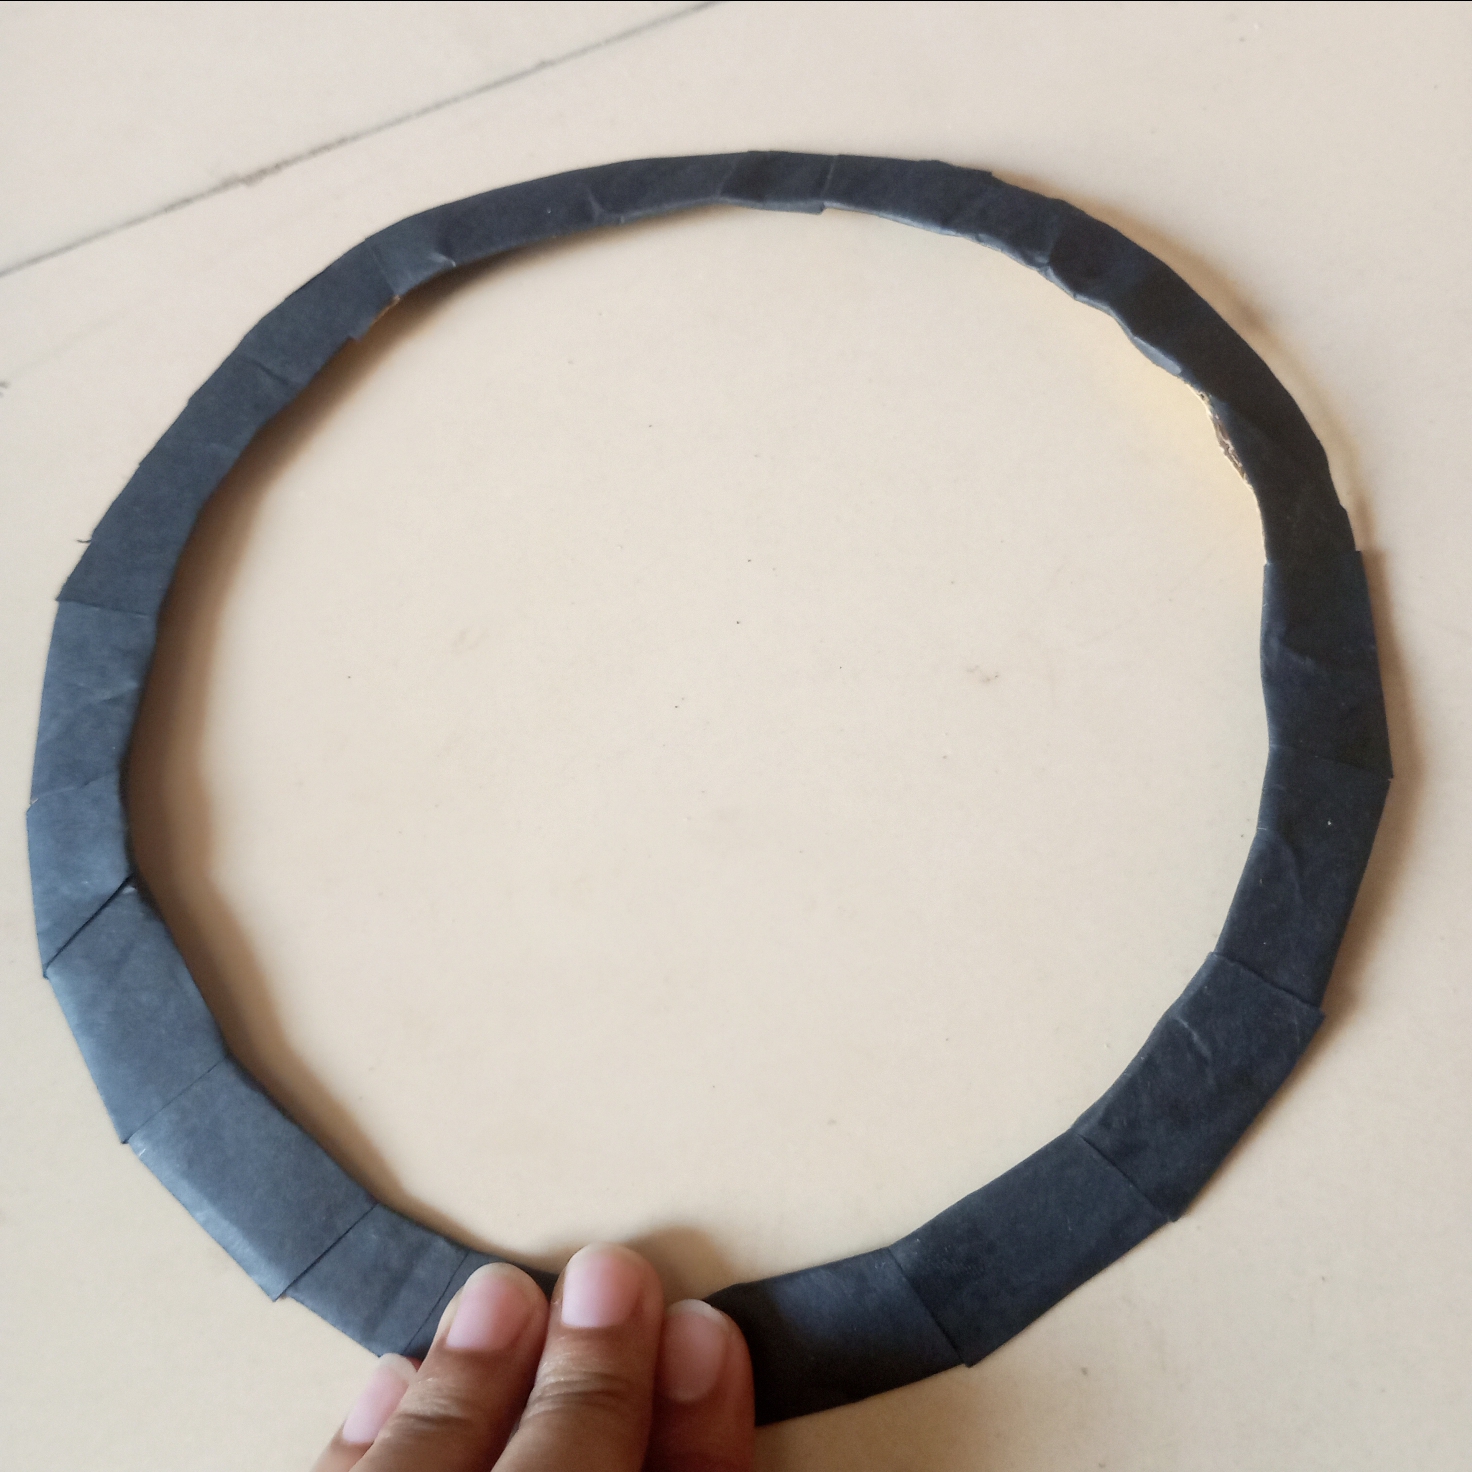
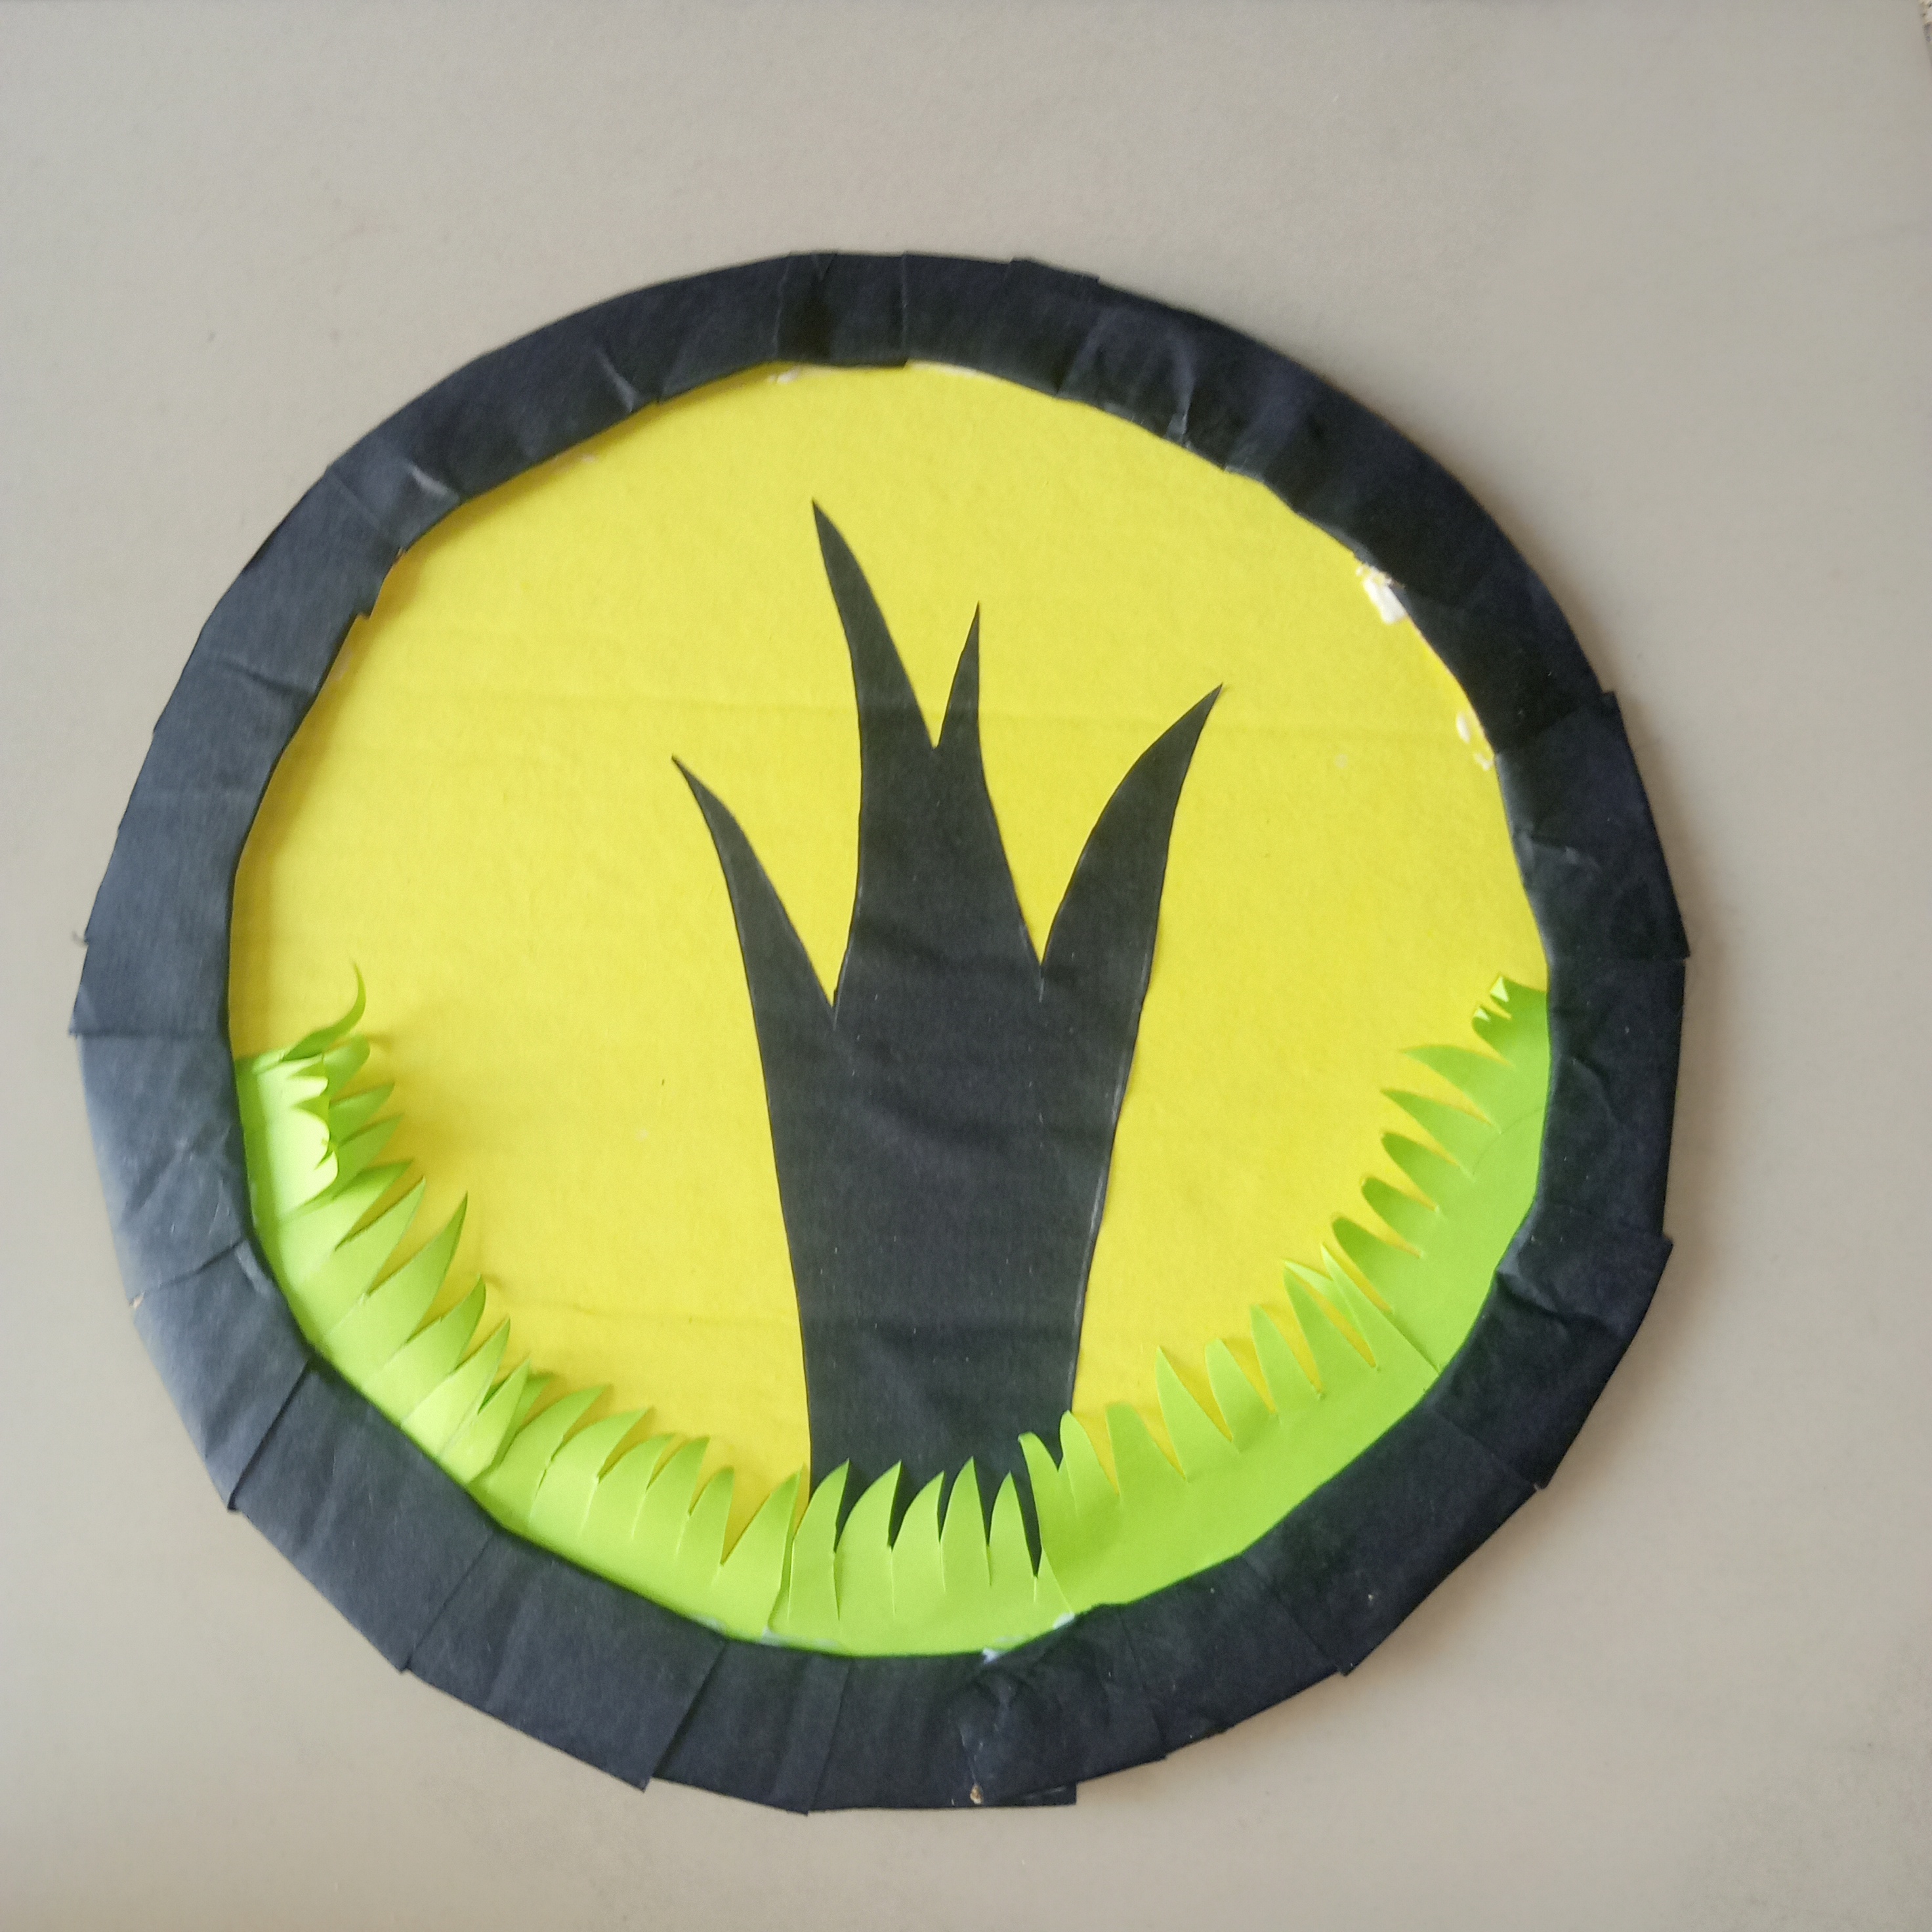
In this step I created a round border from black chart paper. First make small cuts on the edges of the border. So that it can be bent easily. Then carefully stick it to the edge of the yellow circle. Well I stick it with the help of glue. After adding the border, the craft looks more beautiful, clean and complete. Now the basic design is ready and in the next step the final decoration will be done to complete the craft.
 |
|---|
 |
|---|
༻Step 6༻
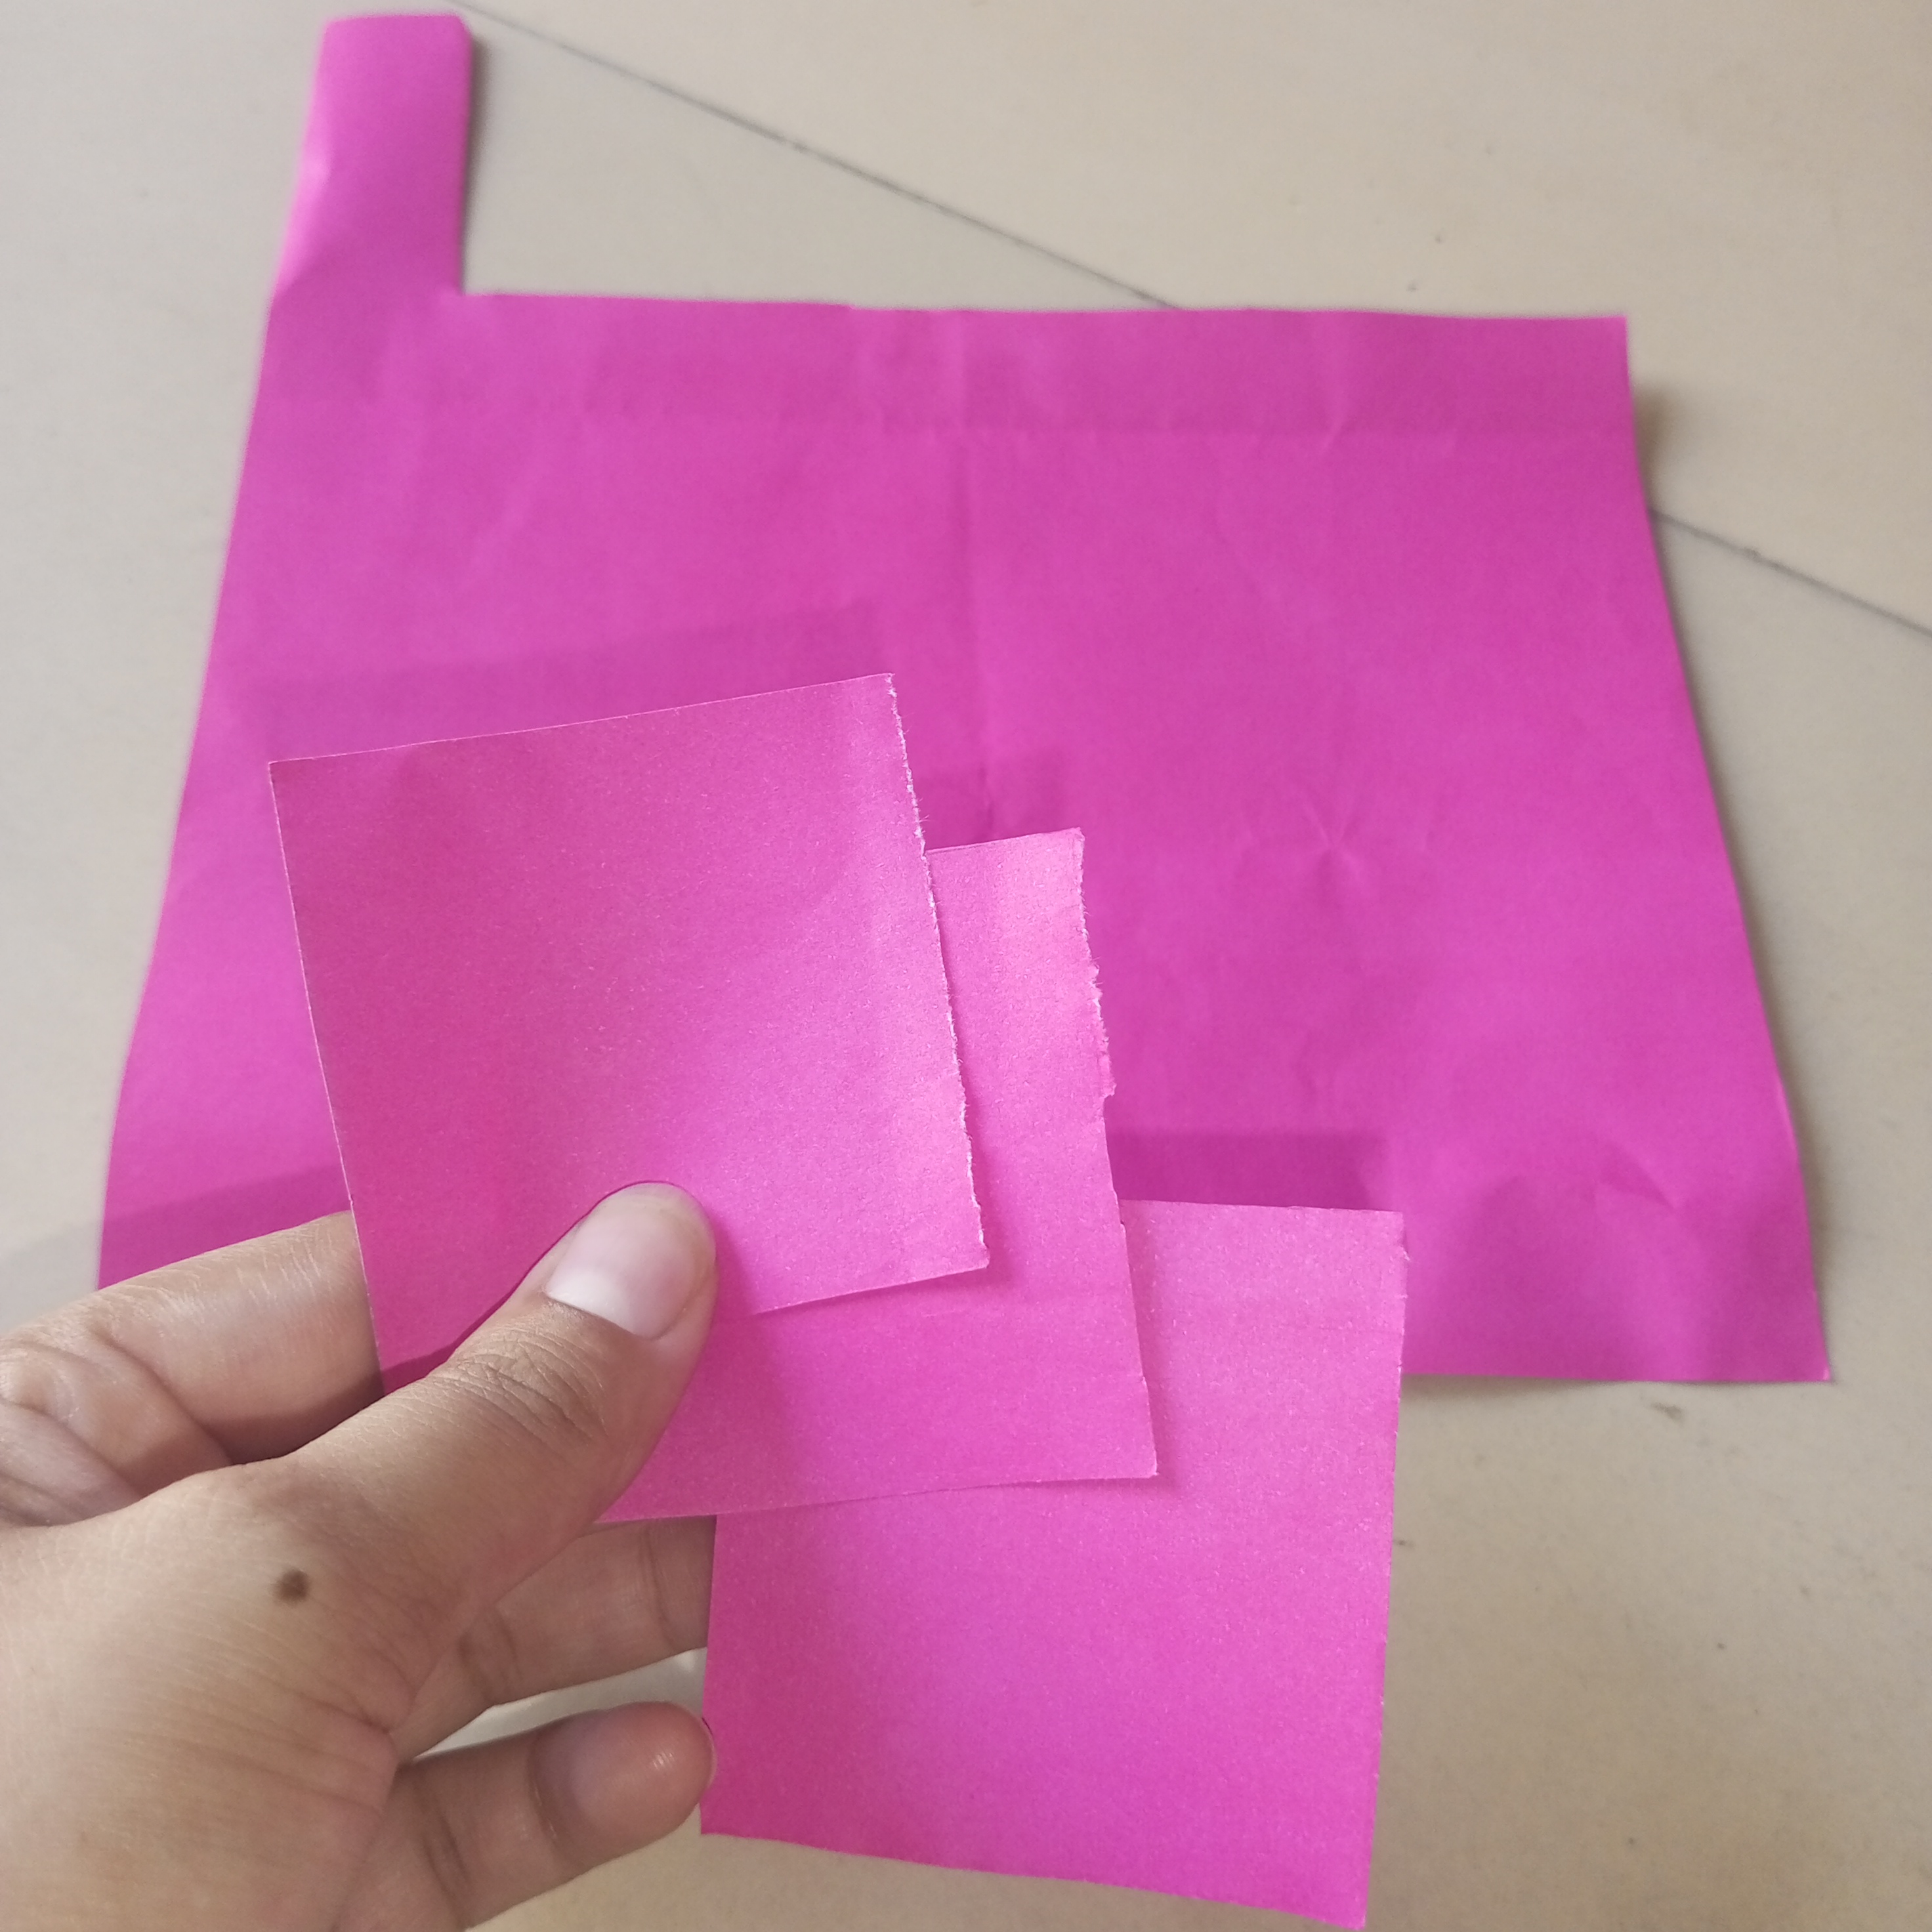
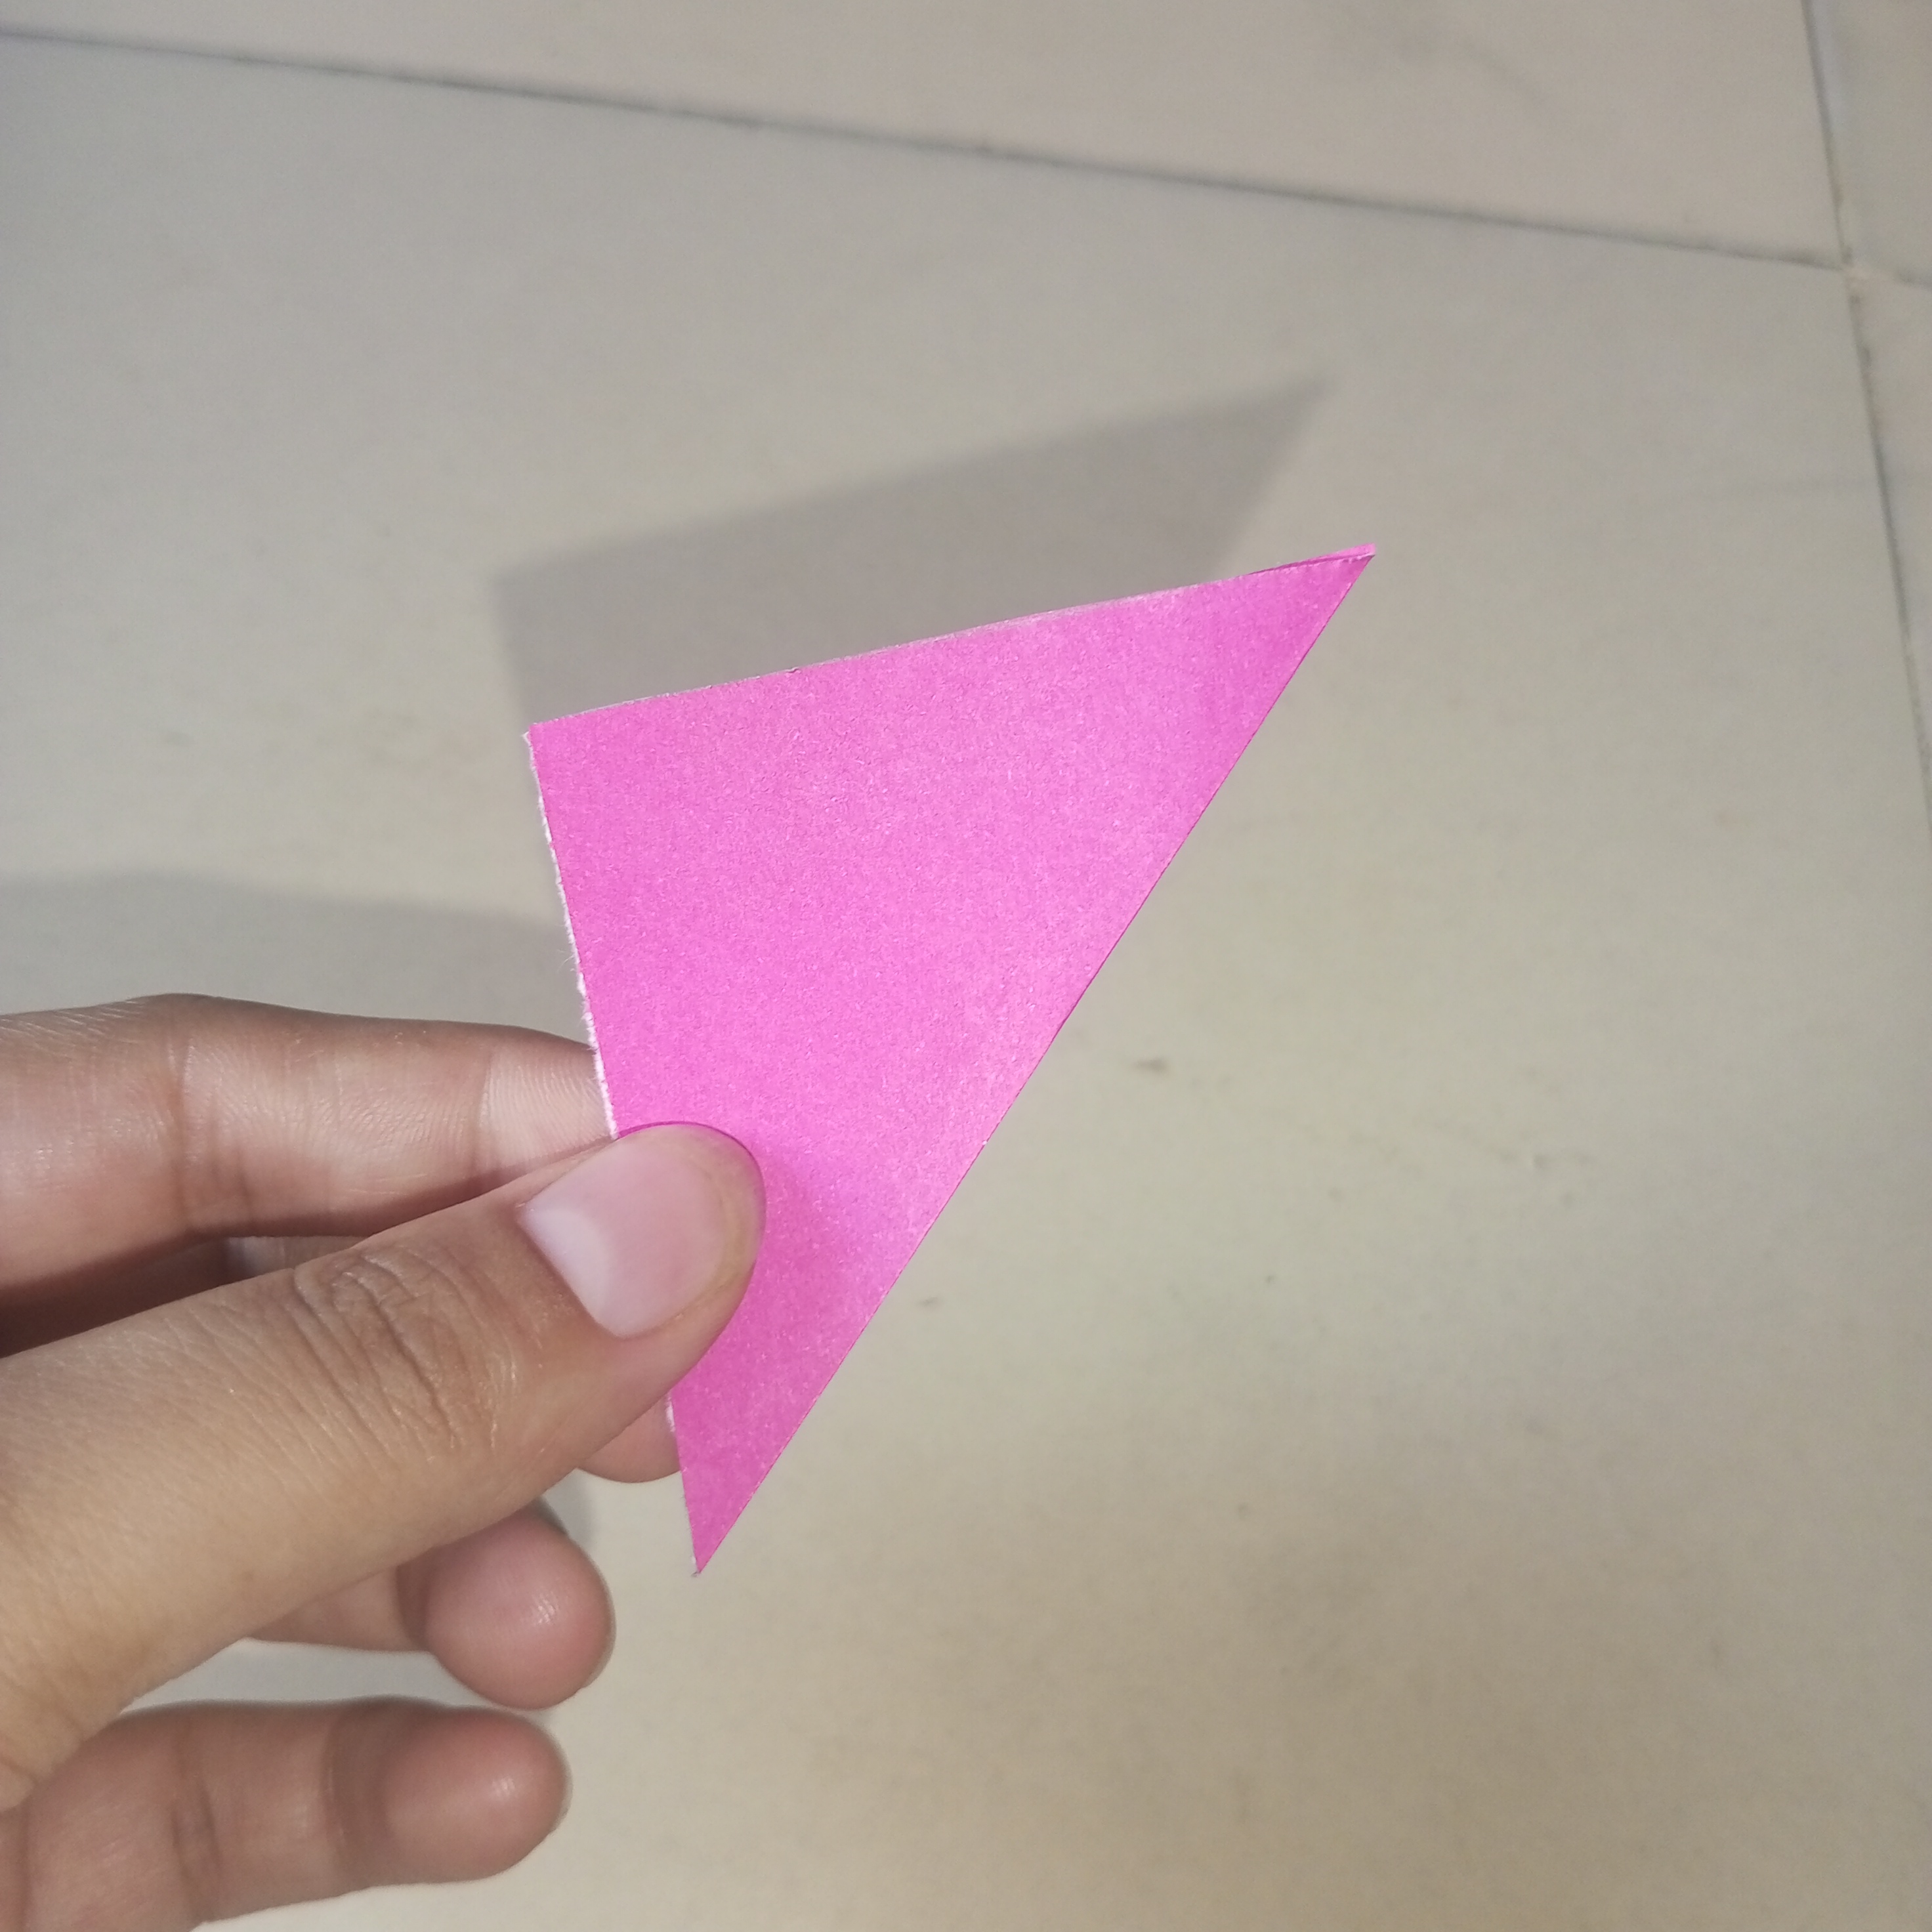
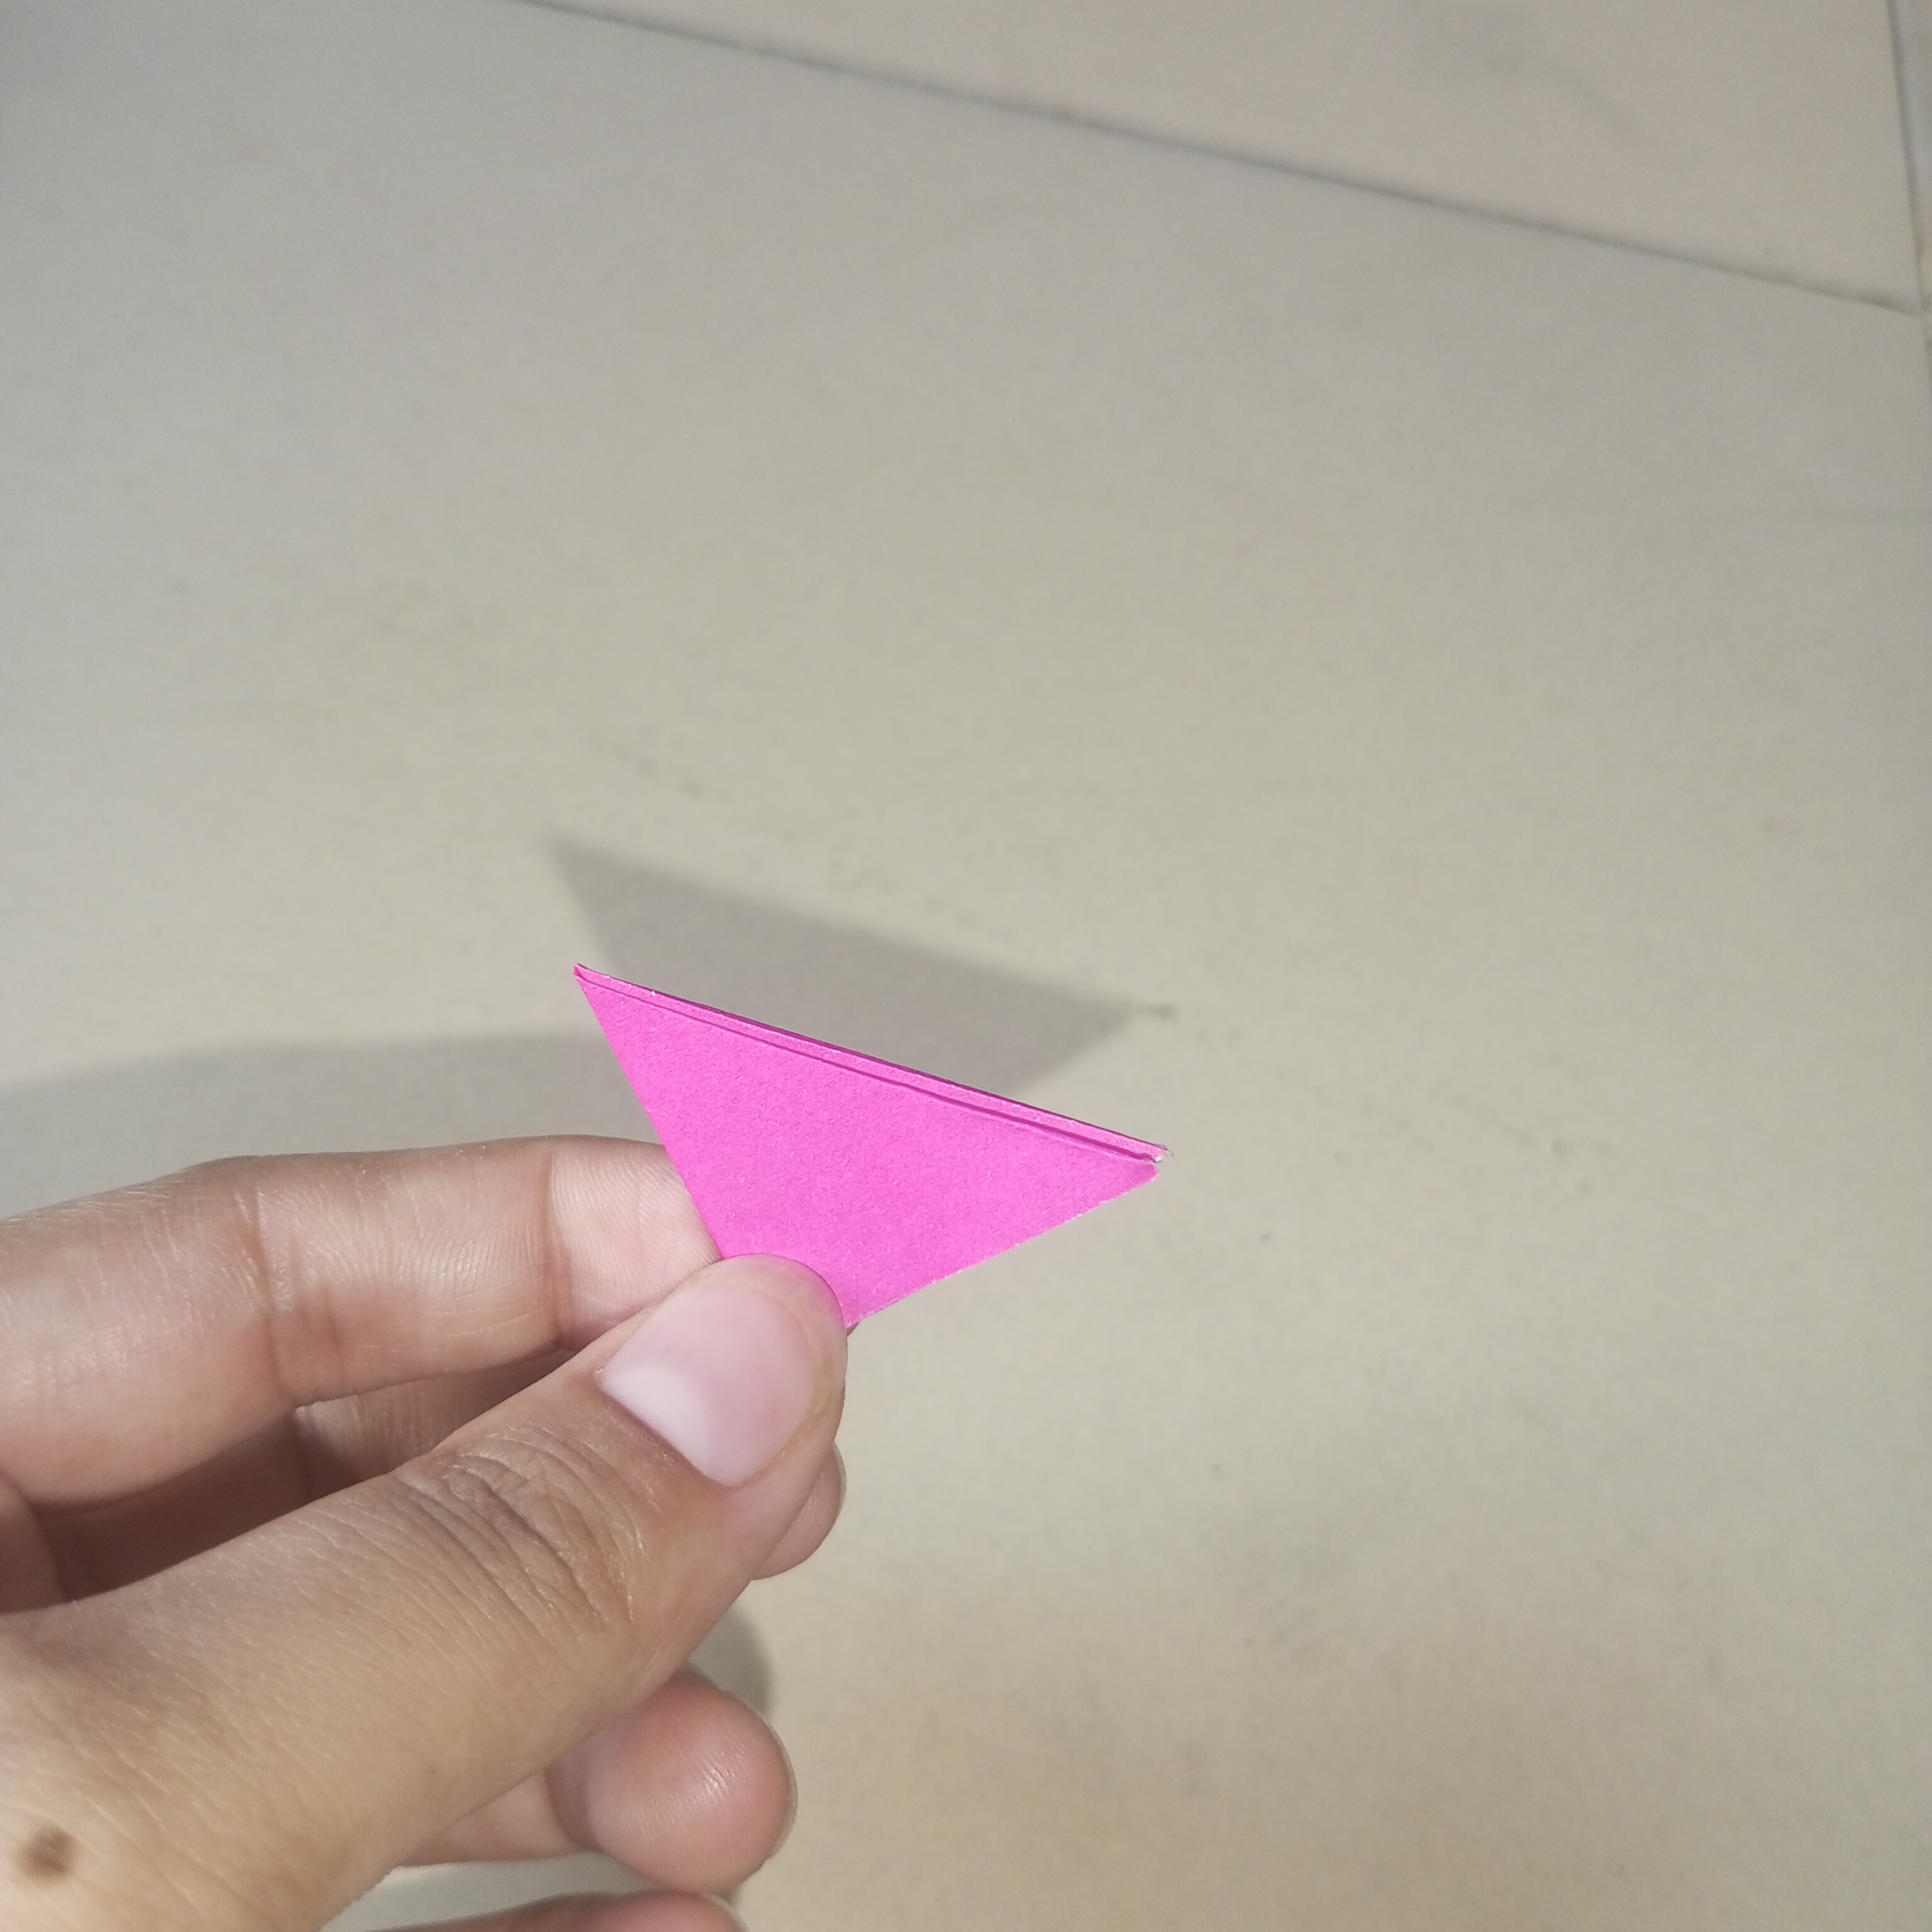
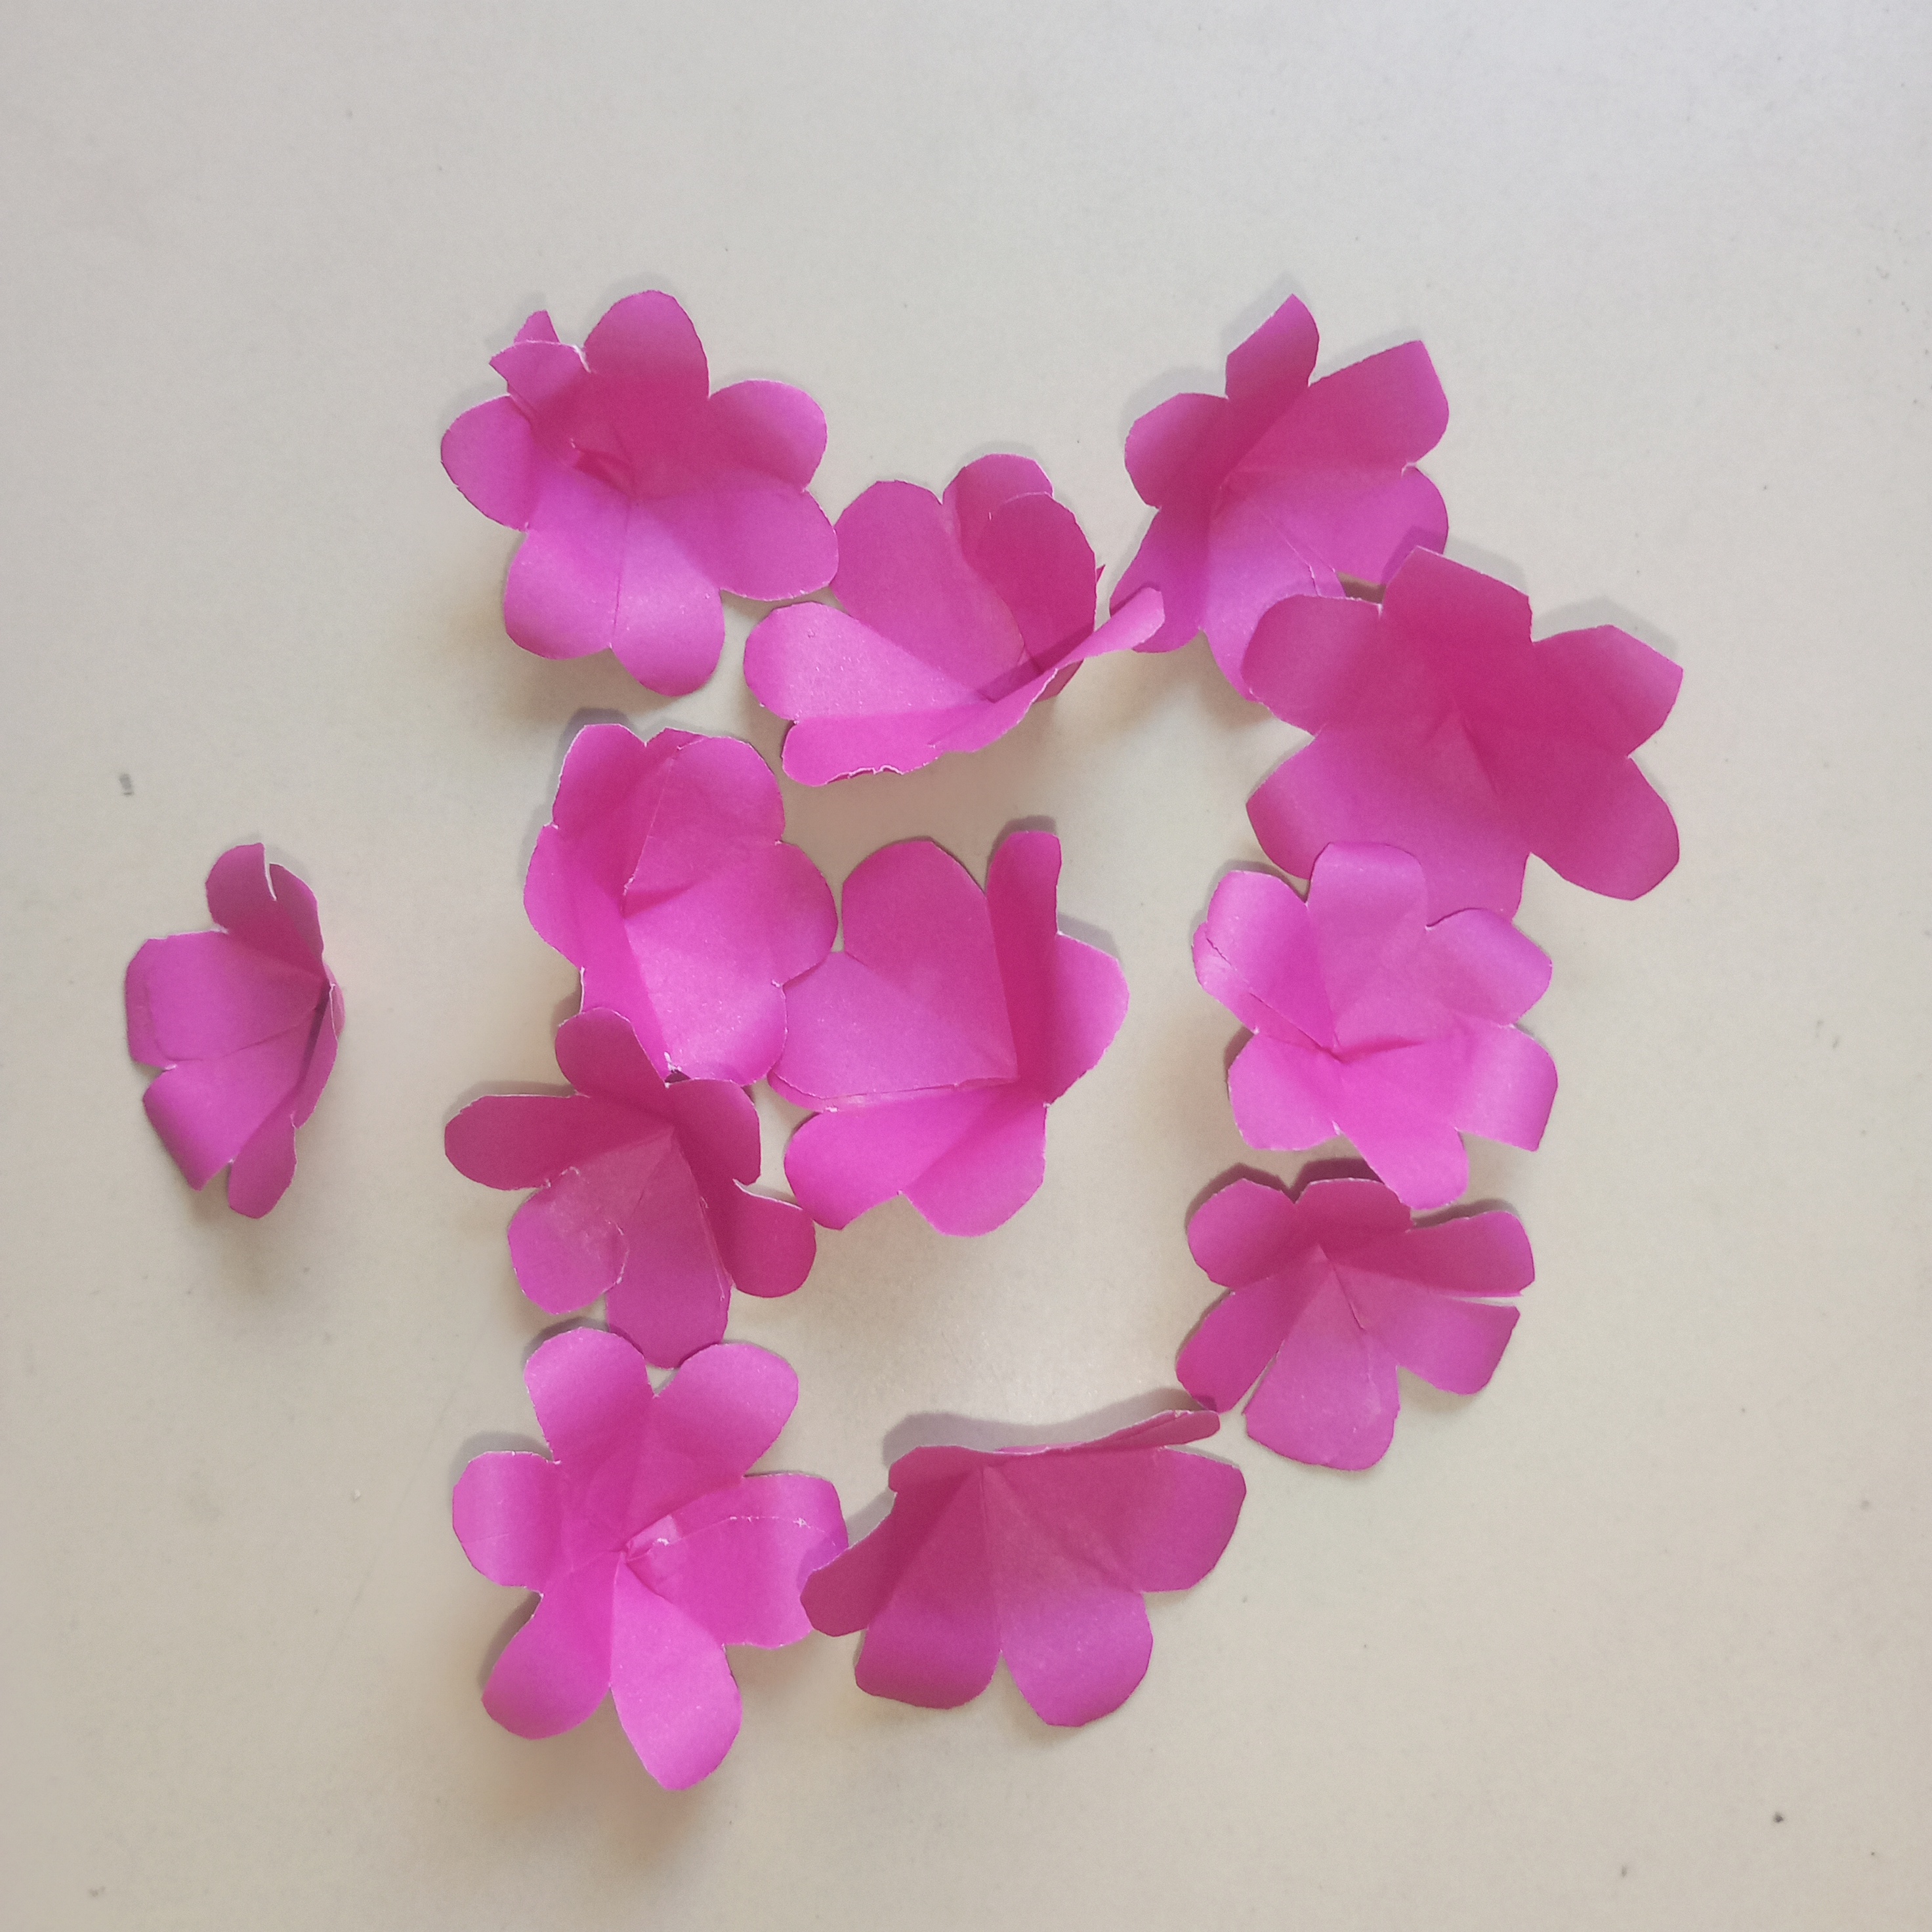
In this step I cut small square pieces of pink chart paper. Then each piece was turned diagonally into a triangle shape and folded once more to form a flower petal shape. Using the same method I created several identical pieces. All of these petals will be used to make the flowers in the next step, so I carefully cut them to the same size.
 |  |  |
|---|
༻Step 7༻
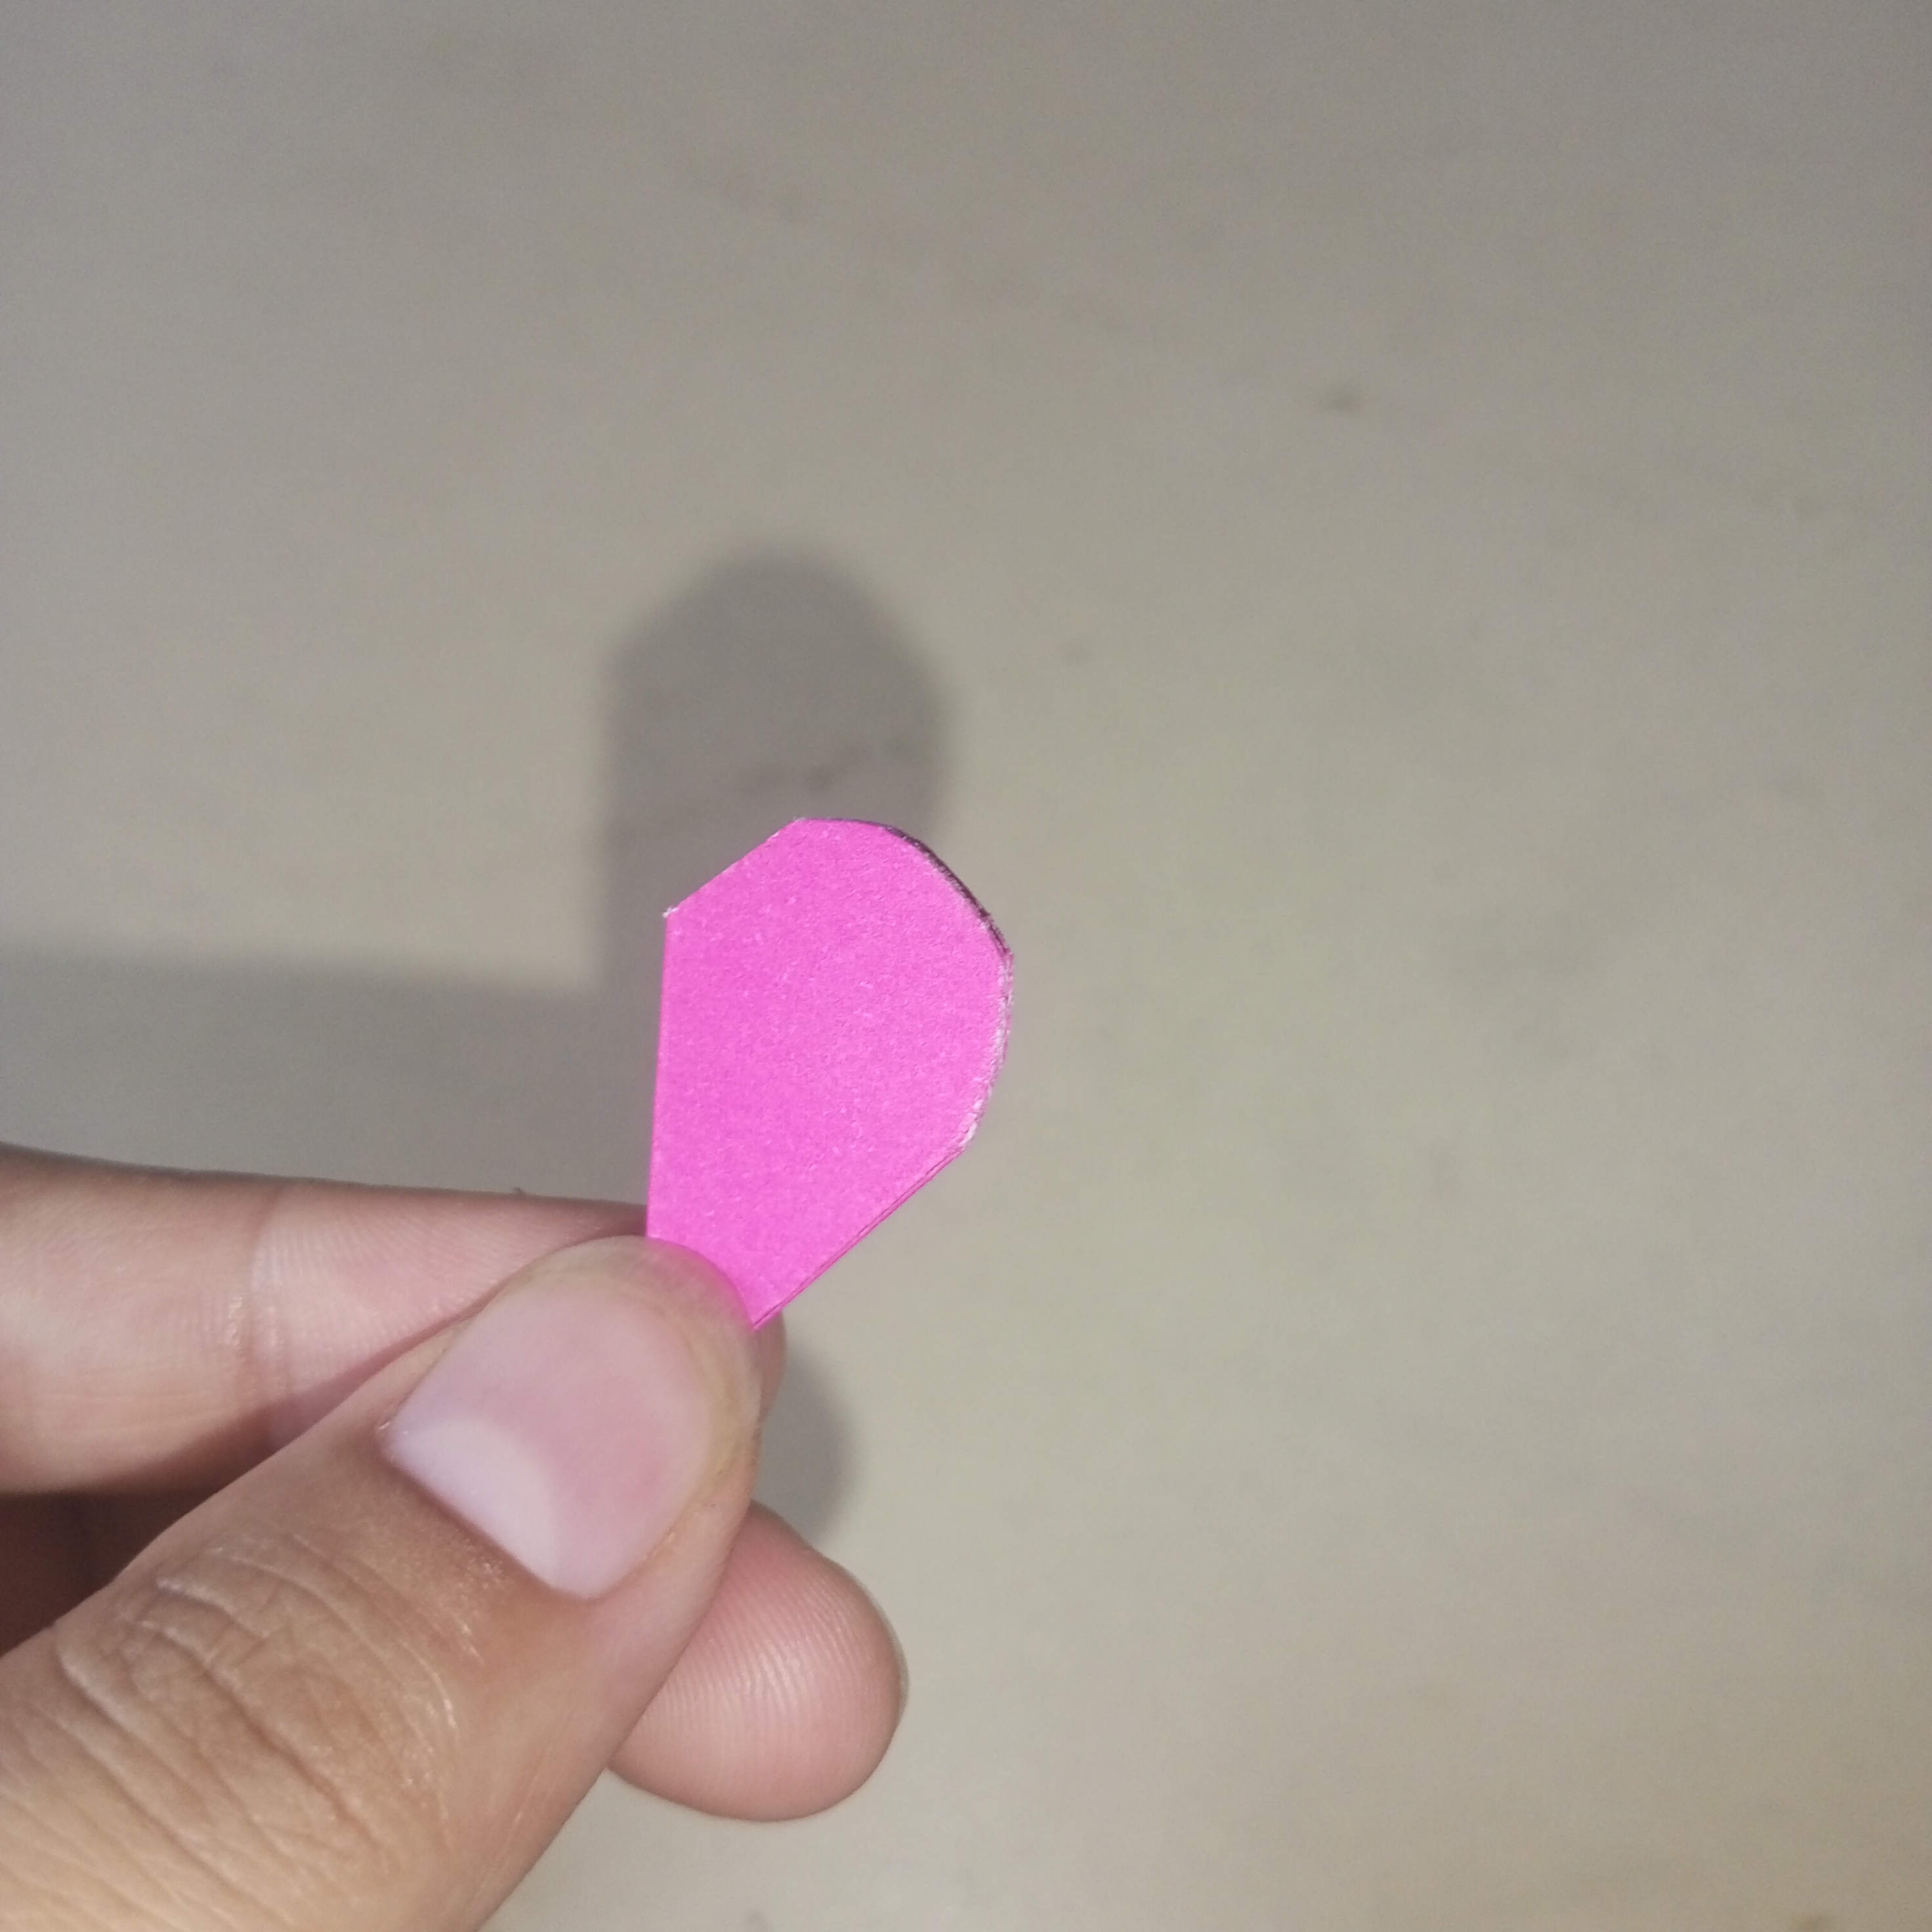
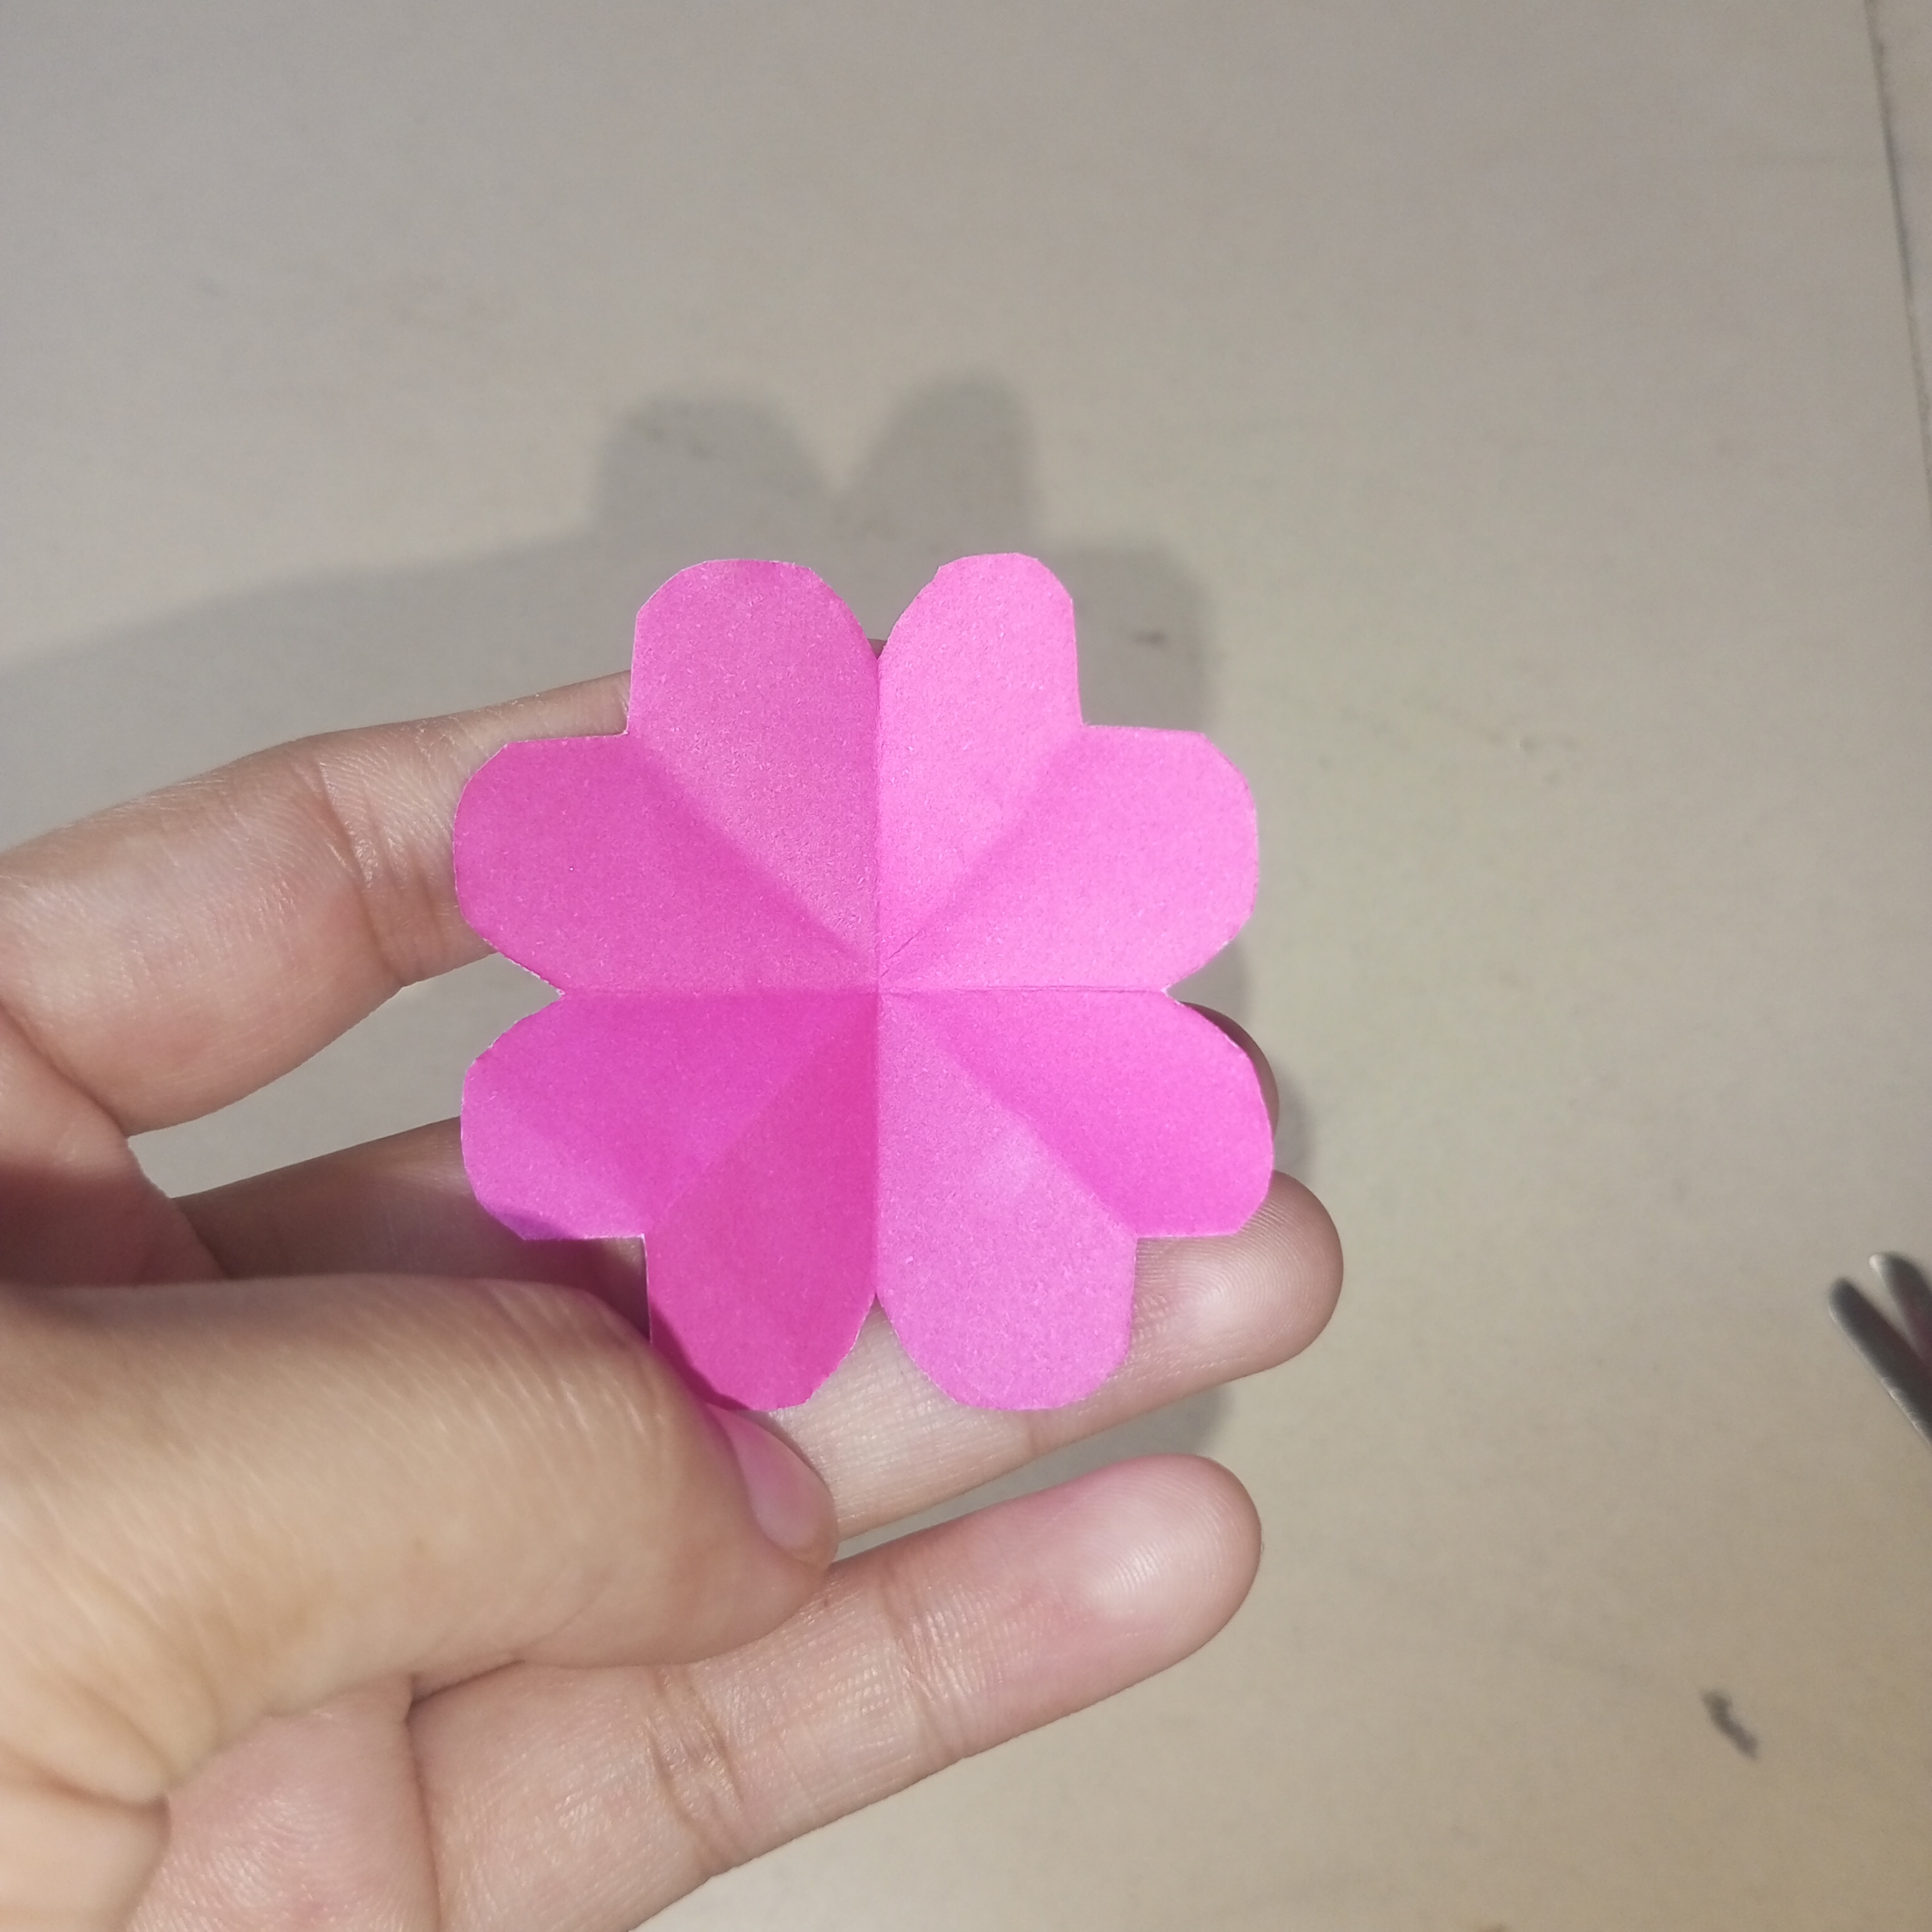
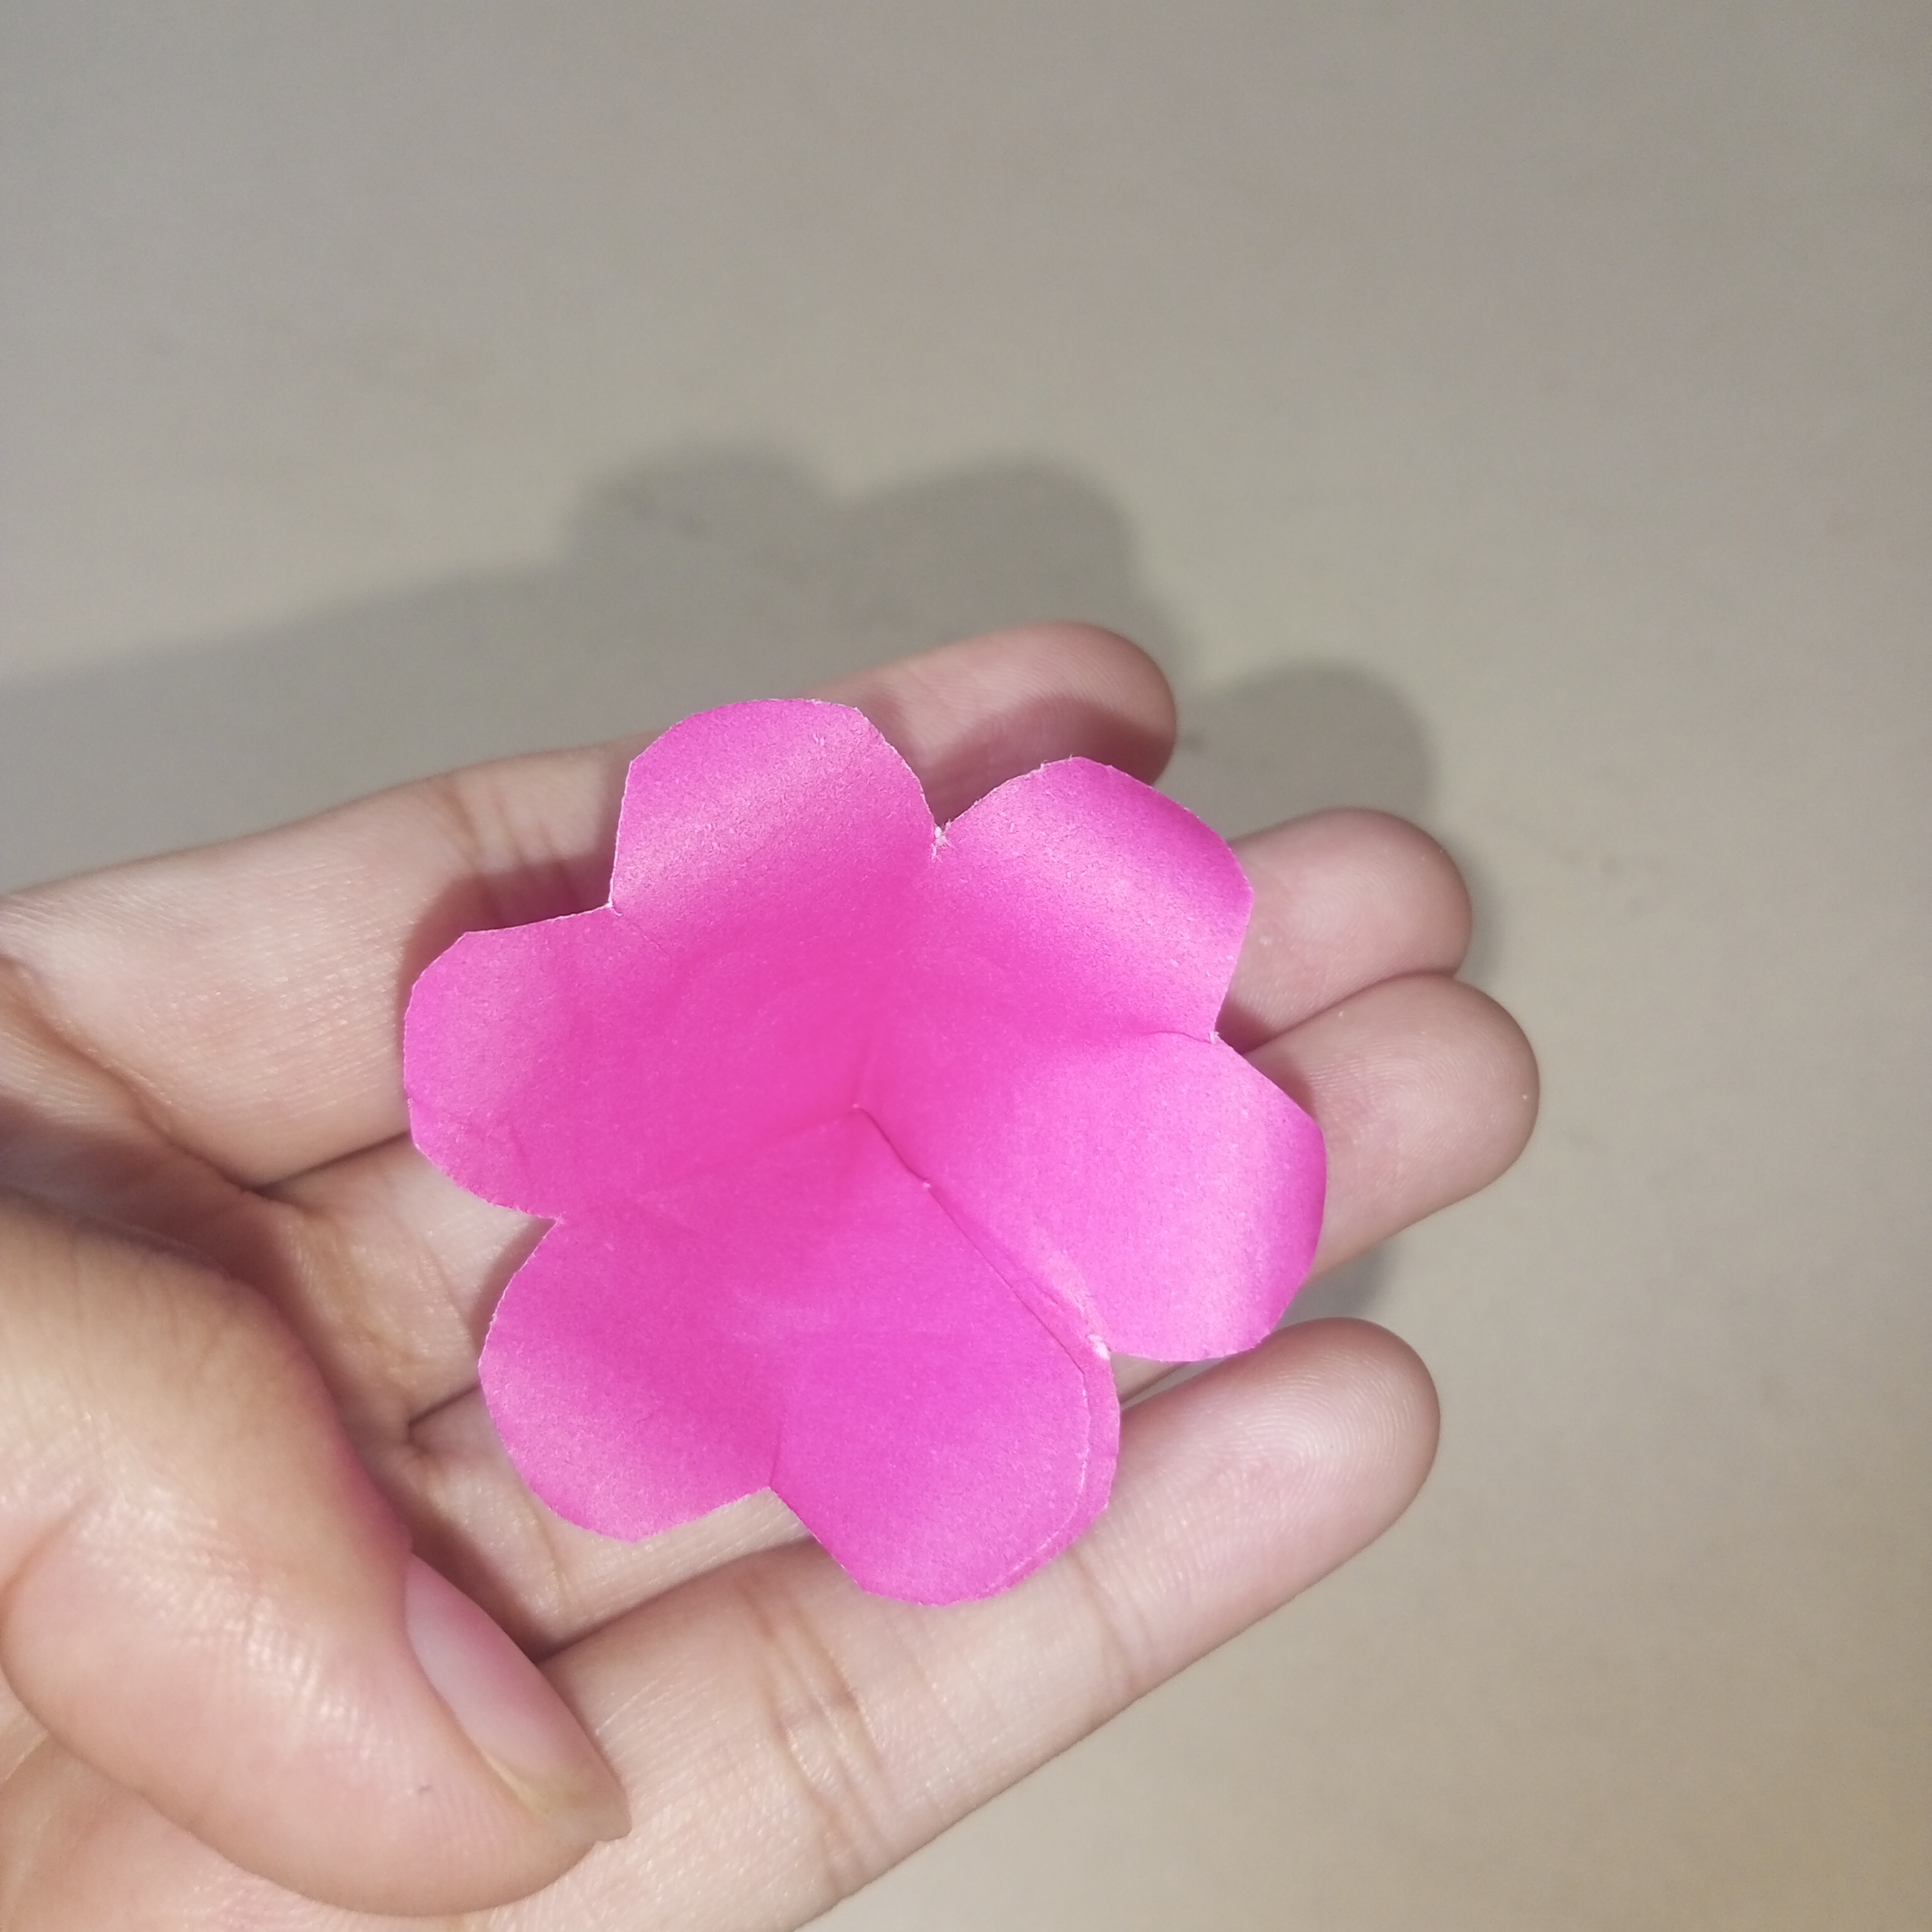
I cut the paper flower to one petal. Then one side was glued together with the other petal, making the shape of the flower more beautiful and raised. Finally I slightly bent all the petals with the help of a steel to give the flower a natural and layered look. Similarly I prepared all the flowers.
 |  |  |  |
|---|
༻Step 8༻
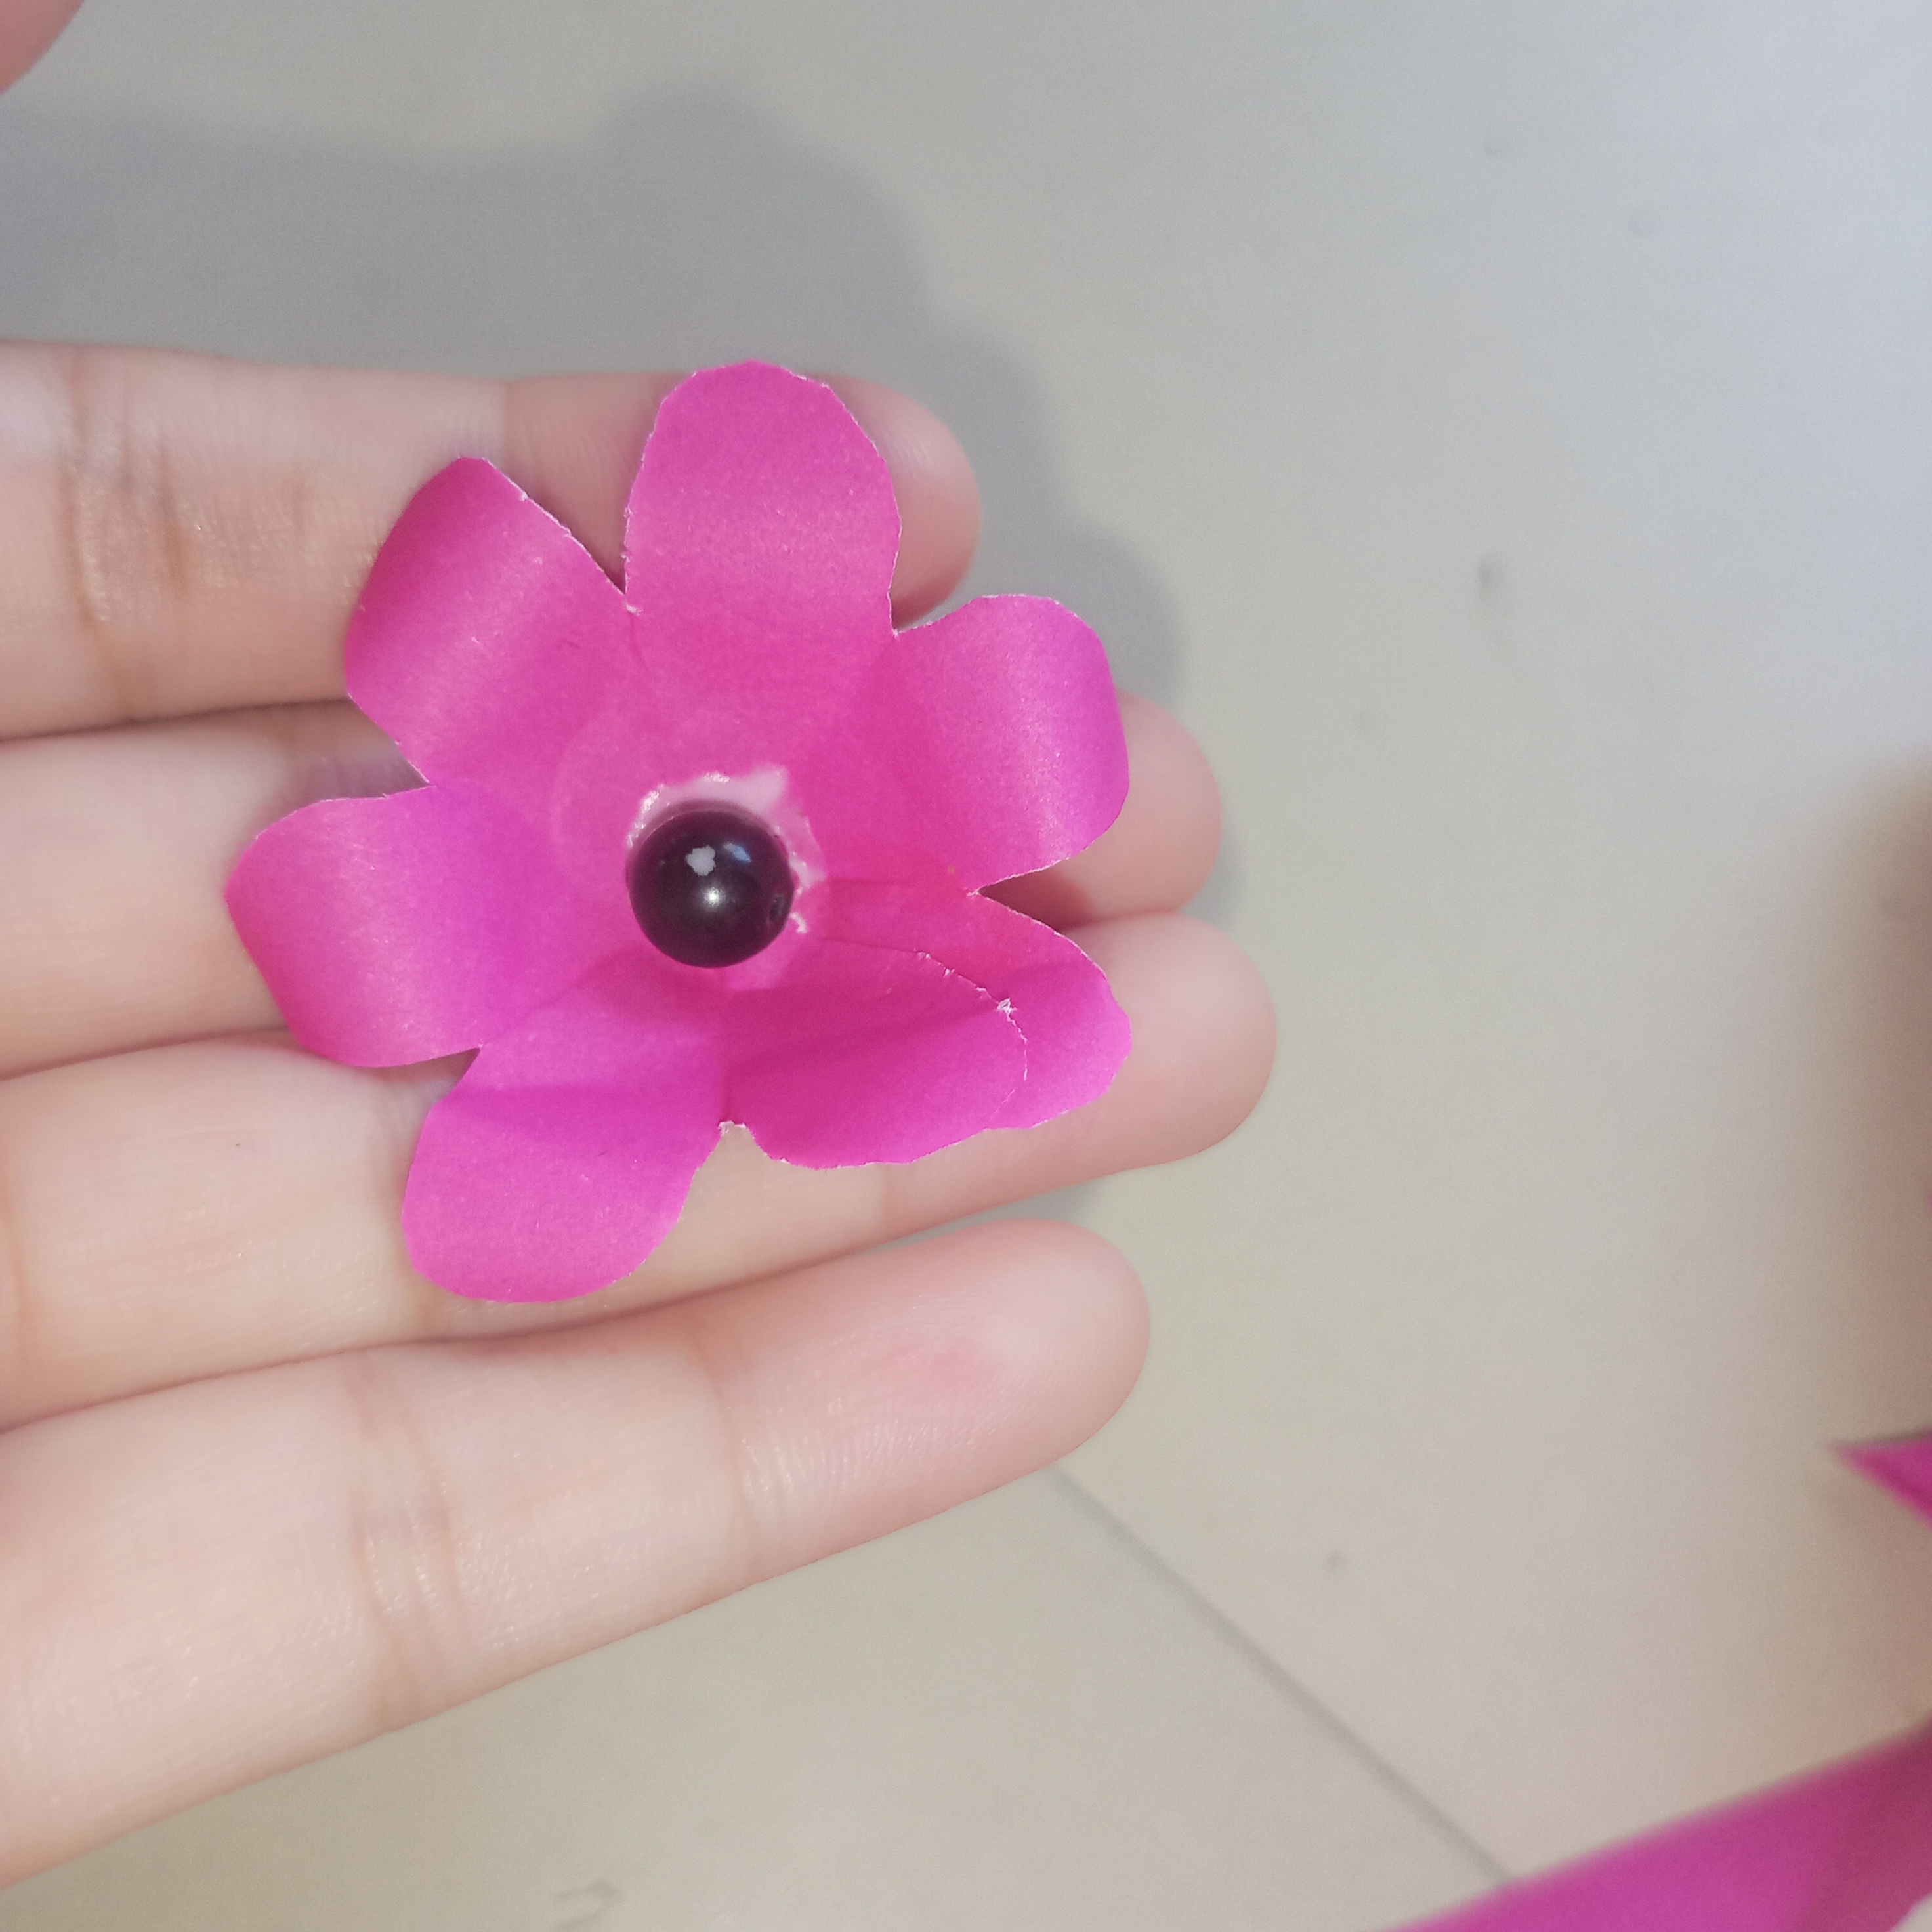
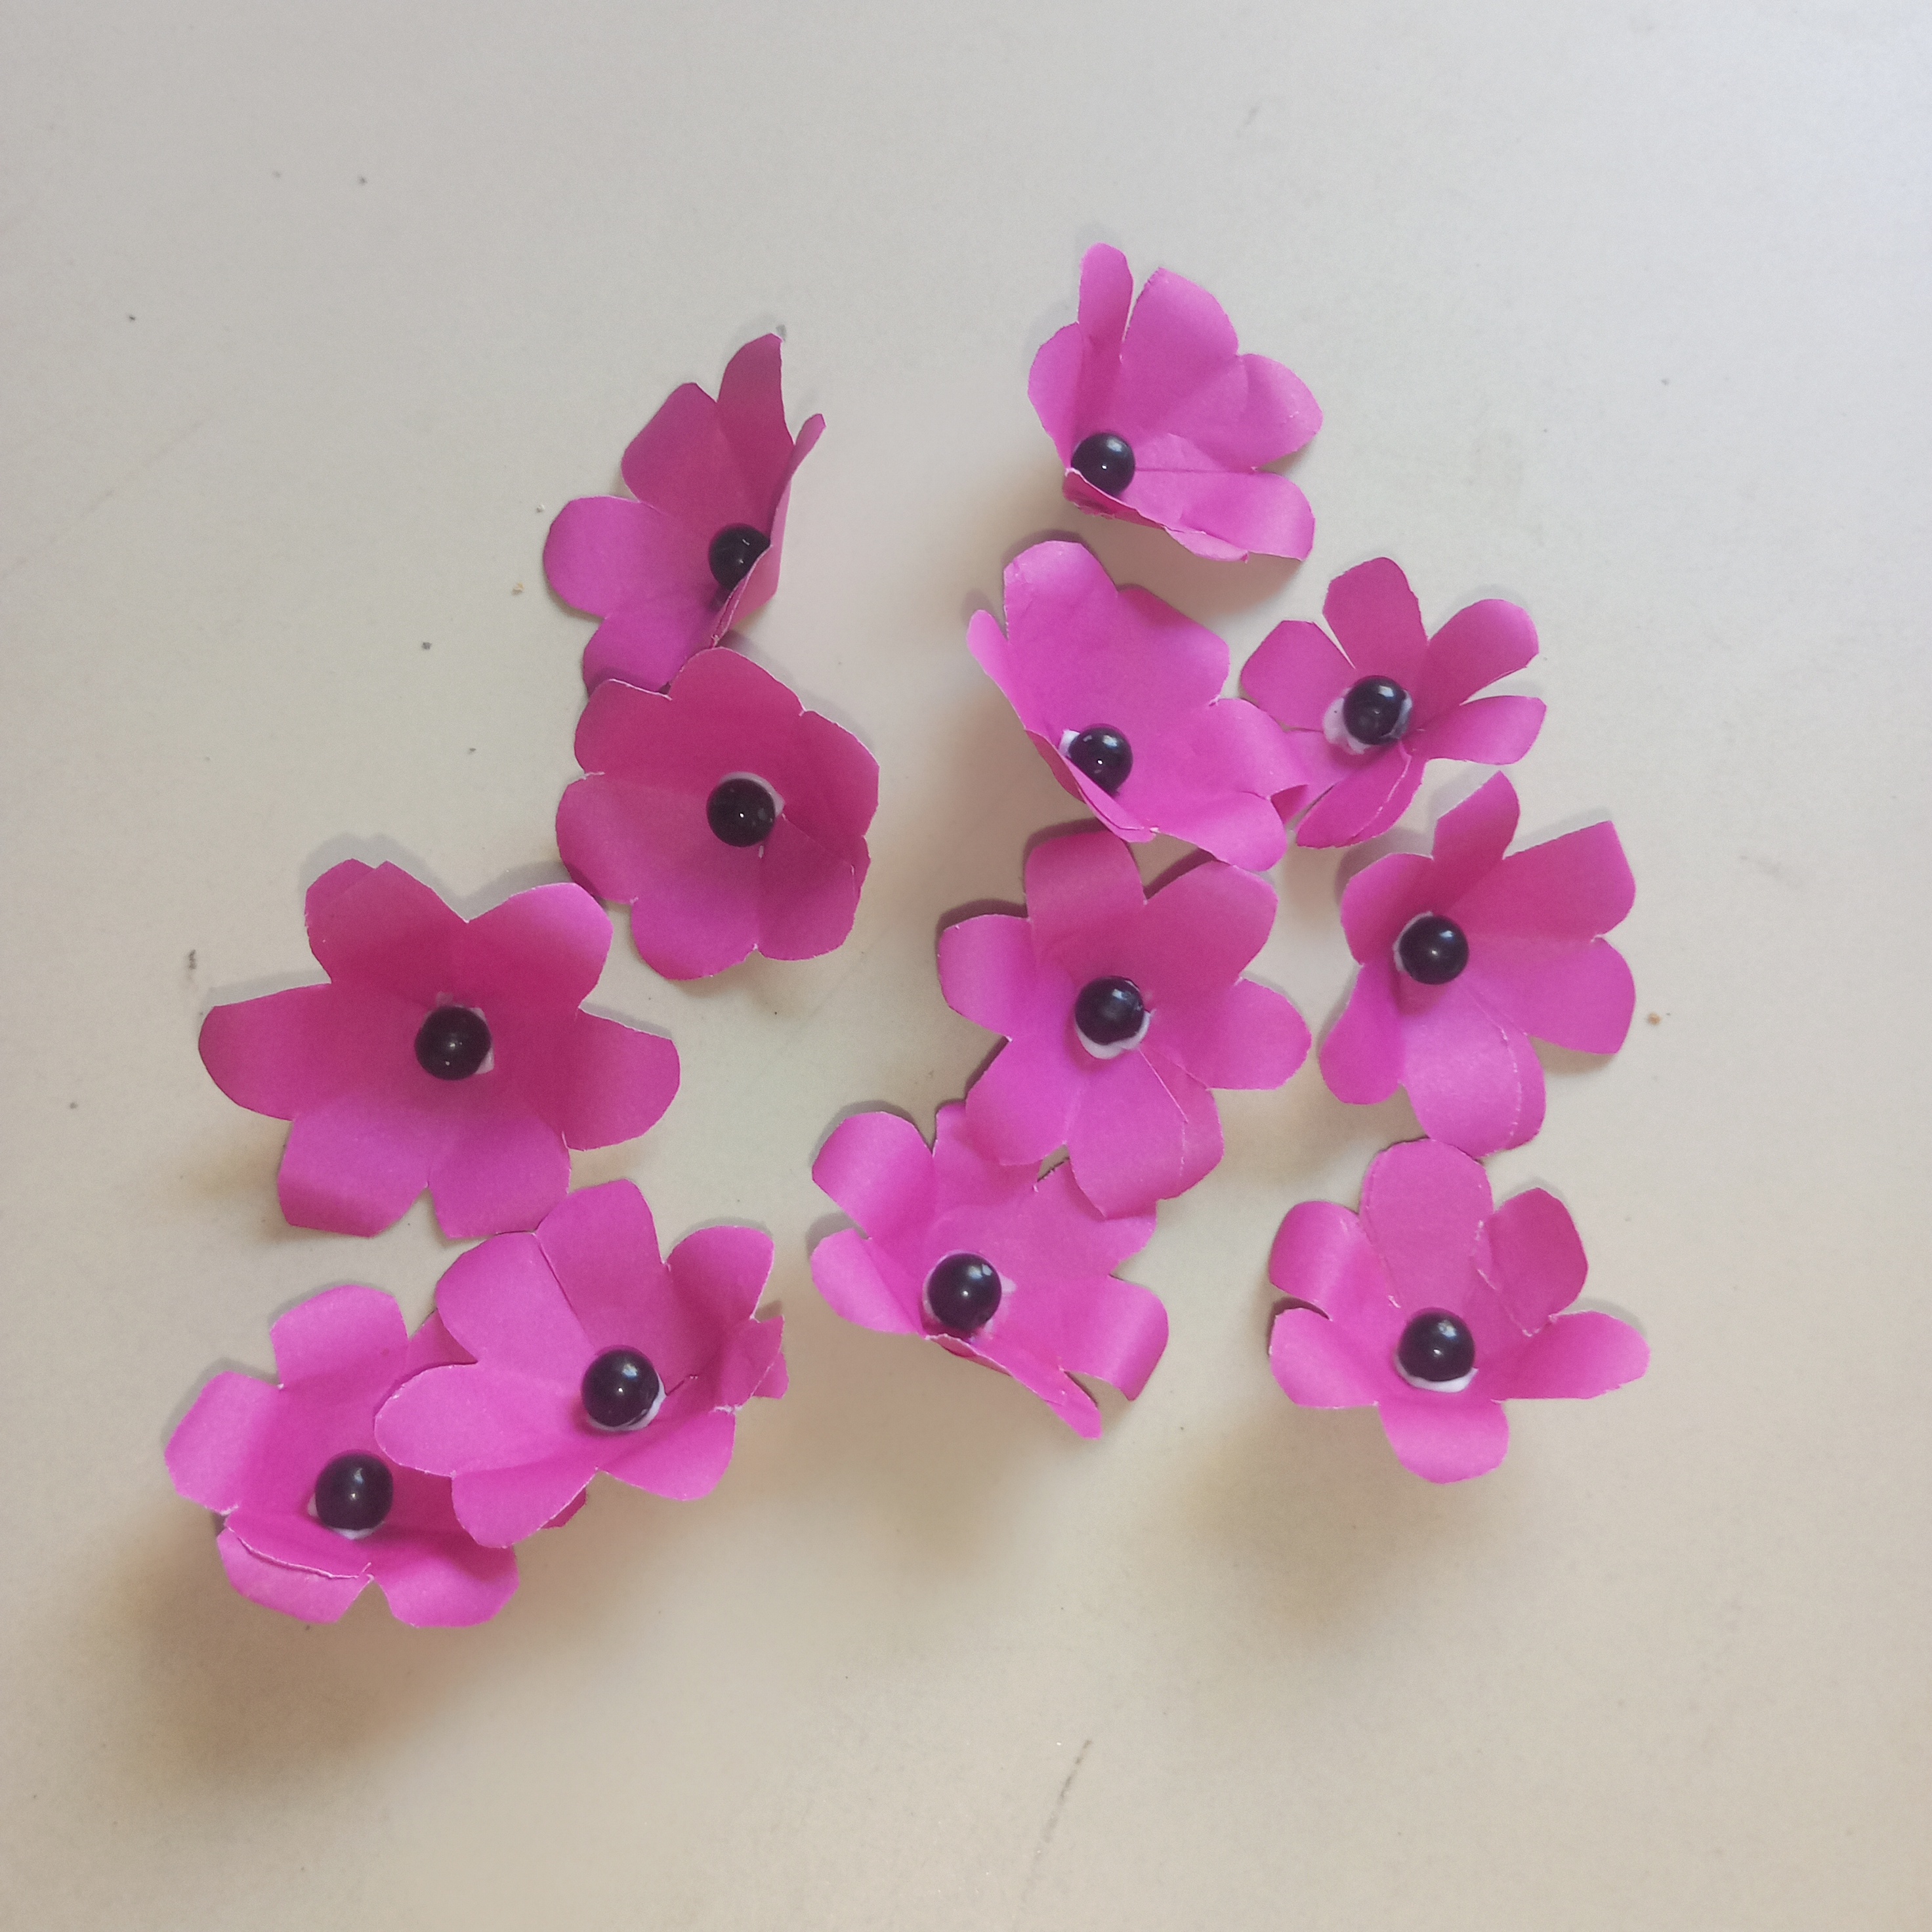
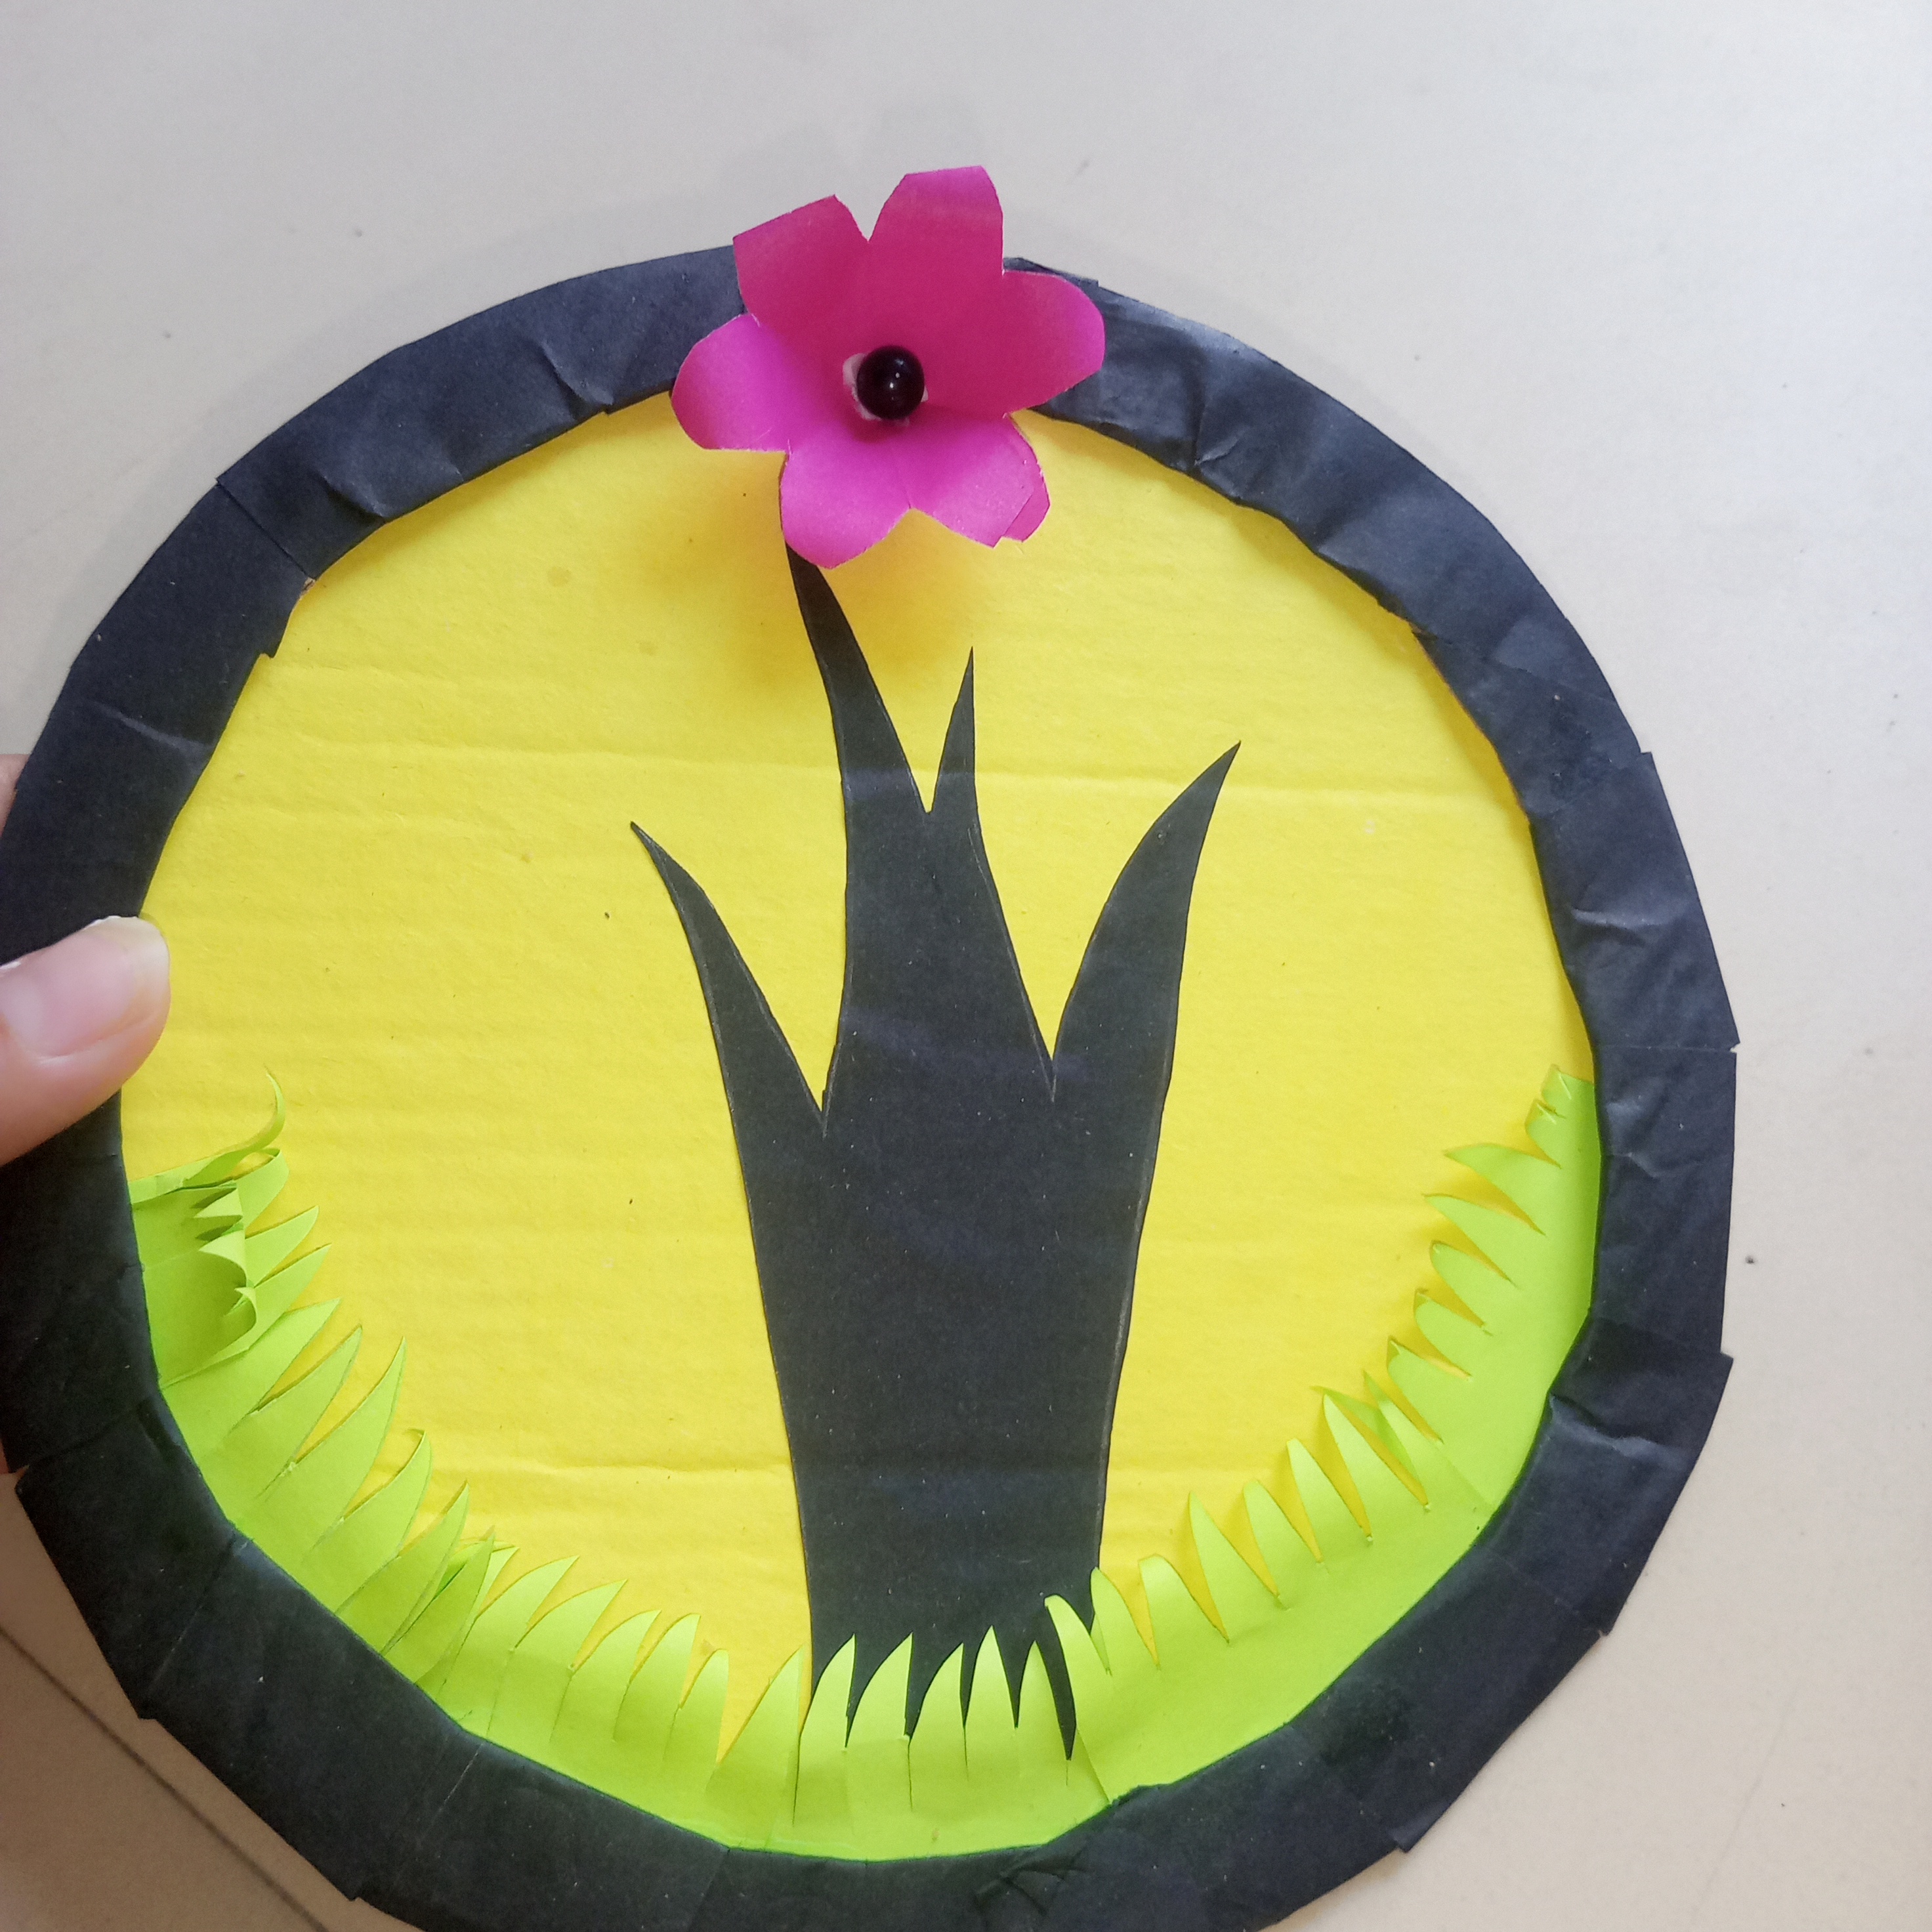
I glued a black pearl in the middle of each flower with glue, which made the flowers look more beautiful and attractive. Well after that I carefully stick all the prepared flowers on the tree branch one by one. So that the whole scene looks natural and beautiful. This last step made my papercraft complete and very attractive guys.
 |  |  |
|---|
༻Step 9༻
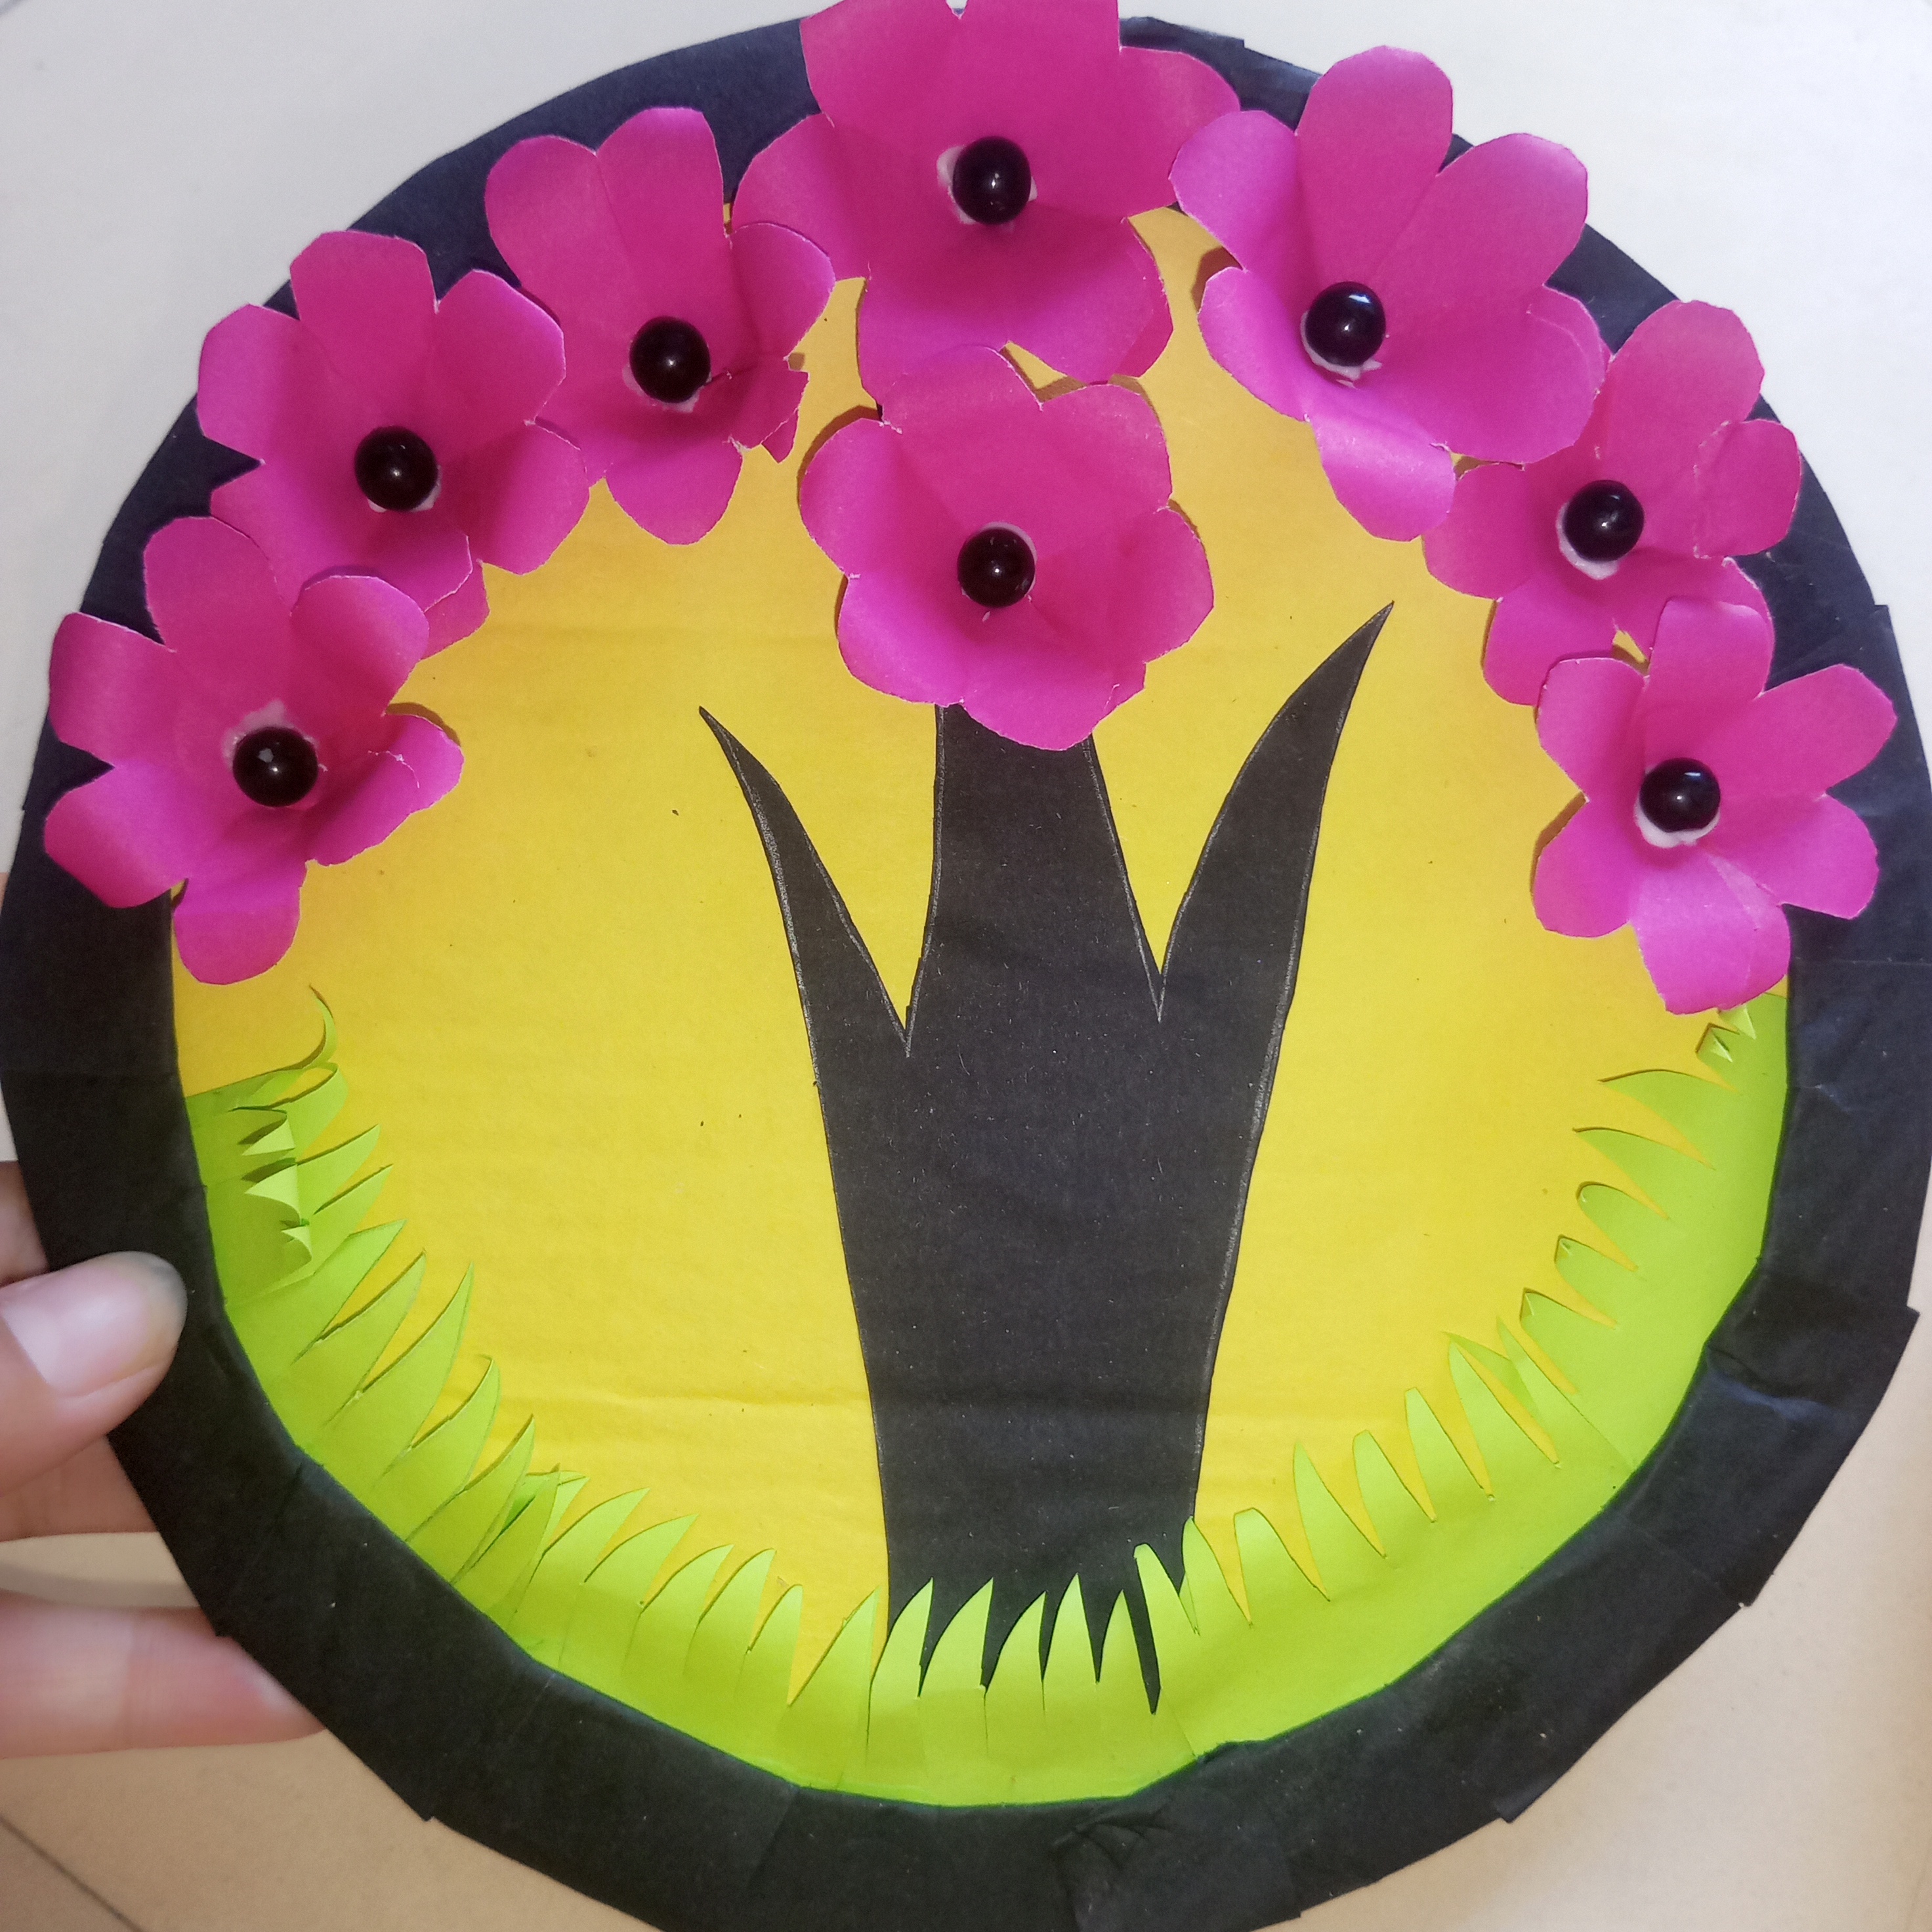
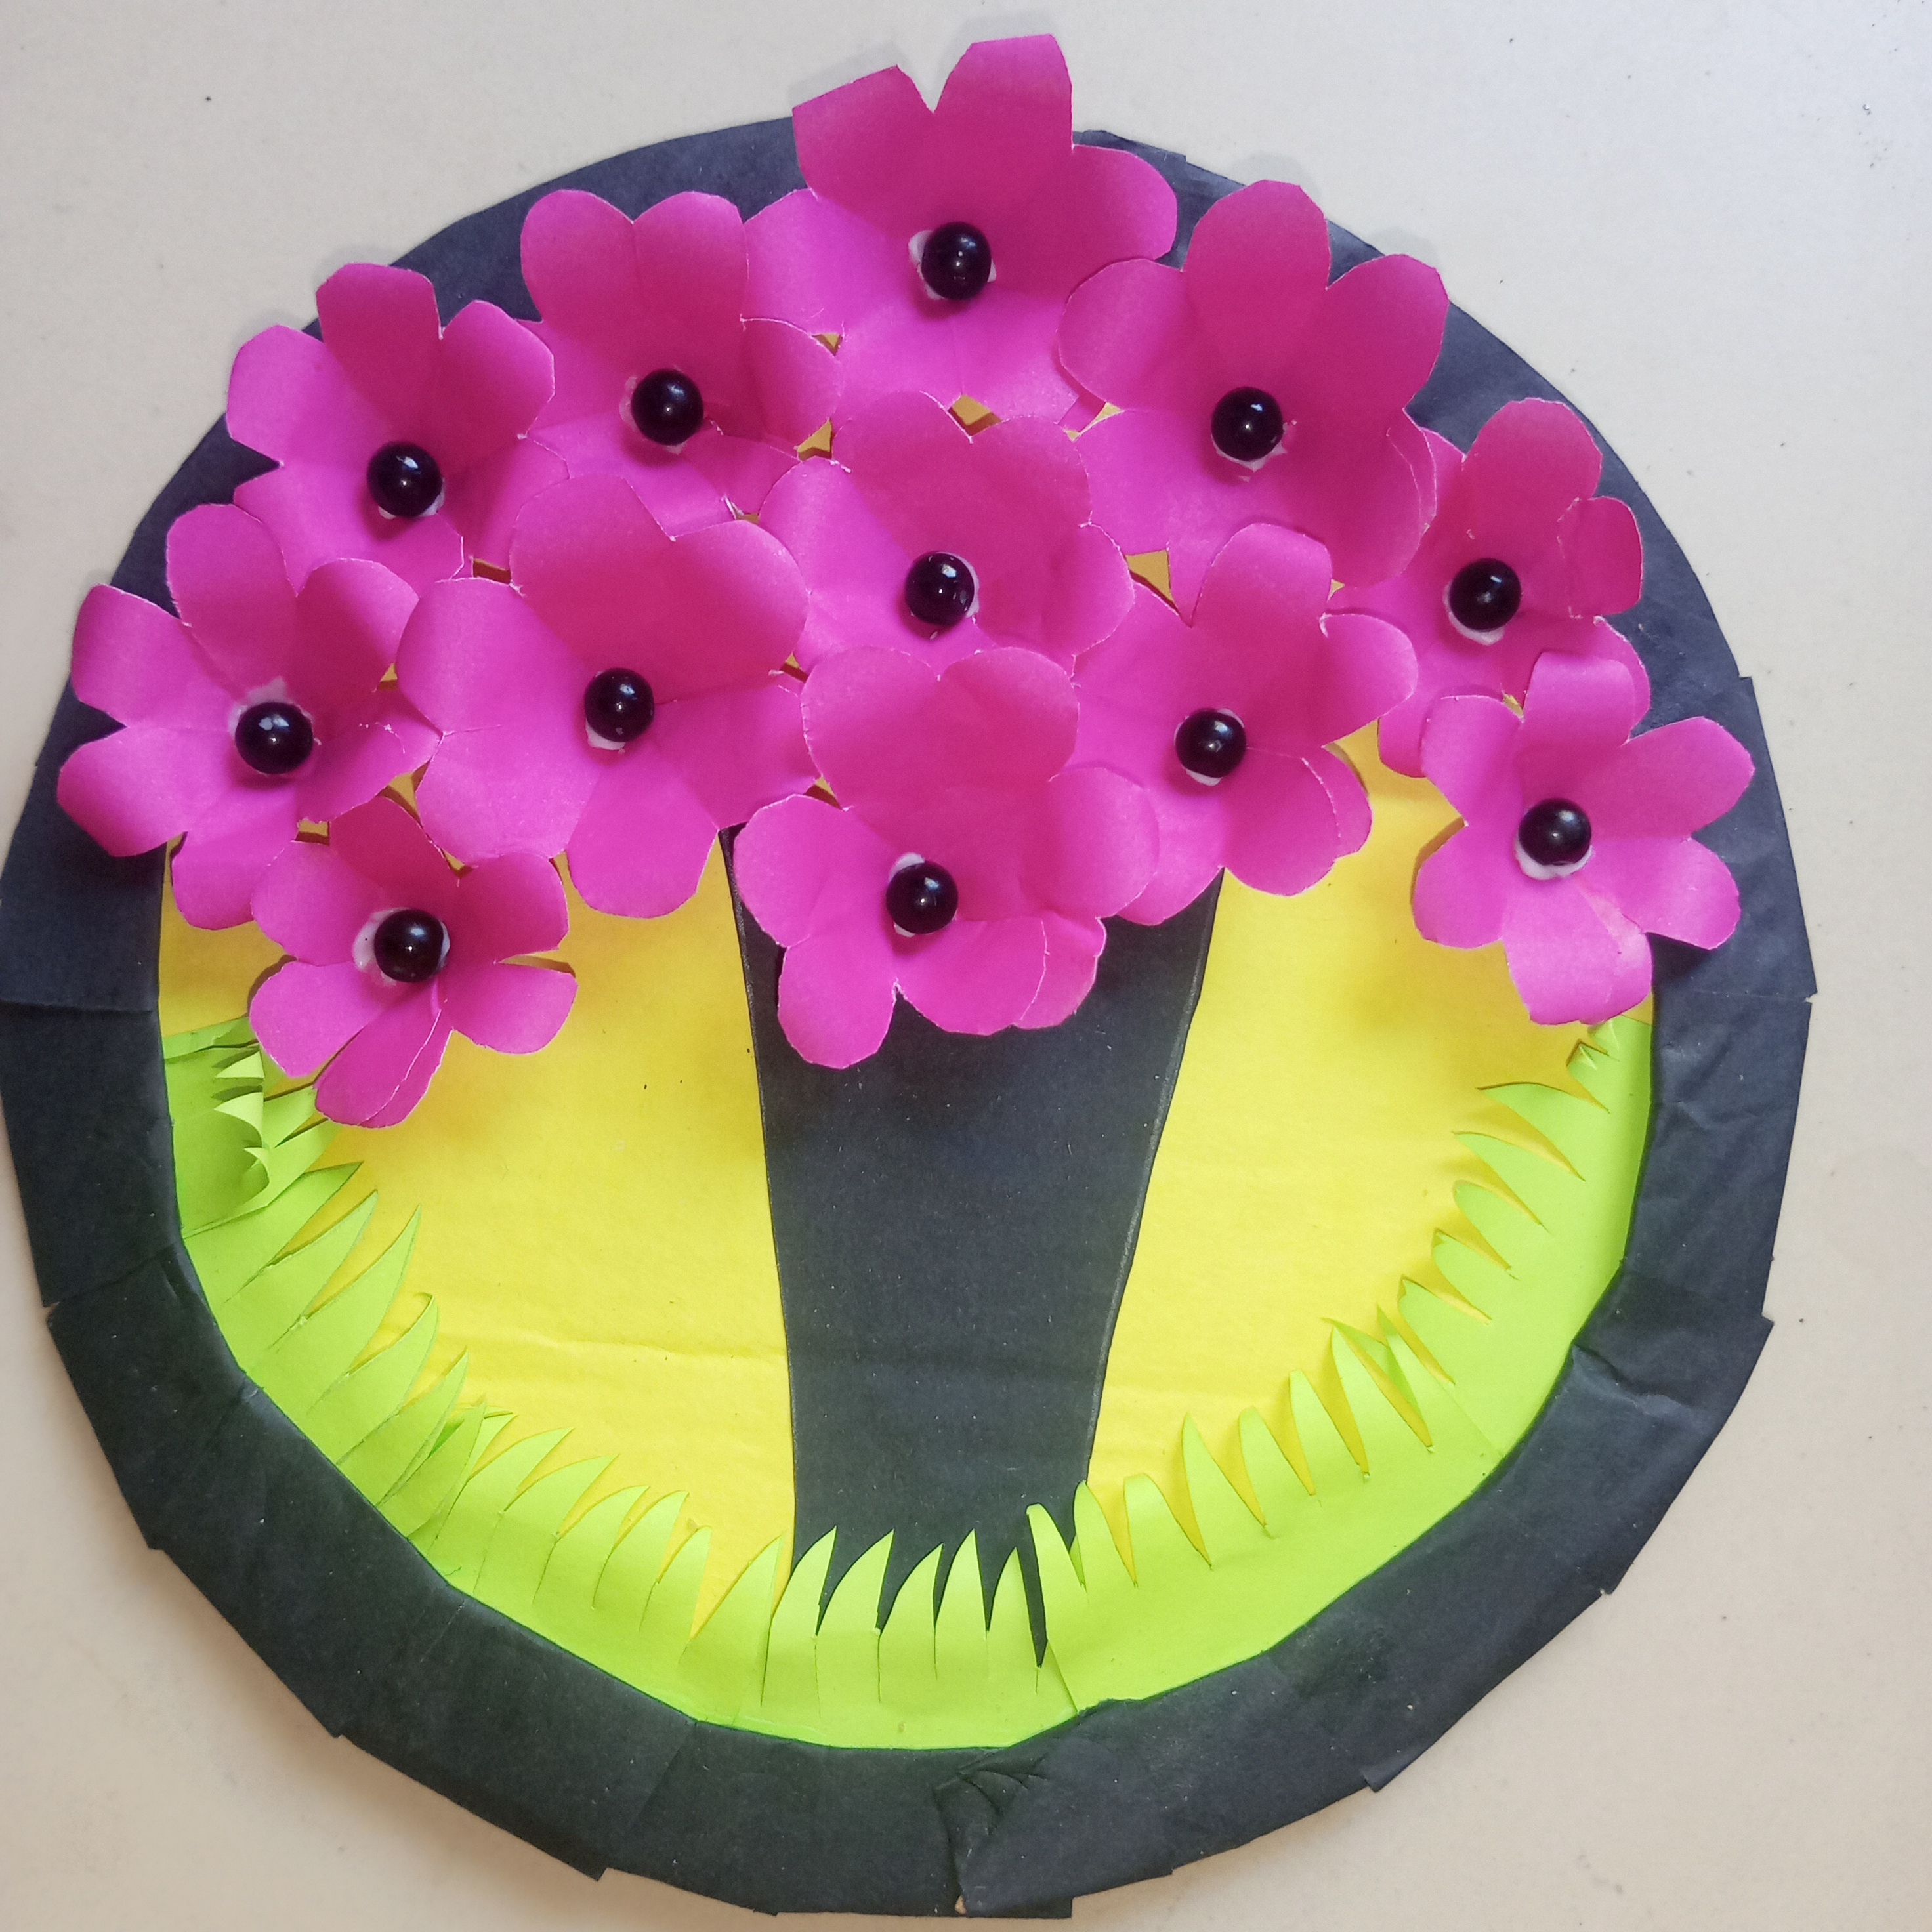
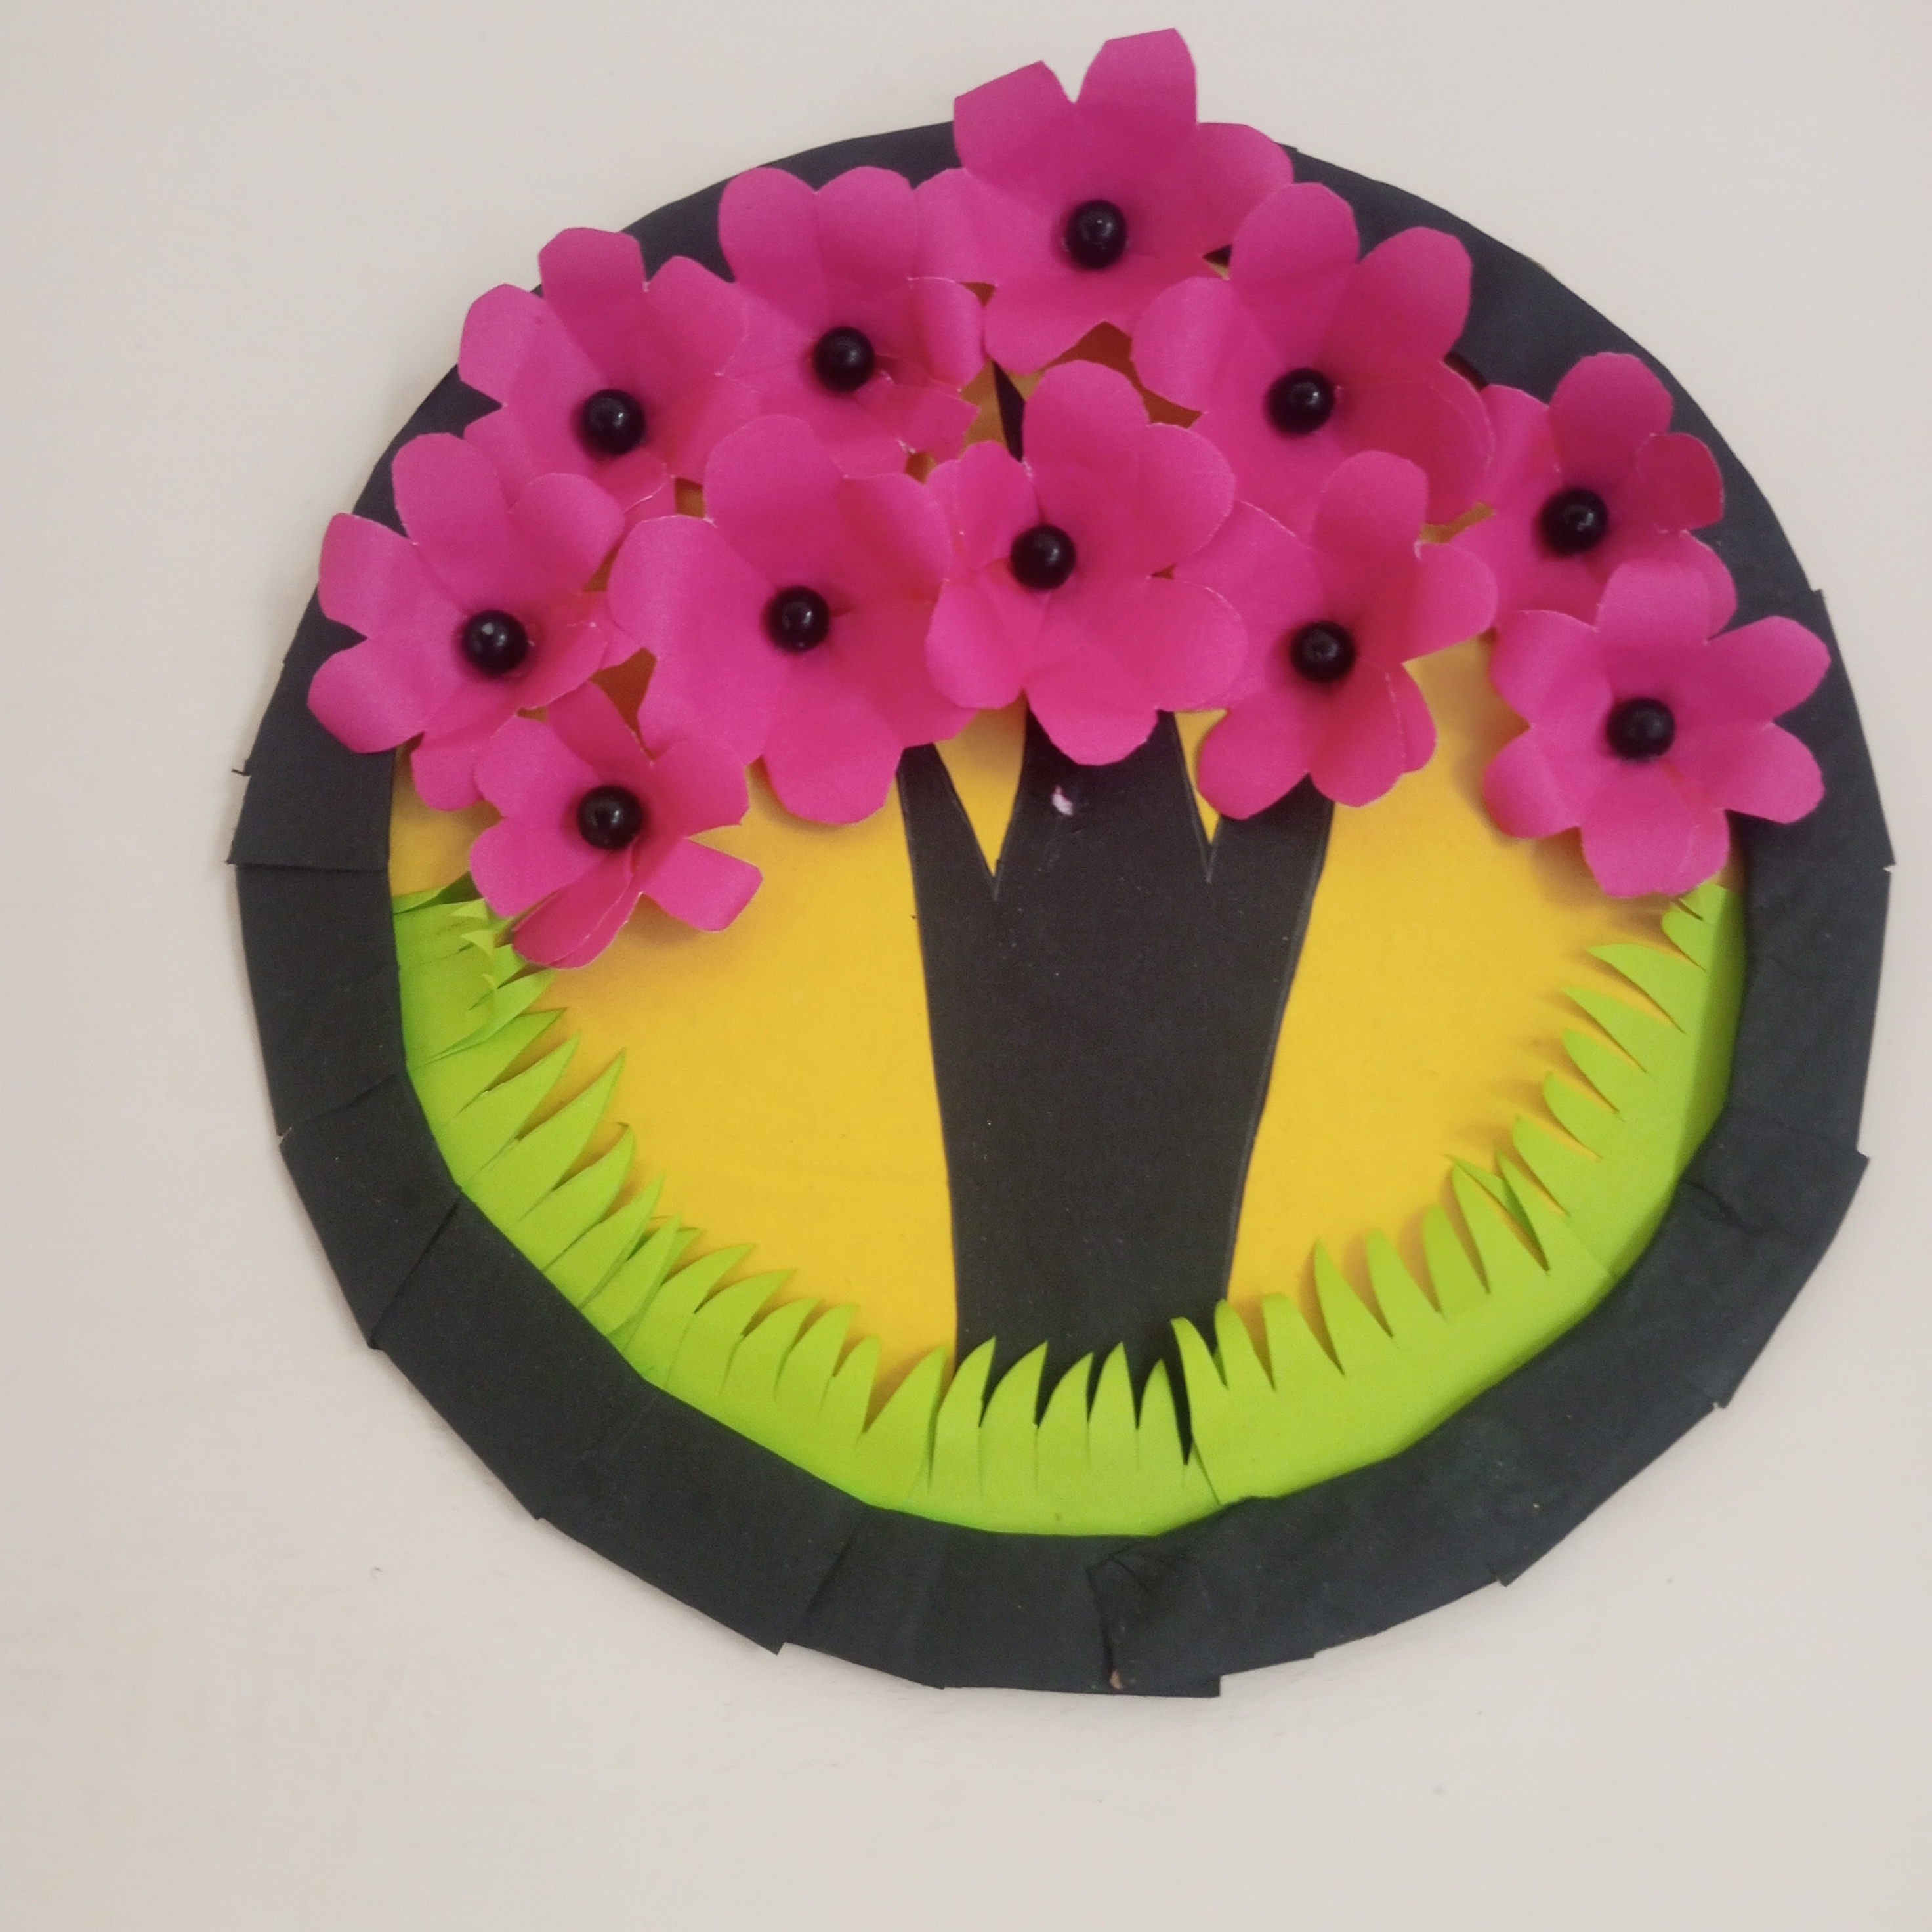
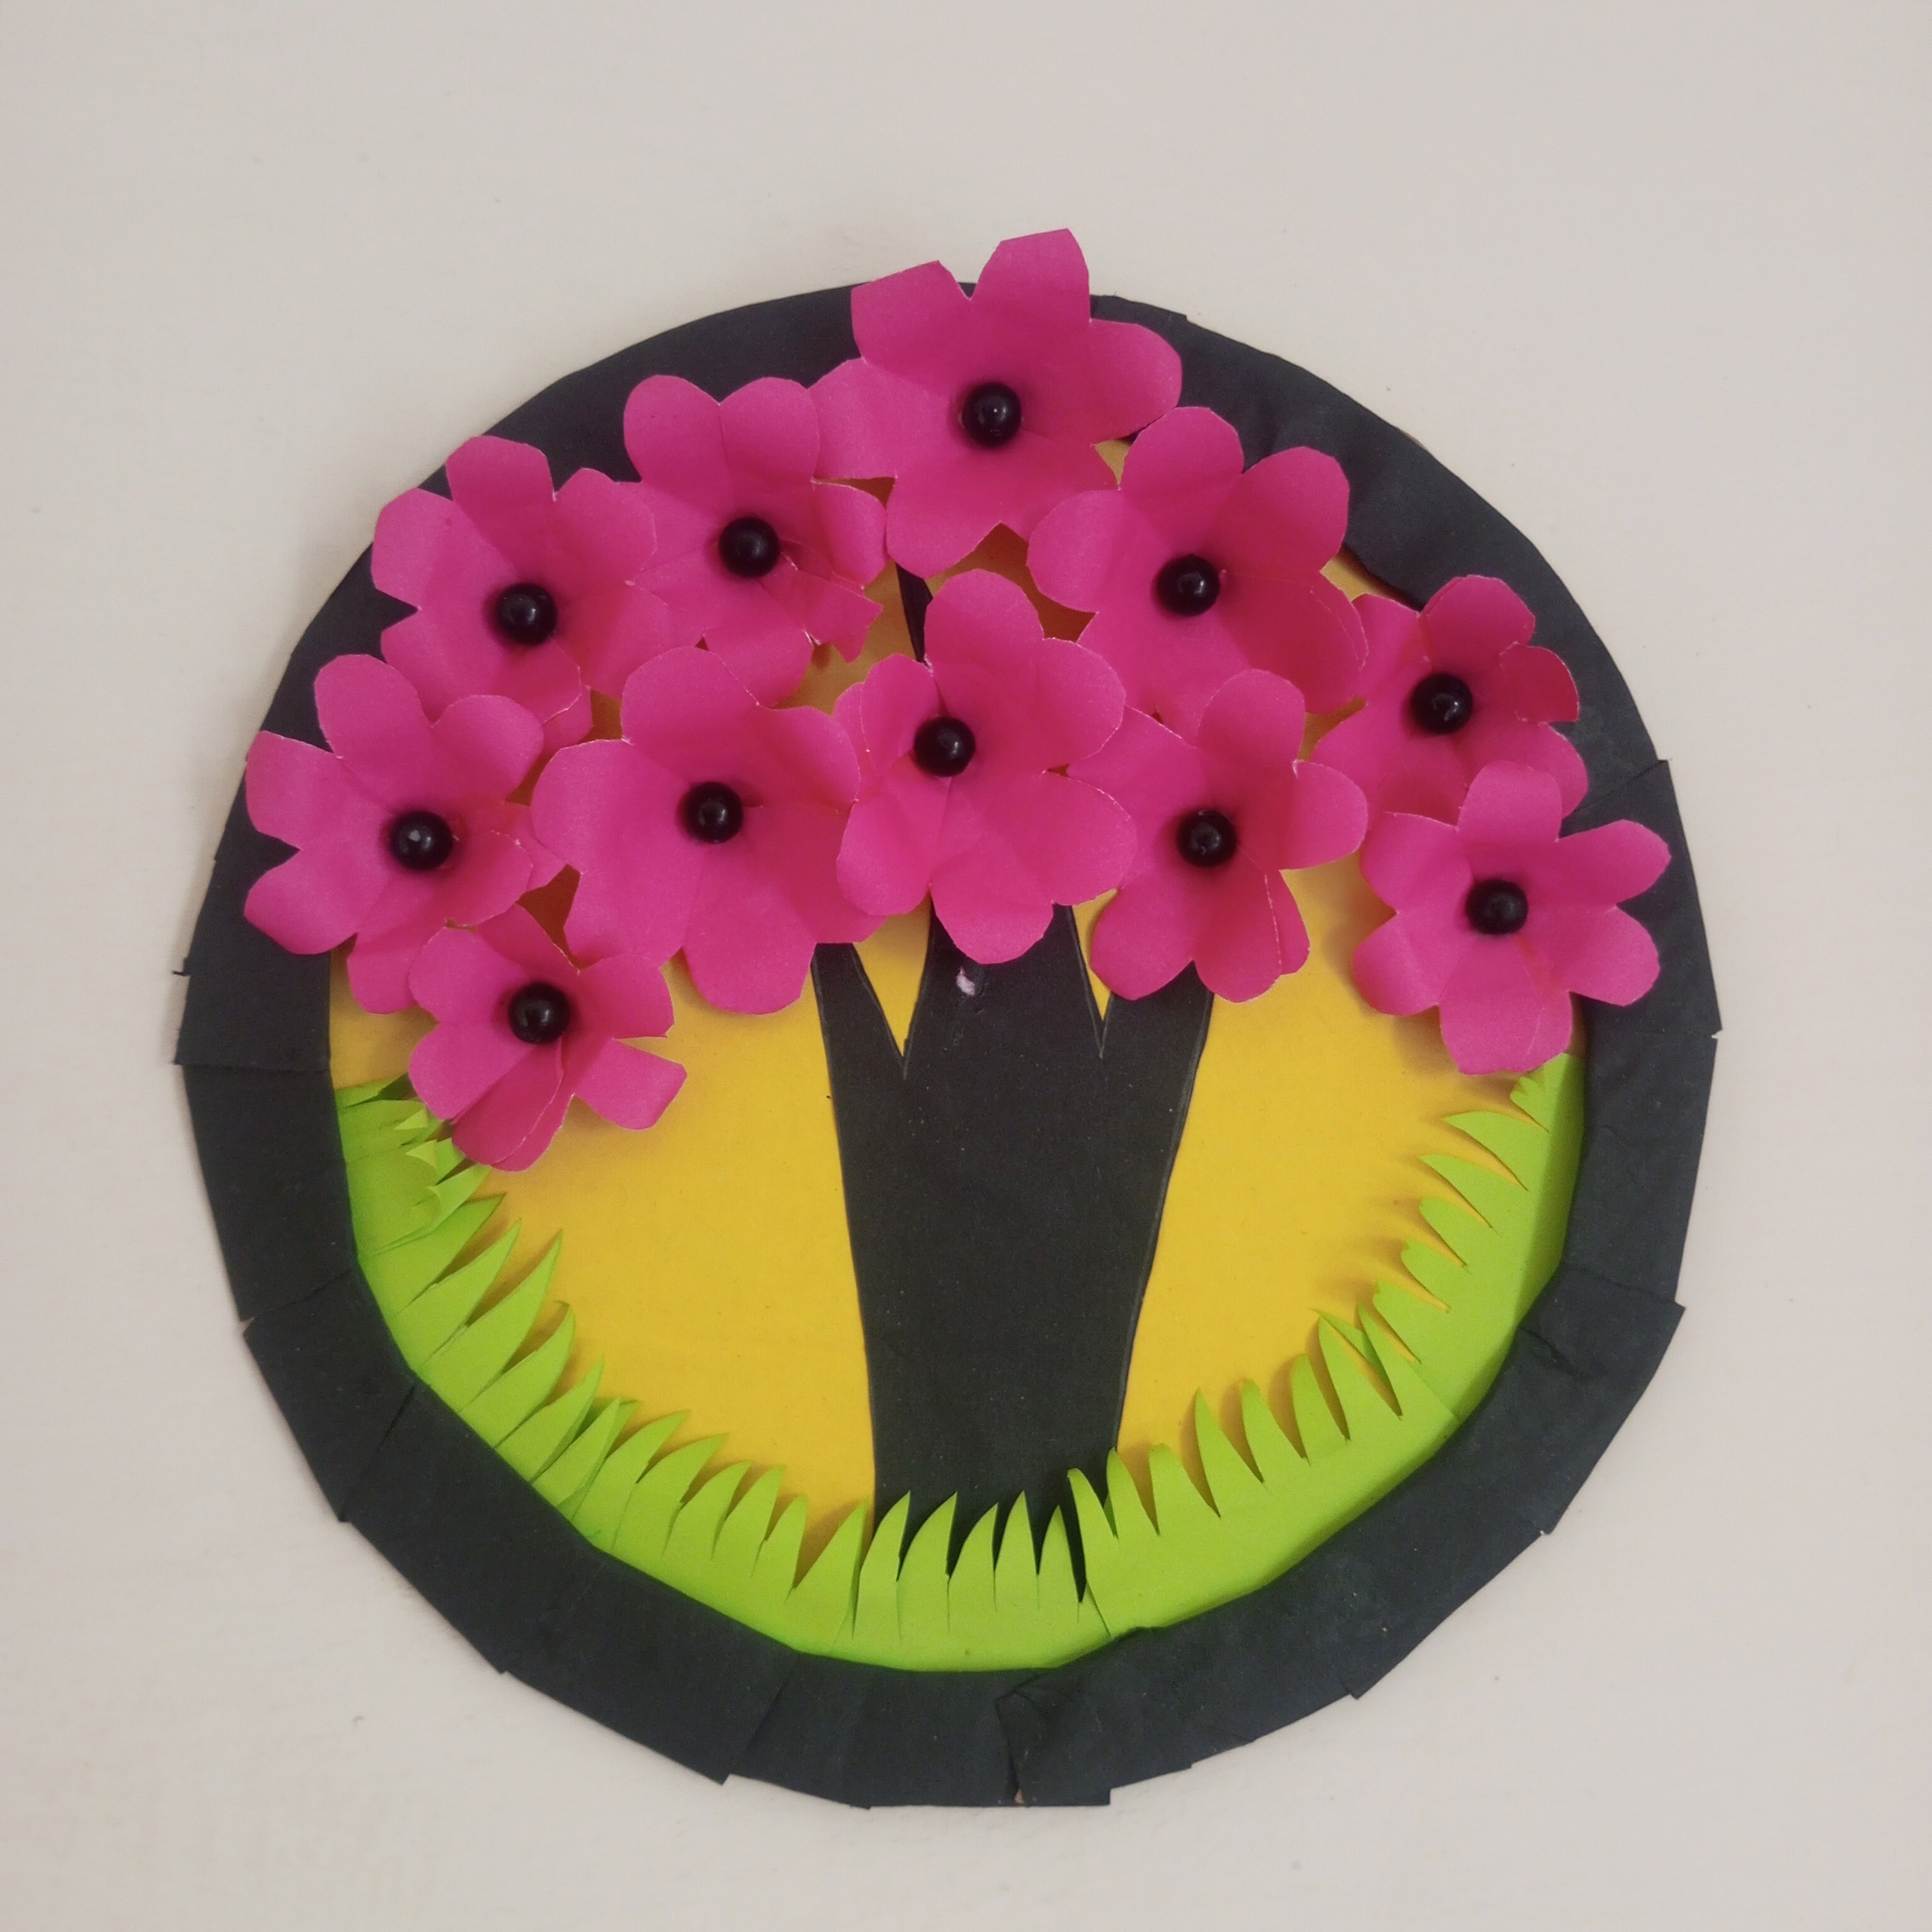
After that all the prepared flowers were glued one by one on the branches of the tree. I placed with the help of glue. Well special care is taken to arrange the flowers. So that they look balanced and beautiful. Finally fixed all the flowers well. Itcreating a charming and colorful flower tree.
 |
|---|
 |
|---|
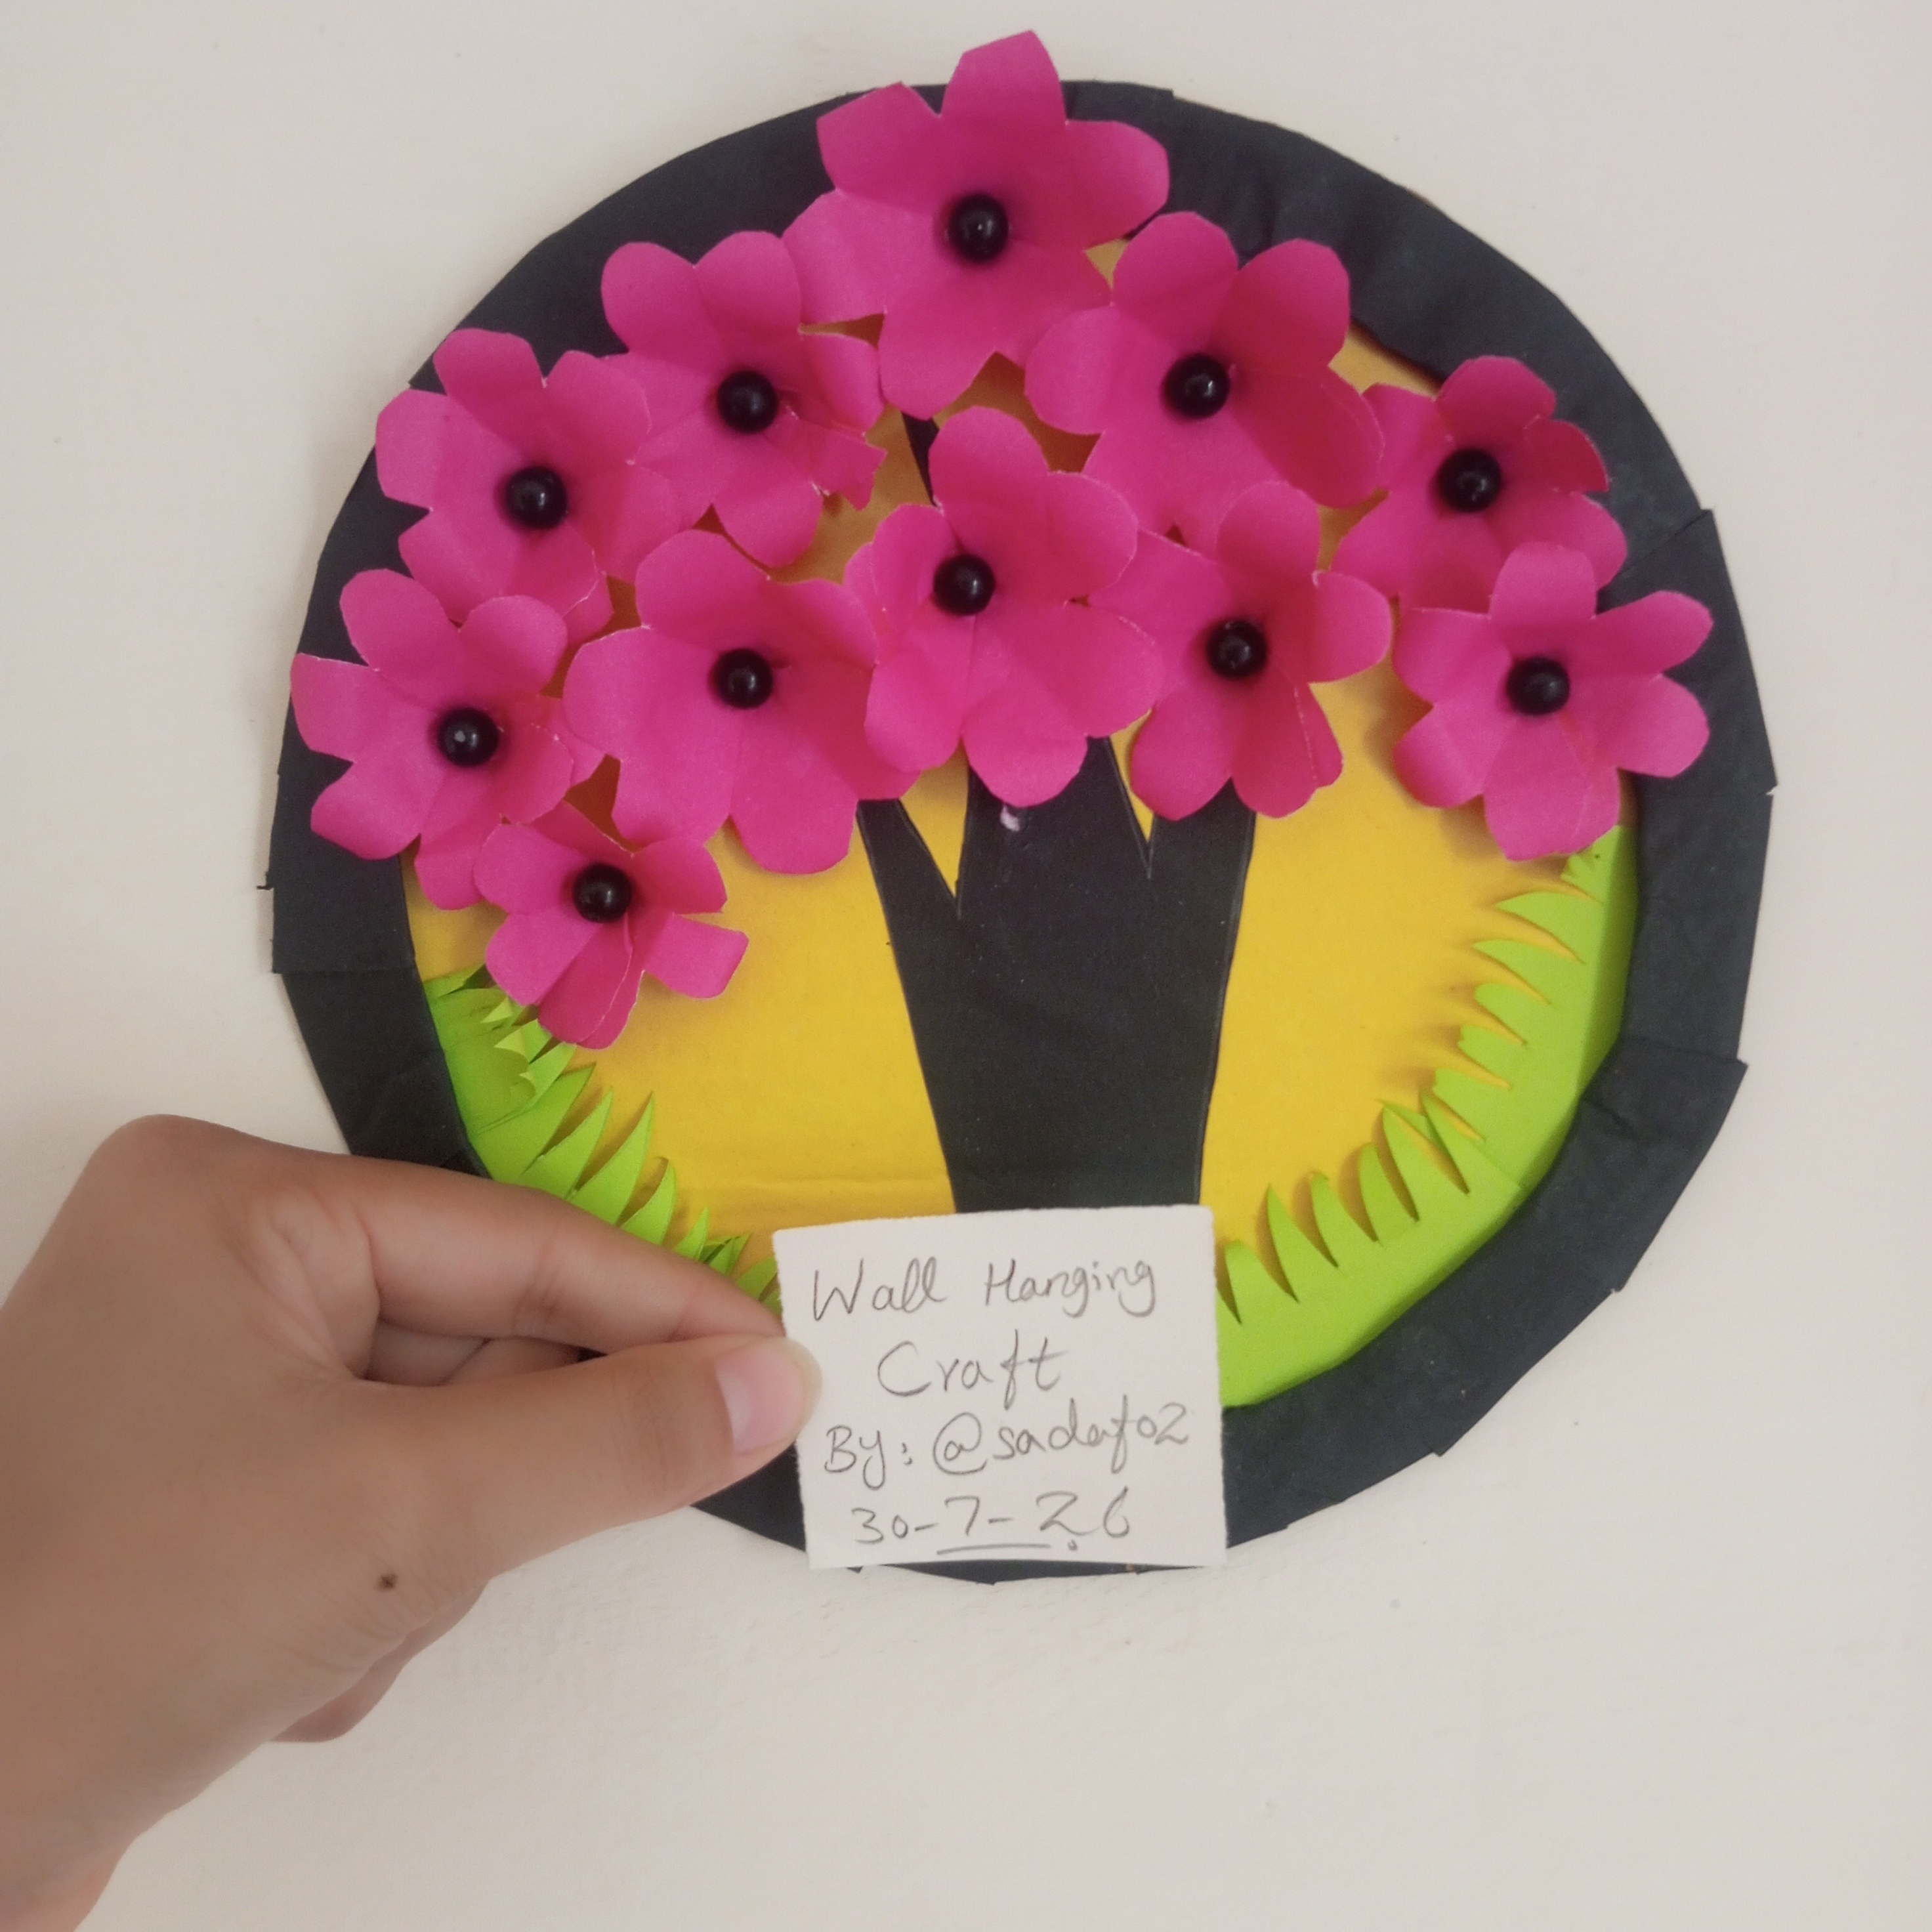
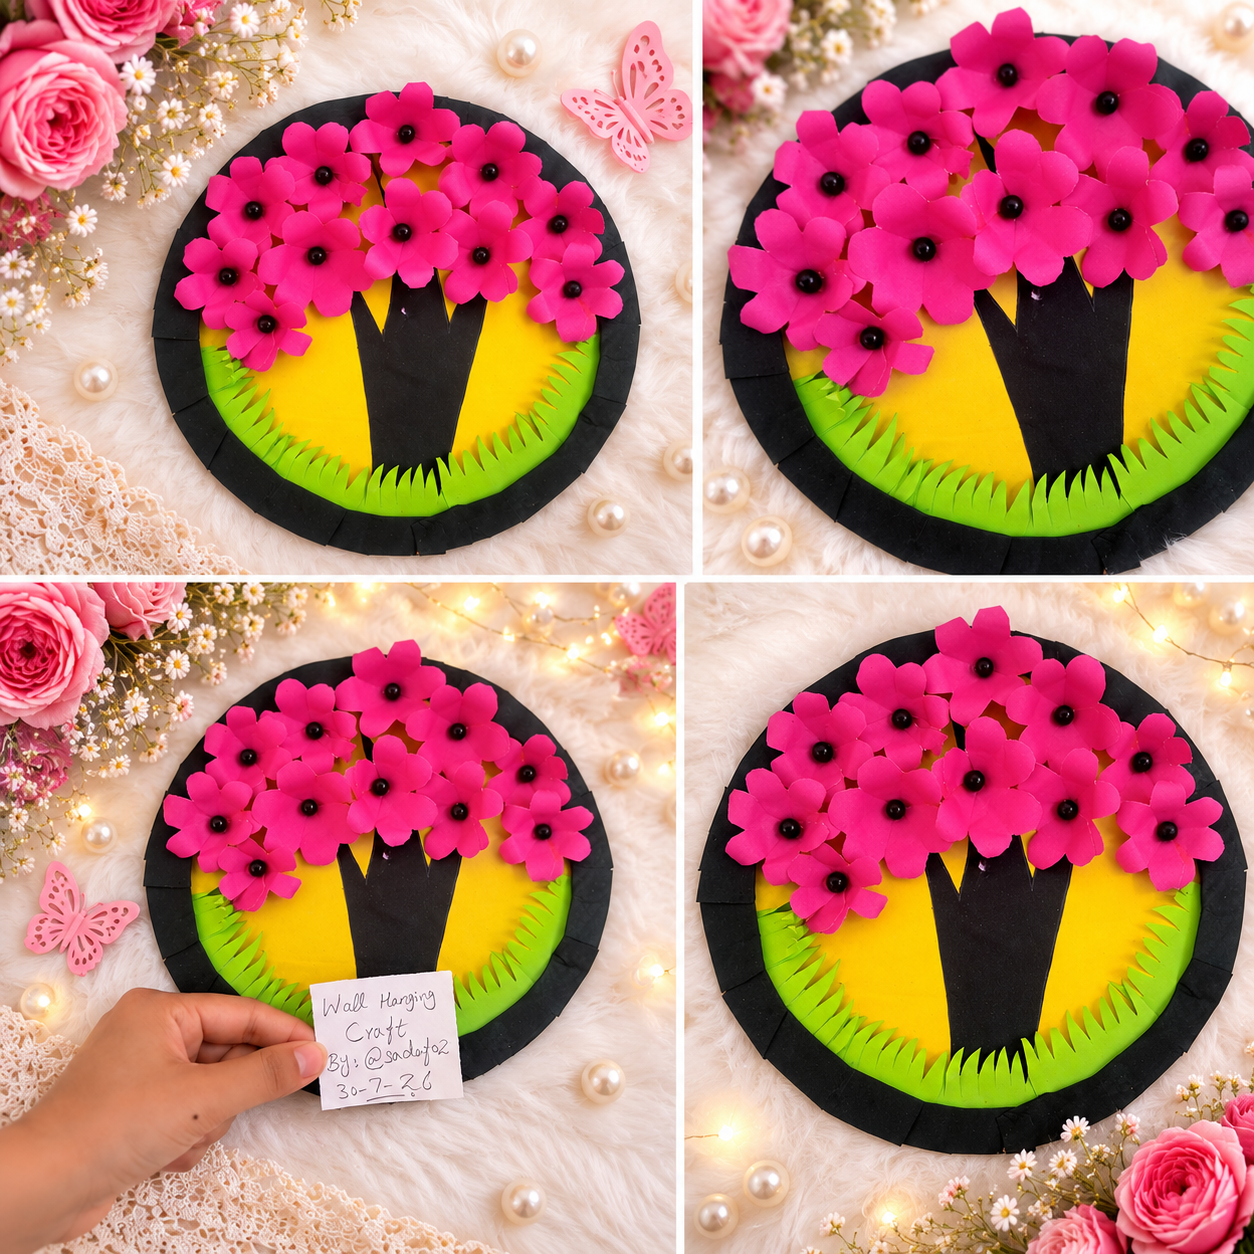
My paper flower tree is now complete.
 |
|---|
 |
|---|
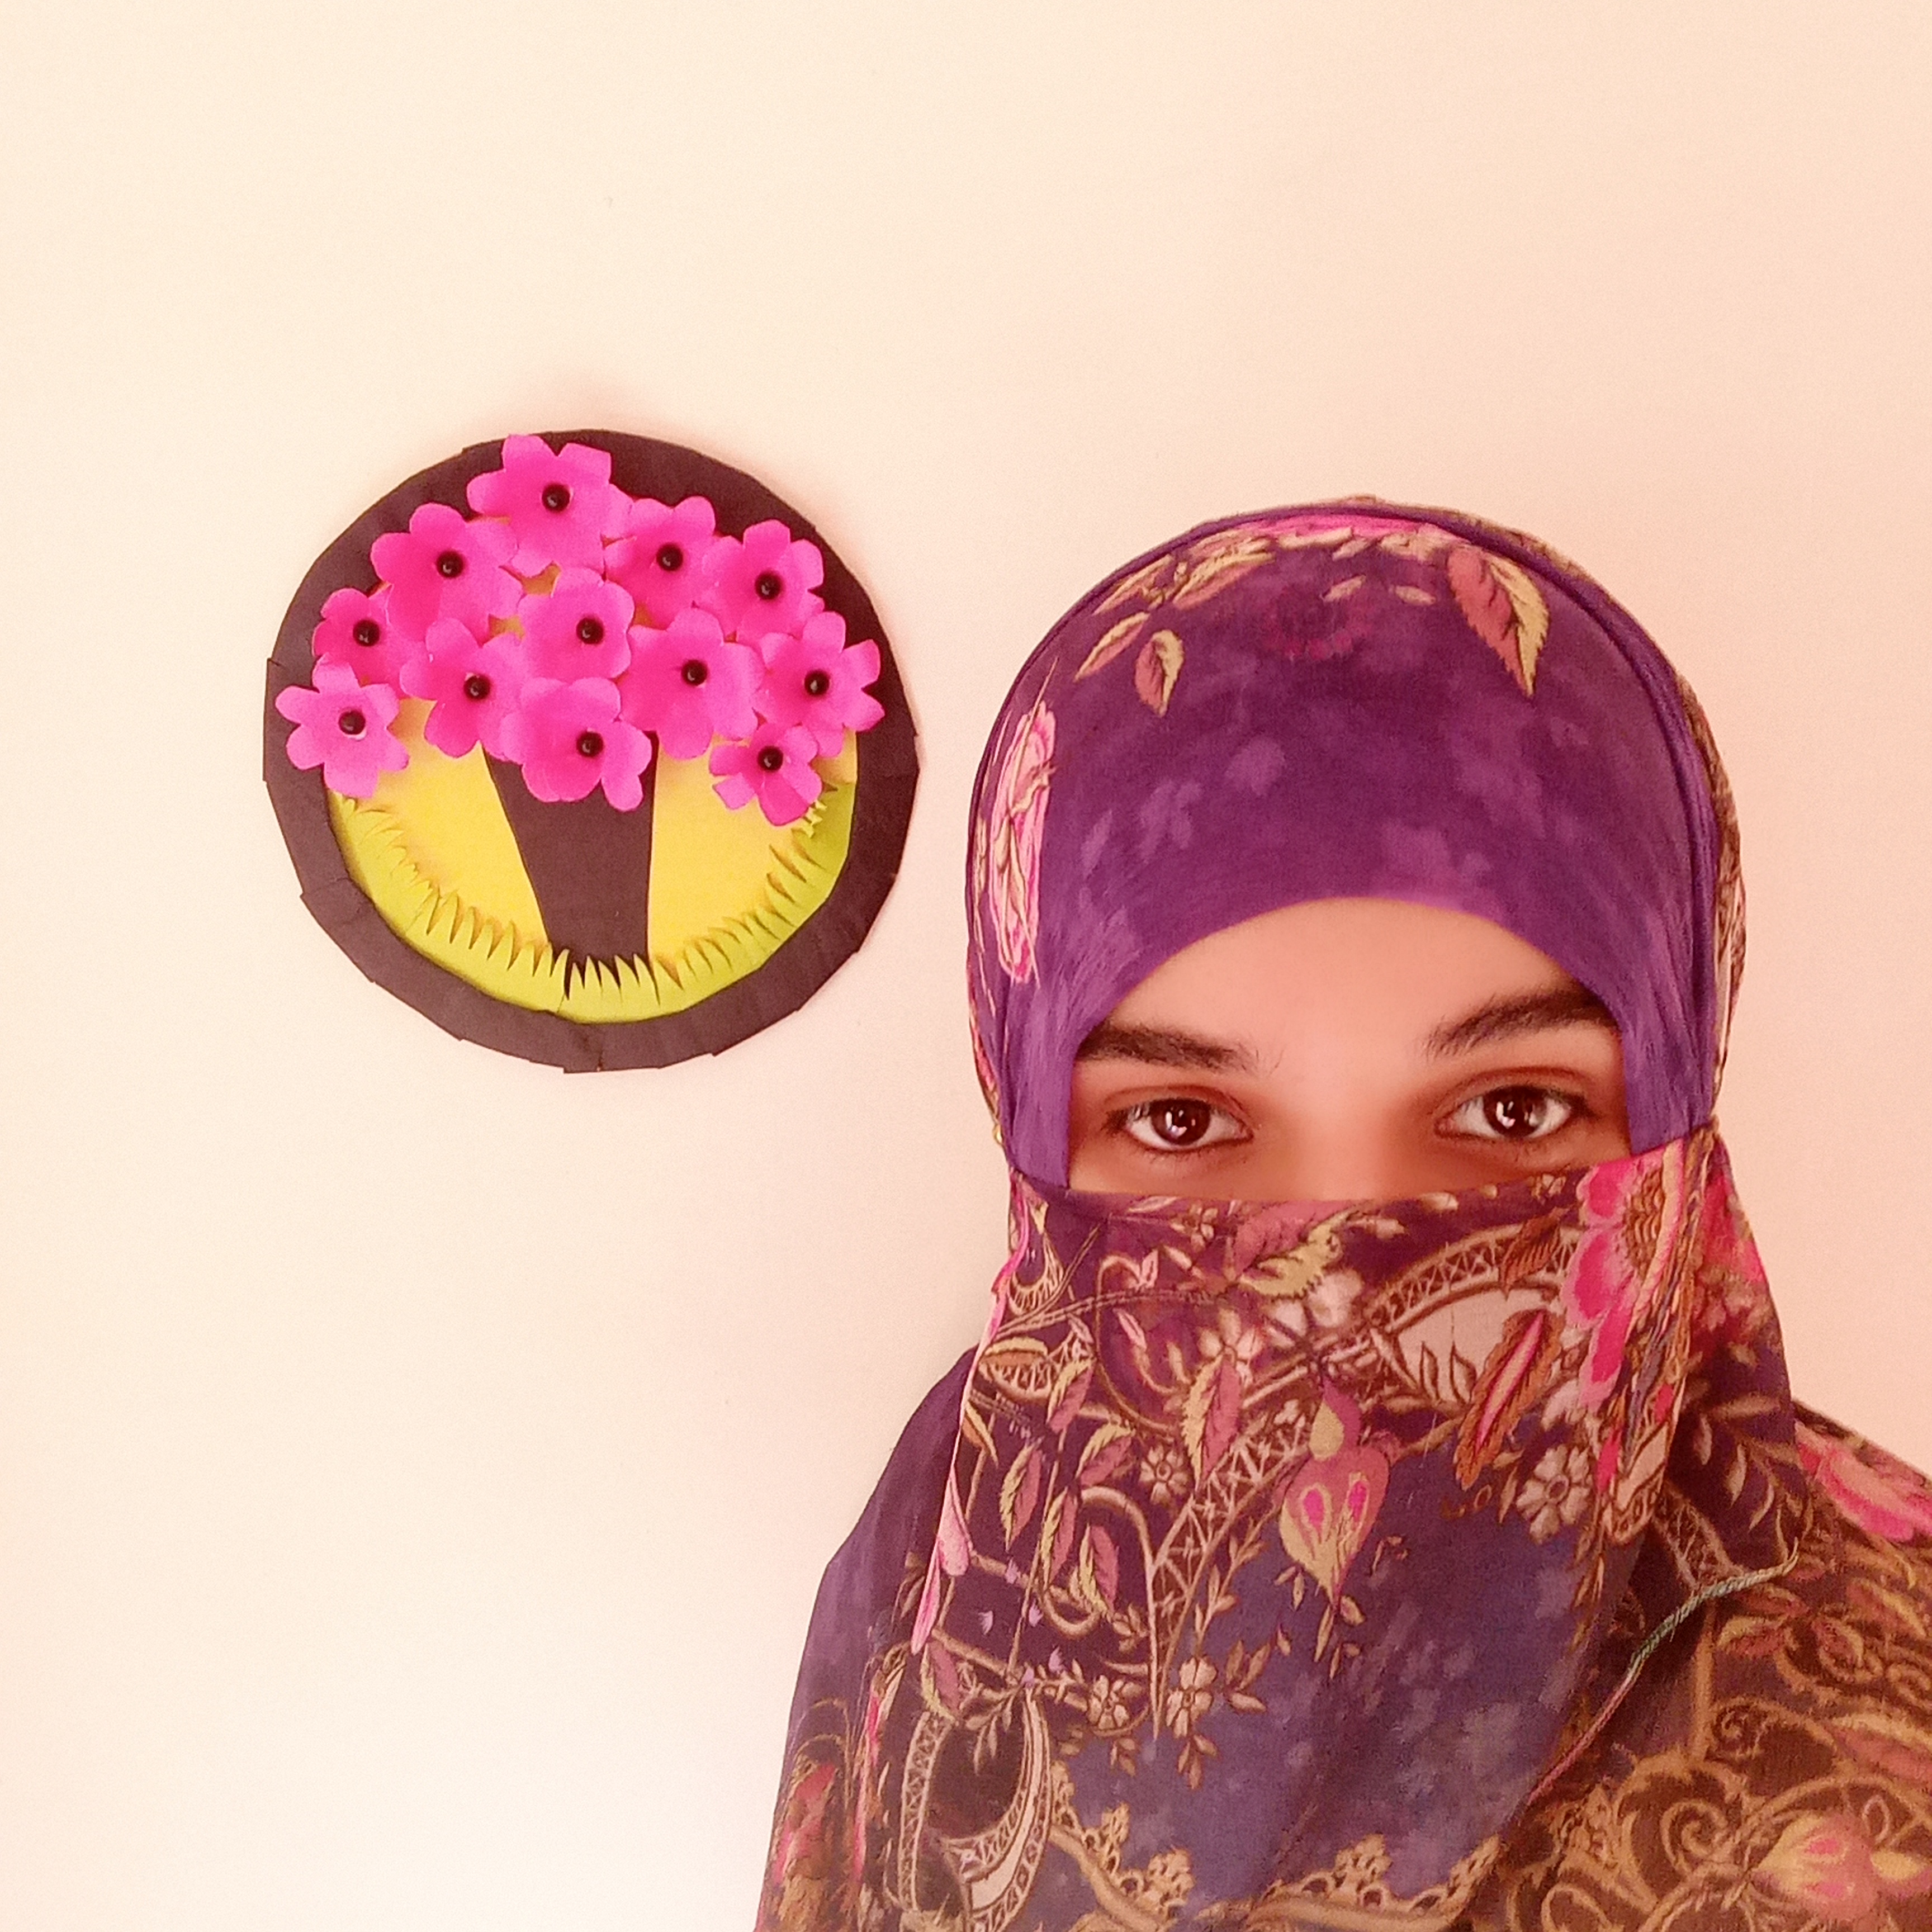
Here I Am
Allah Hafiz, see you again with a new post.
Now I am inviting some of my dear Steemians for joining this contest @paholags , @m-princess , @maryam86, @wirngo and @dasudi . |
|---|
Thank you so much my dear steemians for taking the time to read and engage with my post. Well your interest and support encourage me to keep sharing and creating with even more passion. Thank you guys once again for being part of my journey.
Remember me in your prayers! |
|---|
Take care of yourself! |
|---|

Special Thanks To : |
|---|
Warm Regards : |
|---|
¡Holaaa amiga!🤗
Tu manualidad me hizo recordar la etapa del colegio, porque en preescolar, primaria y luego en bachillerato hacíamos este tipo de cosas y, aunque en lo personal no era muy buena en esto, no te niego que lo disfrutaba jajajaja.
Este trabajo te quedó muy lindo... Mucho éxito en la dinámica y que Dios te continúe bendiciendo con este don. Un fuerte abrazo💚
0.00 SBD,
10.25 STEEM,
10.25 SP
¡La paz sea contigo amigo! 🤗
Me alegro mucho de leer tu encantador comentario. Es bueno saber que esta artesanía mía te recordó tus días escolares.La verdadera felicidad es que podemos revivir buenos recuerdos a través de este tipo de actividades.😊
Gracias desde el fondo de mi corazón por animarme. Y por tan dulces oraciones. Que Allah Ta'ala te mantenga siempre feliz, exitoso y seguro. Tu amor y apoyo significan mucho para mí.💚🤗
¡Muchas gracias por el apoyo!🤗💚
0.00 SBD,
0.18 STEEM,
0.18 SP
I am grateful for your valuable support dear @sualeha ma'am. It means a lot. I wish you success and blessings.
0.00 SBD,
0.17 STEEM,
0.17 SP
I am grateful for your valuable support @max-pro sir. It means a lot. I wish you success and blessings. Have a good morning.
This is really beautiful and creative. I love how you were able to turn simple paper into something that looks this attractive. The final result came out very nice, and it shows that with a good idea and little materials, we can create something amazing. Well done!