DIY:- baby pant cutting and stitching tutorial.
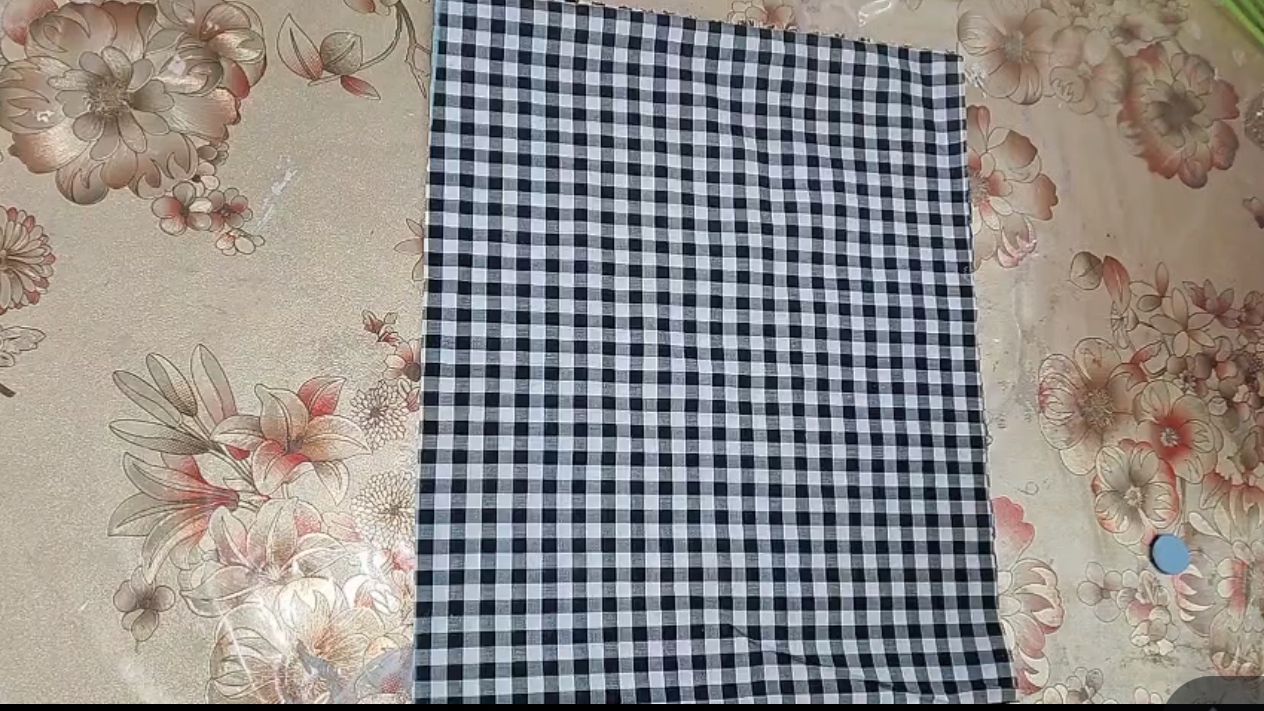
First I took a piece of fabric, here I took a piece of fabric that was 12 inches long and 14 inches wide. With this I will basically be cutting a pair of pants.
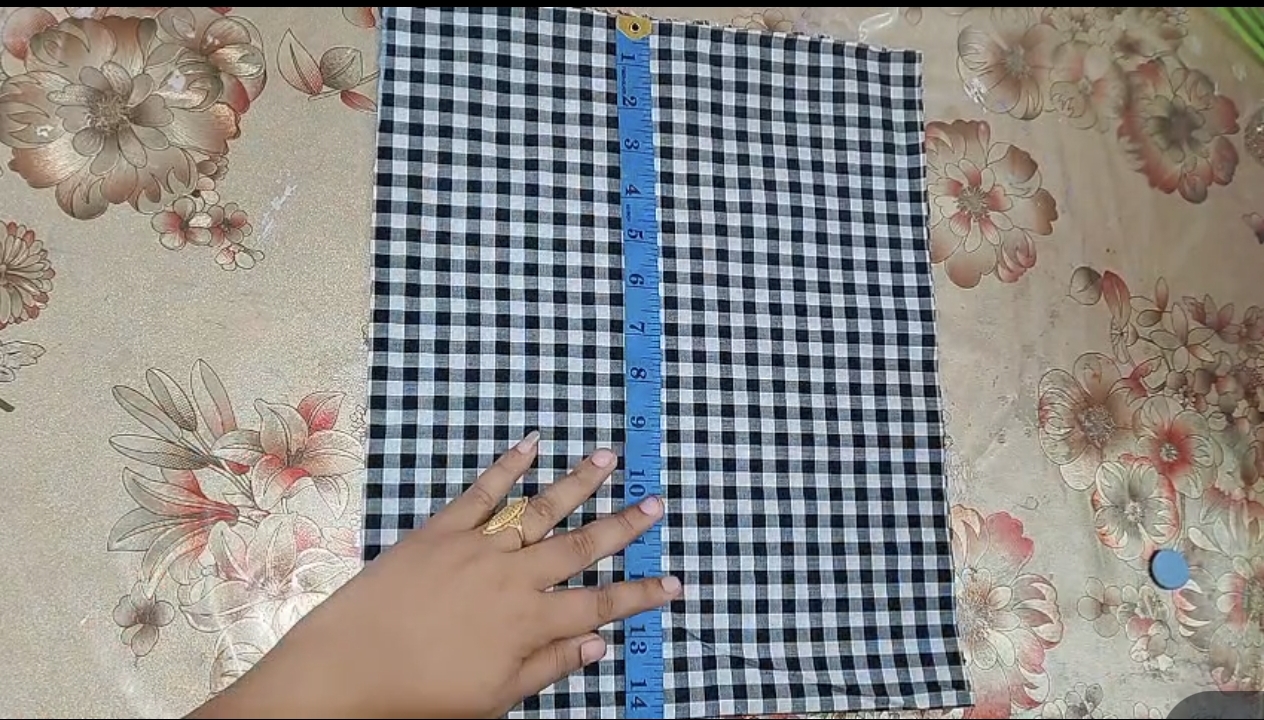
Here I measured the length first and the width first, showing how many inches there are. Here I made another fold and made four readings.
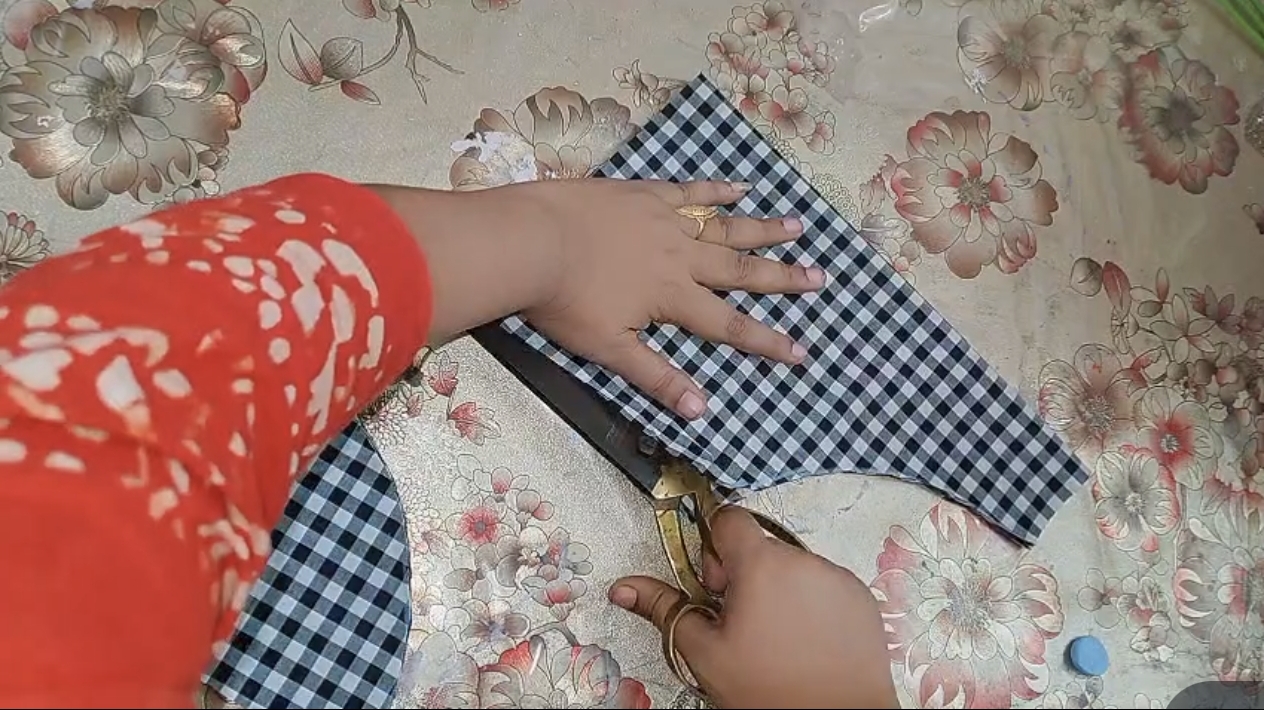
Then I measured 6 inches on one side and 2.5 inches on the bottom, made a slight curve and cut it out along the lines. I cut the whole thing along the lines.
Next, I will sew. Here, I have sewn evenly on both sides. Then, here, I will use rubber on the top, so I first sewed a thin seam.
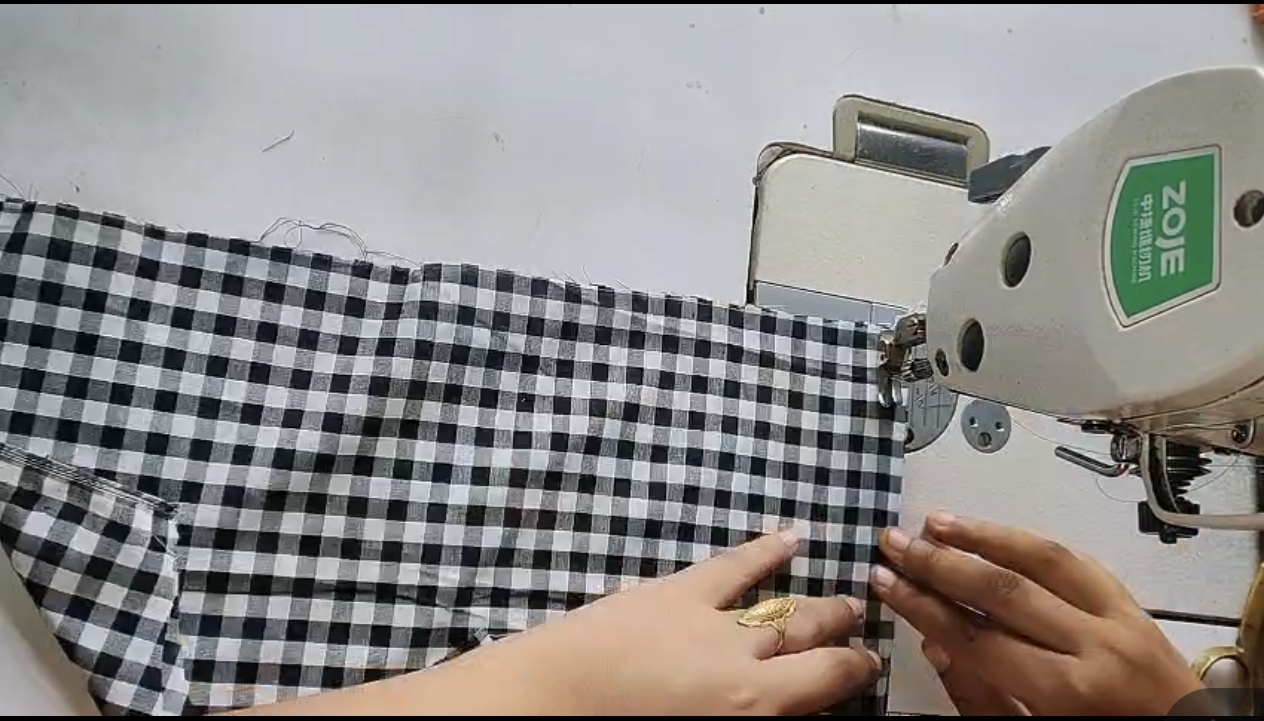
Then I took the rubber band. Here I took an 8-inch rubber band and sewed it inside the fabric and on the outside, and applied the rubber band like this.
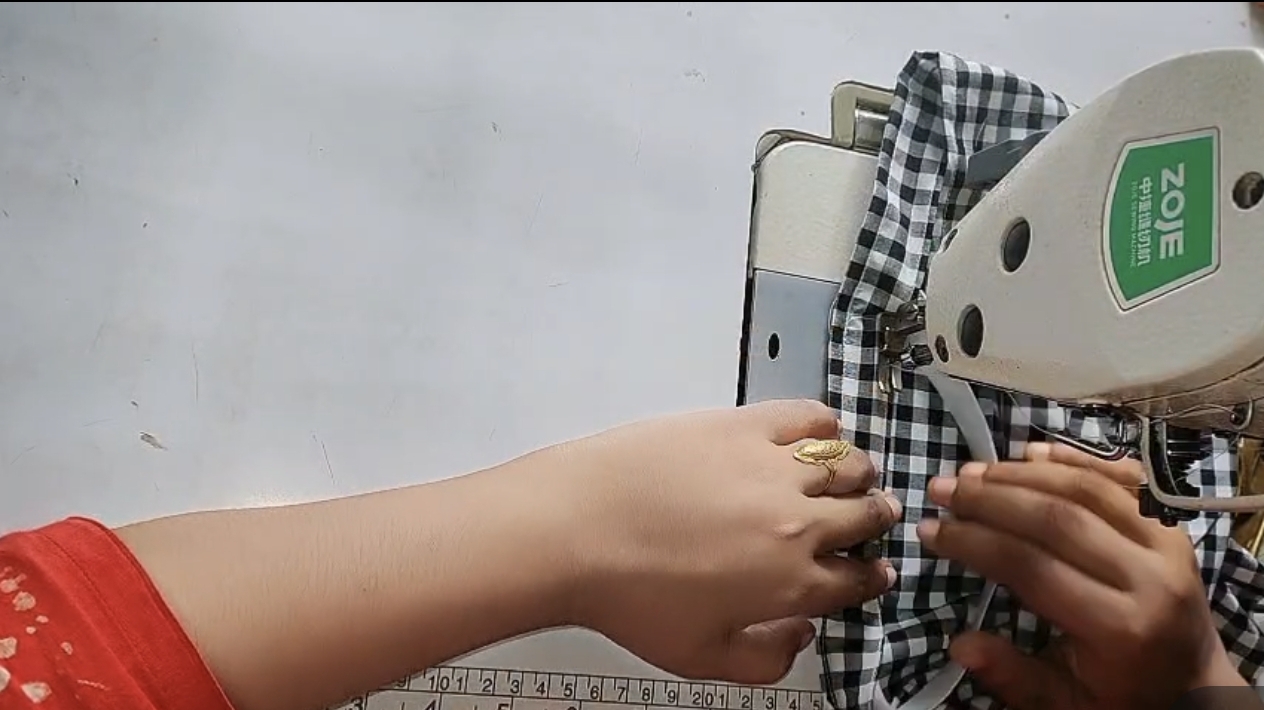
Then I sewed the bottom two parts in the same way, and then applied the rubber. After applying them, they looked quite beautiful.
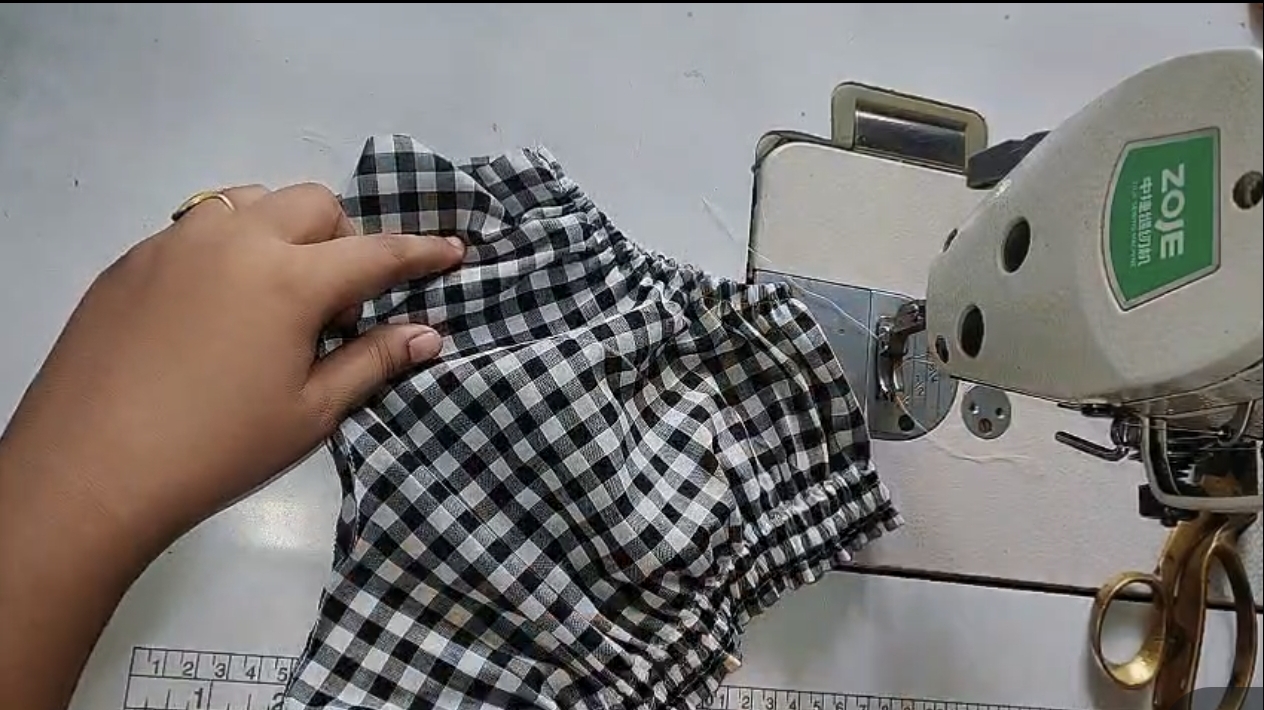
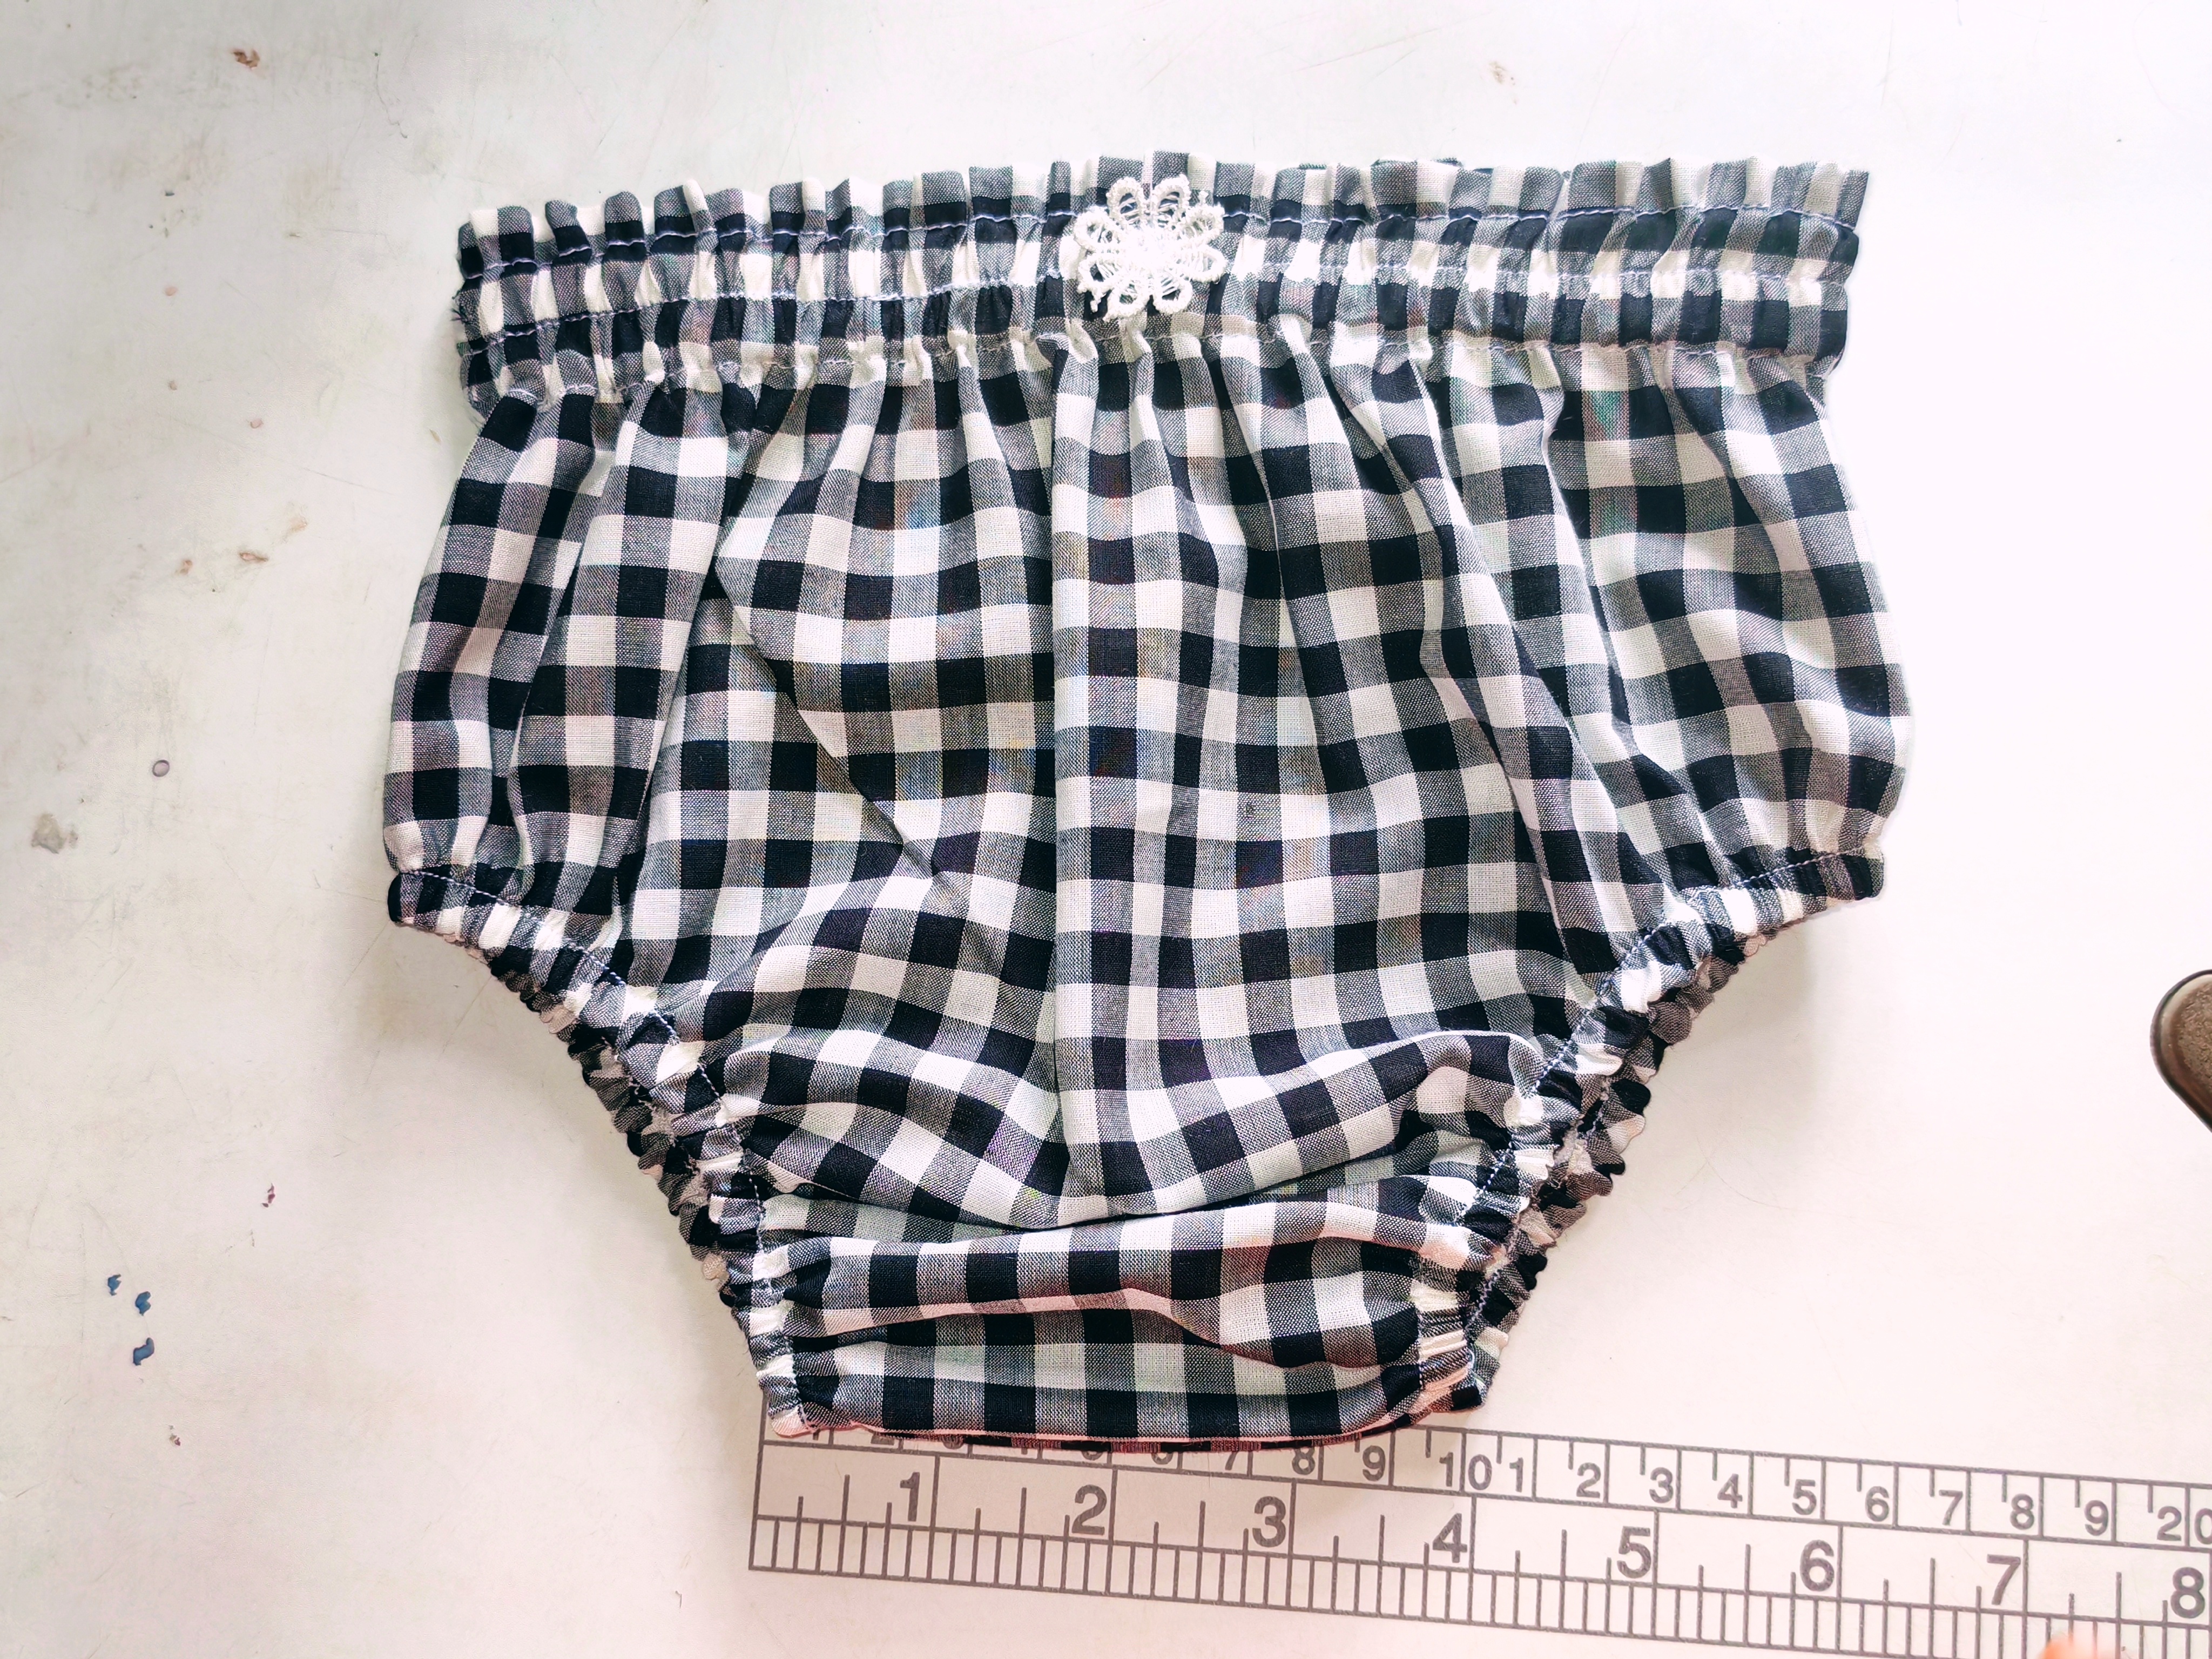
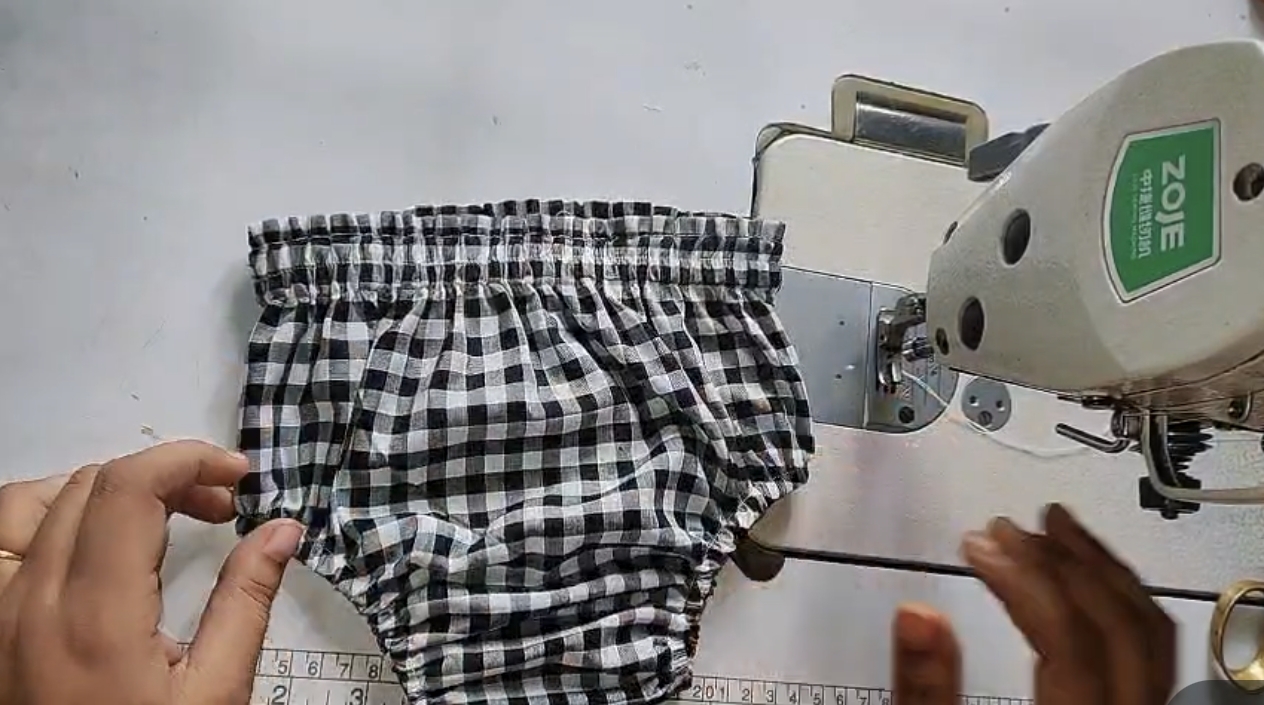
Then I completed the bottom part by stitching it and then I designed a flower on the front of the top part of the pants. In this way, I finished stitching the entire pants.
Posted with Speem