"SC-33/W4| "Tissues paper crafting"||Butterfly
Steemian Friends,
Today, I will participate in a challenge of @sualeha ma'am in the Steemit Challenge 33, week 04. The name of the challenge is Steemit challenge season 33 week:4 || Tissues paper crafting. I hope everyone likes my Tissues paper craft.
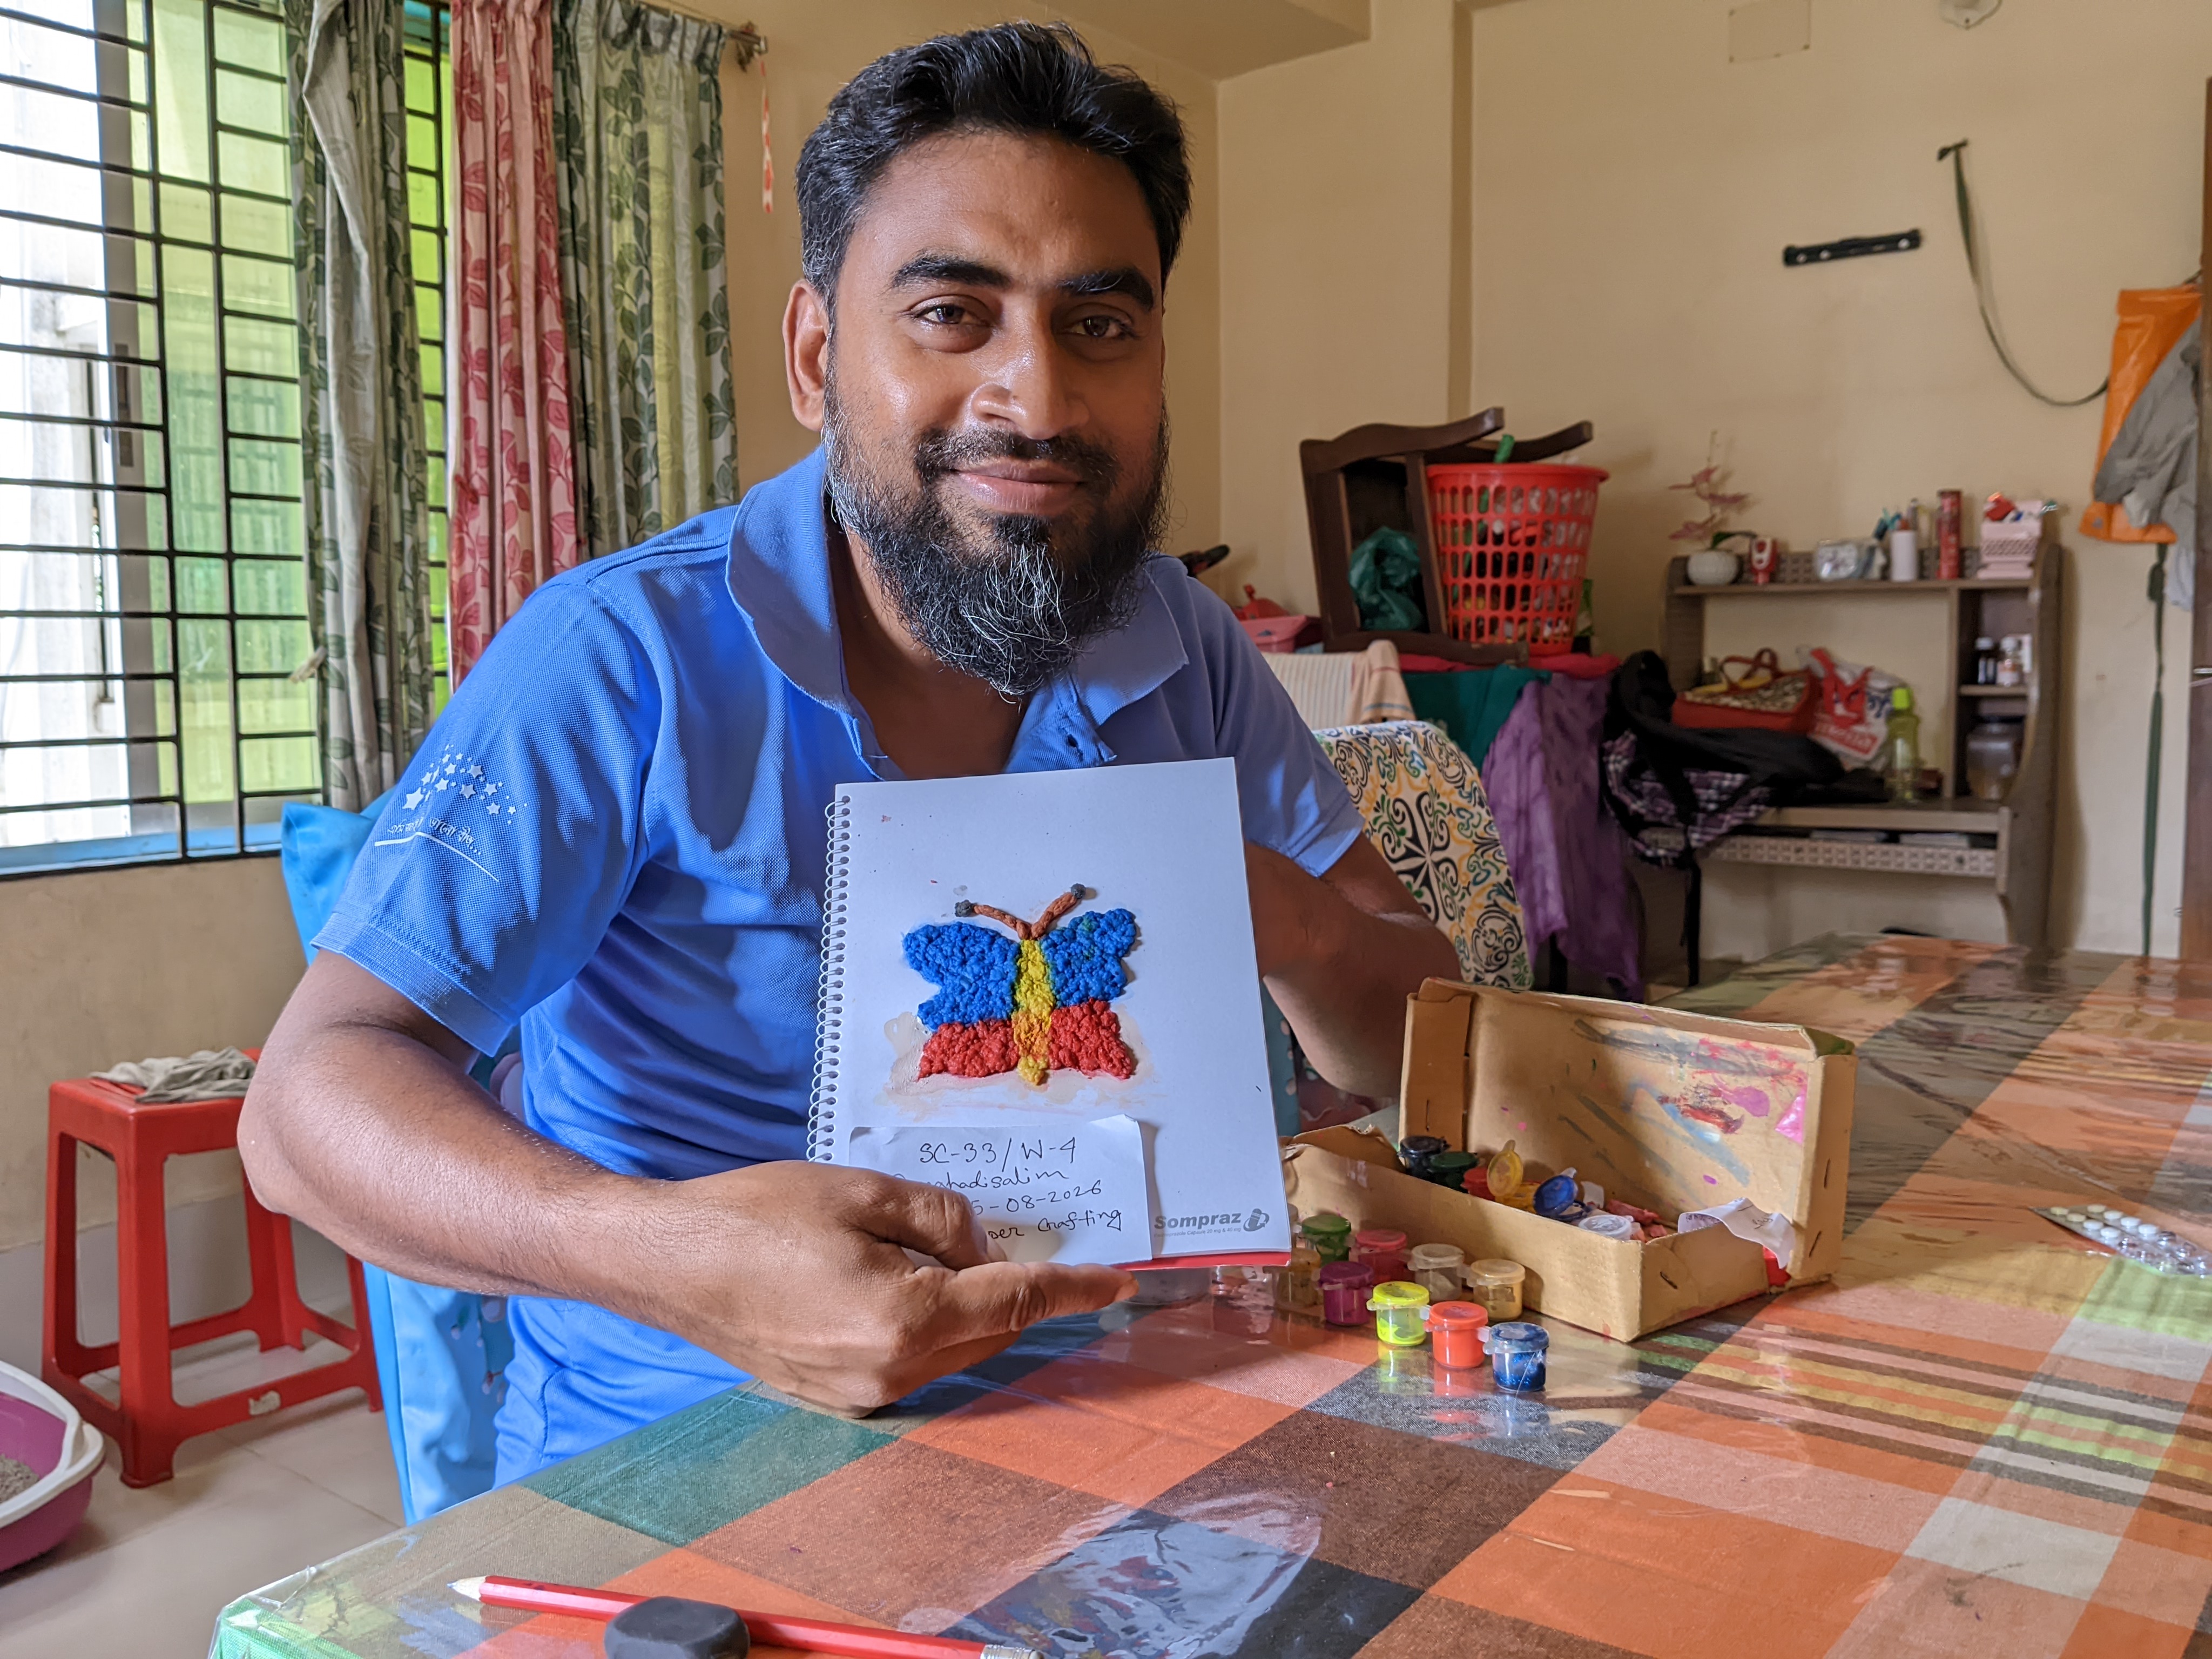
My Thumbnail Photo
Gathering materials:
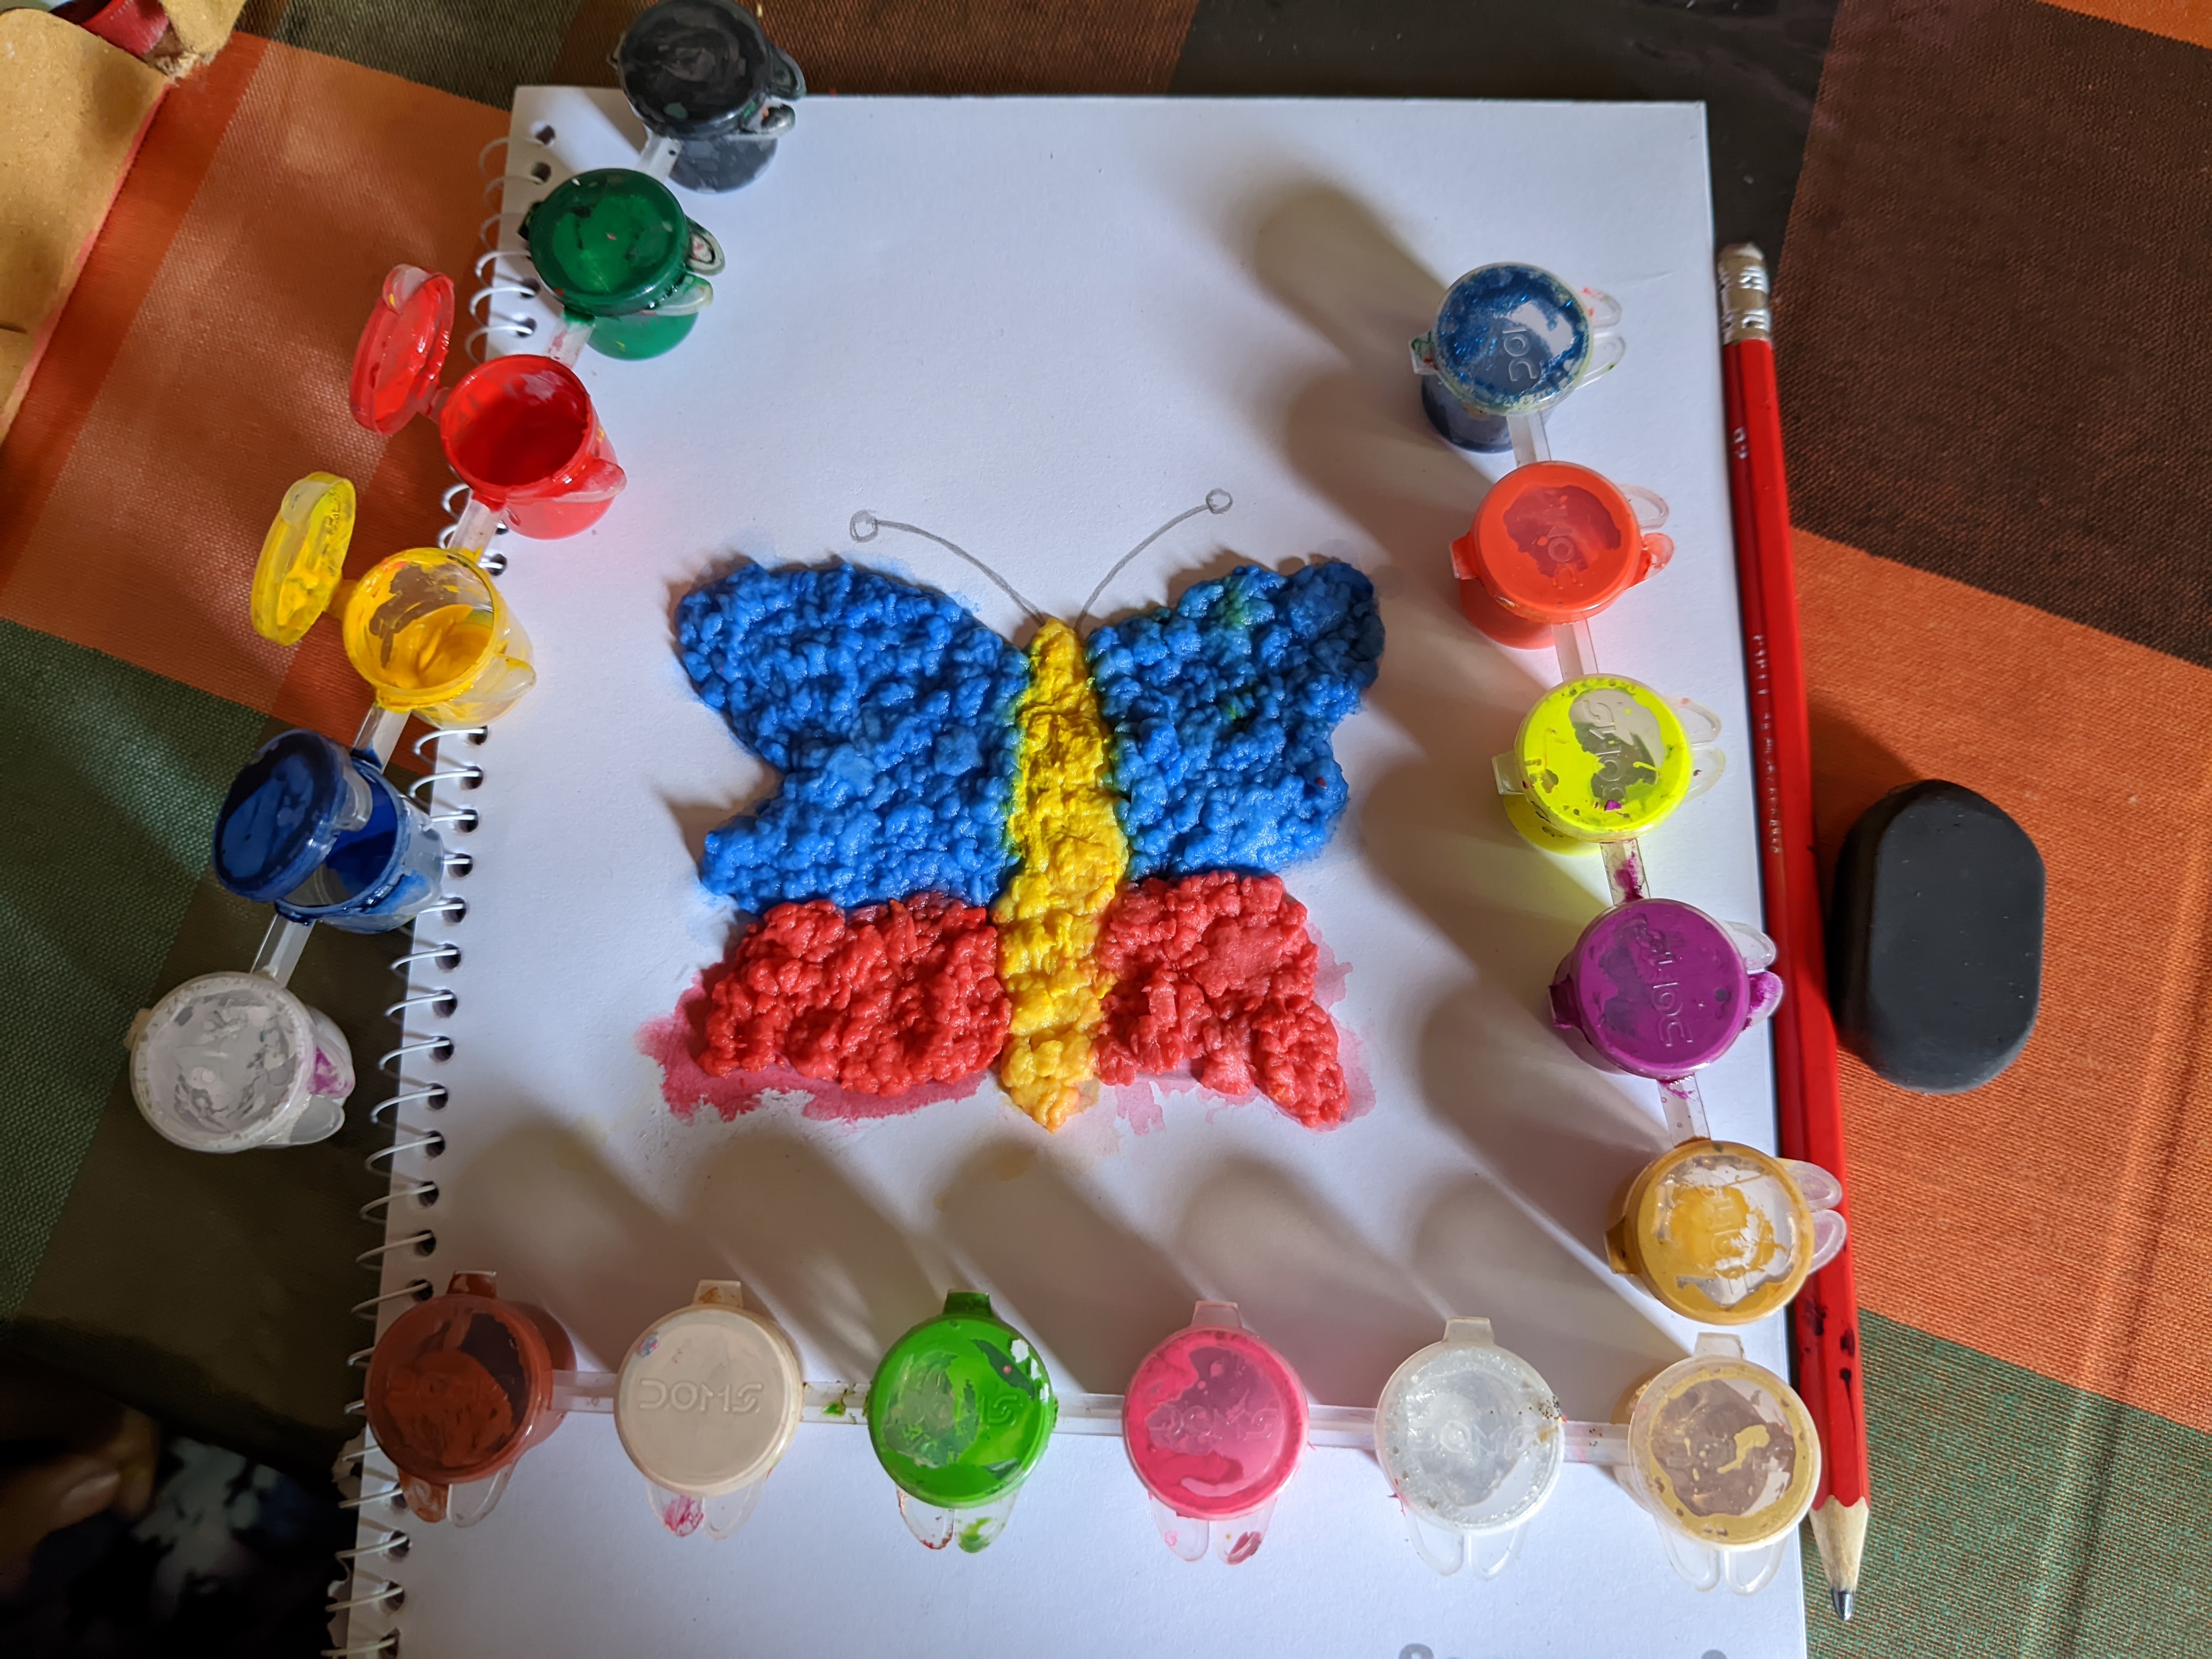
First, I prepared a white drawing book, pencil, rubber, tissue paper, poster paint, glue, brush and a small container of necessary paint.
- Tissue Paper
- White Drawing Paper/Sketchbook
- Pencil
- Rubber (Eraser)
- Poster Color/Acrylic Paint (Various Colors)
- Paint Brush
- Glue/Fevicol
- Scissors
- A Little Water (For Mixing Colors)
- Small Container for Holding Paint
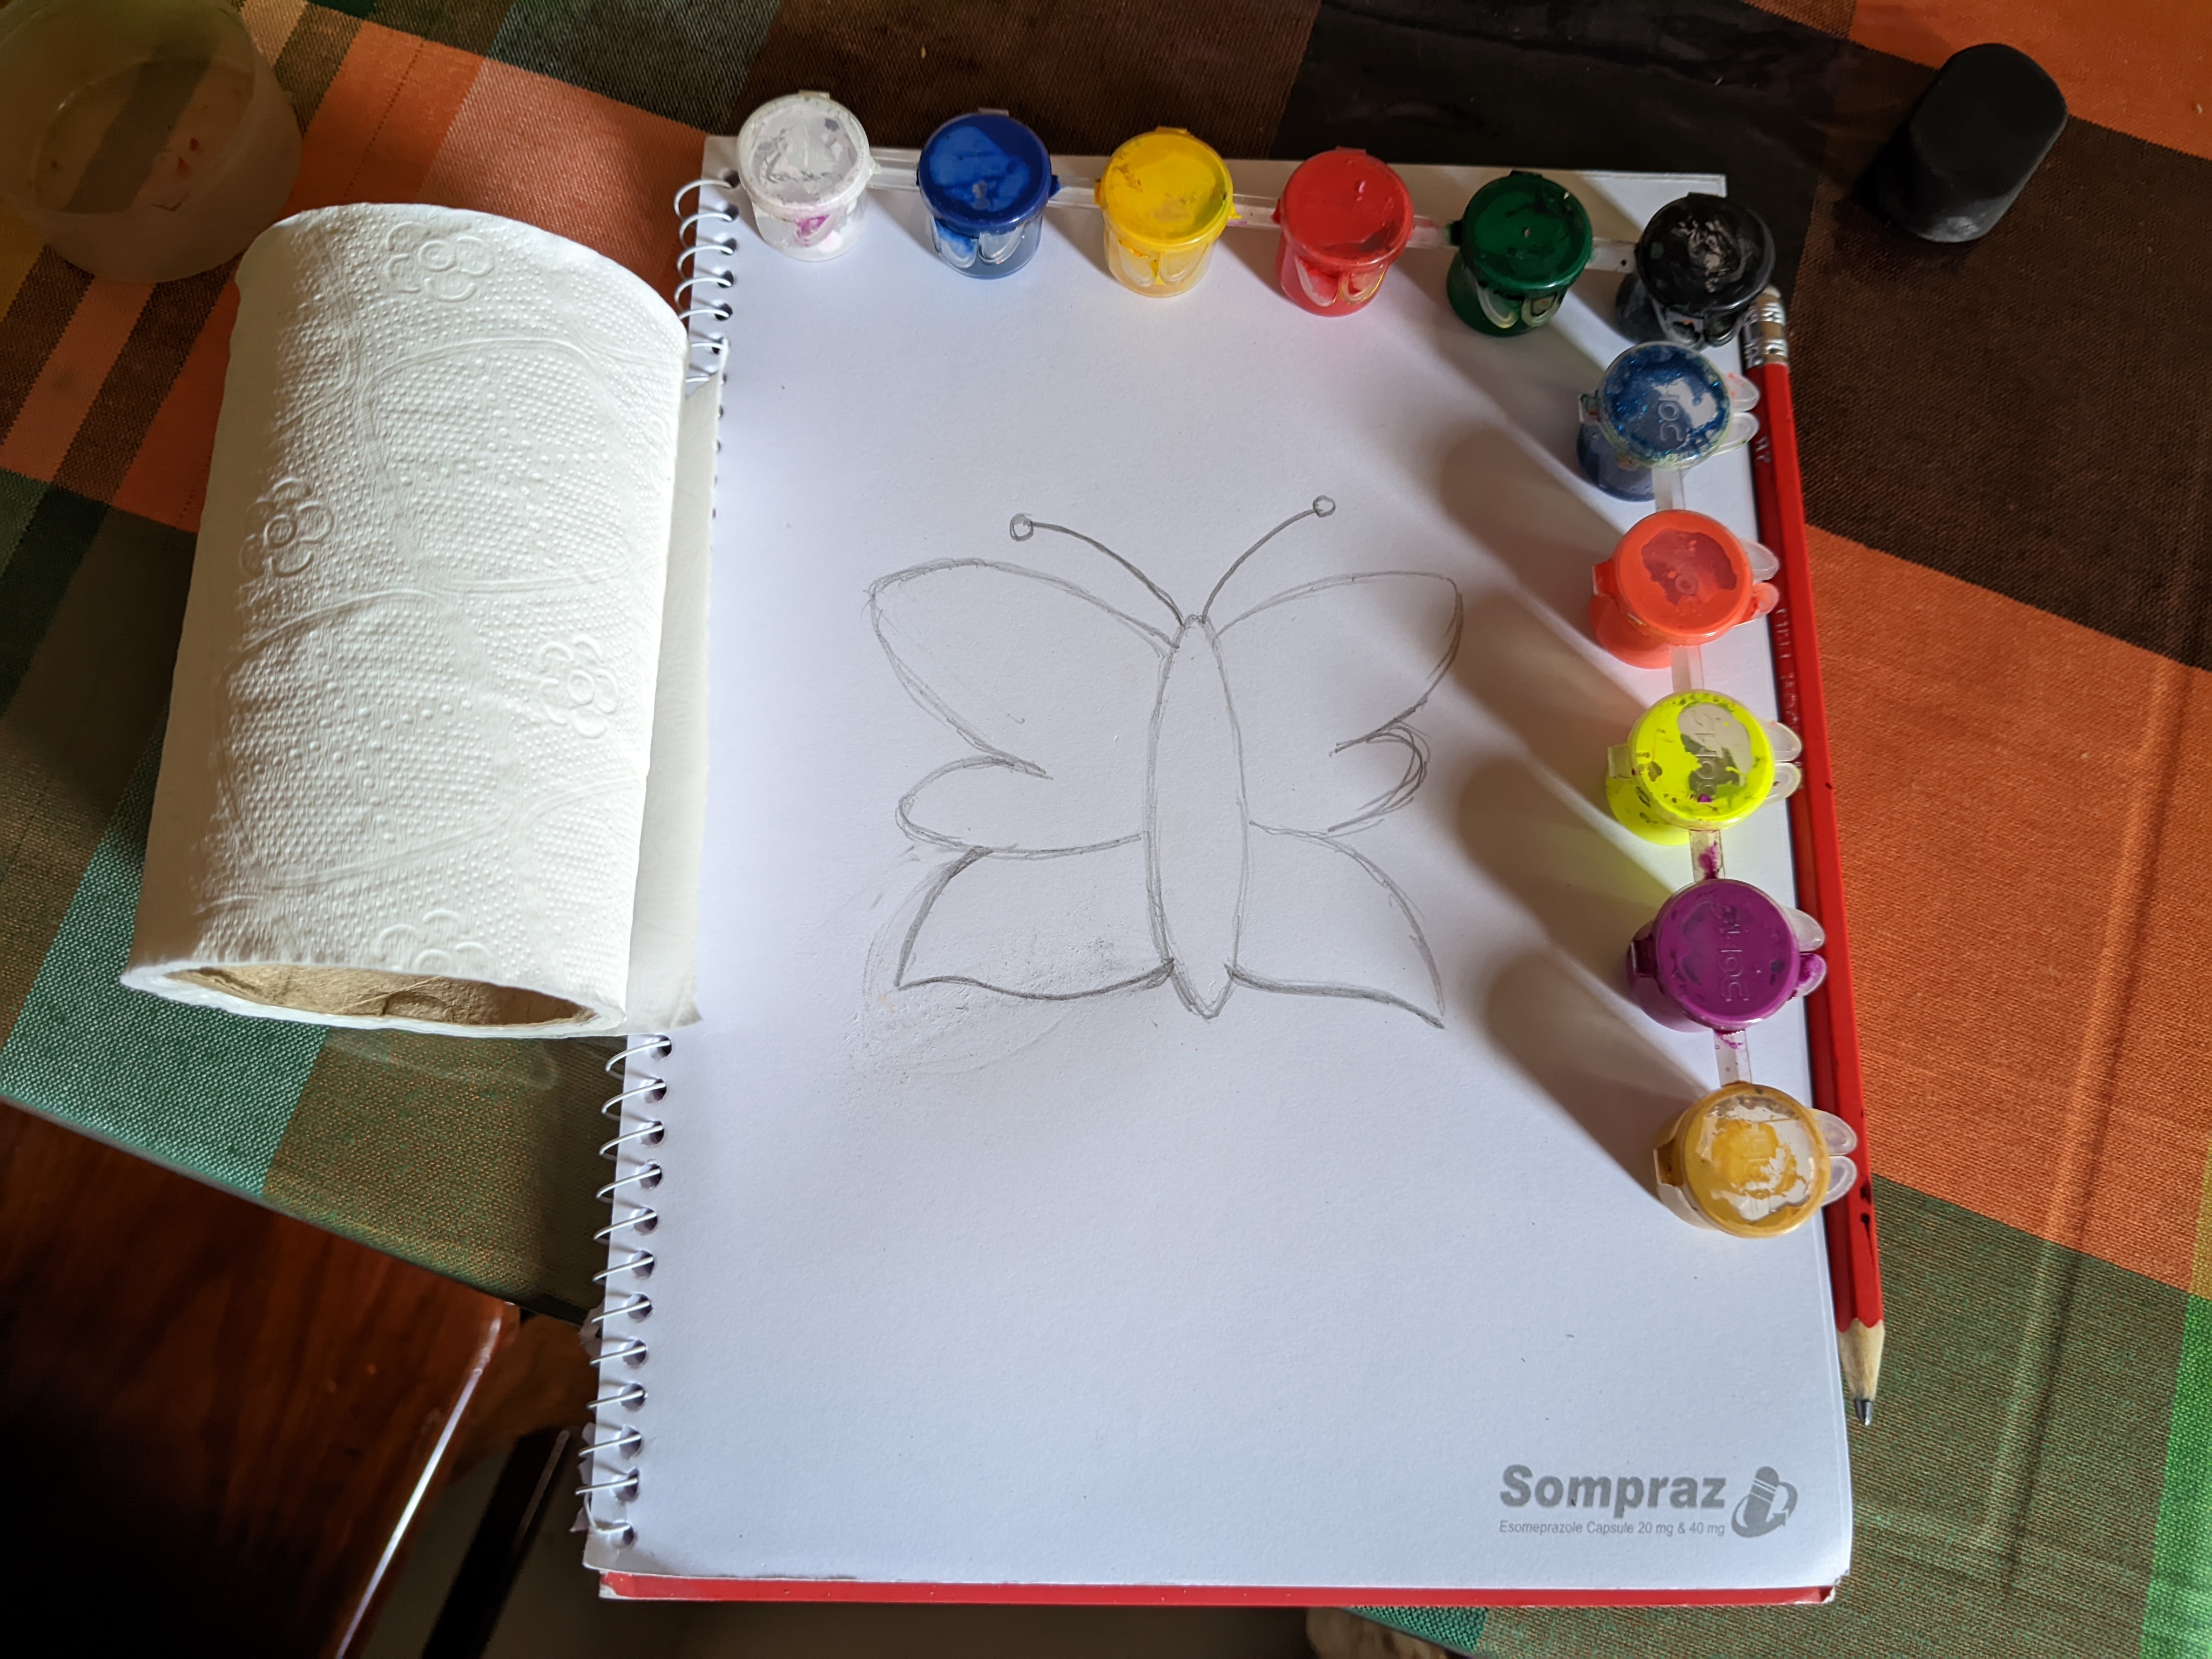
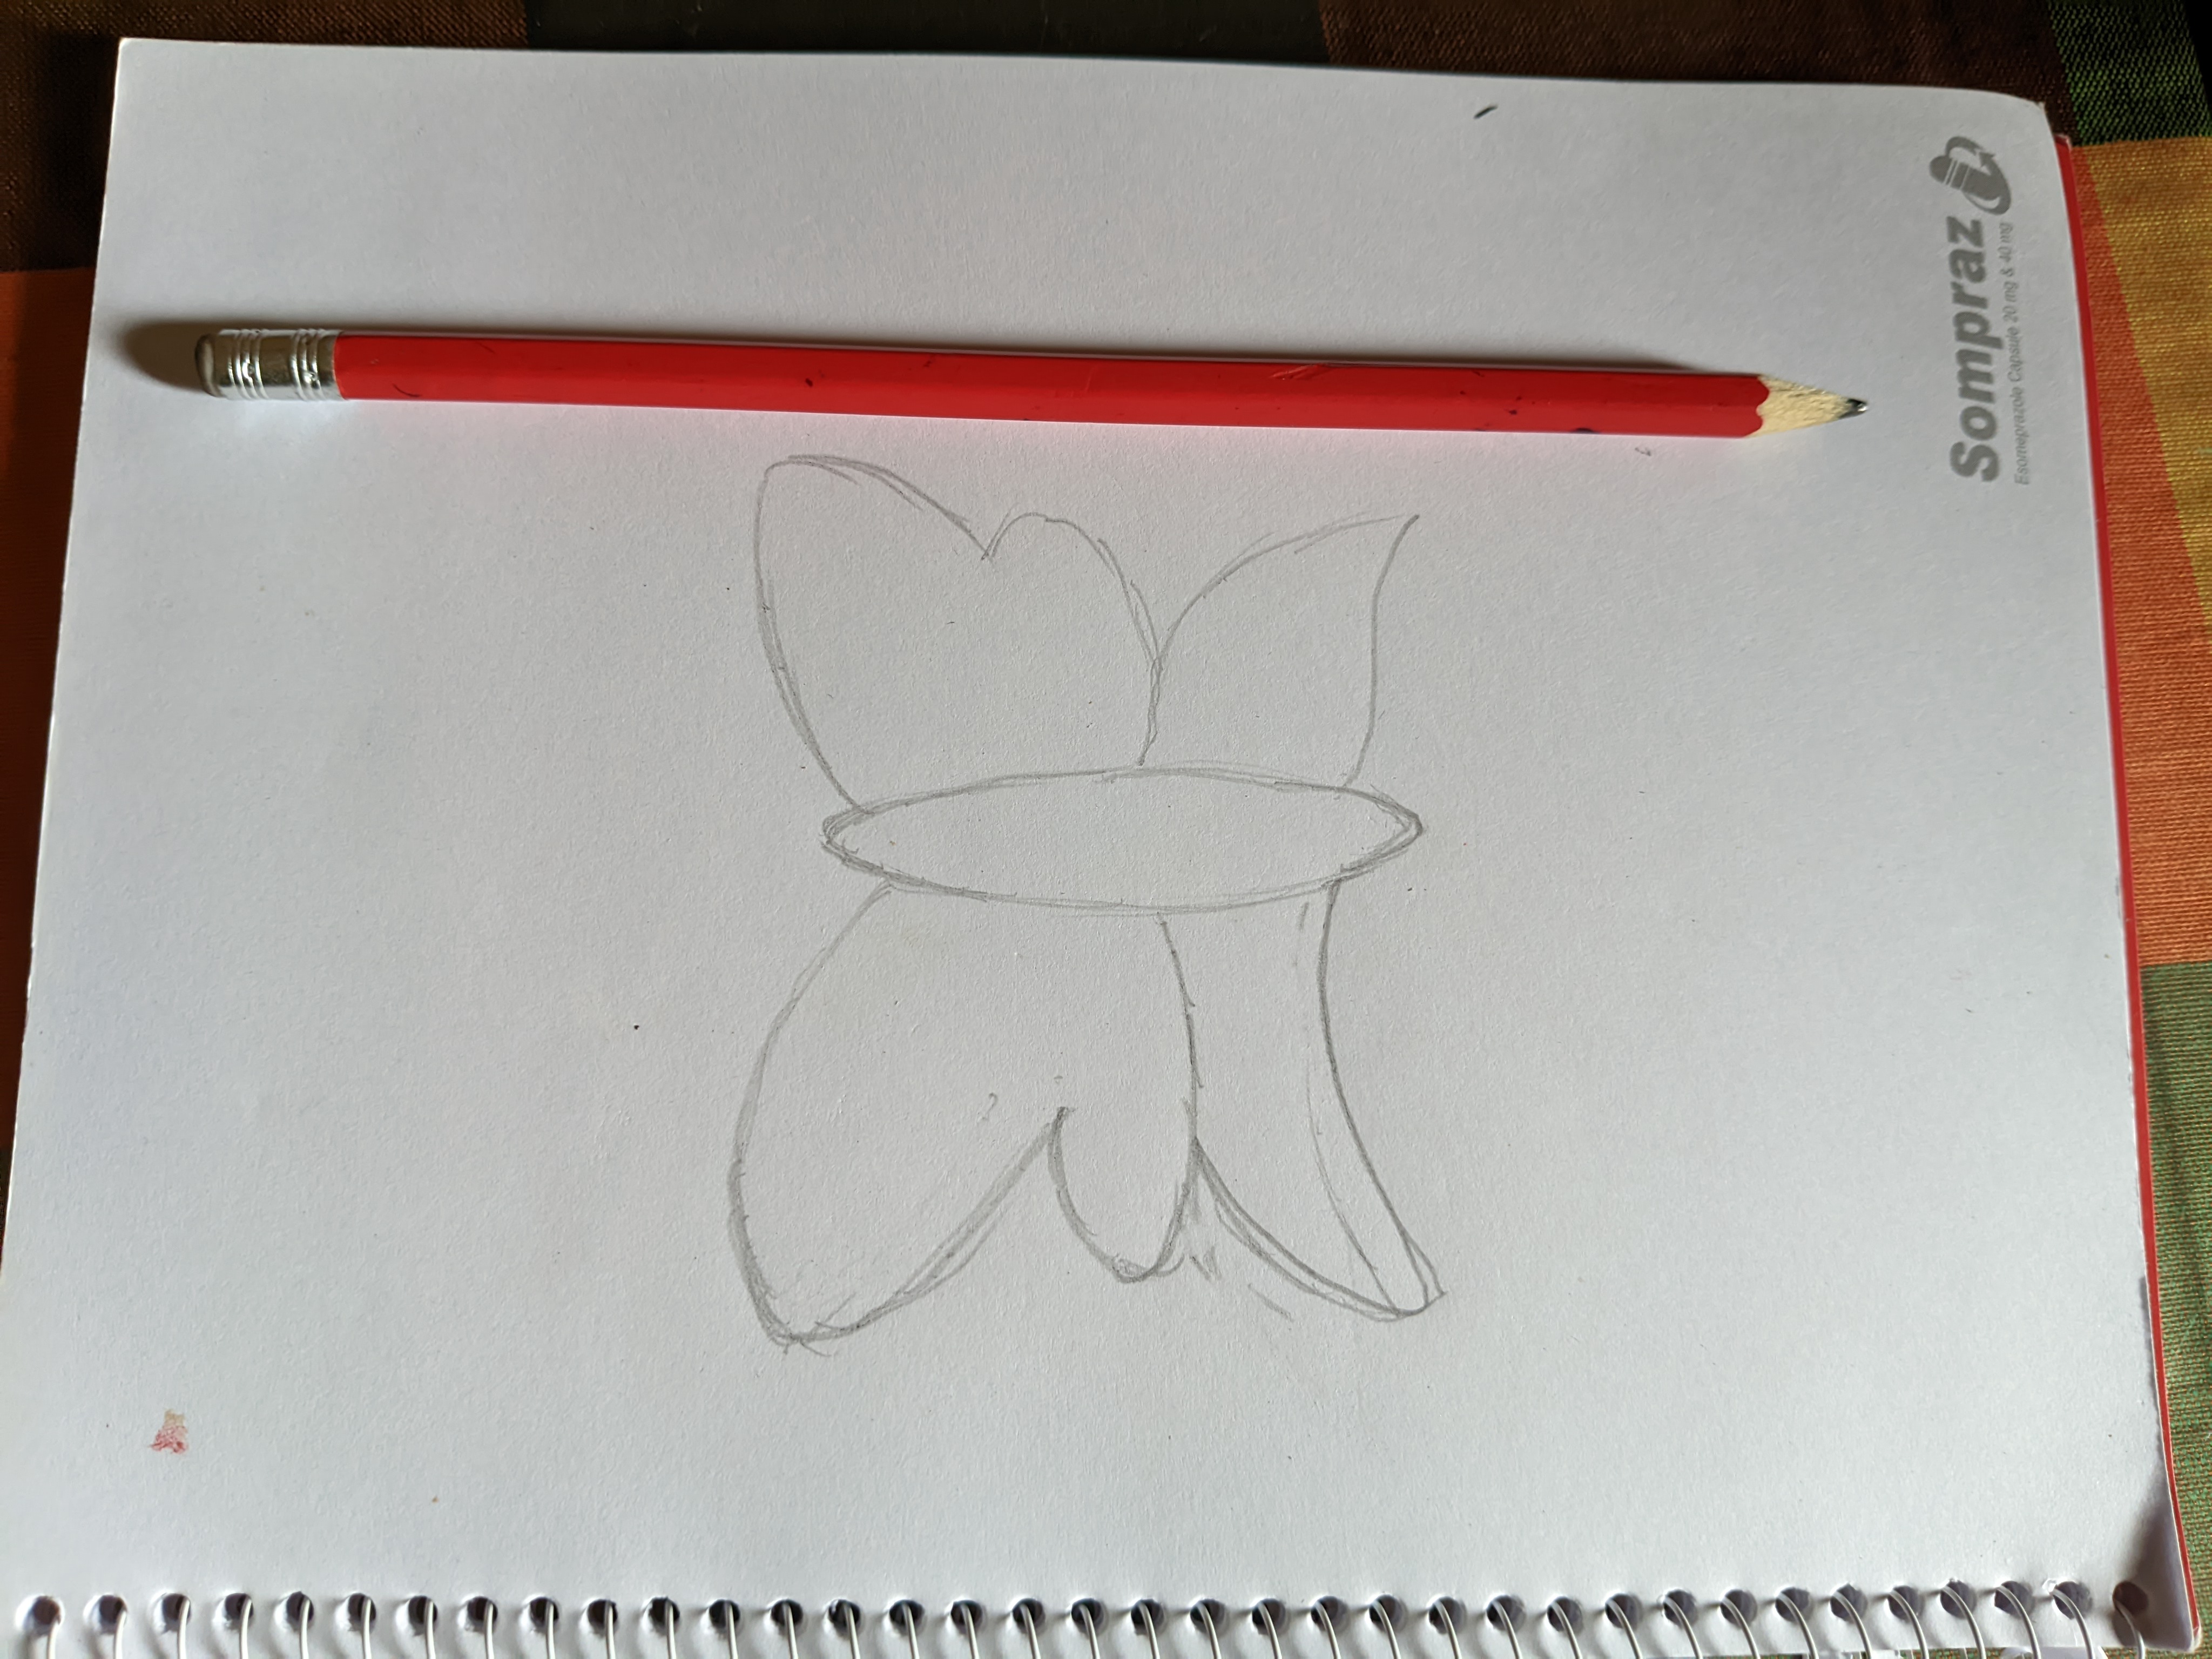
Drawing the butterfly design
I drew a beautiful butterfly outline with a pencil in the middle of the book. I made sure that the wings were even.
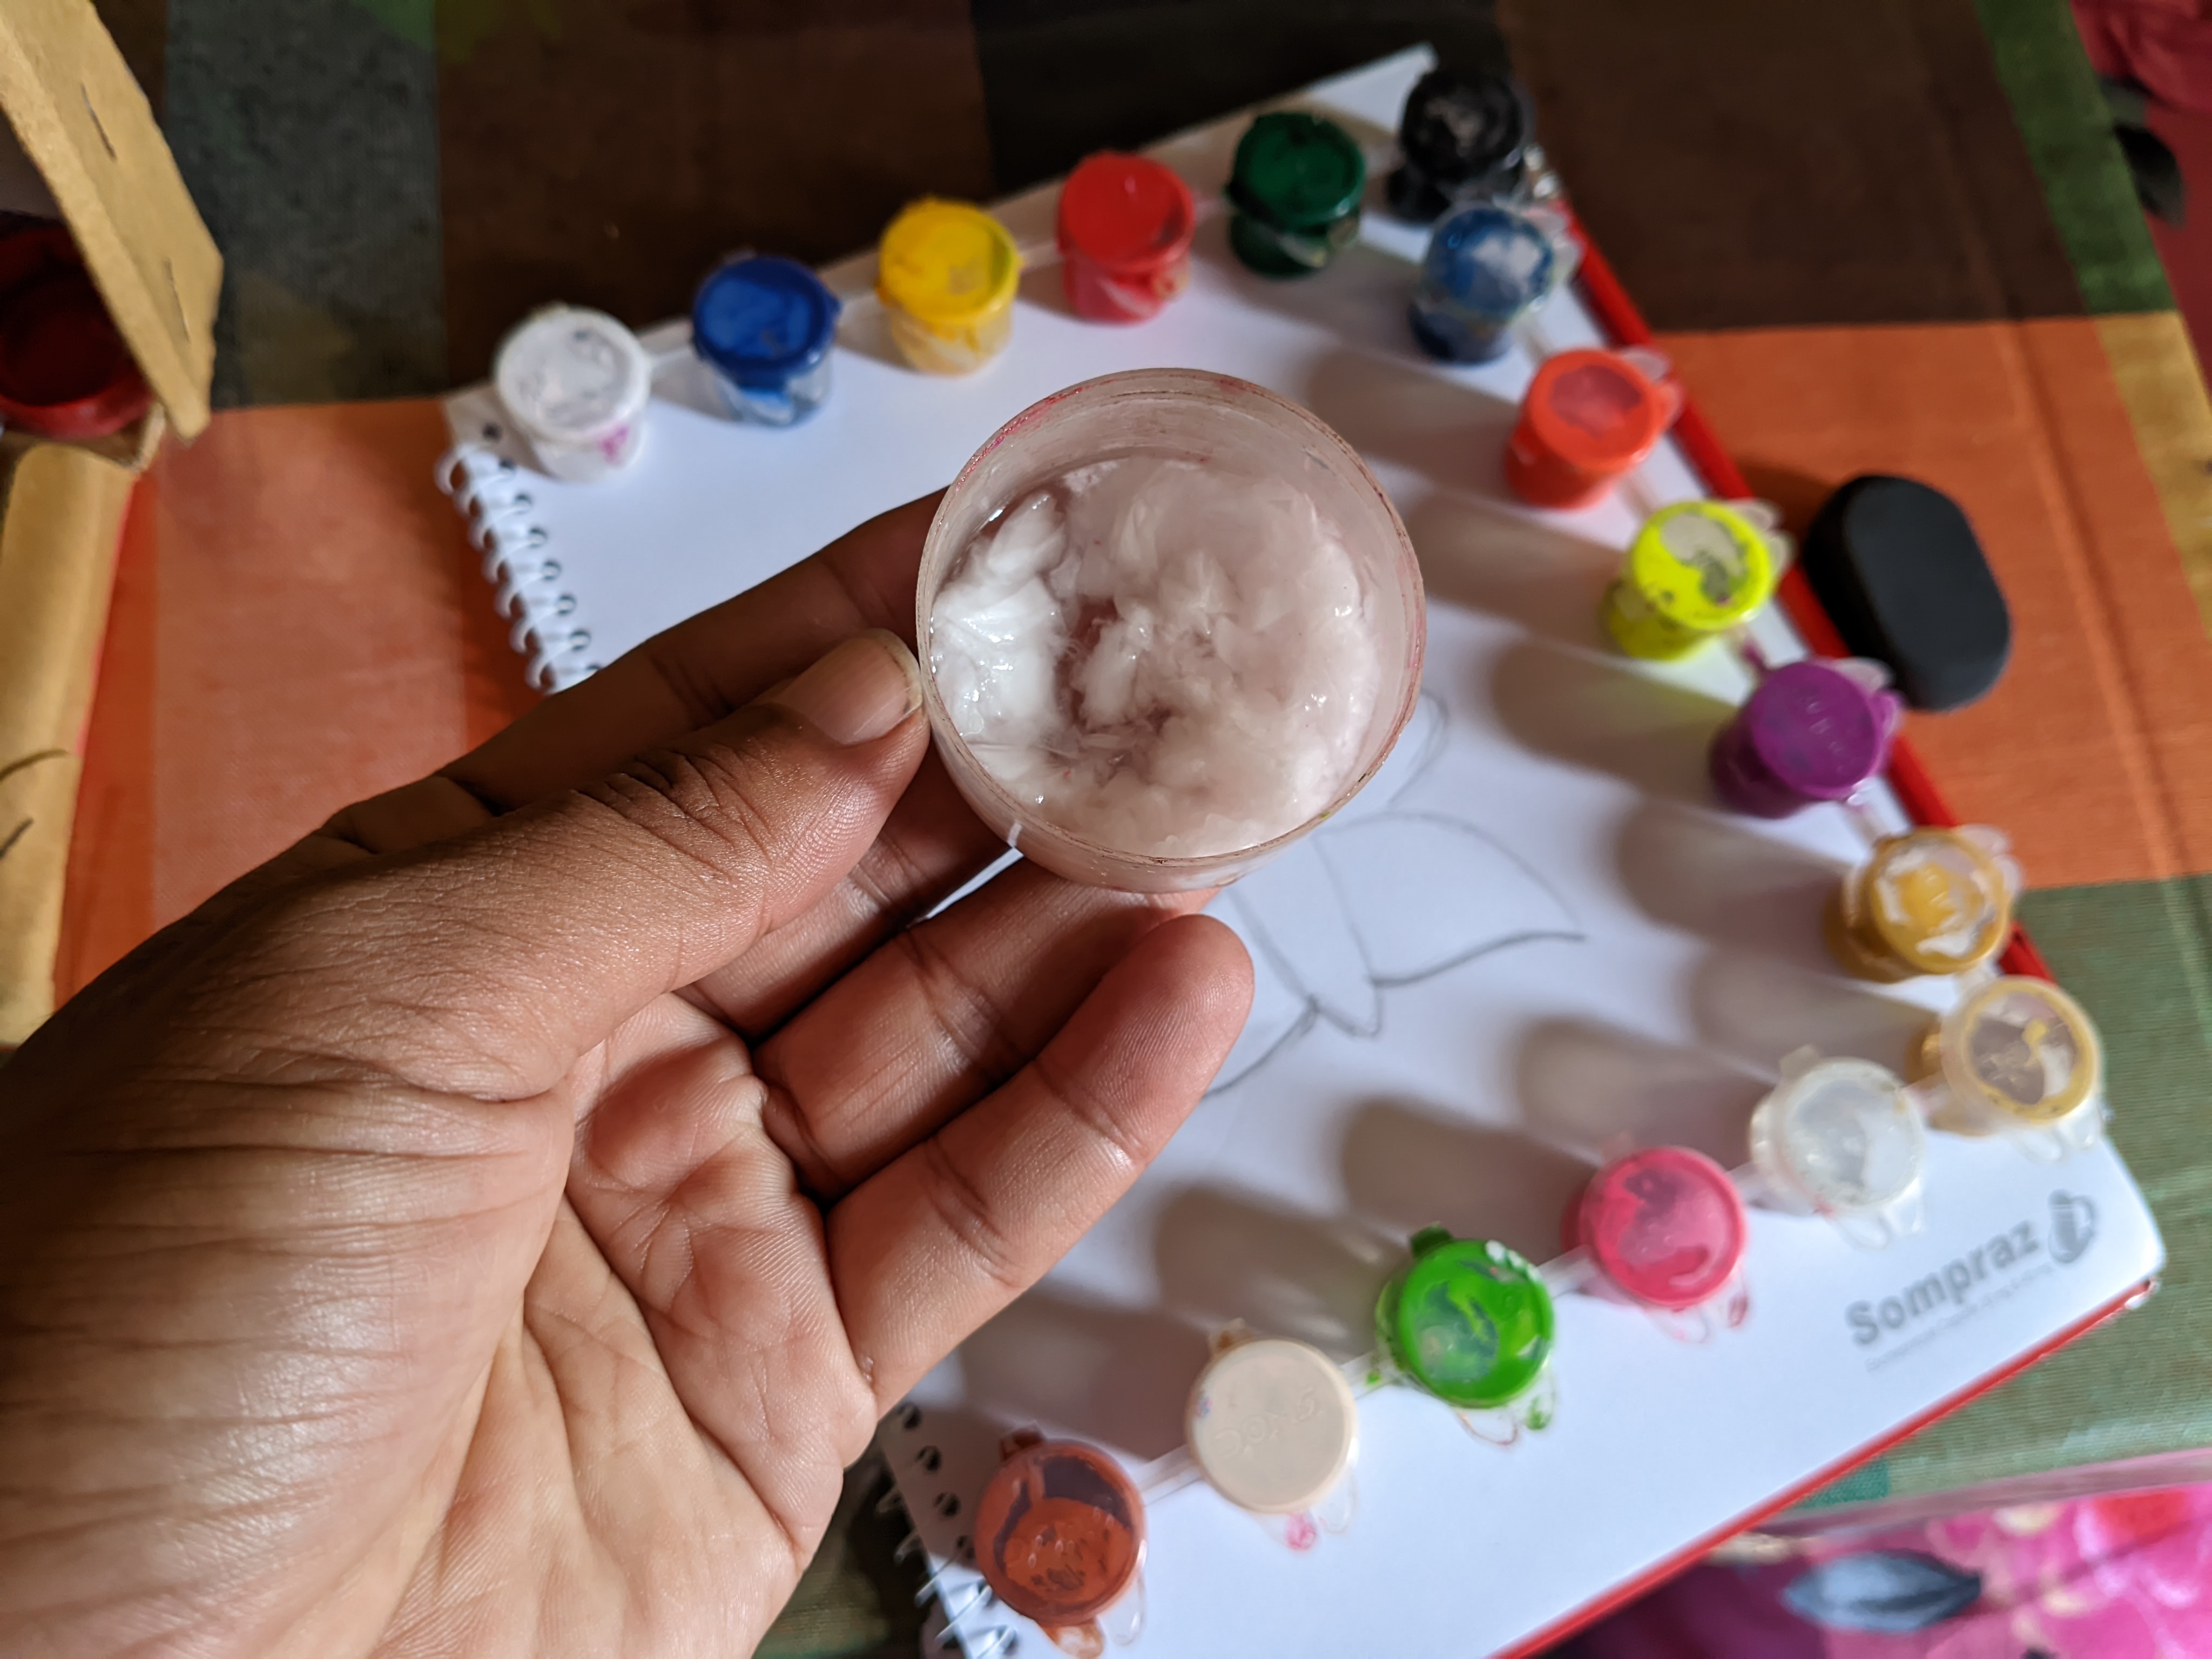
Preparing tissue paper
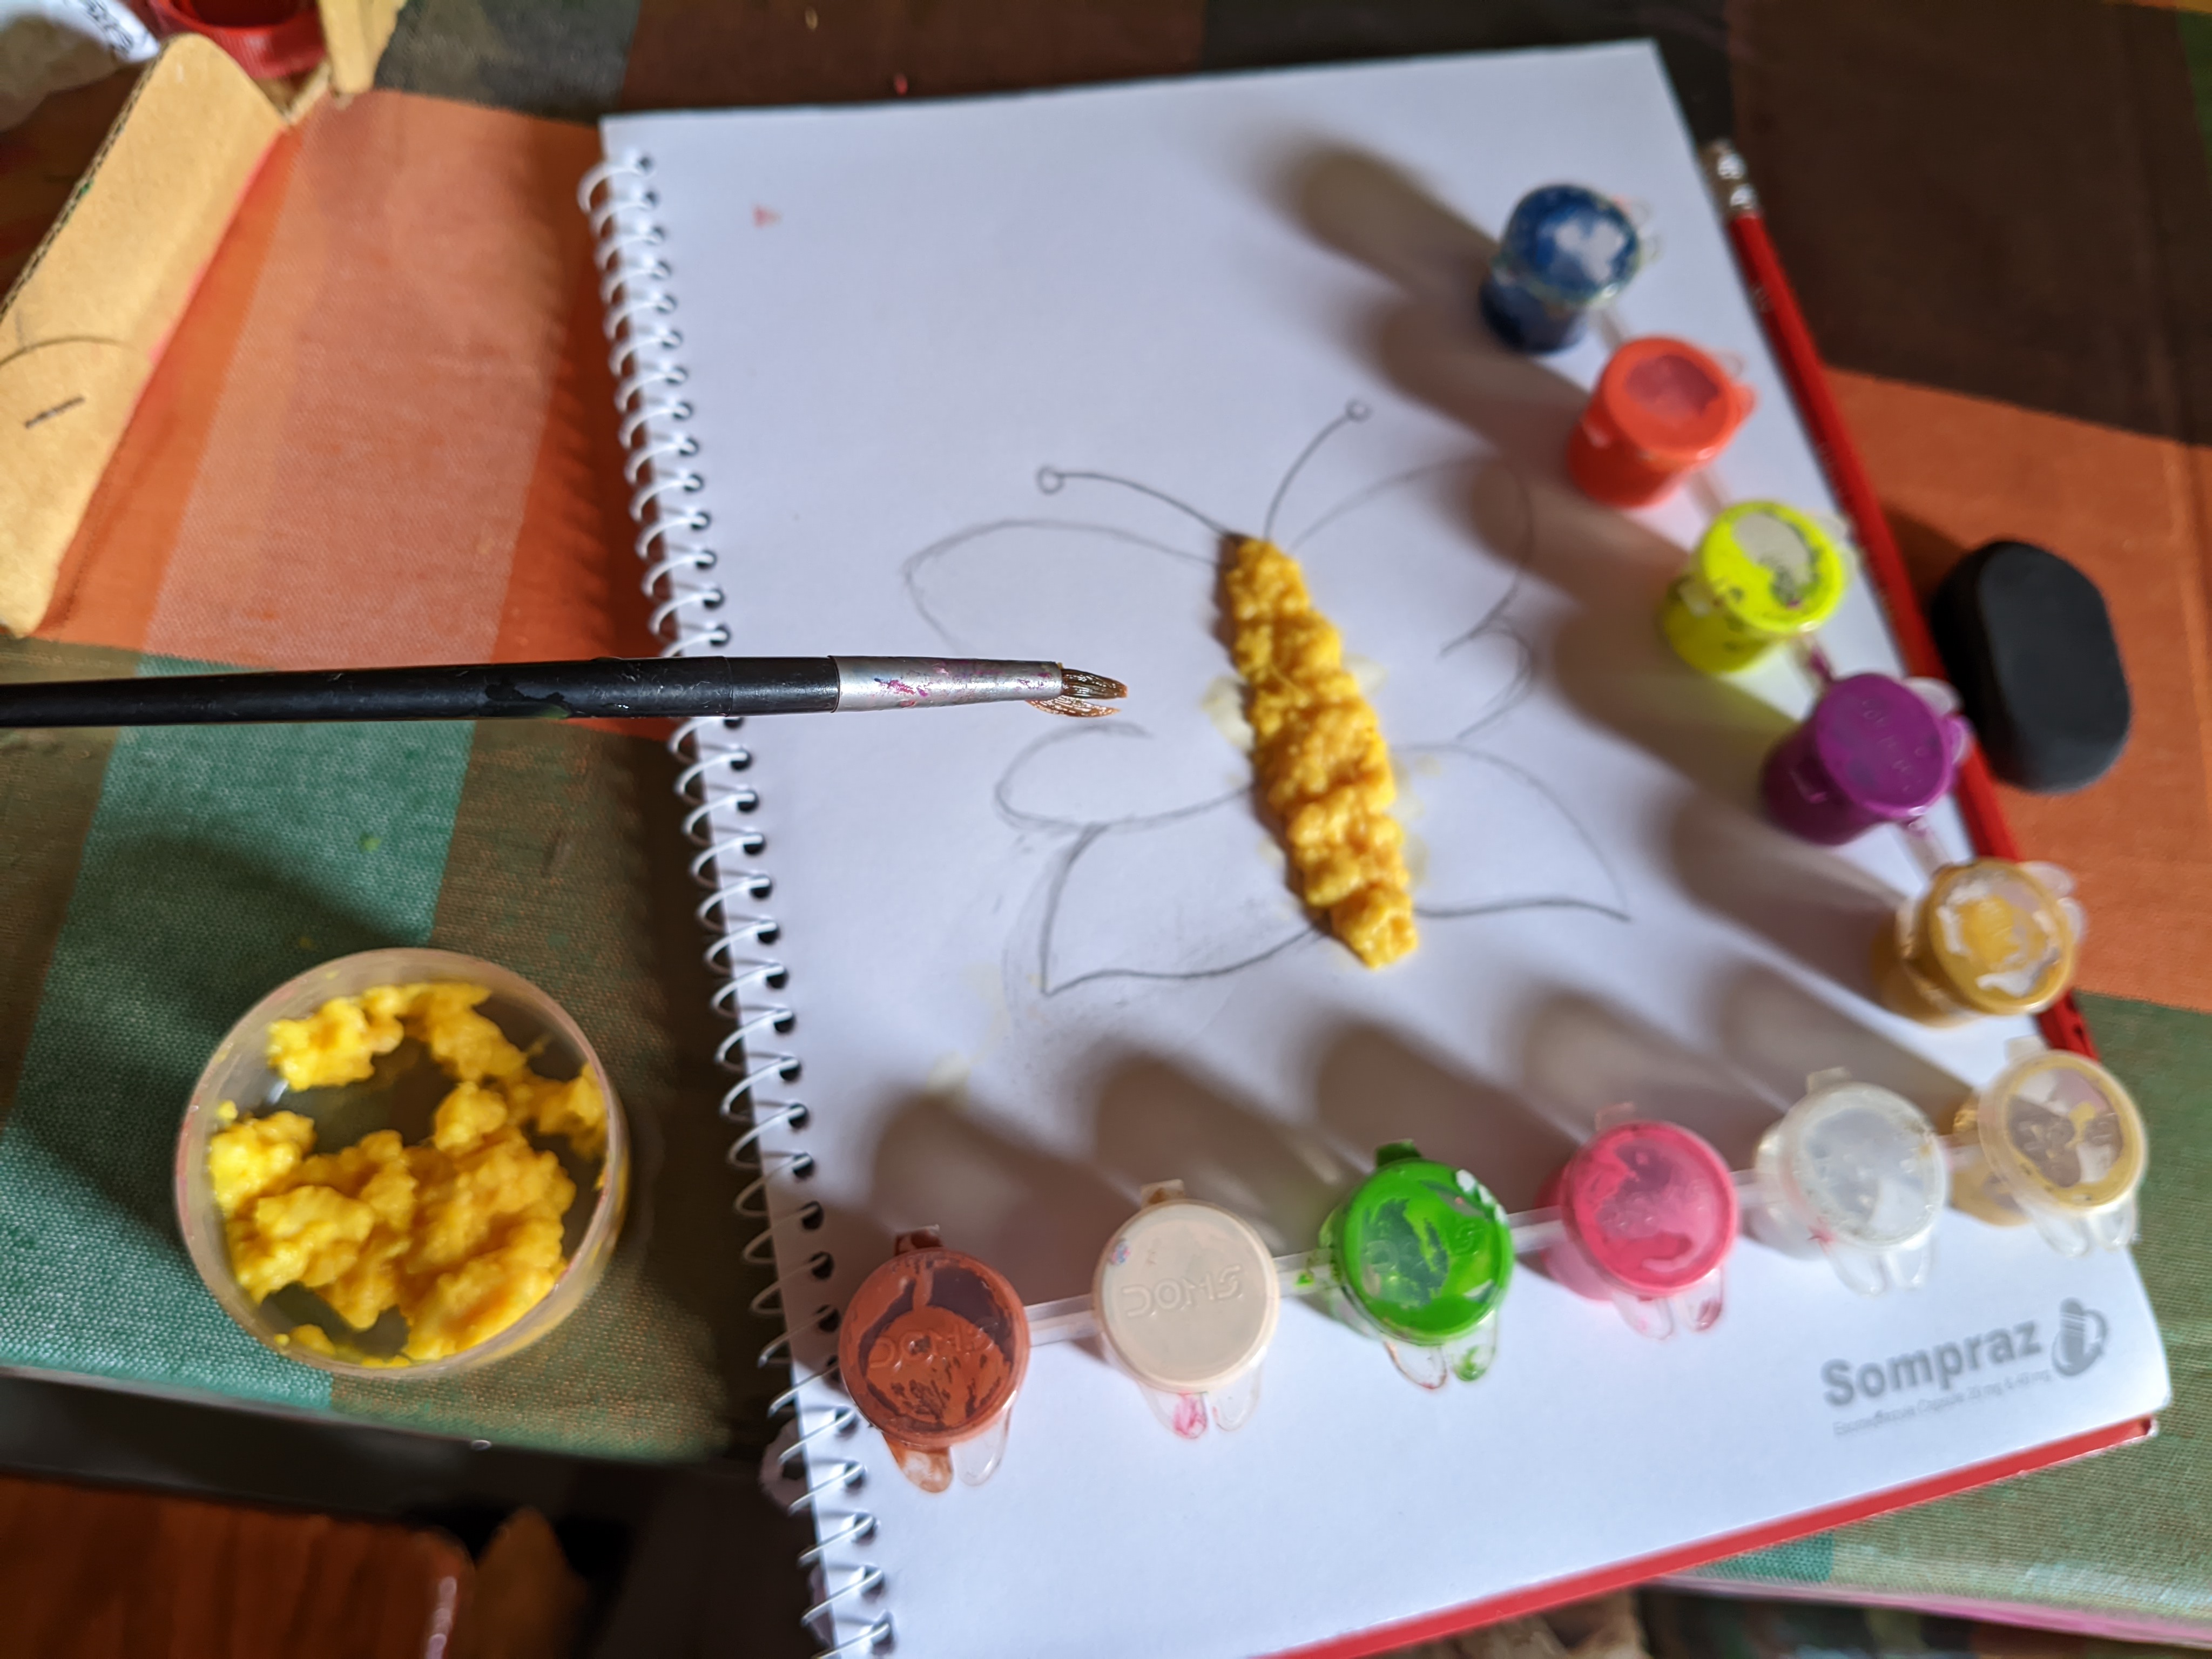
I mixed small pieces of tissue paper with paint and glue and pressed them lightly with my hands to make lumps.
Making the butterfly's body
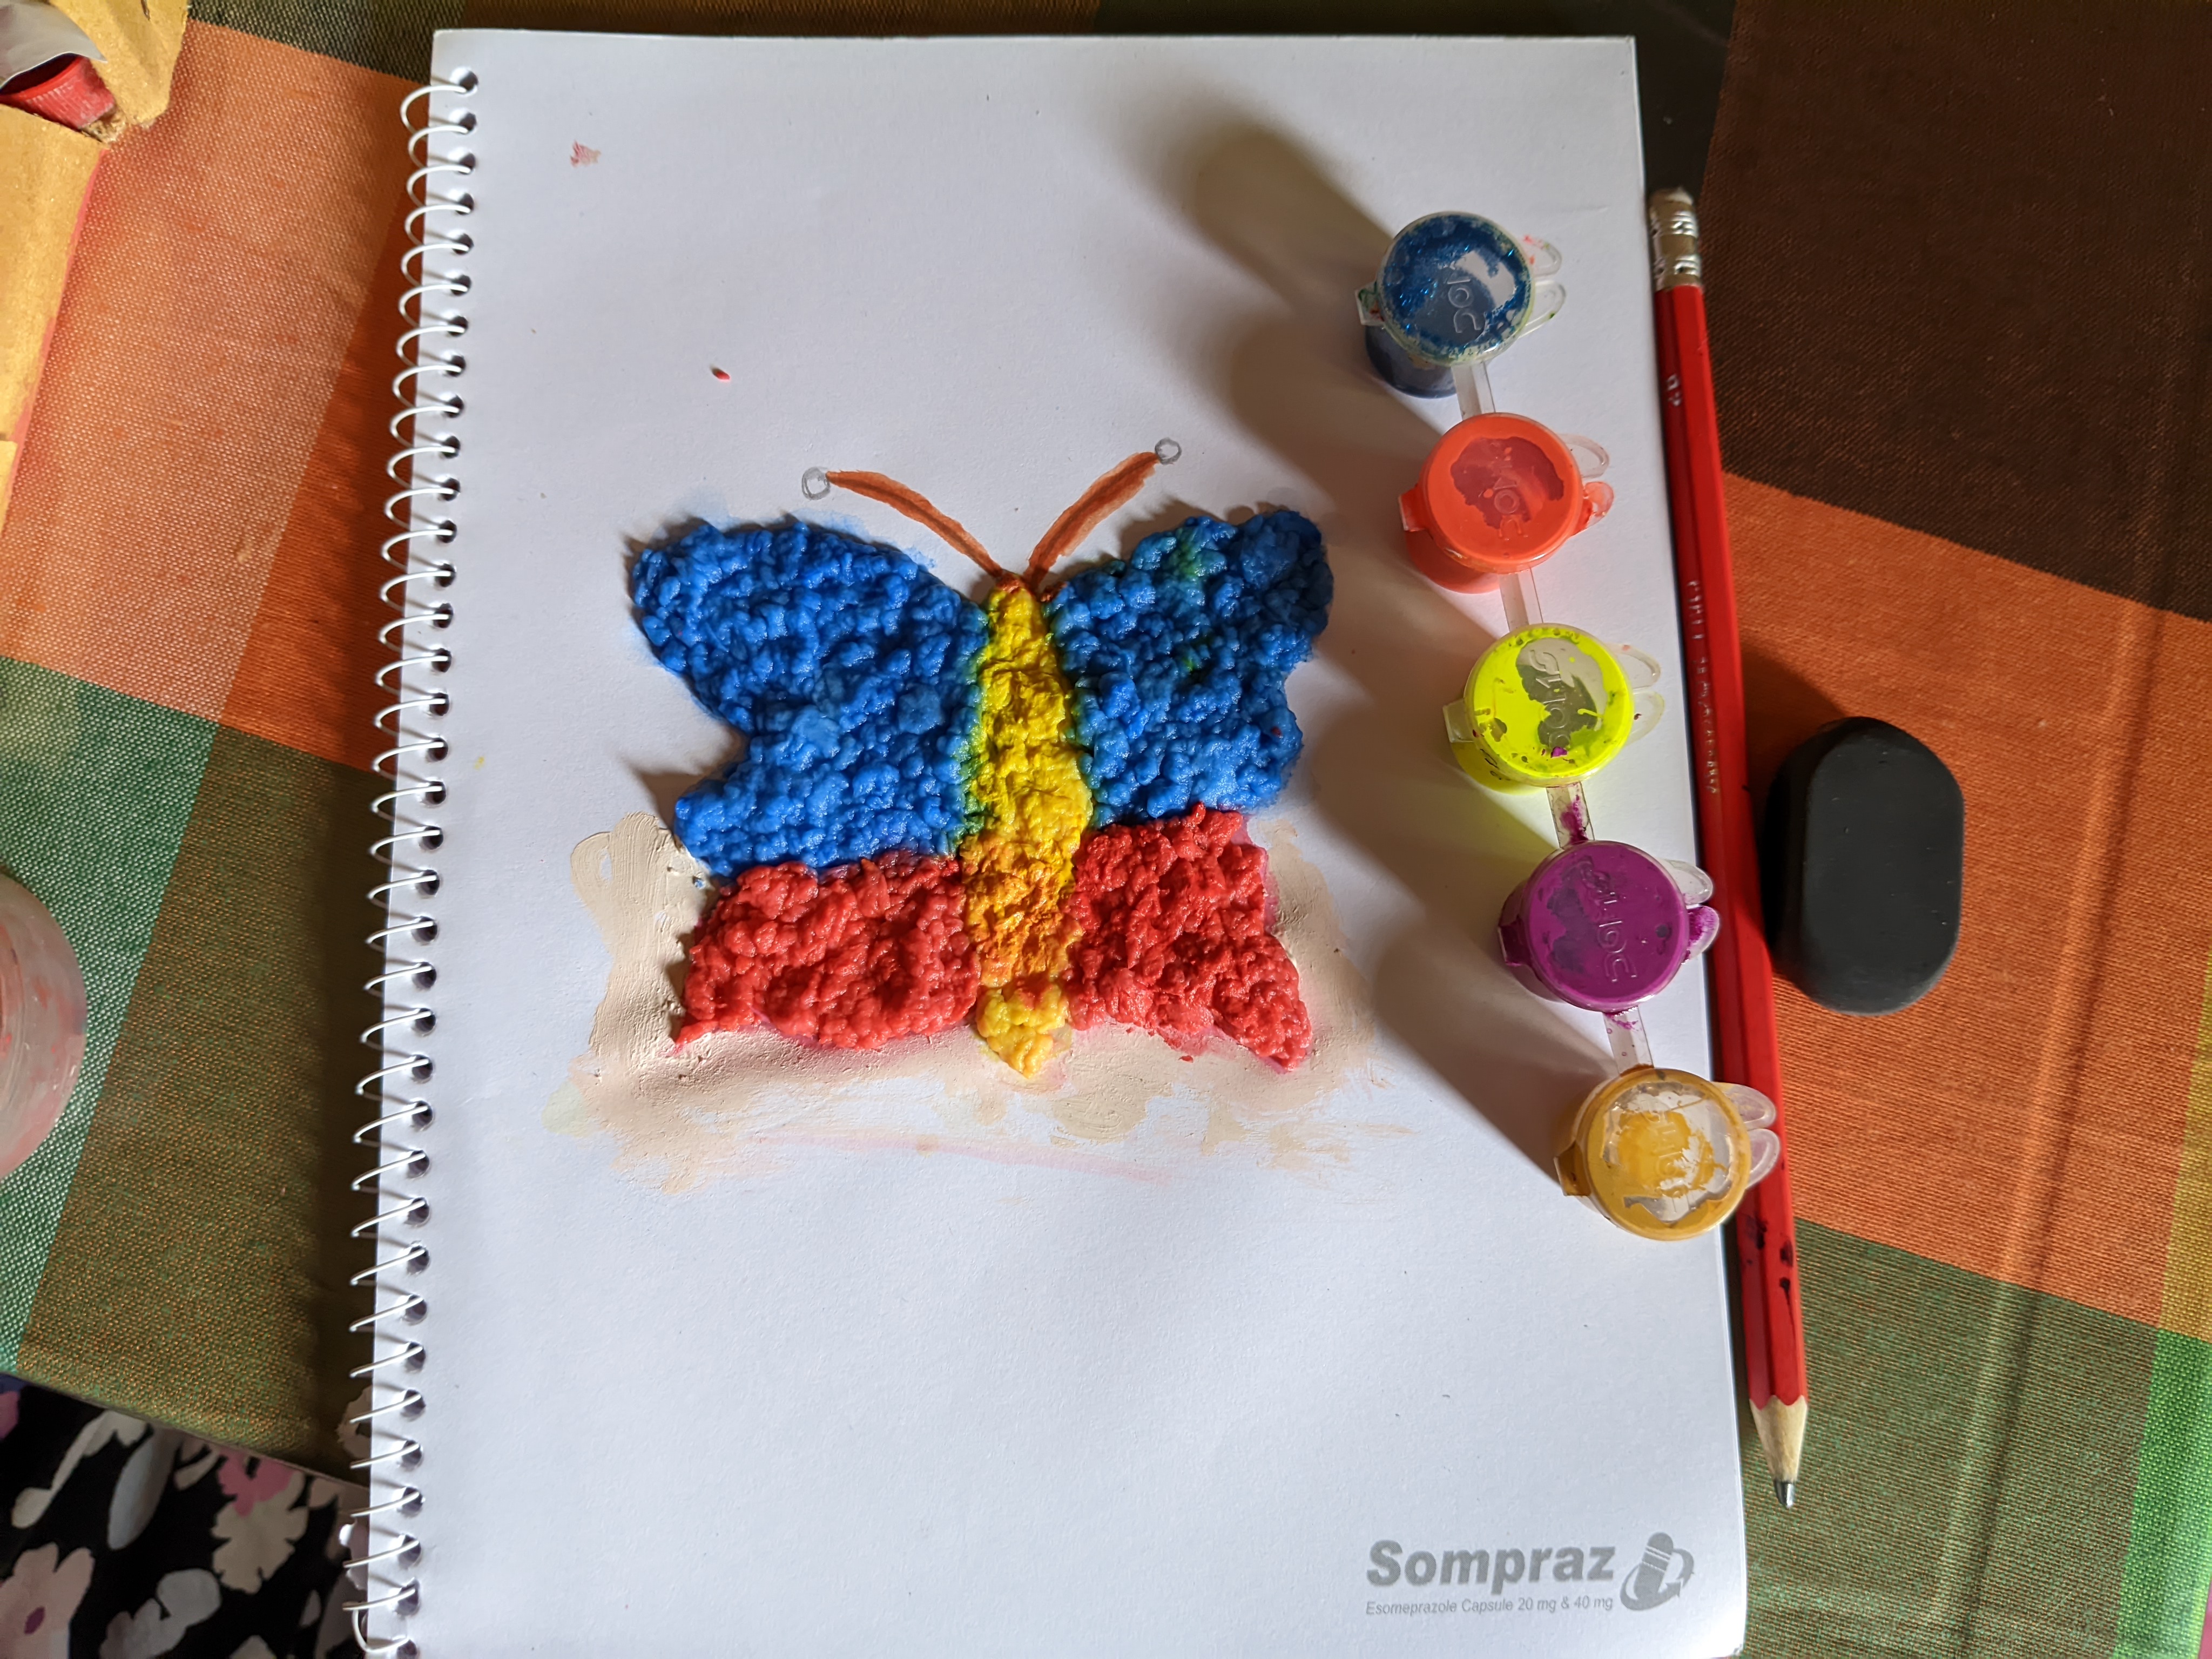
I made the middle body part with yellow tissue paper and glued it well.
Making the upper wings
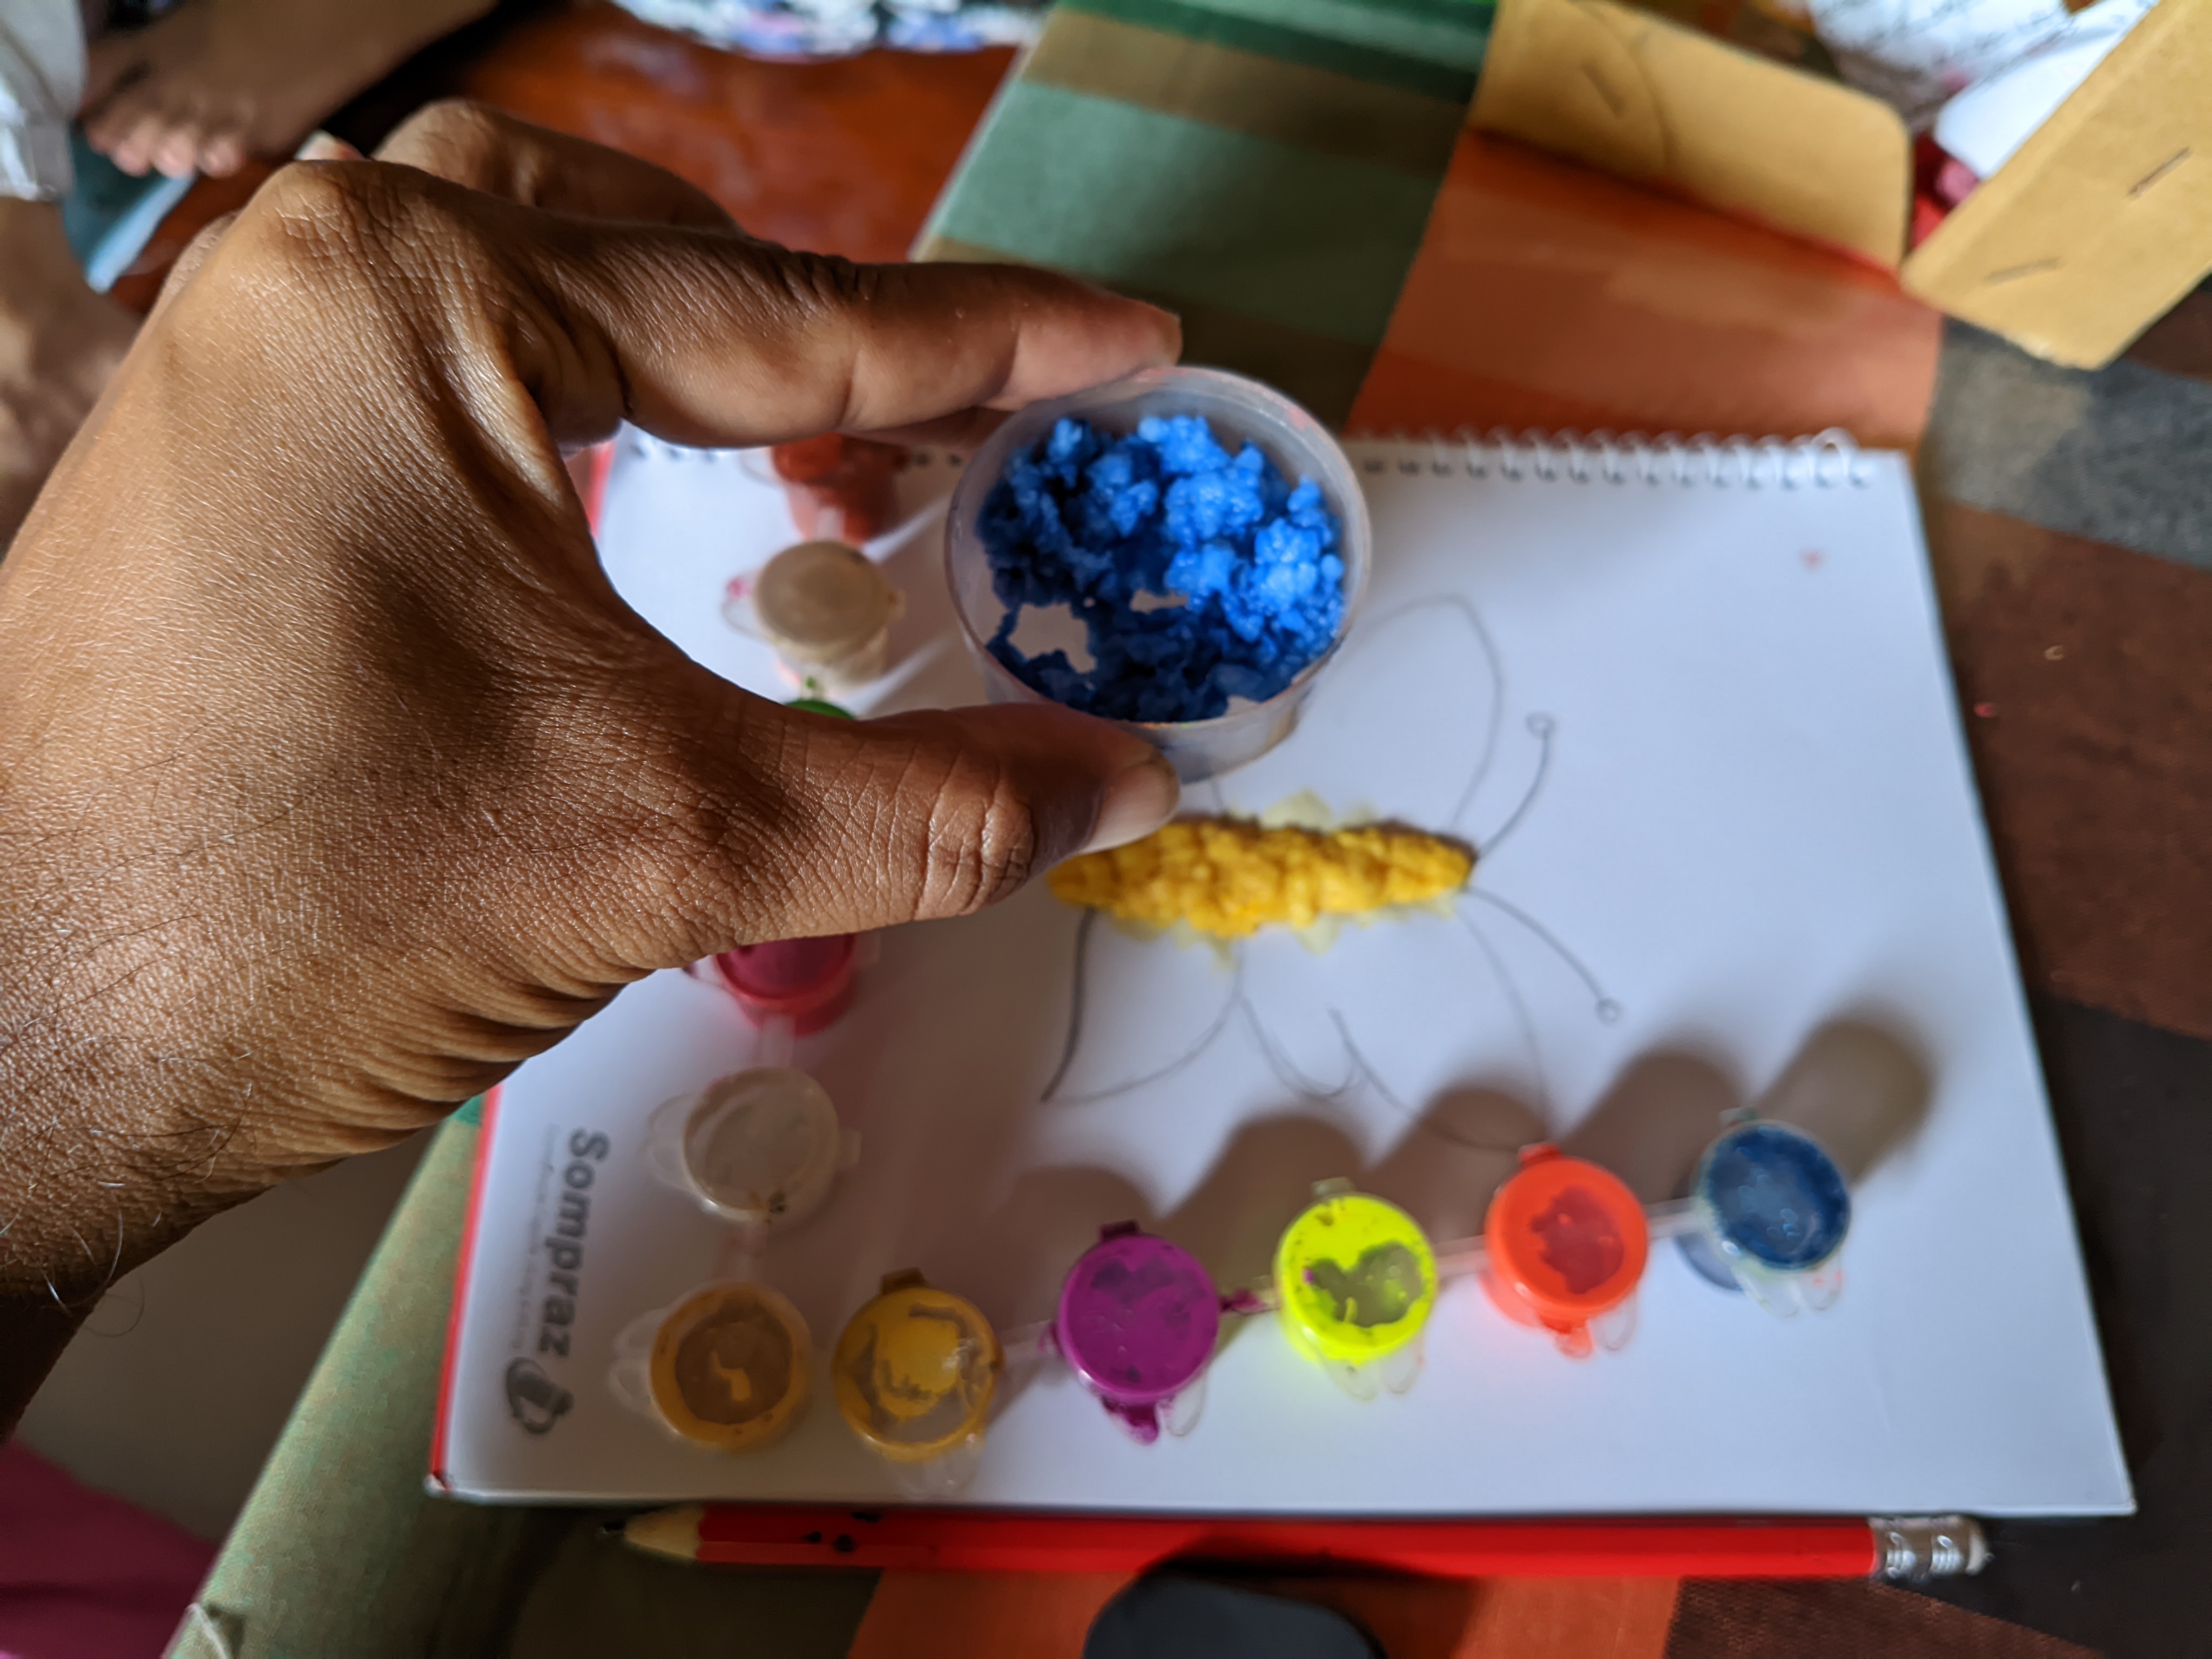
I completed the shape by making small pieces of blue tissue paper and attaching them to the upper two wings.
Making the lower wings
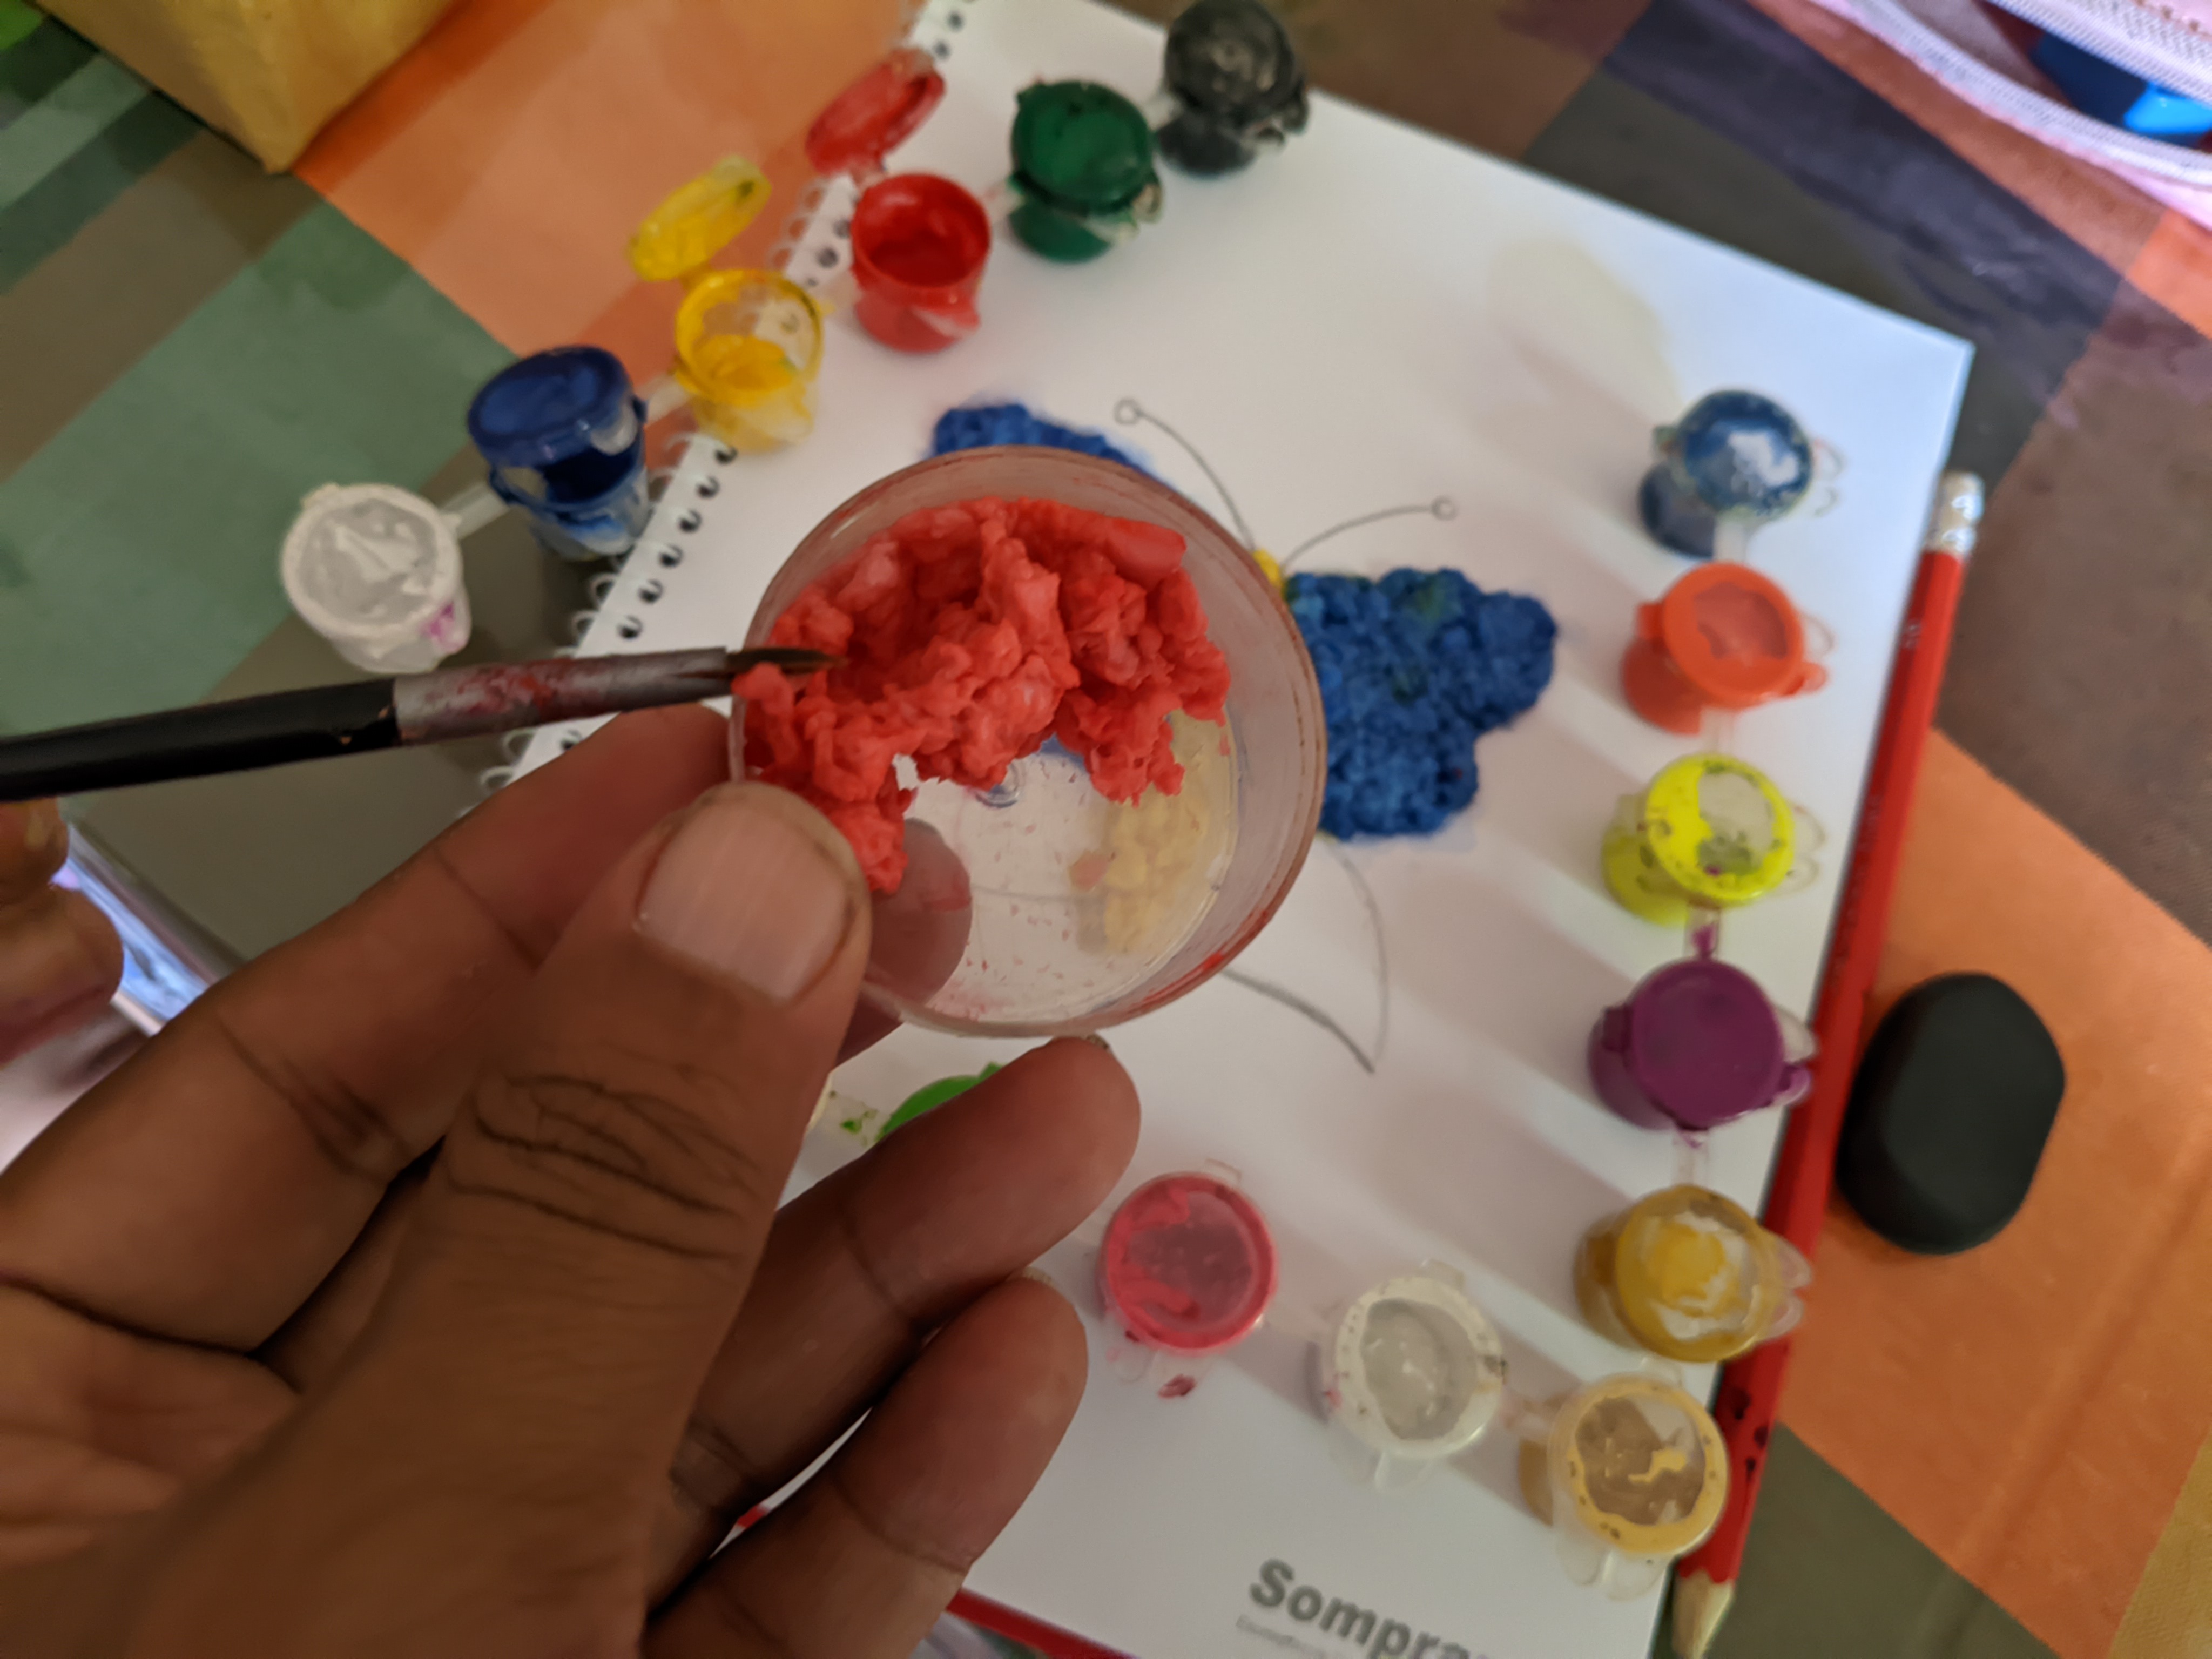
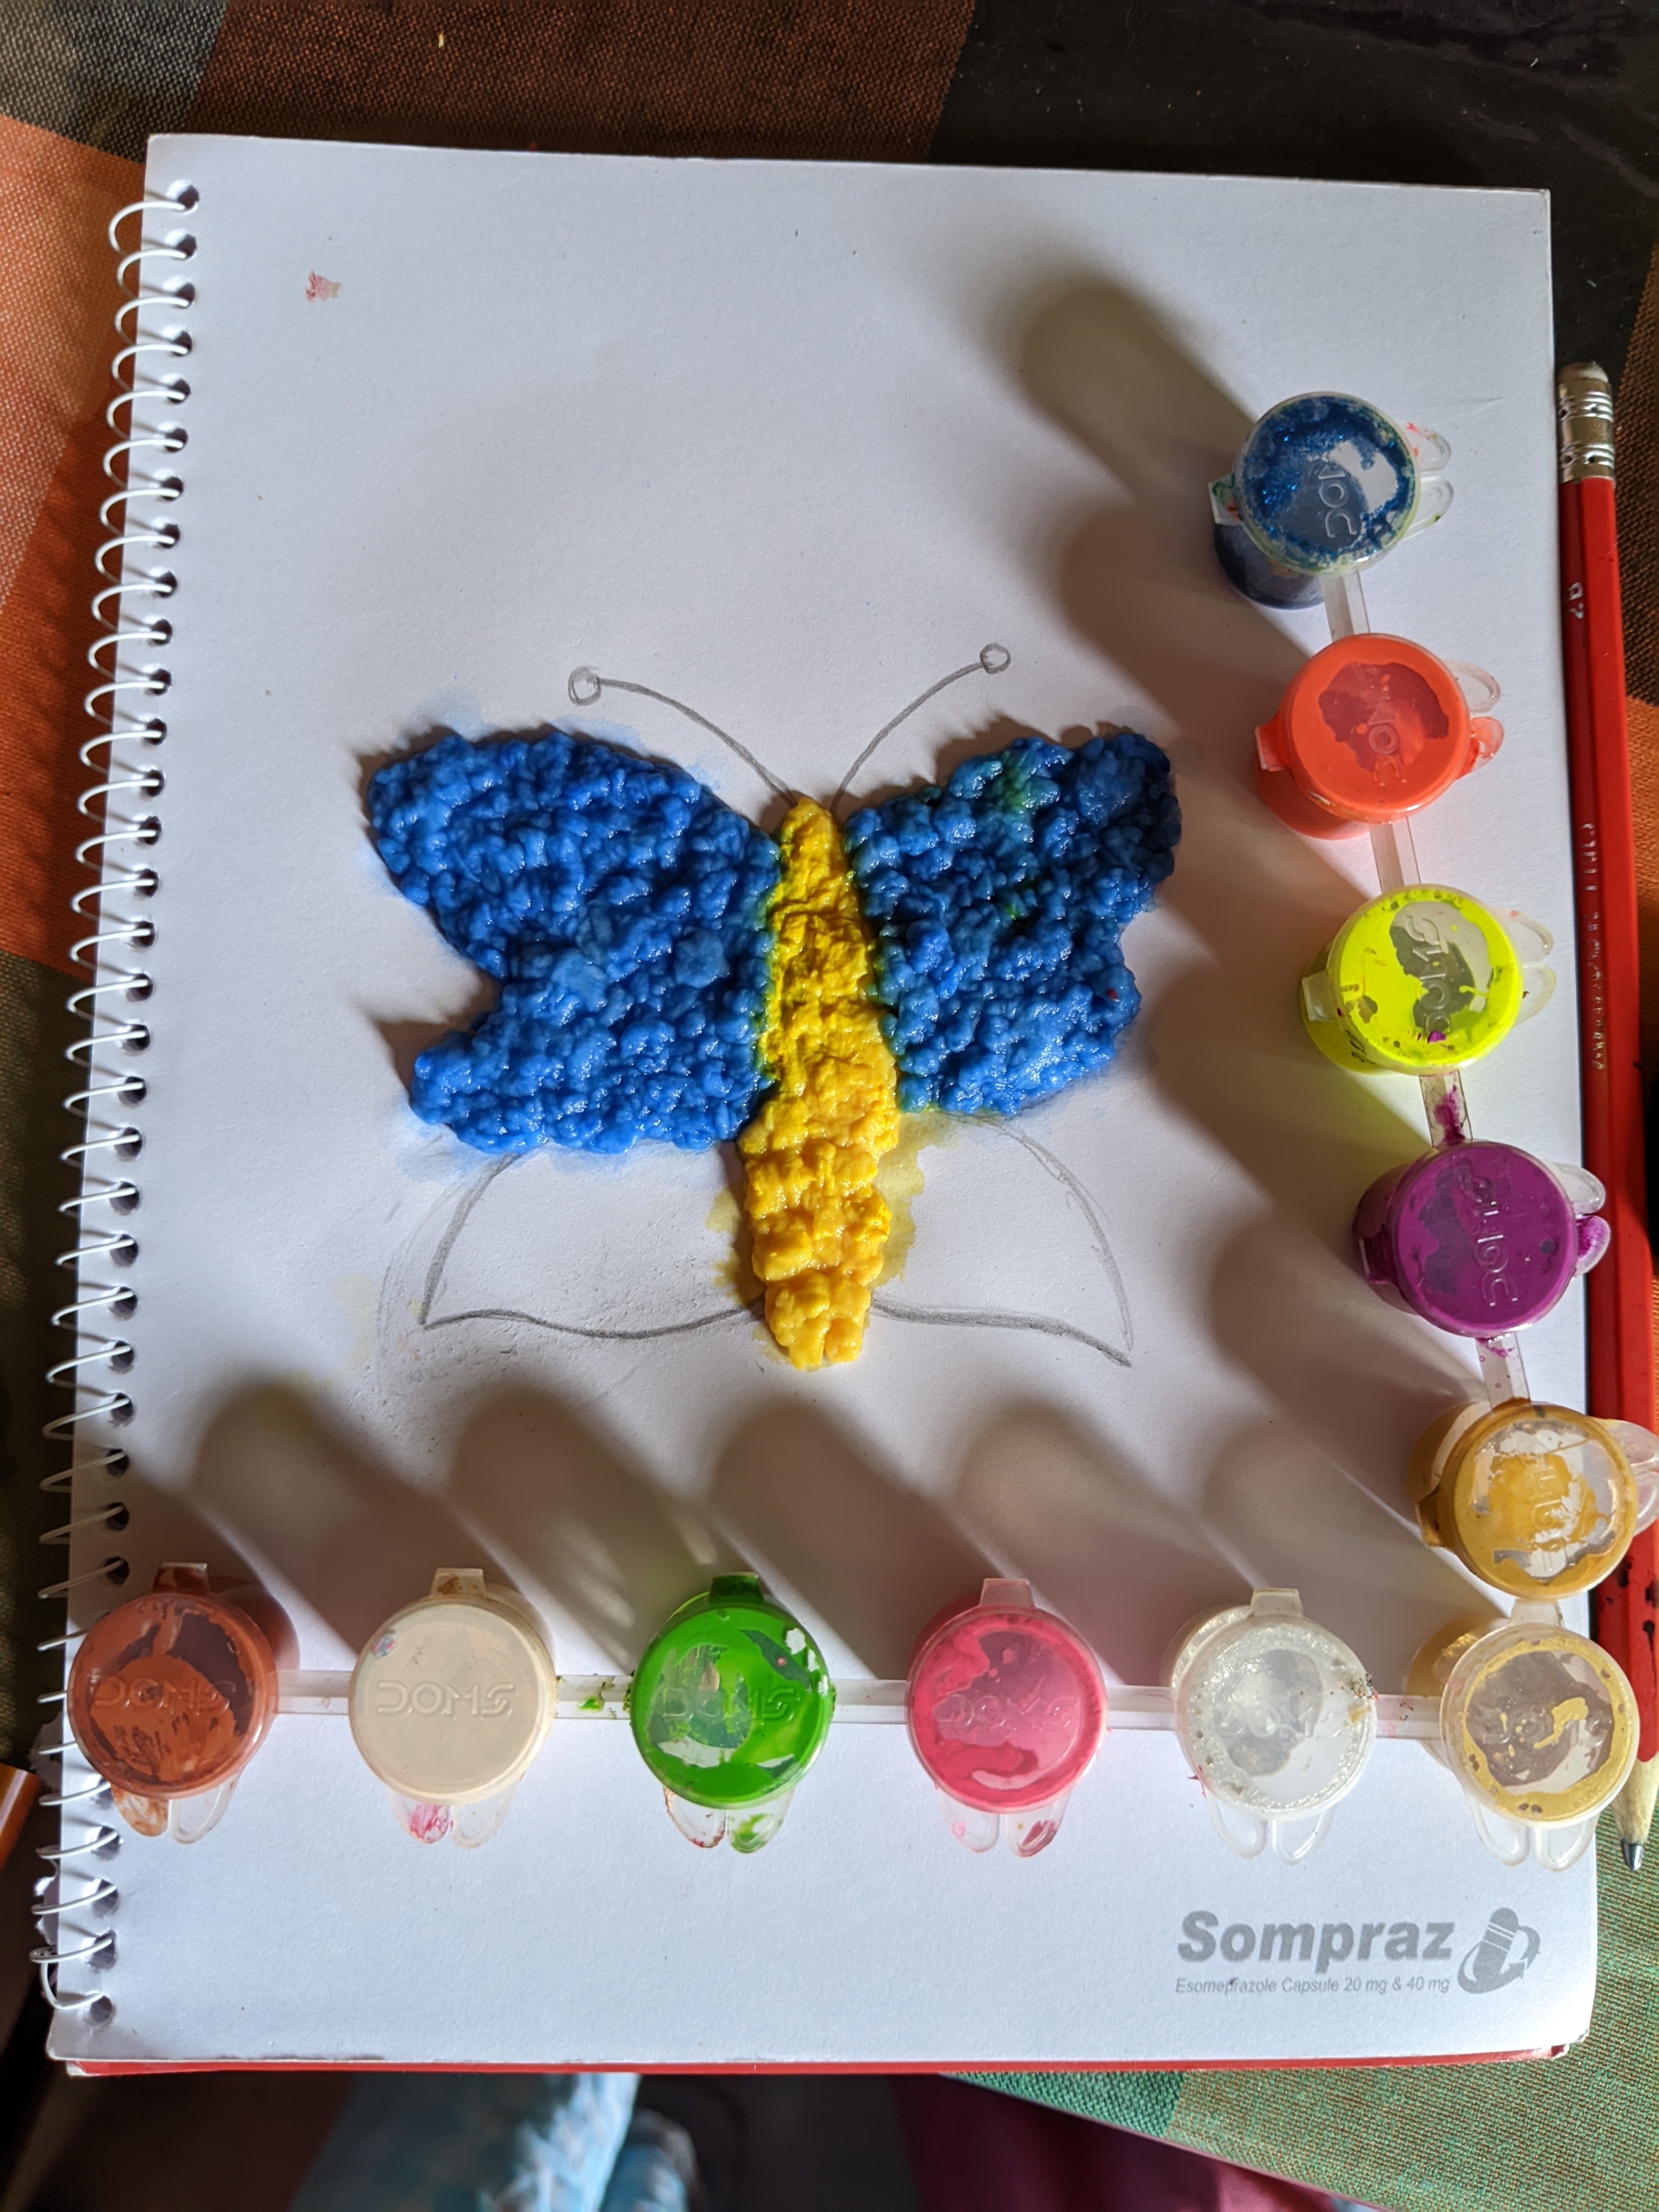
Then I filled the lower two wings with red tissue paper. This made the butterfly look more colorful and attractive.
Making the antenna
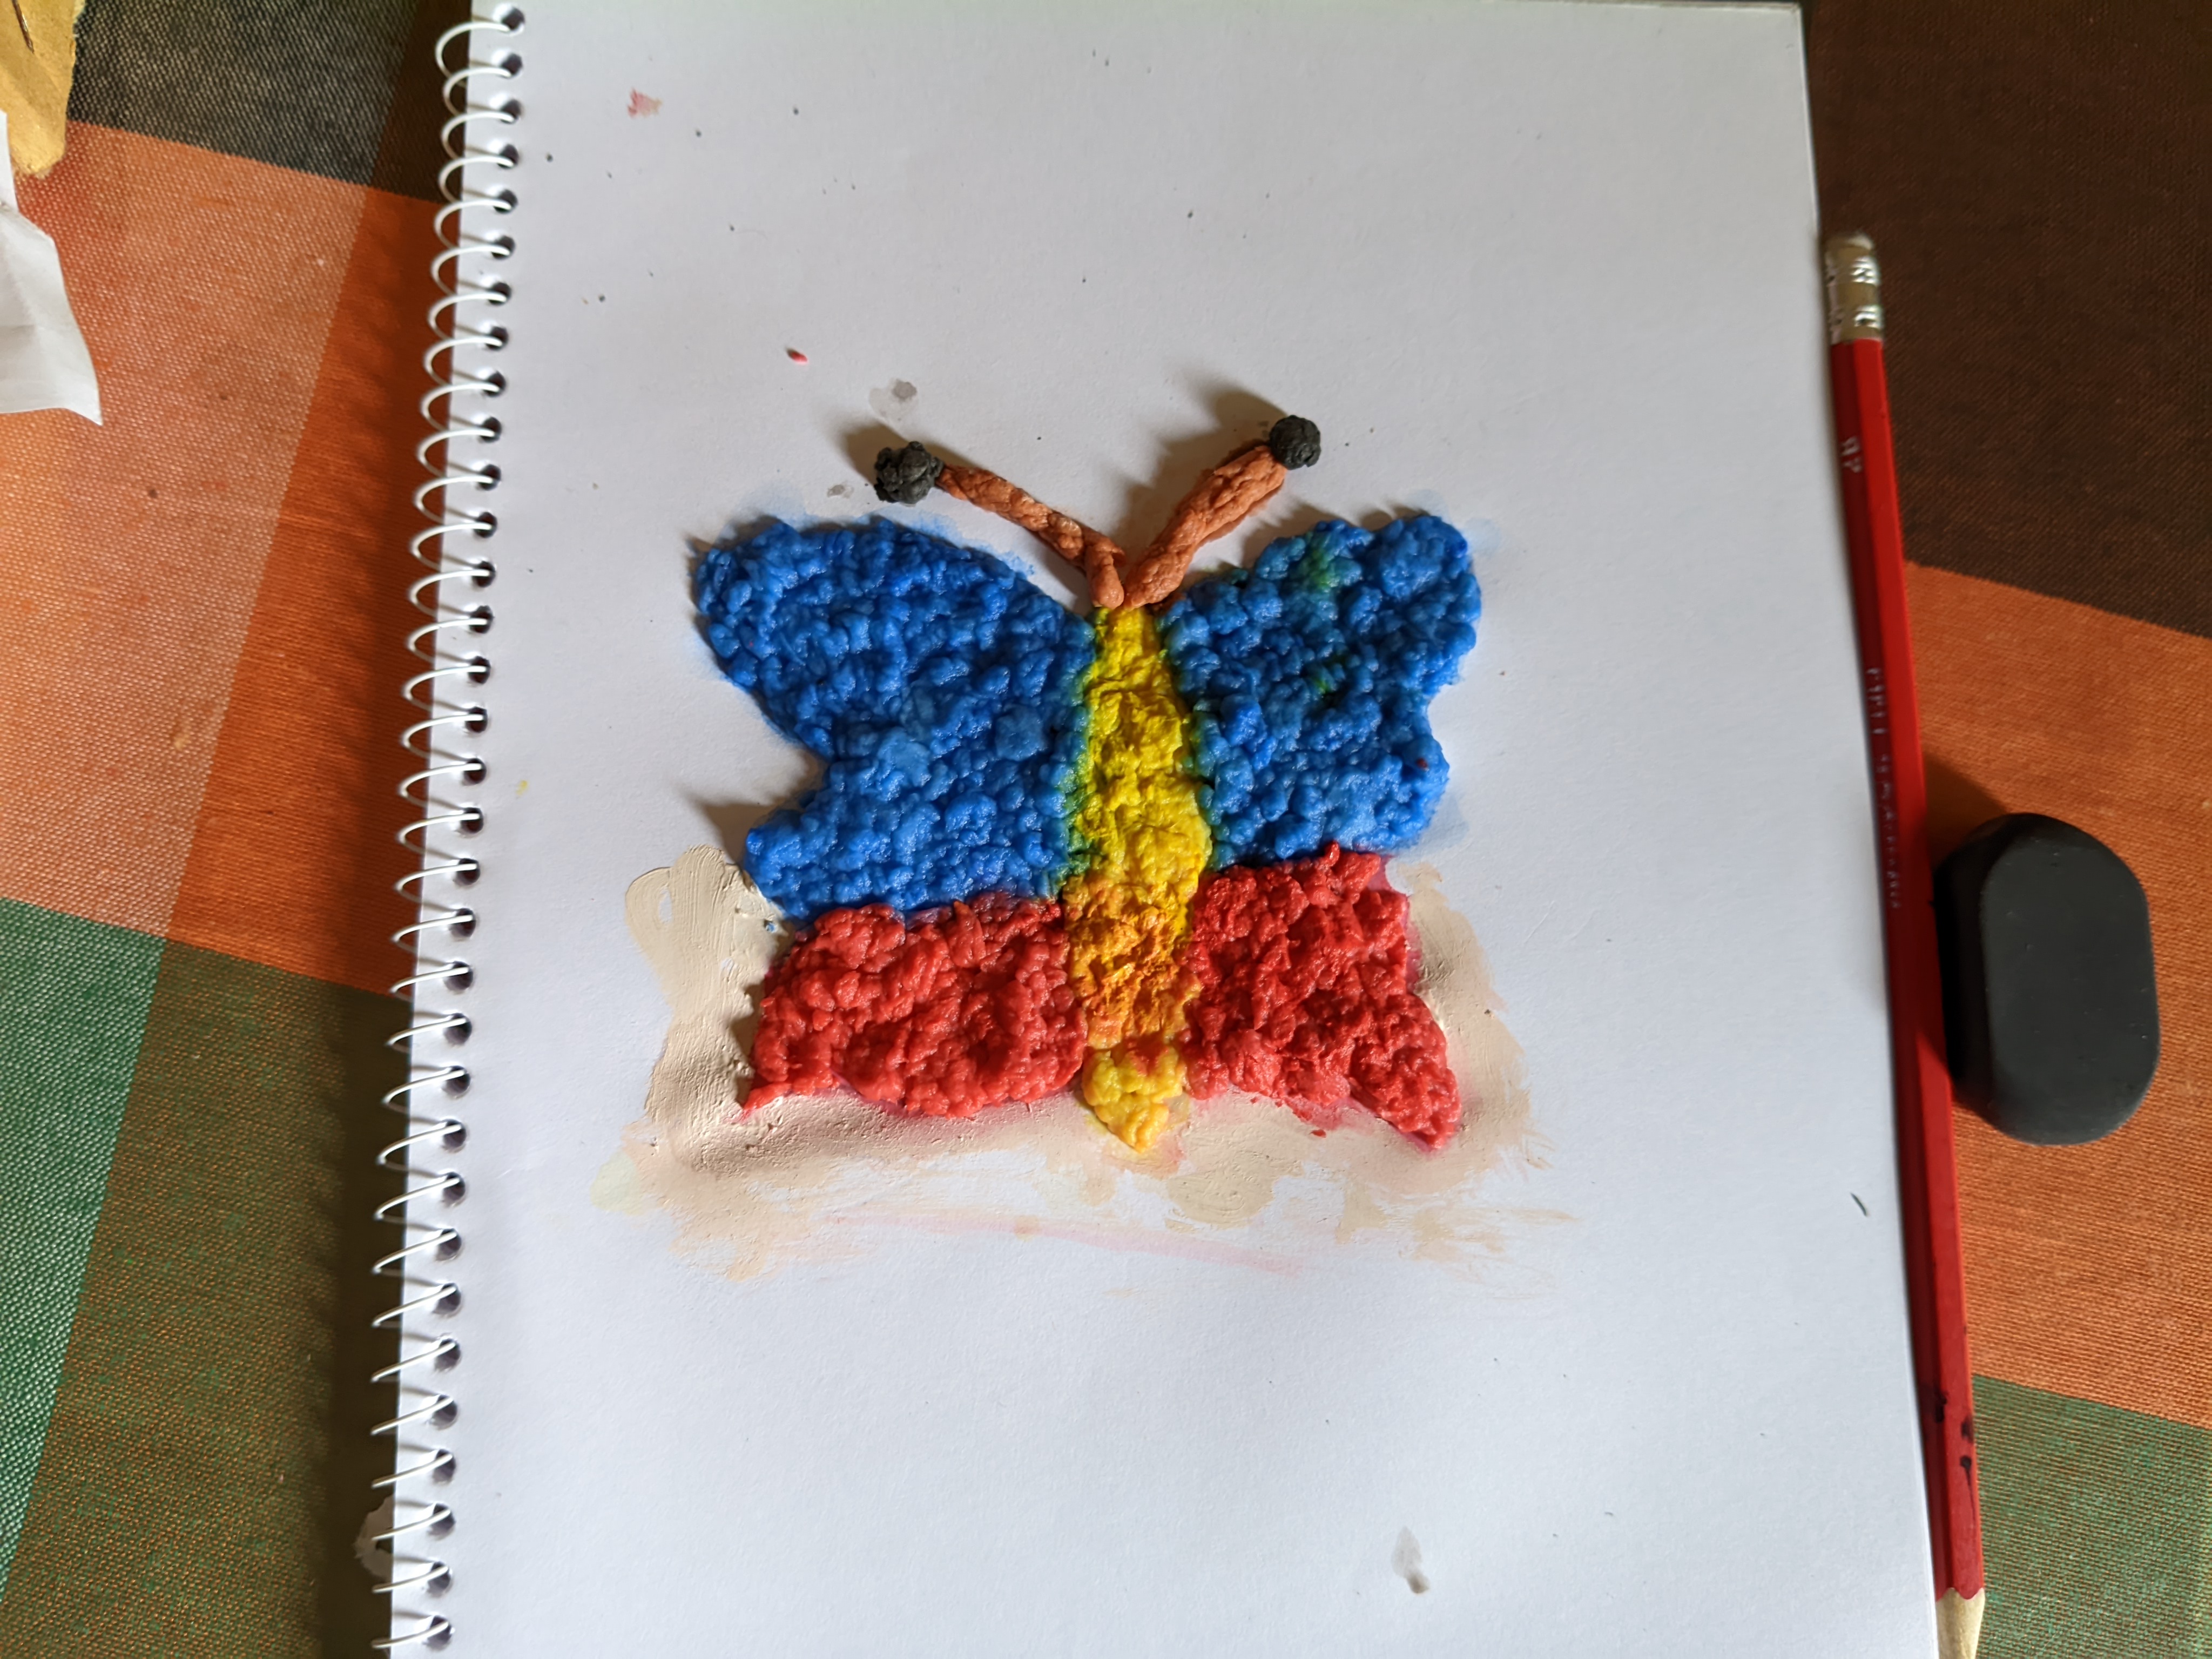
I made two antennas of the butterfly by rolling brown tissue paper and added a small black round part to the head of the antenna to give it a beautiful finish.
Drying and finalizing
After attaching all the parts, I let it dry for a while. When it dried, if necessary, I cleaned the surrounding area and presented the butterfly more beautifully.
 |  |
|---|
Attaching the name and information
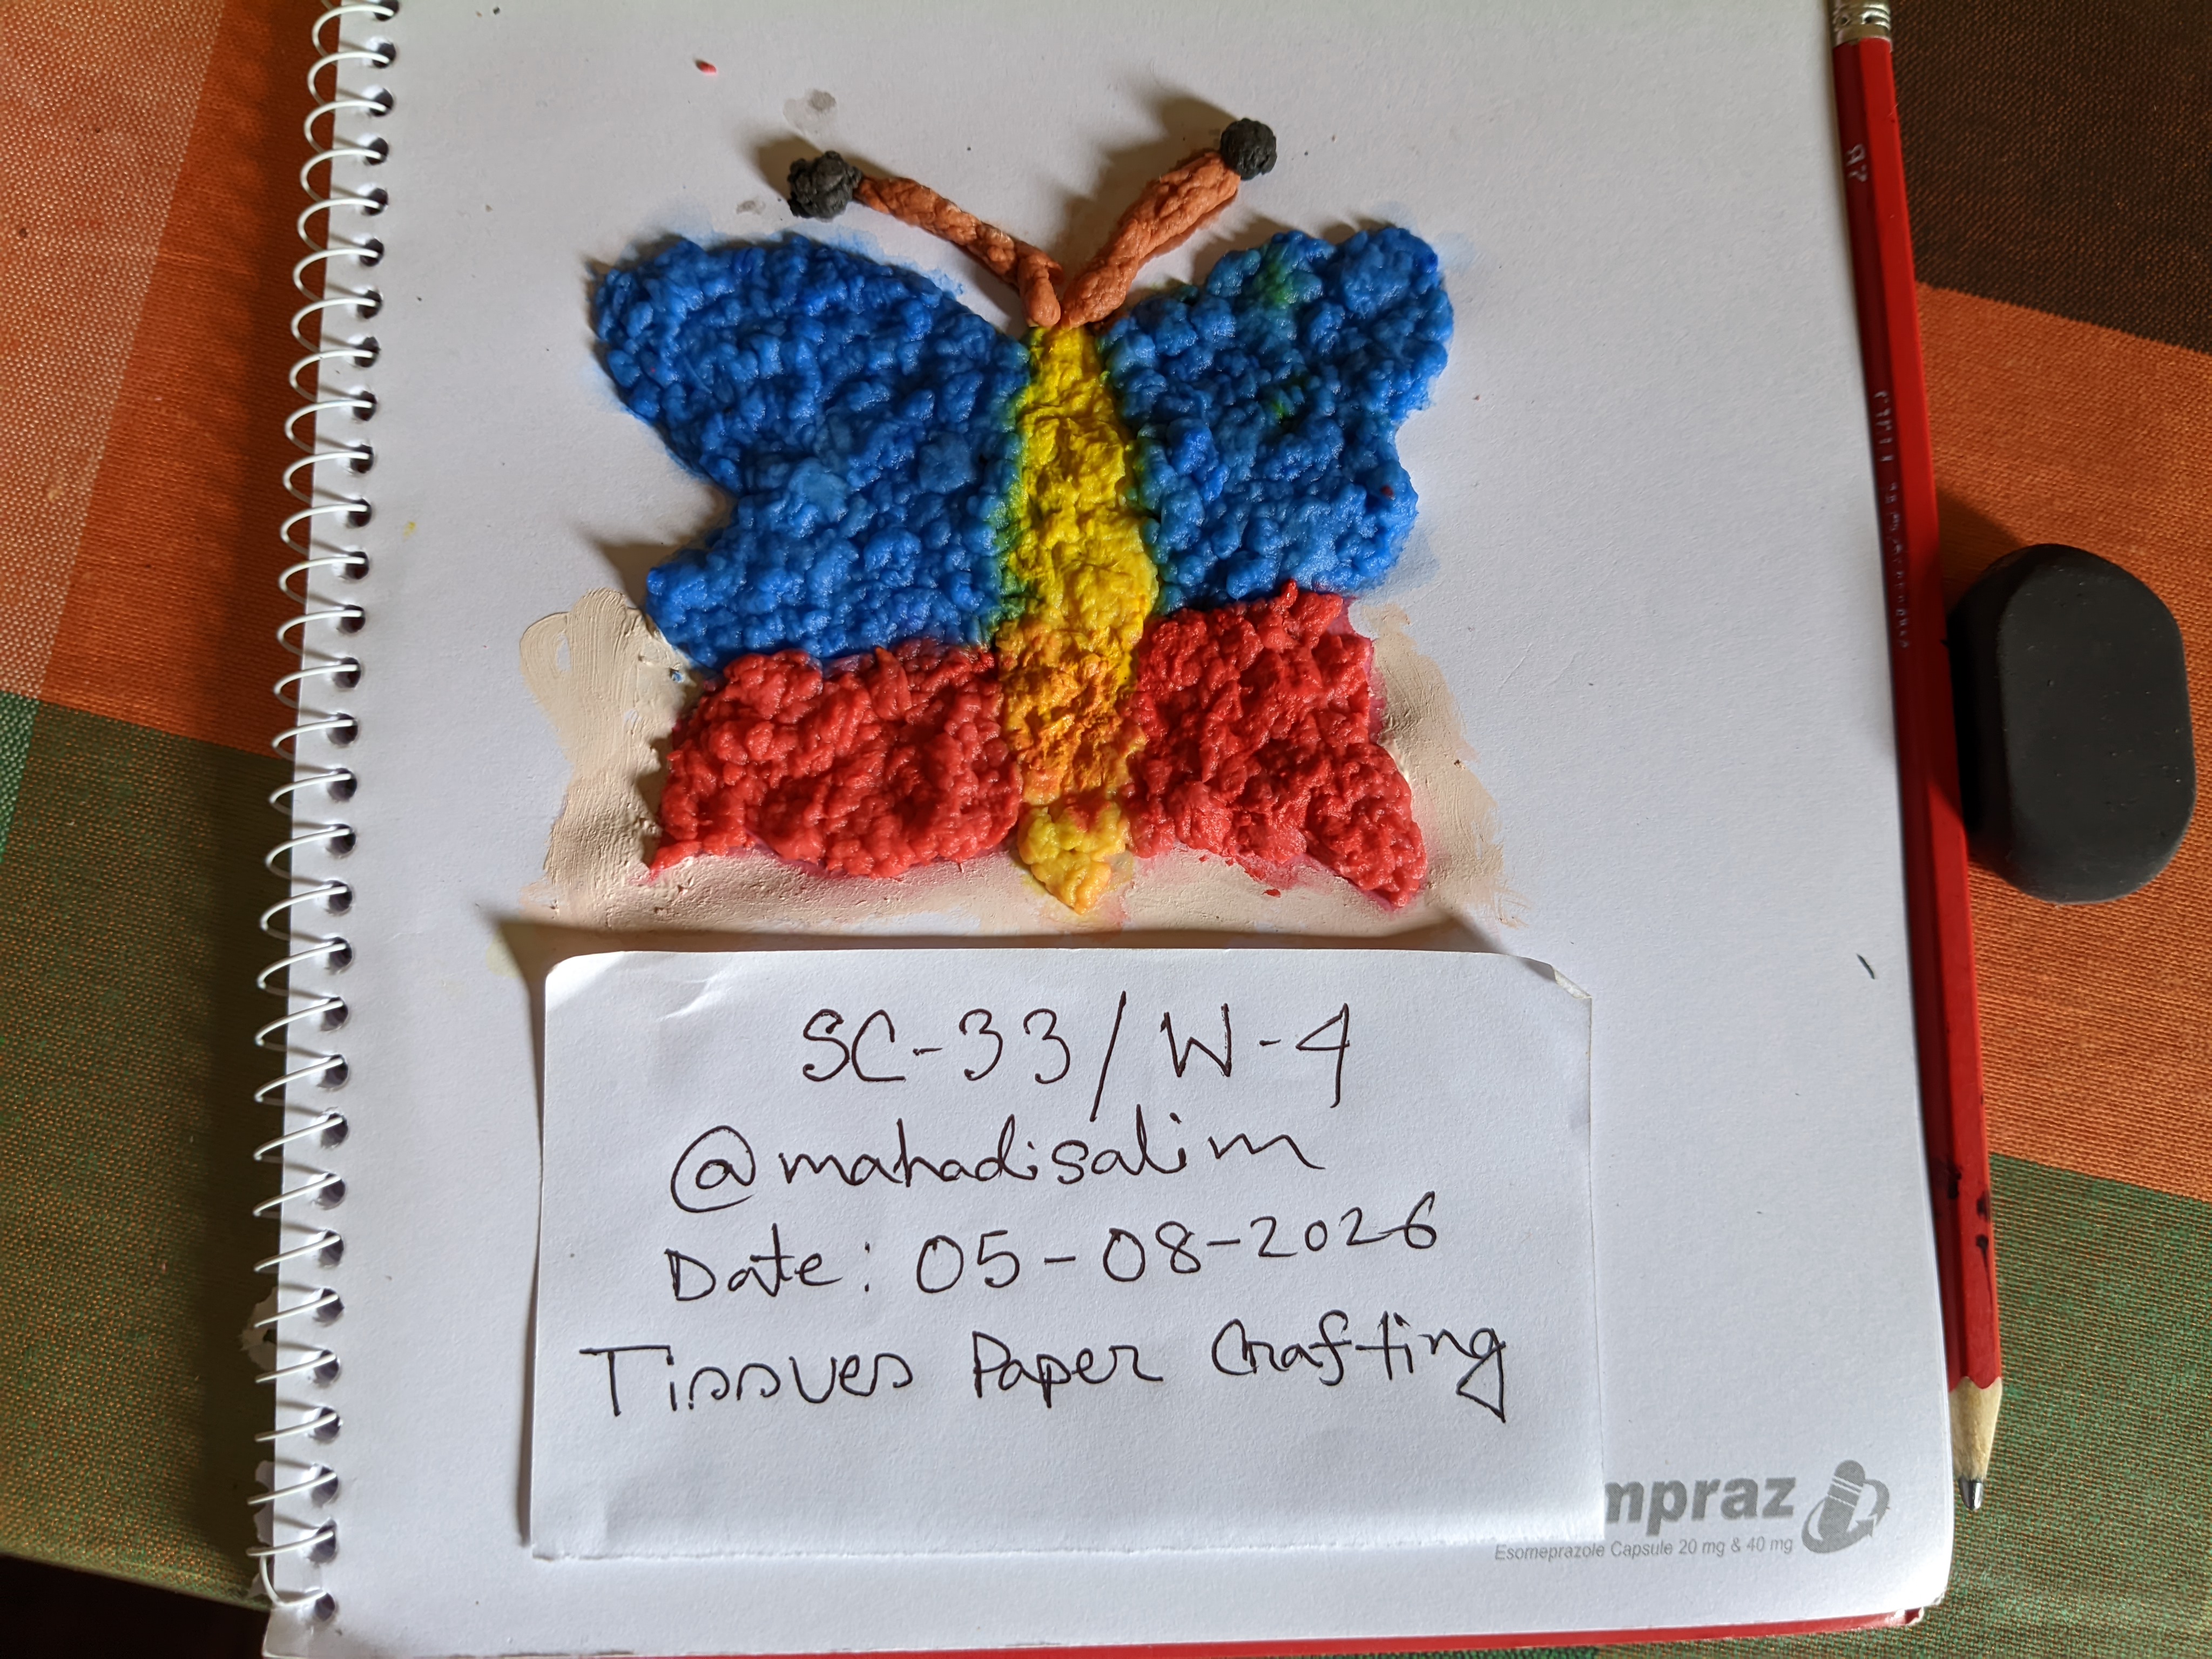
After completing the craft, I wrote my username, date, and “Tissues Paper Crafting” on a small piece of paper and attached it below the craft, so that the identity of the work is clear.
Final presentation
Finally, I took a picture of the completed tissue paper butterfly craft in my hand. I was very happy to see this colorful butterfly made by my own hands and felt happy to have completed it successfully.
Yes, this is my first experience of making crafts with tissue paper. I was a little hesitant at first, but as I worked step by step, my confidence grew. I had a lot of fun making butterflies with tissue paper of different colors. After the work was completed, I was very happy to see my craft and I am interested in making more new crafts in the future.
I am not completely satisfied, because this was my first attempt at making a craft with tissue paper. While doing the work, I could not place the tissue paper evenly in some places and the color combination could have been better. Still, with my own efforts and hard work, I was able to make a beautiful butterfly, which gave me the opportunity to learn something new. Next time I will try to work more accurately and want to correct the previous mistakes and create a more interesting craft.

| SL No. | My Invited Steemit Friends |
|---|---|
| 1 | @memamun |
| 2 | @solaymann |
| 3 | @max-pro |

The idea of making a butterfly's wings and body by soaking tissue paper in glue and applying poster paint is unique. In my opinion, it is quite difficult to shape the tissue lumps by hand for the first time, because wet tissue often sticks to the glue and does not want to fit into the correct shape. However, the butterfly has emerged quite well in the combination of blue, red, and yellow. I think that the finishing is quite perfect, given the black round part at the head of the antenna. It is normal to have minor errors in the work as a first attempt, but the real thing is to be able to understand your own mistakes. I think the wings would have looked more alive if the texture of the tissue had been kept right and the color blending had been a little more perfect. Your work shows a good impression of both courage and patience in trying such a complex method for the first time. Best wishes to you in this contest. 😊
Good morning sir 🌞.
This is my X share link:
https://x.com/i/status/2084920654521049096
La creatividad no se enseña, se comparte. Y vos compartís bien, se nota.