An amateur tries making chocolate chip cookies (Part 2)
This is 27-year-old uttonio writing. Coming back to finish what needs to be finished, I laugh when I see this post that I wrote when I was much younger. I would like to tell myself back then: "Chill, baby. Chill". Now I am still intense but more hardened by life, and this focus on baking has shifted to other domains.
18 October 2018
1. Cookie dough in the making:
With the recipe in part 1, I followed all the steps that Sally listed and got a bunch of wet, sticky dough, as I expected it to be. After being mixed with the chocolate, the dough was freezed for 22 hours, allowing the ingredients to settle together. The very reason behind my chilling process is: the longer I chill the dough, the more flavorful it will be. In addition, cold dough results in thicker cookies.
After the chilling process, I let my cookie dough sit at room temperature for 10 minutes before rolling into balls.
Tray:
My tray is a small black one and therefore, typically absorbs and radiates more heat in the oven than the light-colored one. I had to set 2 layers of parchment paper to be sure that my cookies would not heat up and brown too quickly, especially on the bottom.
Temperature of the oven:
My oven is very small and usually the real temperature of the oven would be different from the temperature set on the oven.
Having put an oven thermometer inside the oven, I set the temperature to 150 degrees Celsius to see if my oven thermometer went to 170 degrees Celsius. That was what really happened.
2. First cookie batch:
This batch unexpectedly had more chocolate than other batches that I made.
Baking time: 14 minutes at 170 degrees Celsius.
I rolled 6 dough balls on the baking tray, each weighed roughly 42g. The first 2 balls were a little bit hard to roll as they were just taken out from the fridge. There was a tip from Sarah at this point: To ensure the cookies would be thick after being baked, the balls were rolled to be taller rather than wide. The cookies were baked in 14 minutes at 170 degrees Celsius then continued to be baked on the tray at room temperature for 10 minutes. I then transferred them to a wire rack to cool completely.
The balls seemed small at the beginning but after being baked in the oven, they spread out to be so big and thick! After the cooling down process, they looked really greasy and when I took a bite, they tasted a little bit powdery so I assumed they were not baked completely.
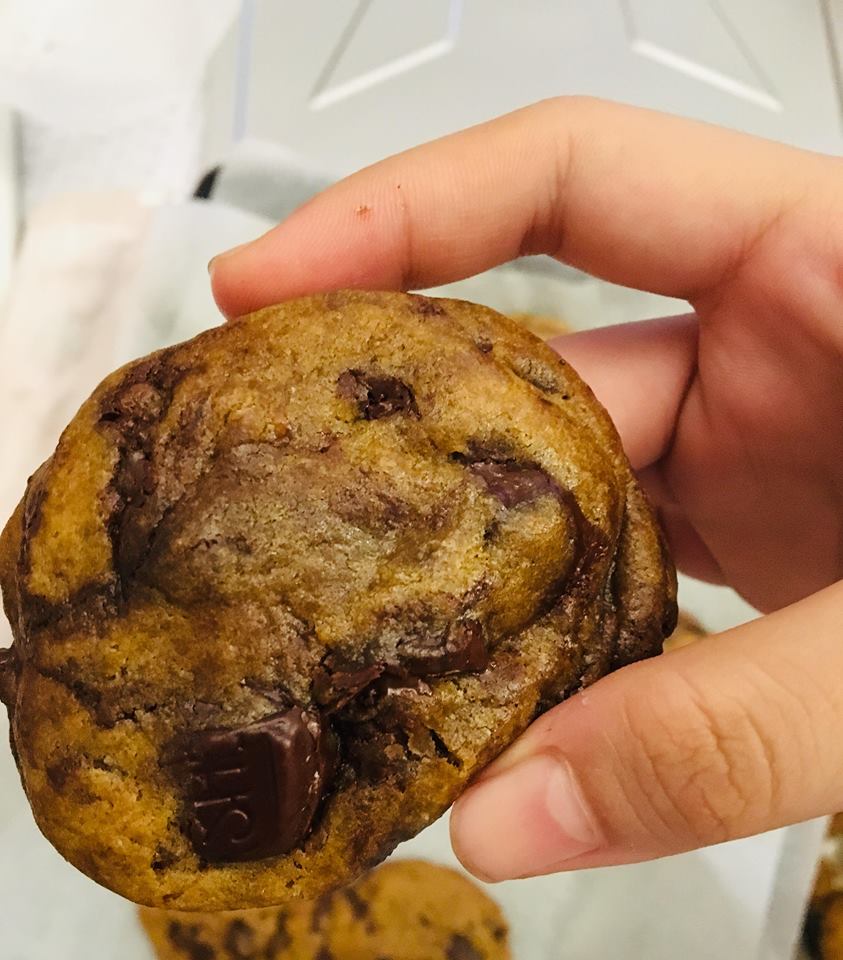
Later, I baked this batch once again for 5 minutes at 200 degrees Celsius. Having a brown and crunchy coat outside, the cookies were extremely chocolatey and soft inside. The most indulgent cookies were from this first batch!~
3. Second cookie batch:
Baking time: 15 minutes at 170 degrees Celsius.
I baked another 6 tall scoops. The cookies also had the same size and shape as the first batch; and also unfinished inside. One day later, I baked them once again in 6 minutes at 190 Celsius and left them in the oven for 1 minute. The cookies looked really brown but there were still some parts of the cookies that were not baked completely.
(The first 2 times failed because my parents were hanging around. I did not feel really comfortable baking cookies with the presence of other people. Really wanted to be on my own and immersed myself deeply in the baking process.)
4. Third cookie batch:
Baking time: 18 minutes at 170 degrees Celsius.
I rolled the dough into 5 perfectly small round balls and baked them. I thought that these cutie tiny round balls would spread better than the tall balls. To my surprise, they turned out to look like teenee tiny buns rather than flat cookies. So disappointed in myself, I did not taste them.
5. Fourth cookie batch:
Baking time: 16 minutes at 170 degrees Celsius.
This time there were only 4 balls left so I decided to roll them into 8 smaller balls. I flattened each one a little bit and make a hole in the middle with my index finger. Someone on Youtube said that doing this would help the dough automatically fill the hole while baking. It worked really well. The cookies spread beautifully and definitely were the most good-looking ones ihihi.
6. Cookie scoring:
Total cookies: 17 big ones, 8 small ones --> 25 cookies.
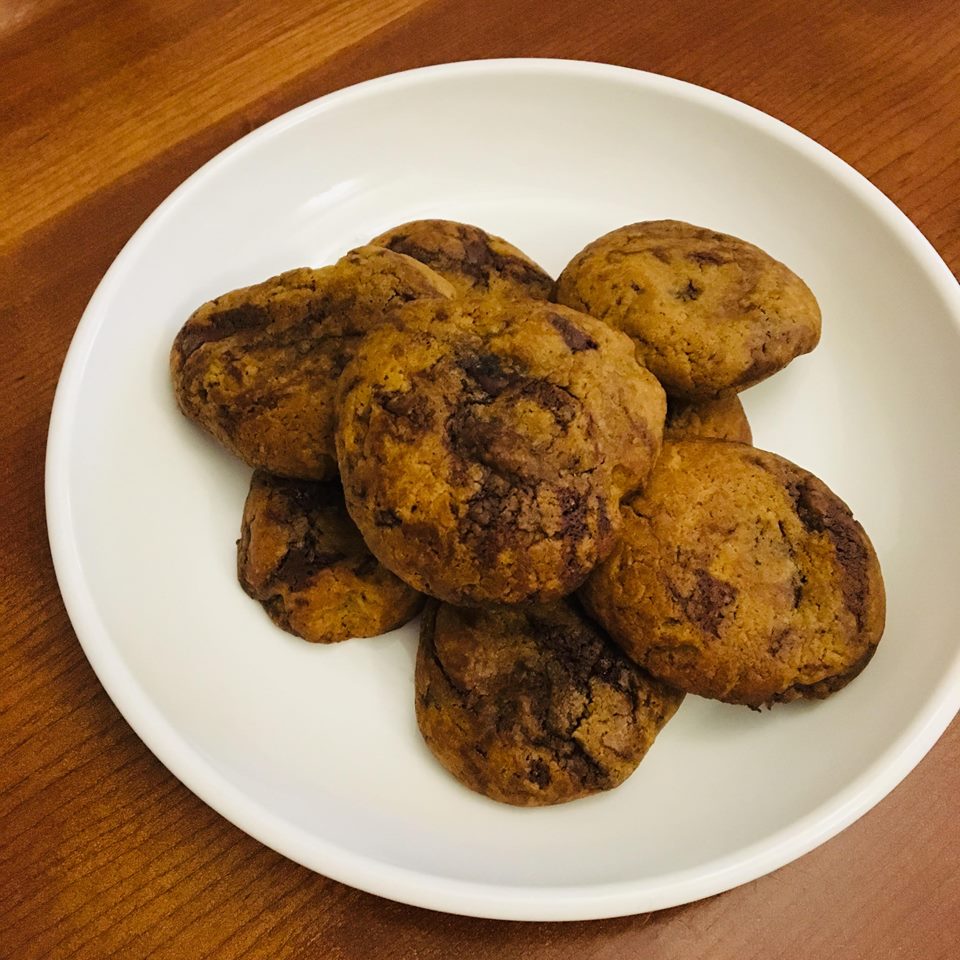
In general, the cookies were pretty good if baked in a long time. They had a crispy, brown look and a chewy, slightly sweet cookie flavor.
7. What I would change for next time:
Add sugar:
I would add a little bit more sugar as they were not sweet enough. Next time, baking cookies with gold raisin (I'm a raisin lover) and chocolate, I would add 15g granulated sugar to the recipe.
Add salt:
I found the salt as a big highlight for the cookies which have just sweet and chocolate flavors. I would add 5g of salt rather than 2g. I know that the salt is hard to combine with the dough which results in some salty portion of dough. I hope sifting the salt would be fine. Excessive salt can also cause cookies to be hard. So I will give it a try next time.
Remove one egg yolk:
I don't think if an extra egg yolk is necessary.
Experience gained, I would only bake small balls of dough like what I did in the 4th time. I would bake the dough in 13 minutes at 170 degrees Celsius then for the next 5 minutes I would bake at 200 degrees Celsius.