Batman Pencil Drawing — Step by Step 🦇
Peace be upon you my dear friends!
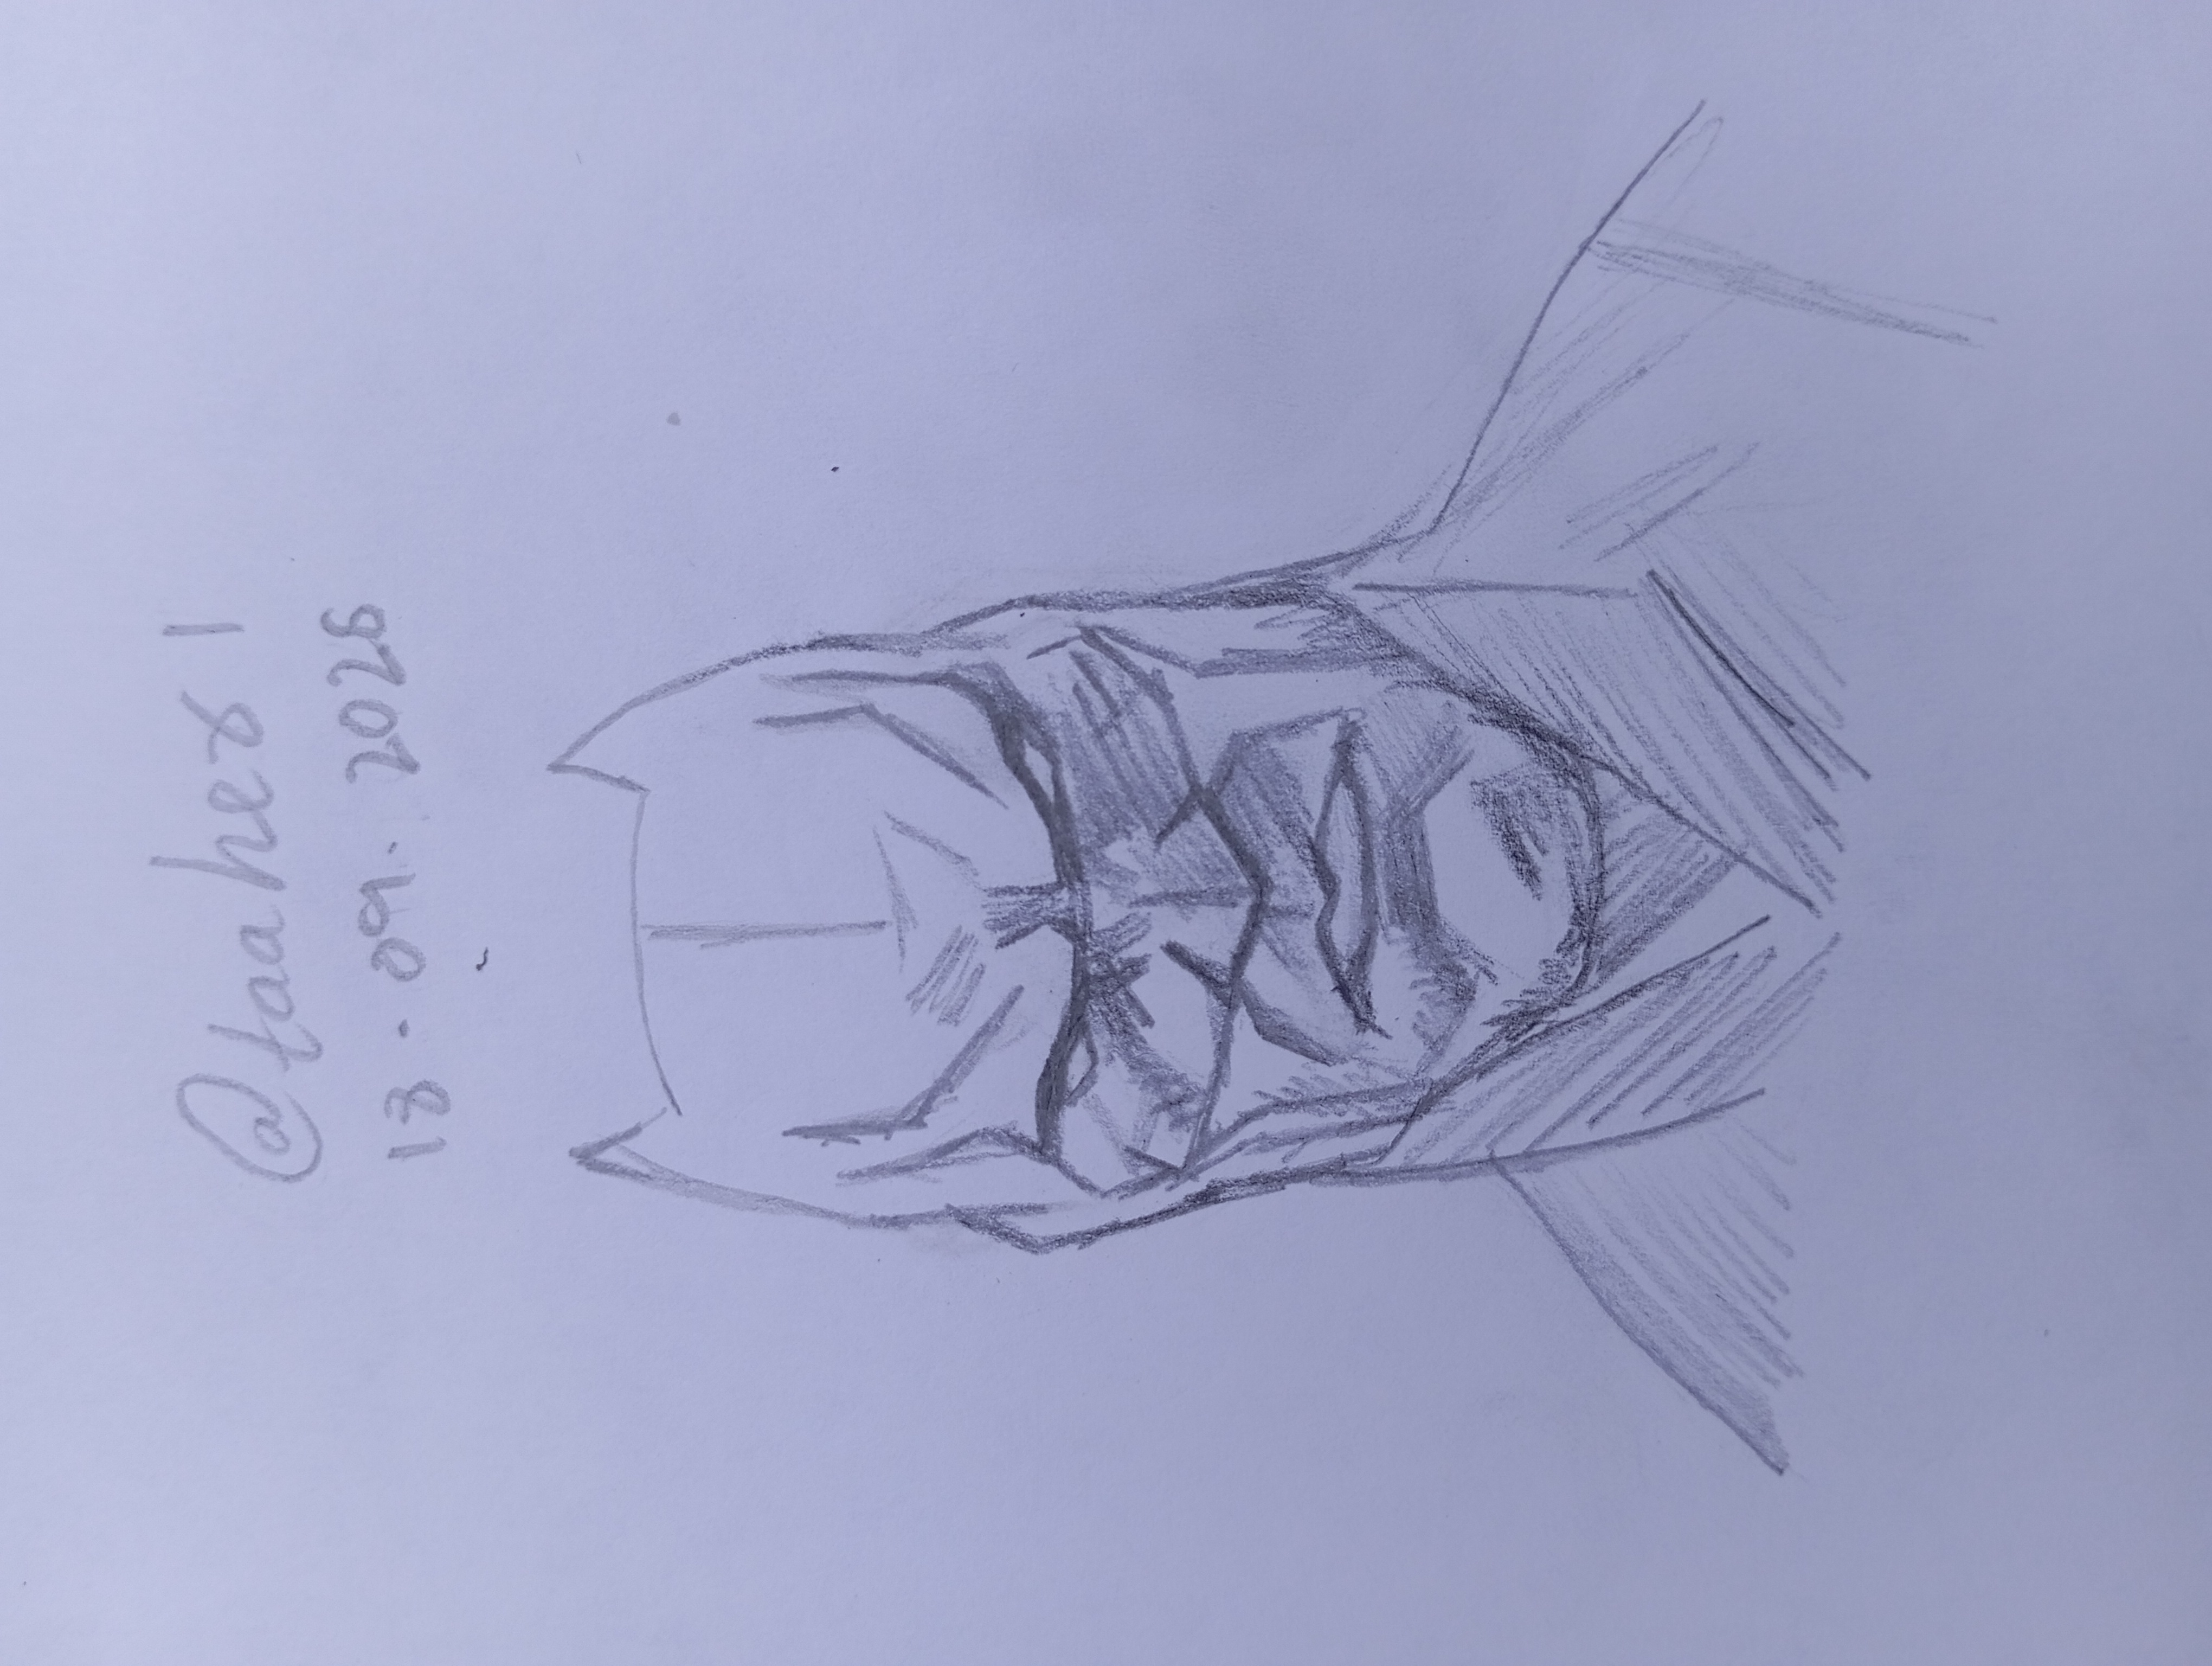
Today I am sharing another drawing with you one of my new pencil drawings from this time I choose DC character. This time I made a simple sketch of Batman and slowly completed it with the face, mask, eyes and shading details.
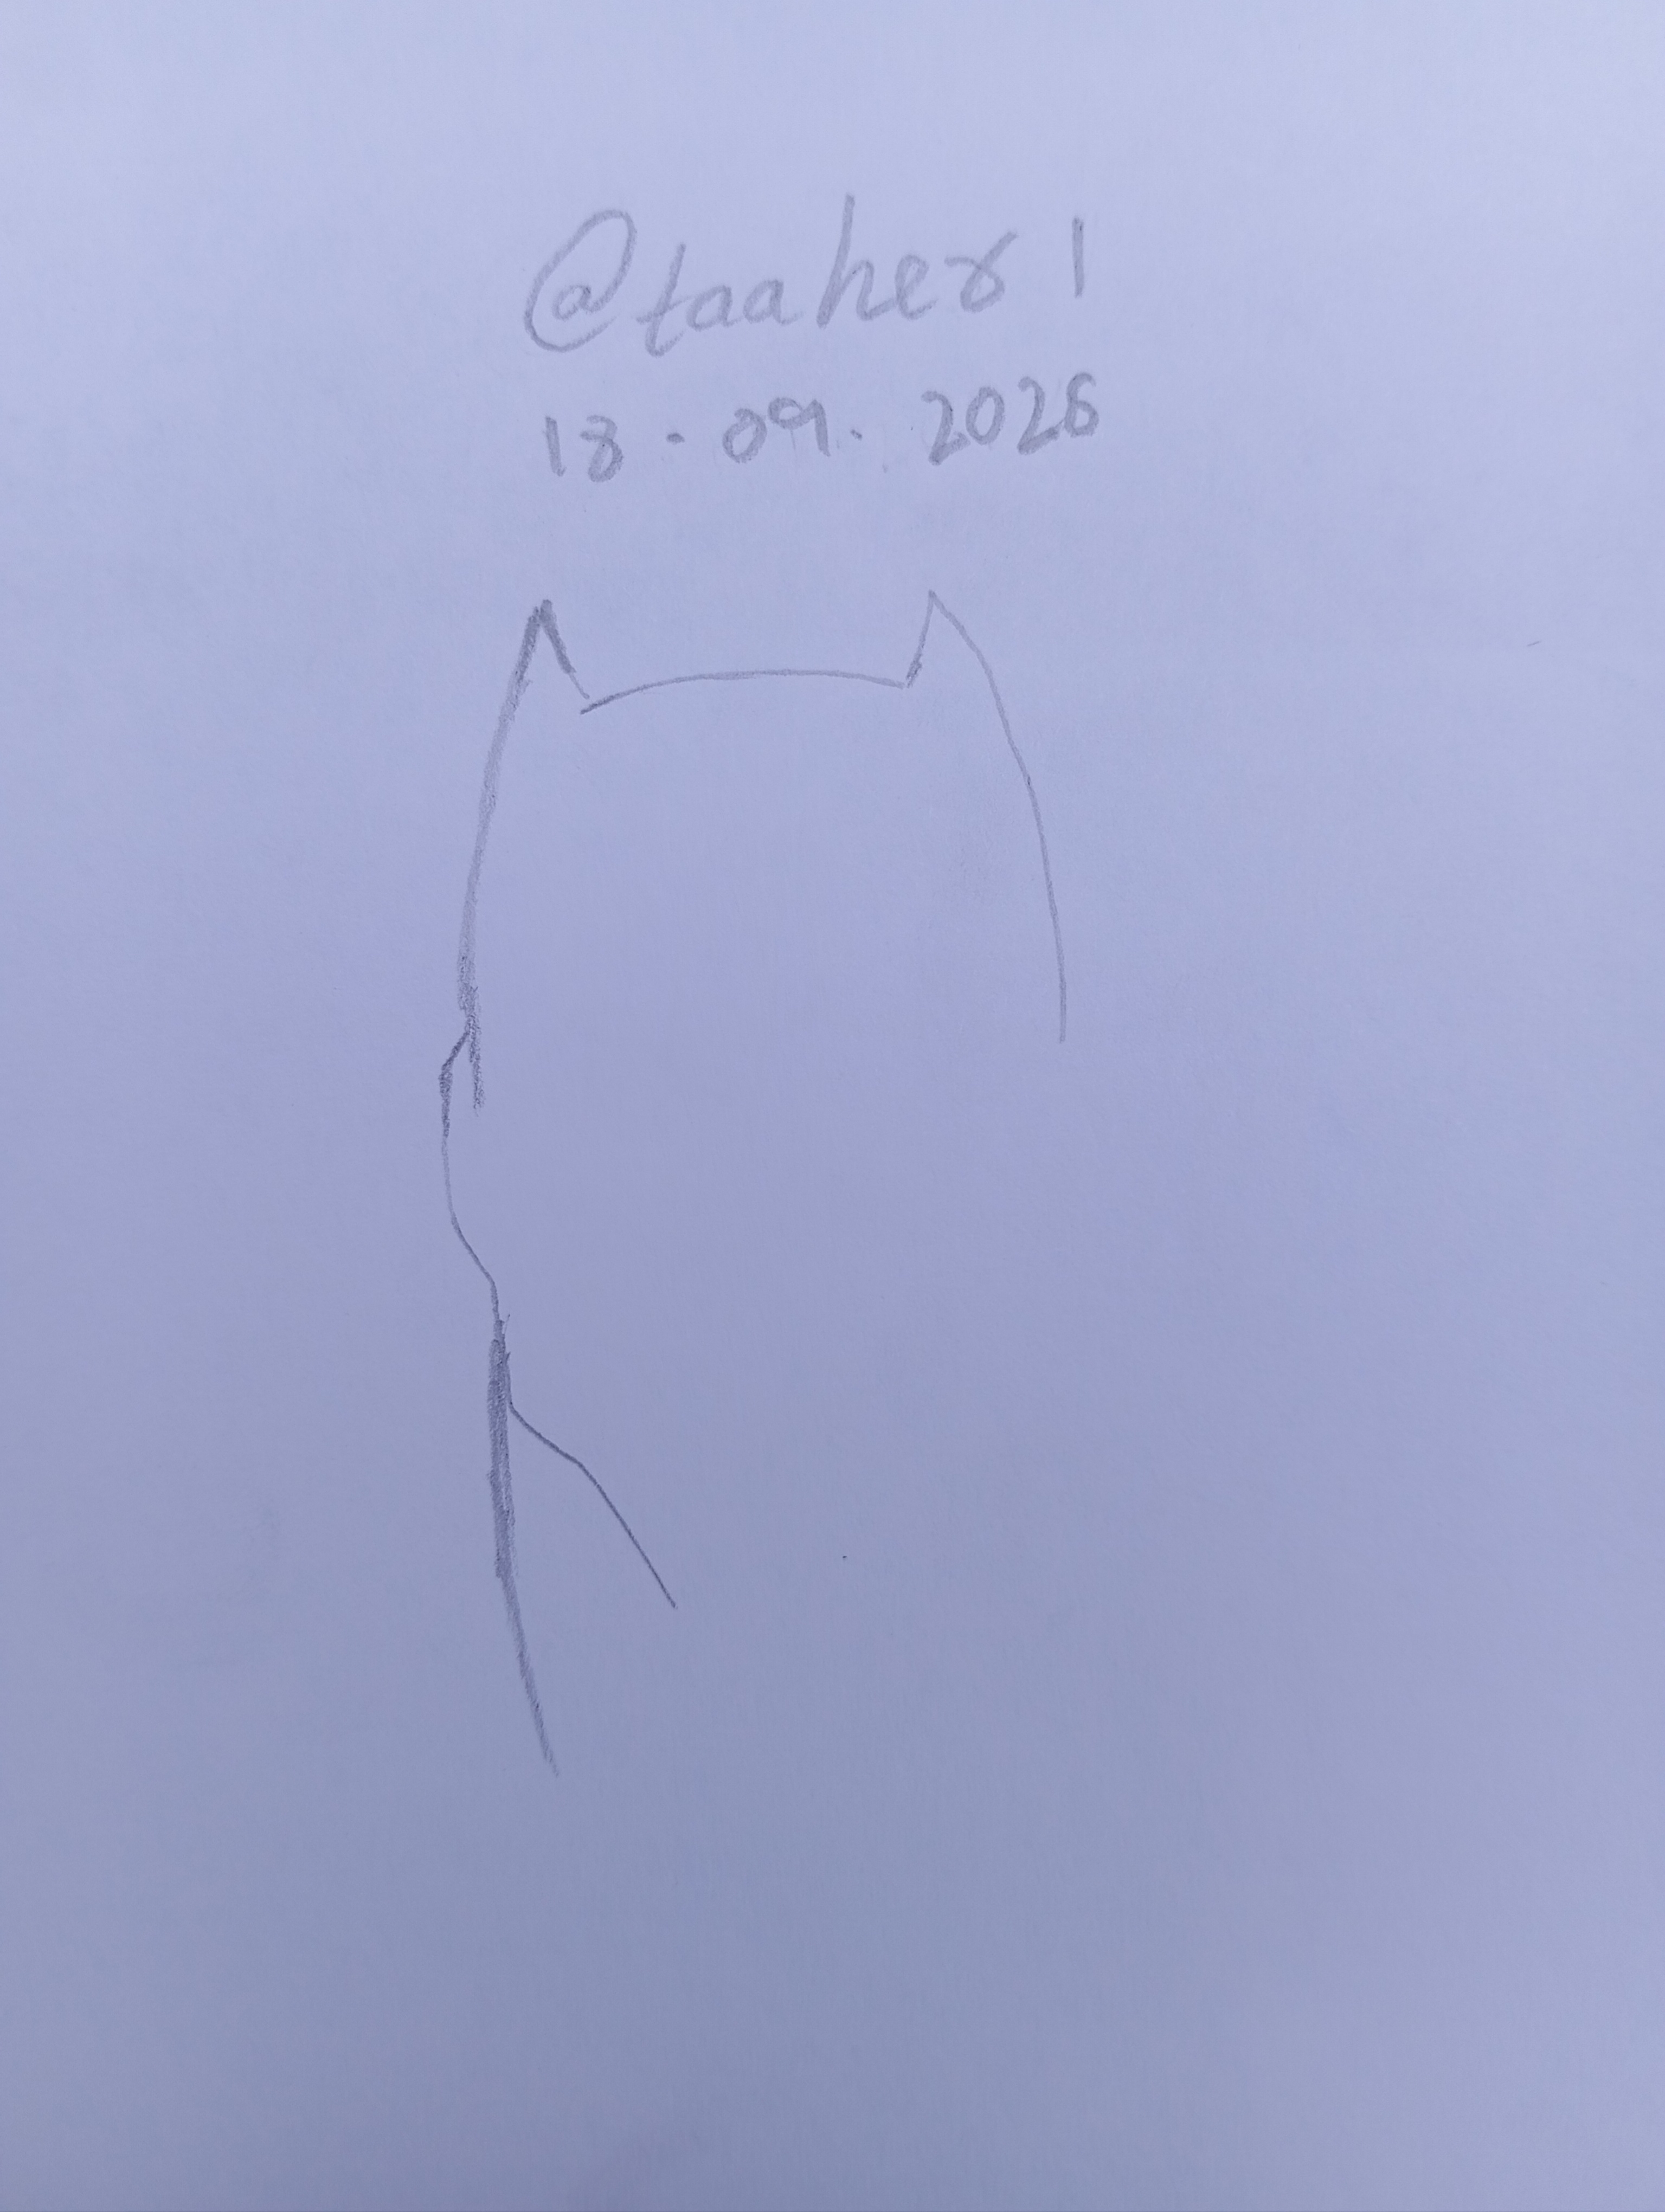
Step 1: Initial sketch
First I draw the very early and basic shape of Batman's head and face on paper and added the outline of the ears on top using Hb pencil. The lines are kept light at this stage so that details can be easily added and edited later.
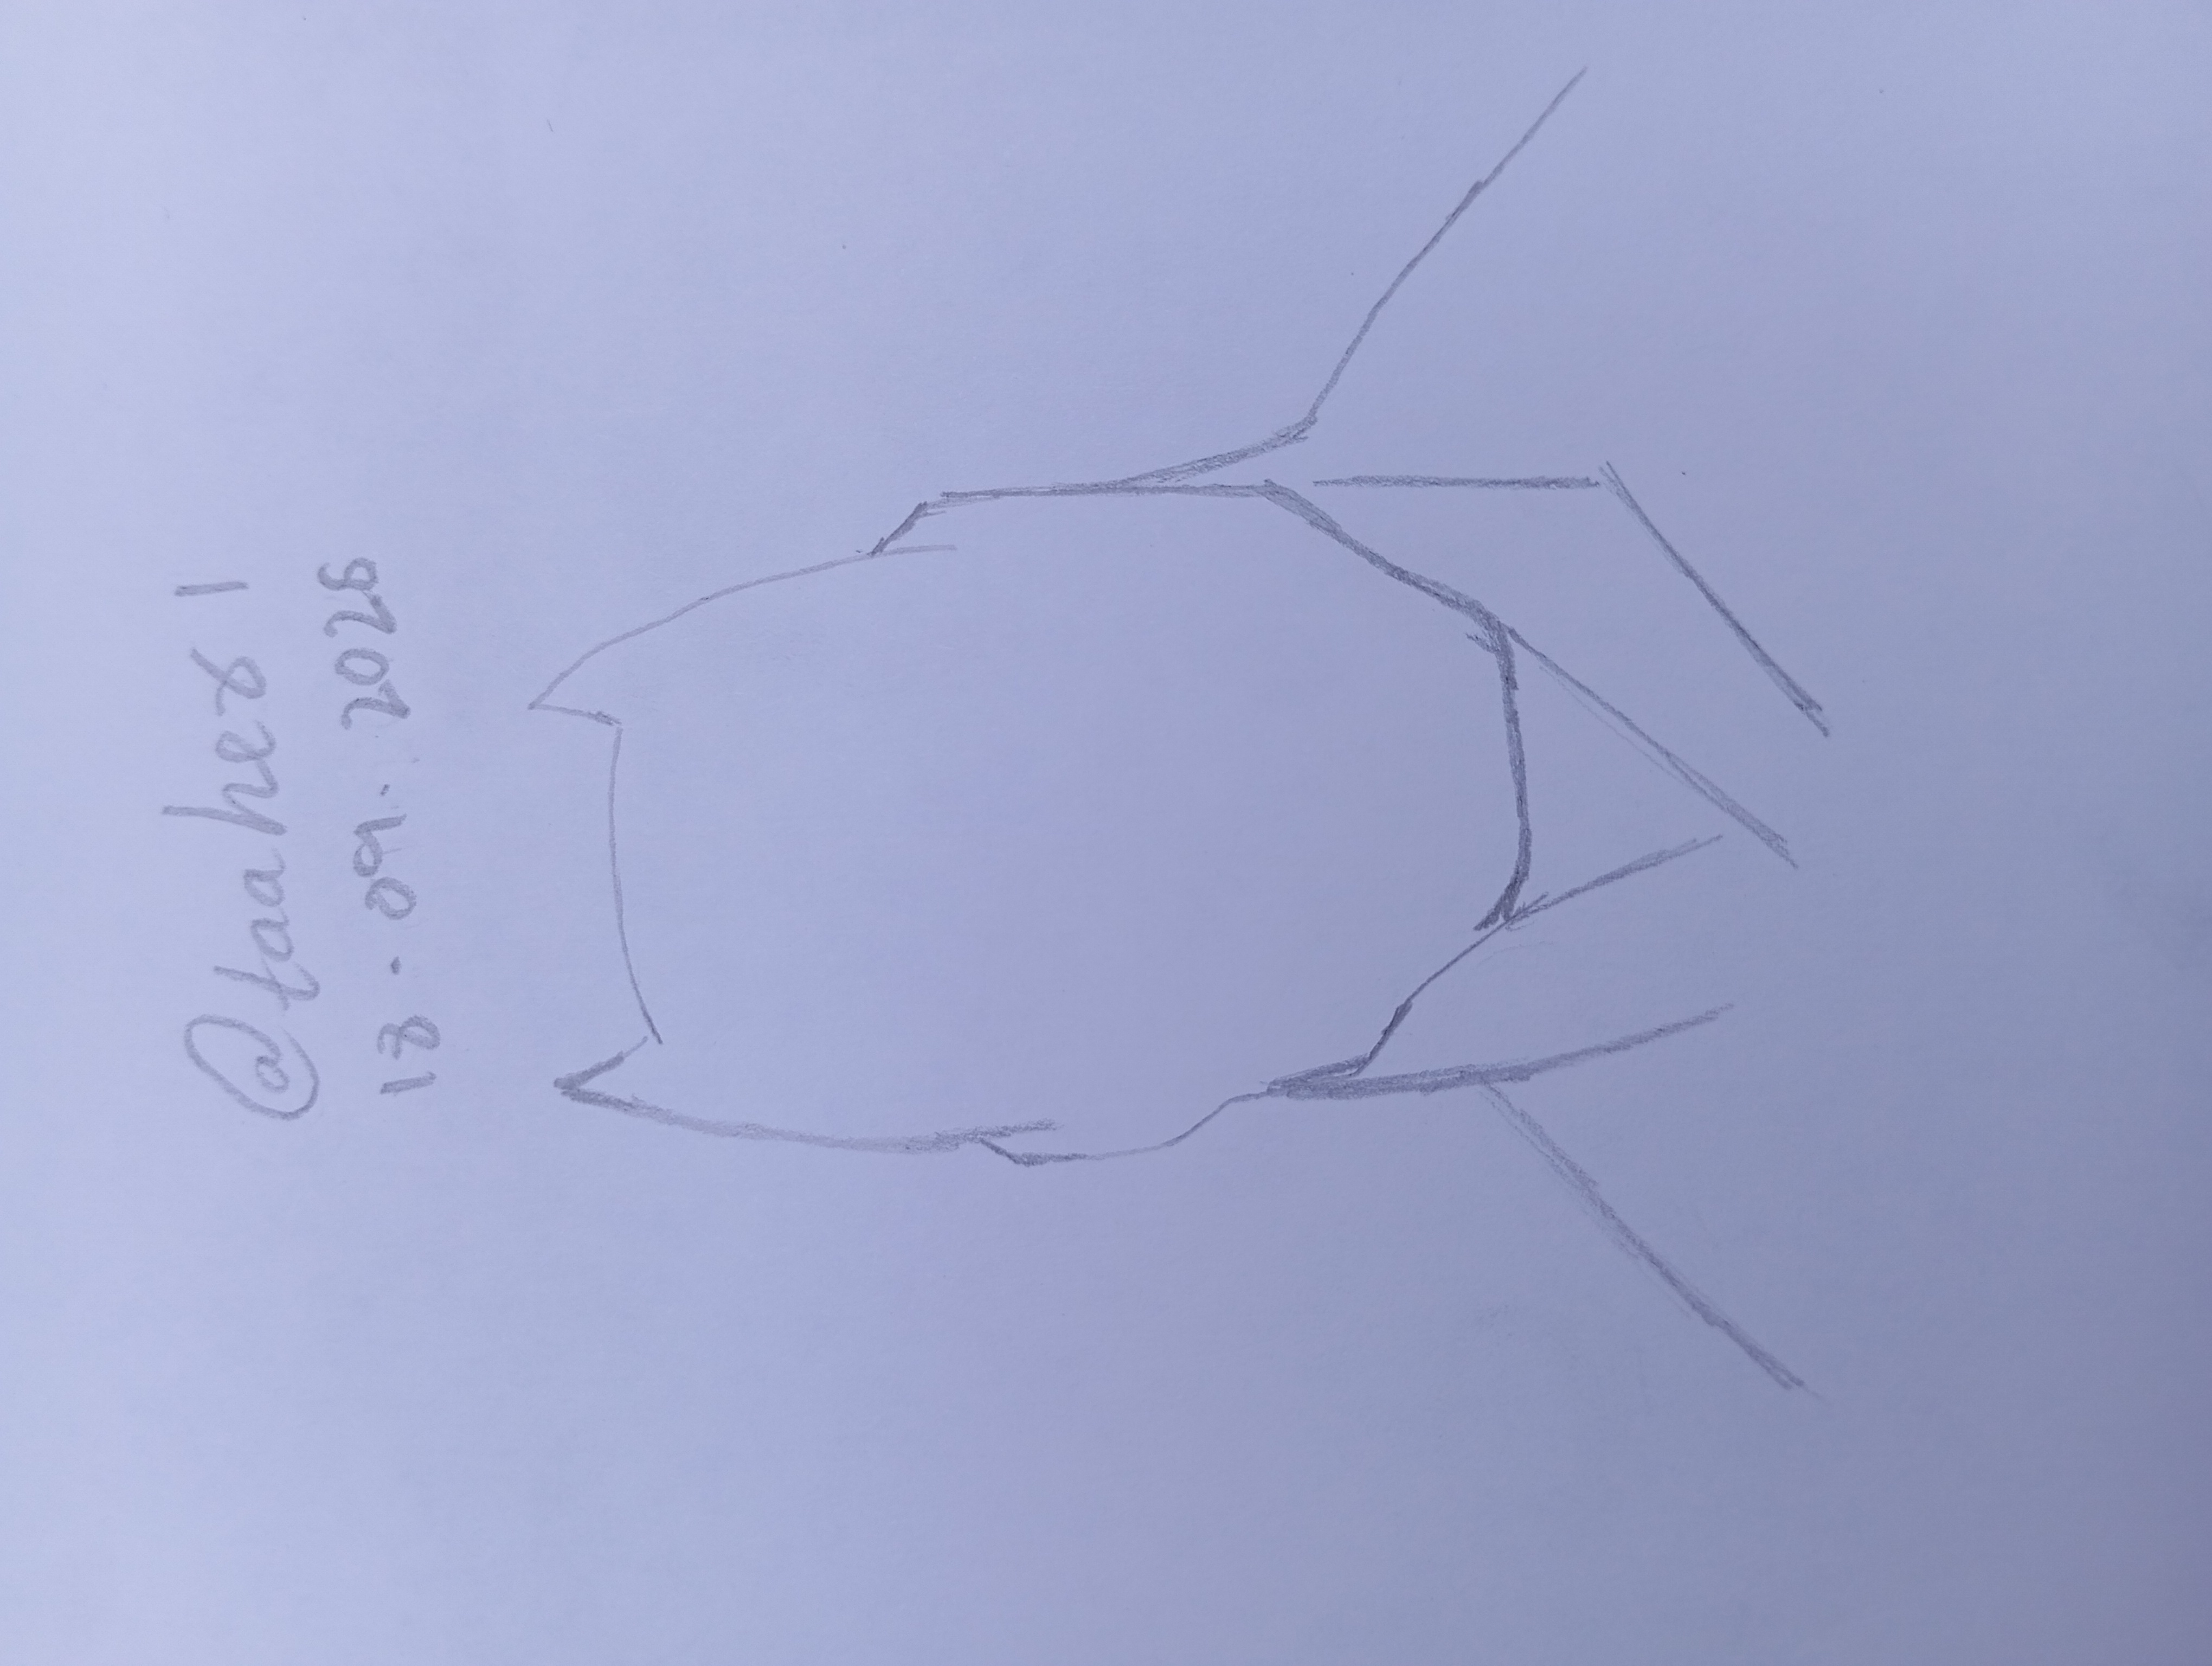
Step 2: Mask
I then created the basic structure for Batman's mask, eyes and nose. From this stage the identity of the character became clear.
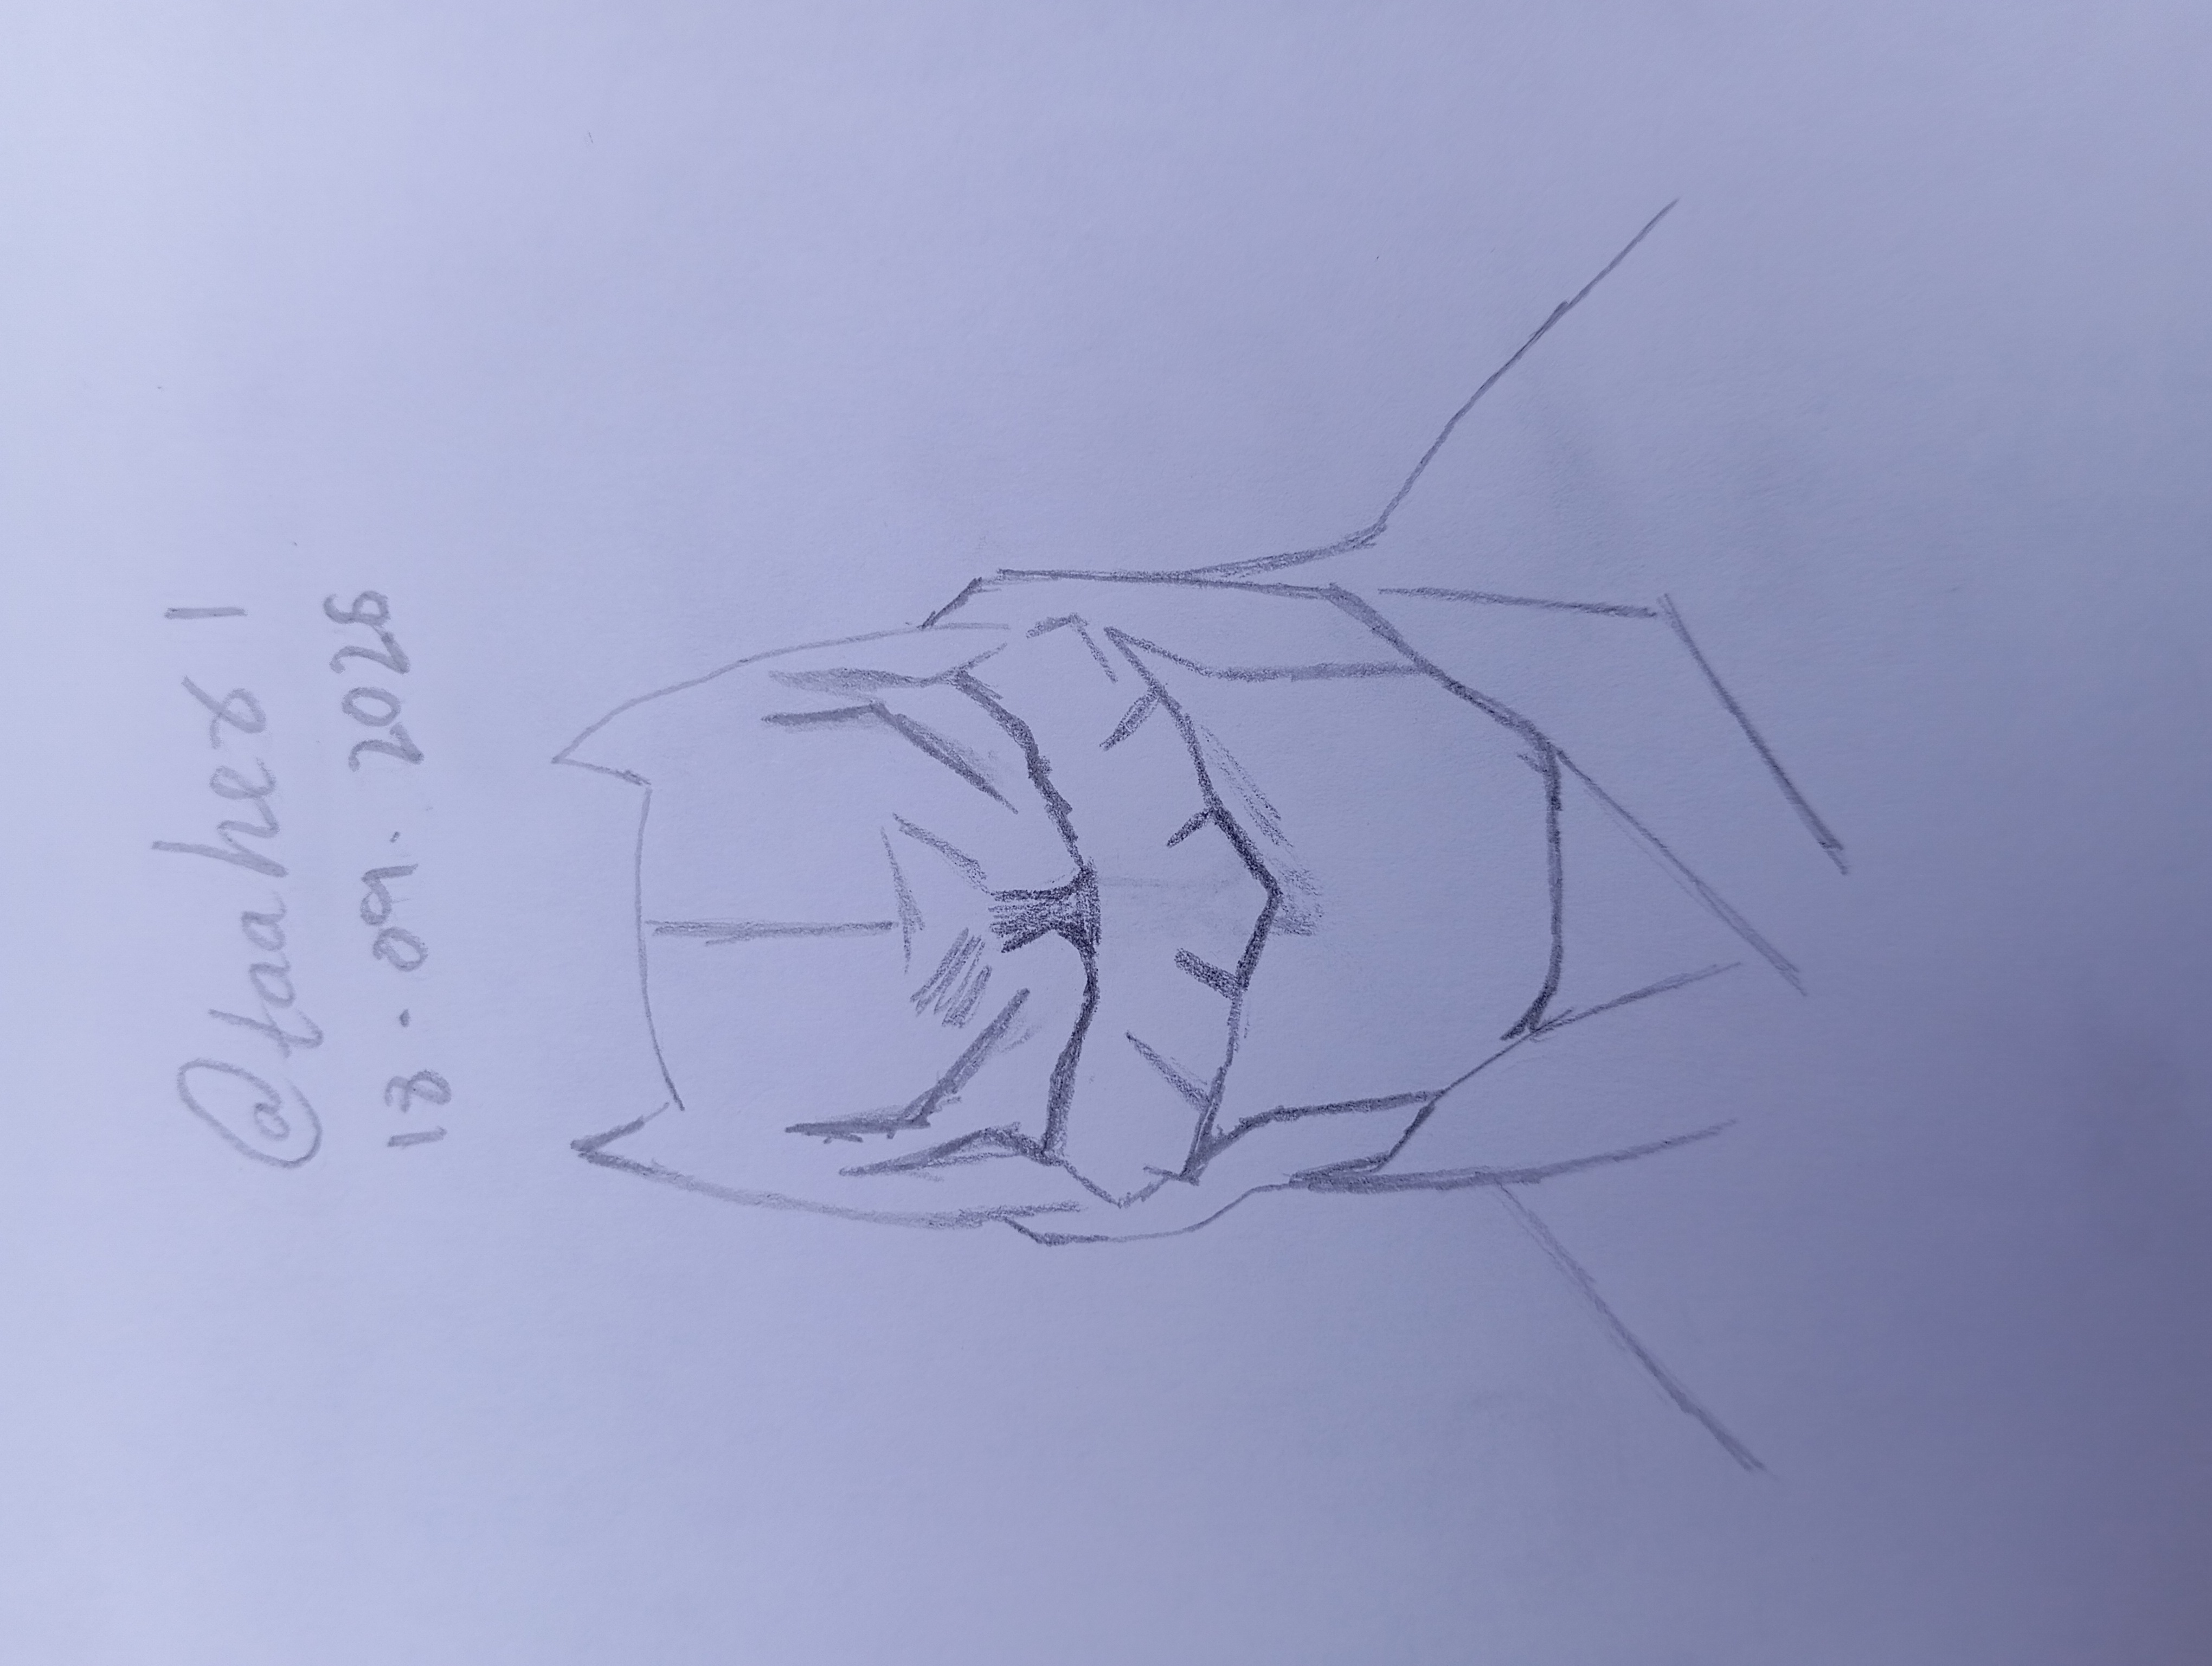
Step 3: Face
Now I further defined the details of the eyes, nose, mouth and jaw. The facial lines made the drawing more prominent.
Step 4: Shading
In this step I started shading in different parts of the face and mask. Deep and light lines started to create depth in the face.
Step 5: More Detail
Now I added more pencil strokes to Batman's face, neck and clothing. This made the image appear stronger and more detailed.
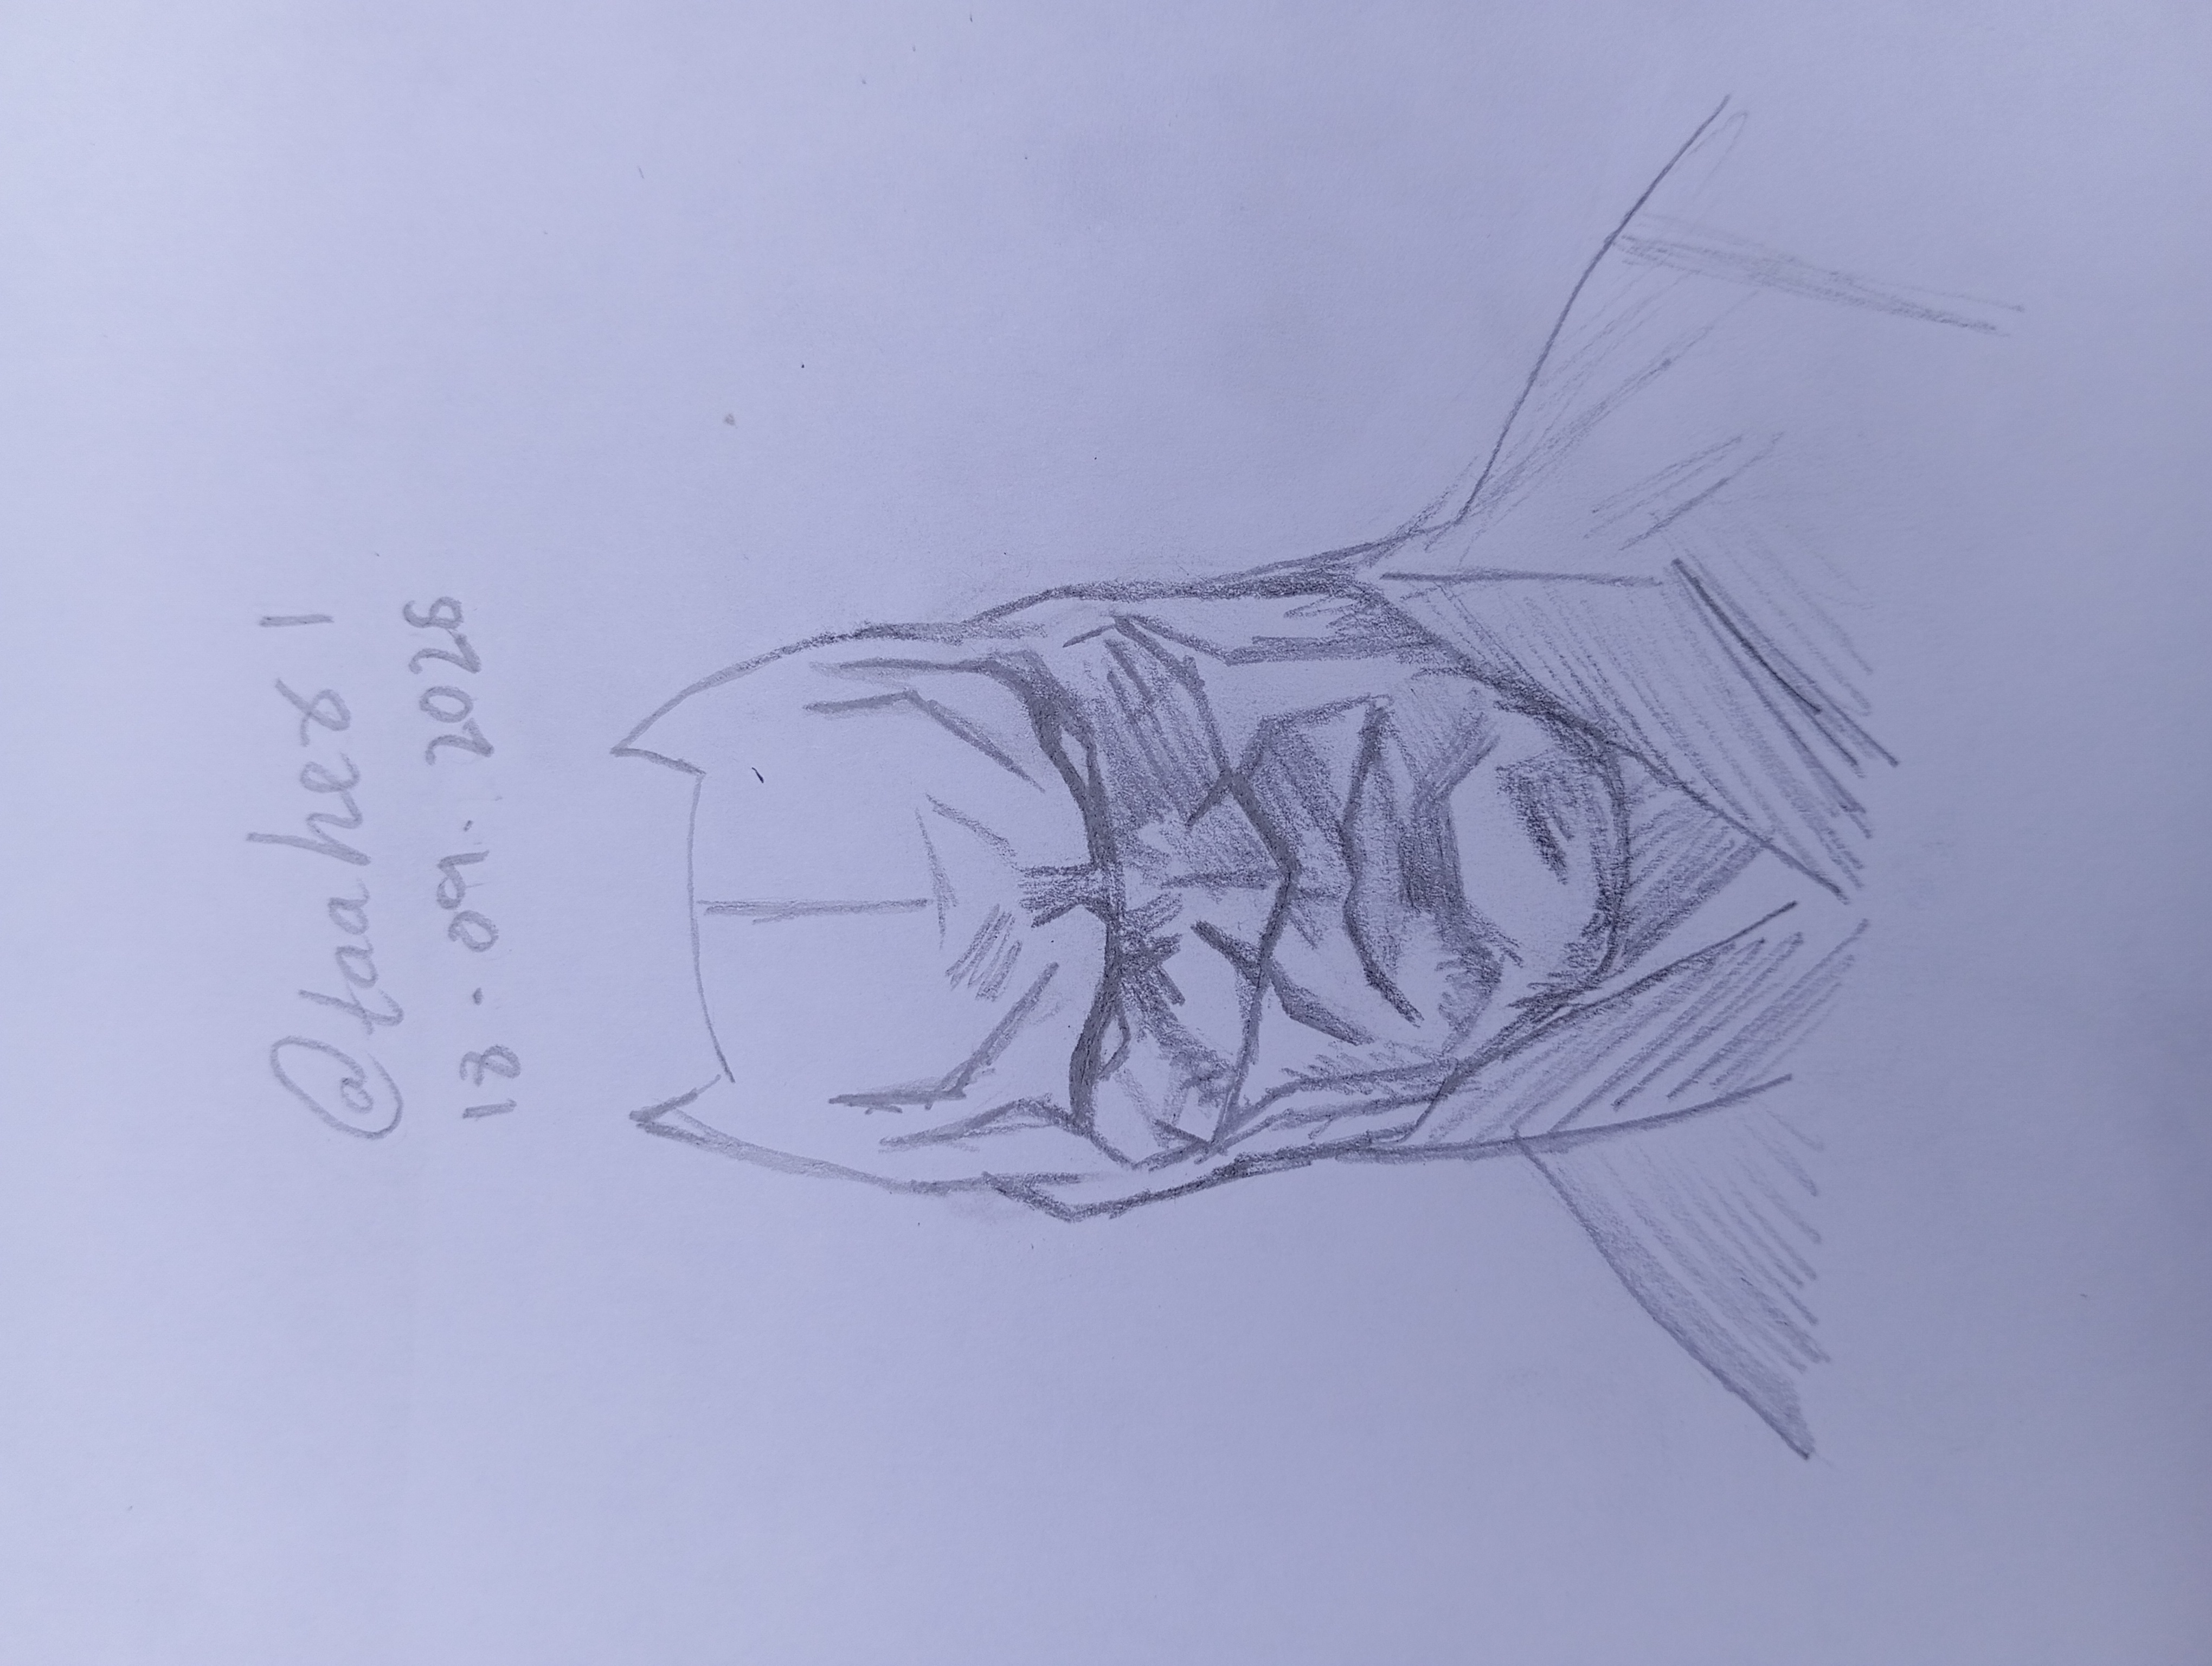
Finally I completed the rest of the necessary lines and shading and finished my Batman sketch. This drawing that started as a simple sketch has now come out as a complete character.
Learn from it
From this drawing I learned that making a basic sketch first and then adding details one by one is the easiest way to complete a drawing and make is perfect and easy. Shading with different intensities of the pencil can create more depth in the image.
@mohammad1076
@abdullaht
@maryam86
Thank you all so much for watching this step-by-step drawing of mine.
Best Regards,
@taaher1
X link 🔗
https://x.com/i/status/2101341382644580601
0.00 SBD,
0.07 STEEM,
0.07 SP
Nice drawing thanku so much for invitation me this post.