My Drawing Journey: From a Simple Sketch to a Complete Portrait
Today I am going to share with you all the journey of one of my new drawings. This time I have tried to make a beautiful portrait of a girl with the help of pencil. I tried to slowly enhance the facial features, eyes, hair and facial expressions to create a natural look in the image.
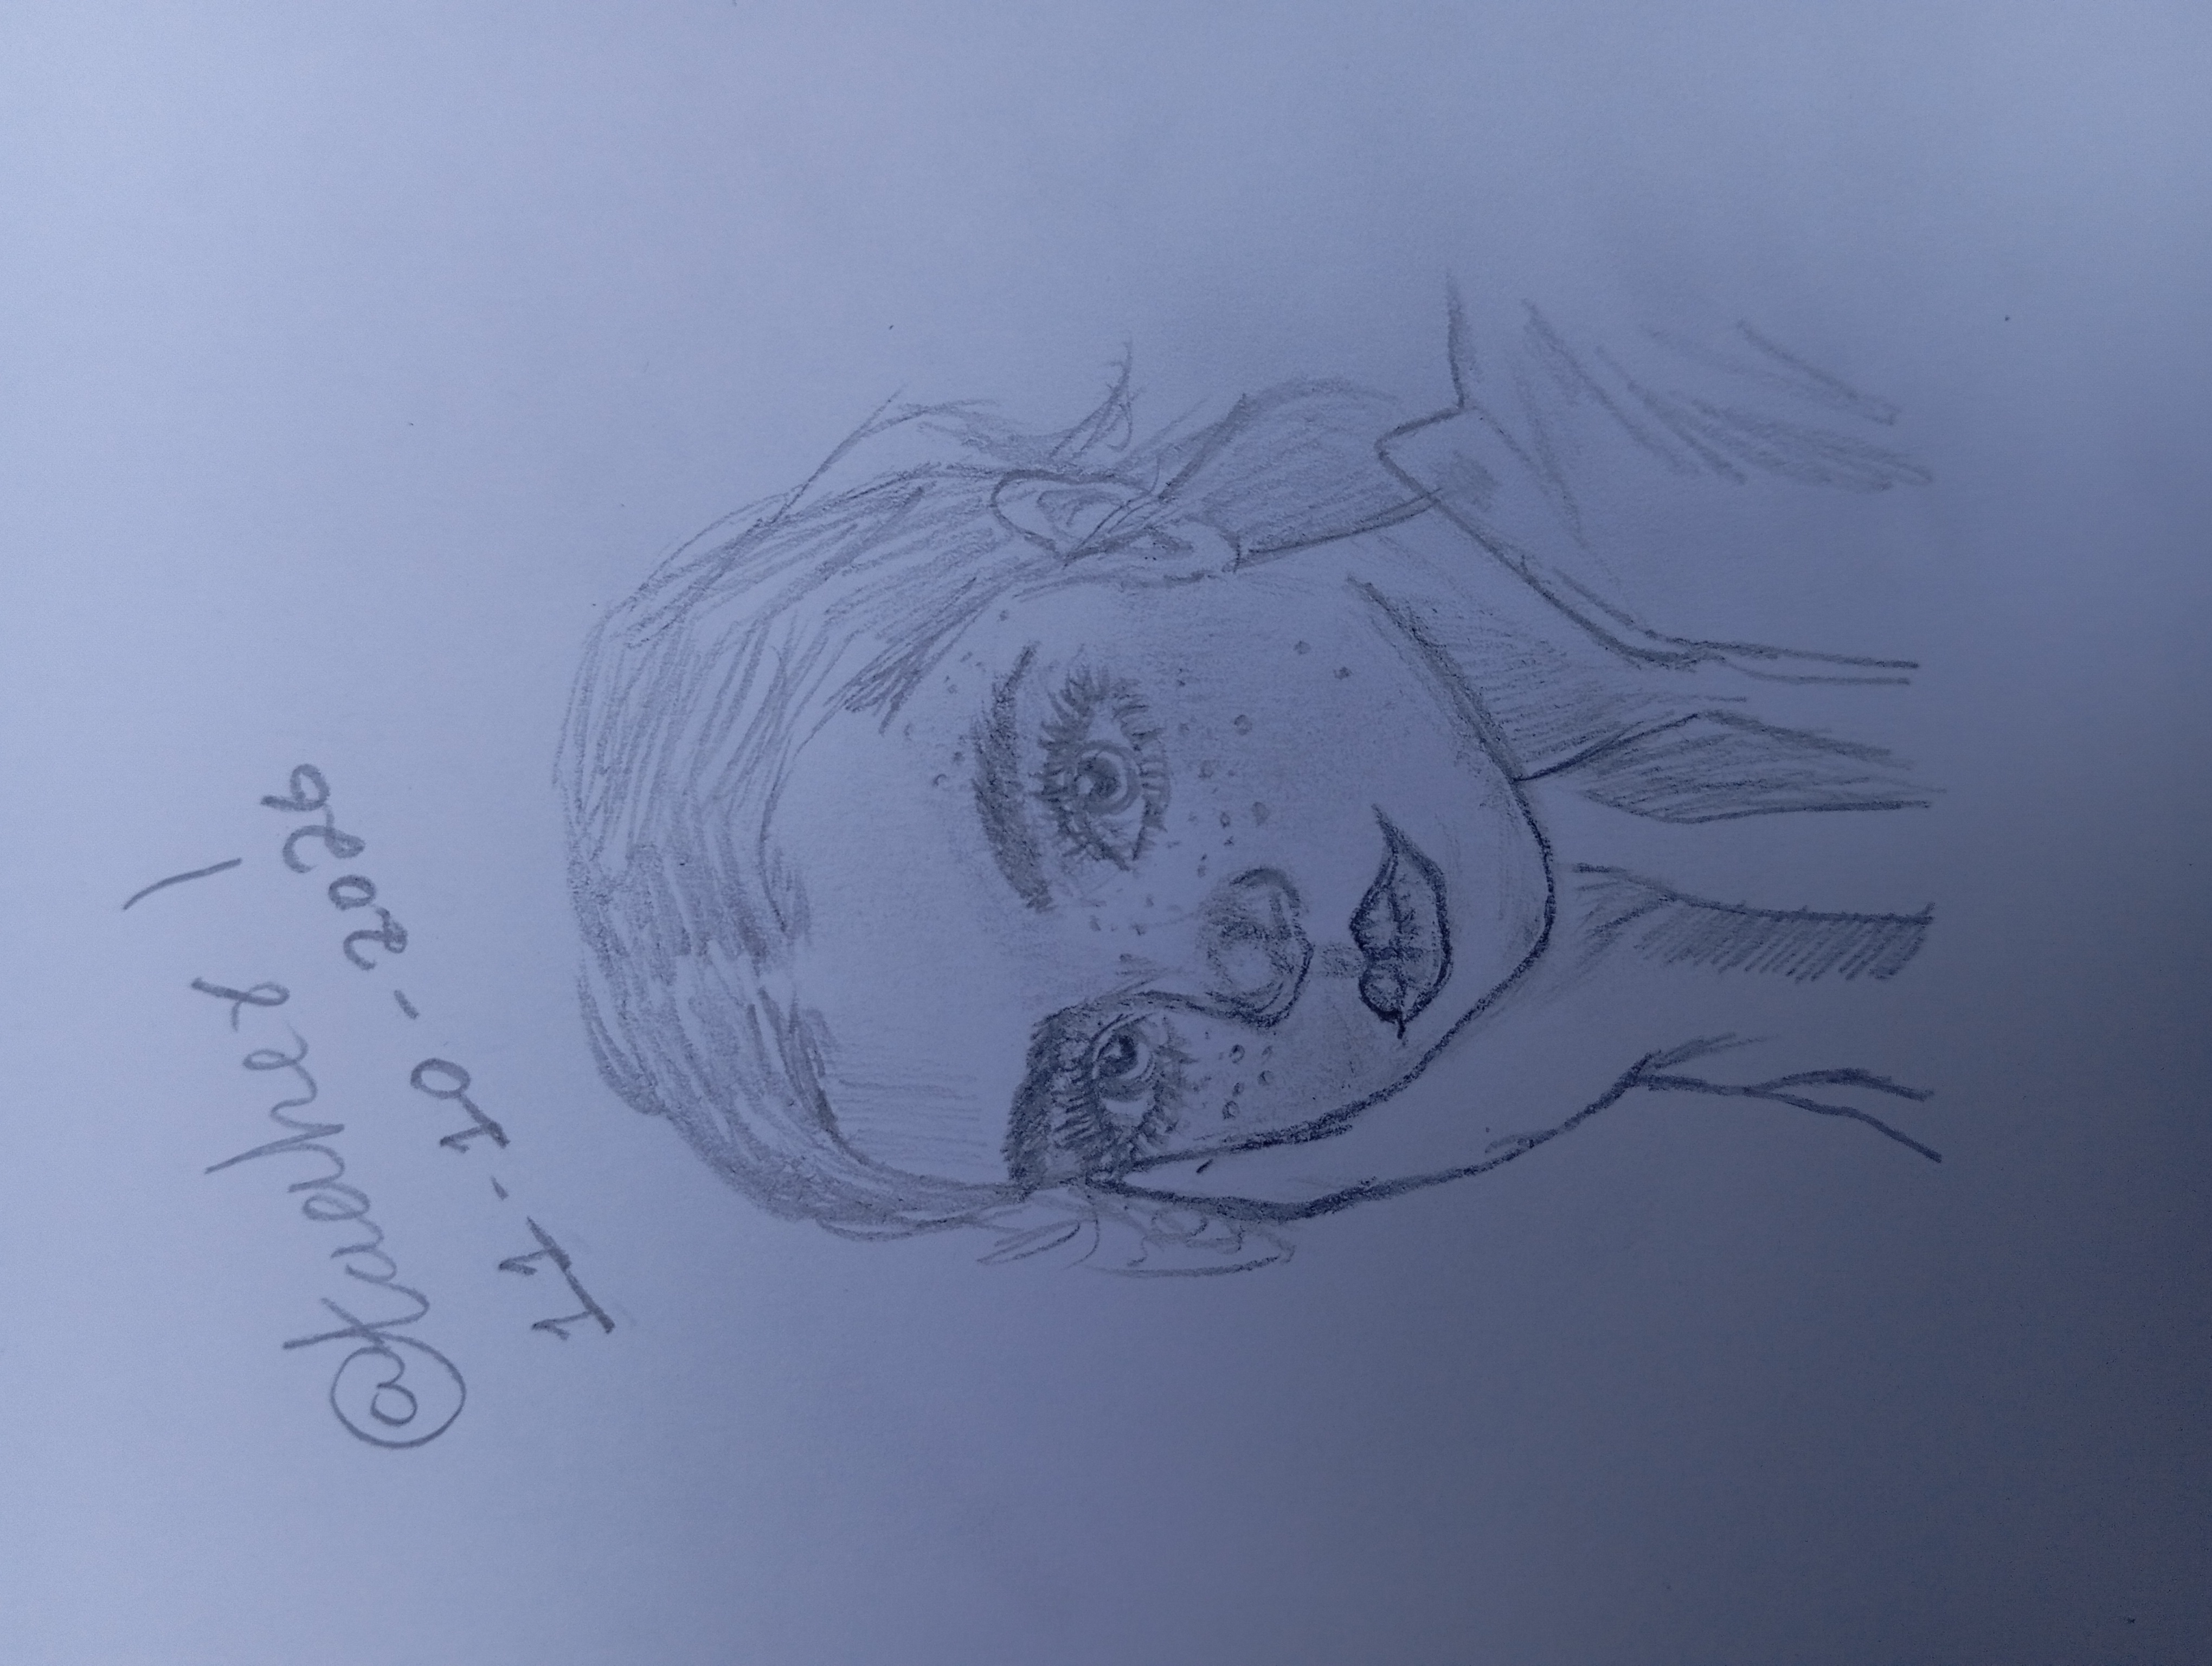
Step 1: Name and date on blank paper
First I chose a clean and blank paper. At the top I wrote my username @taaher1 and the date 11-10-2026 to keep my drawing identifiable. I then chose a suitable place on the paper to start sketching.
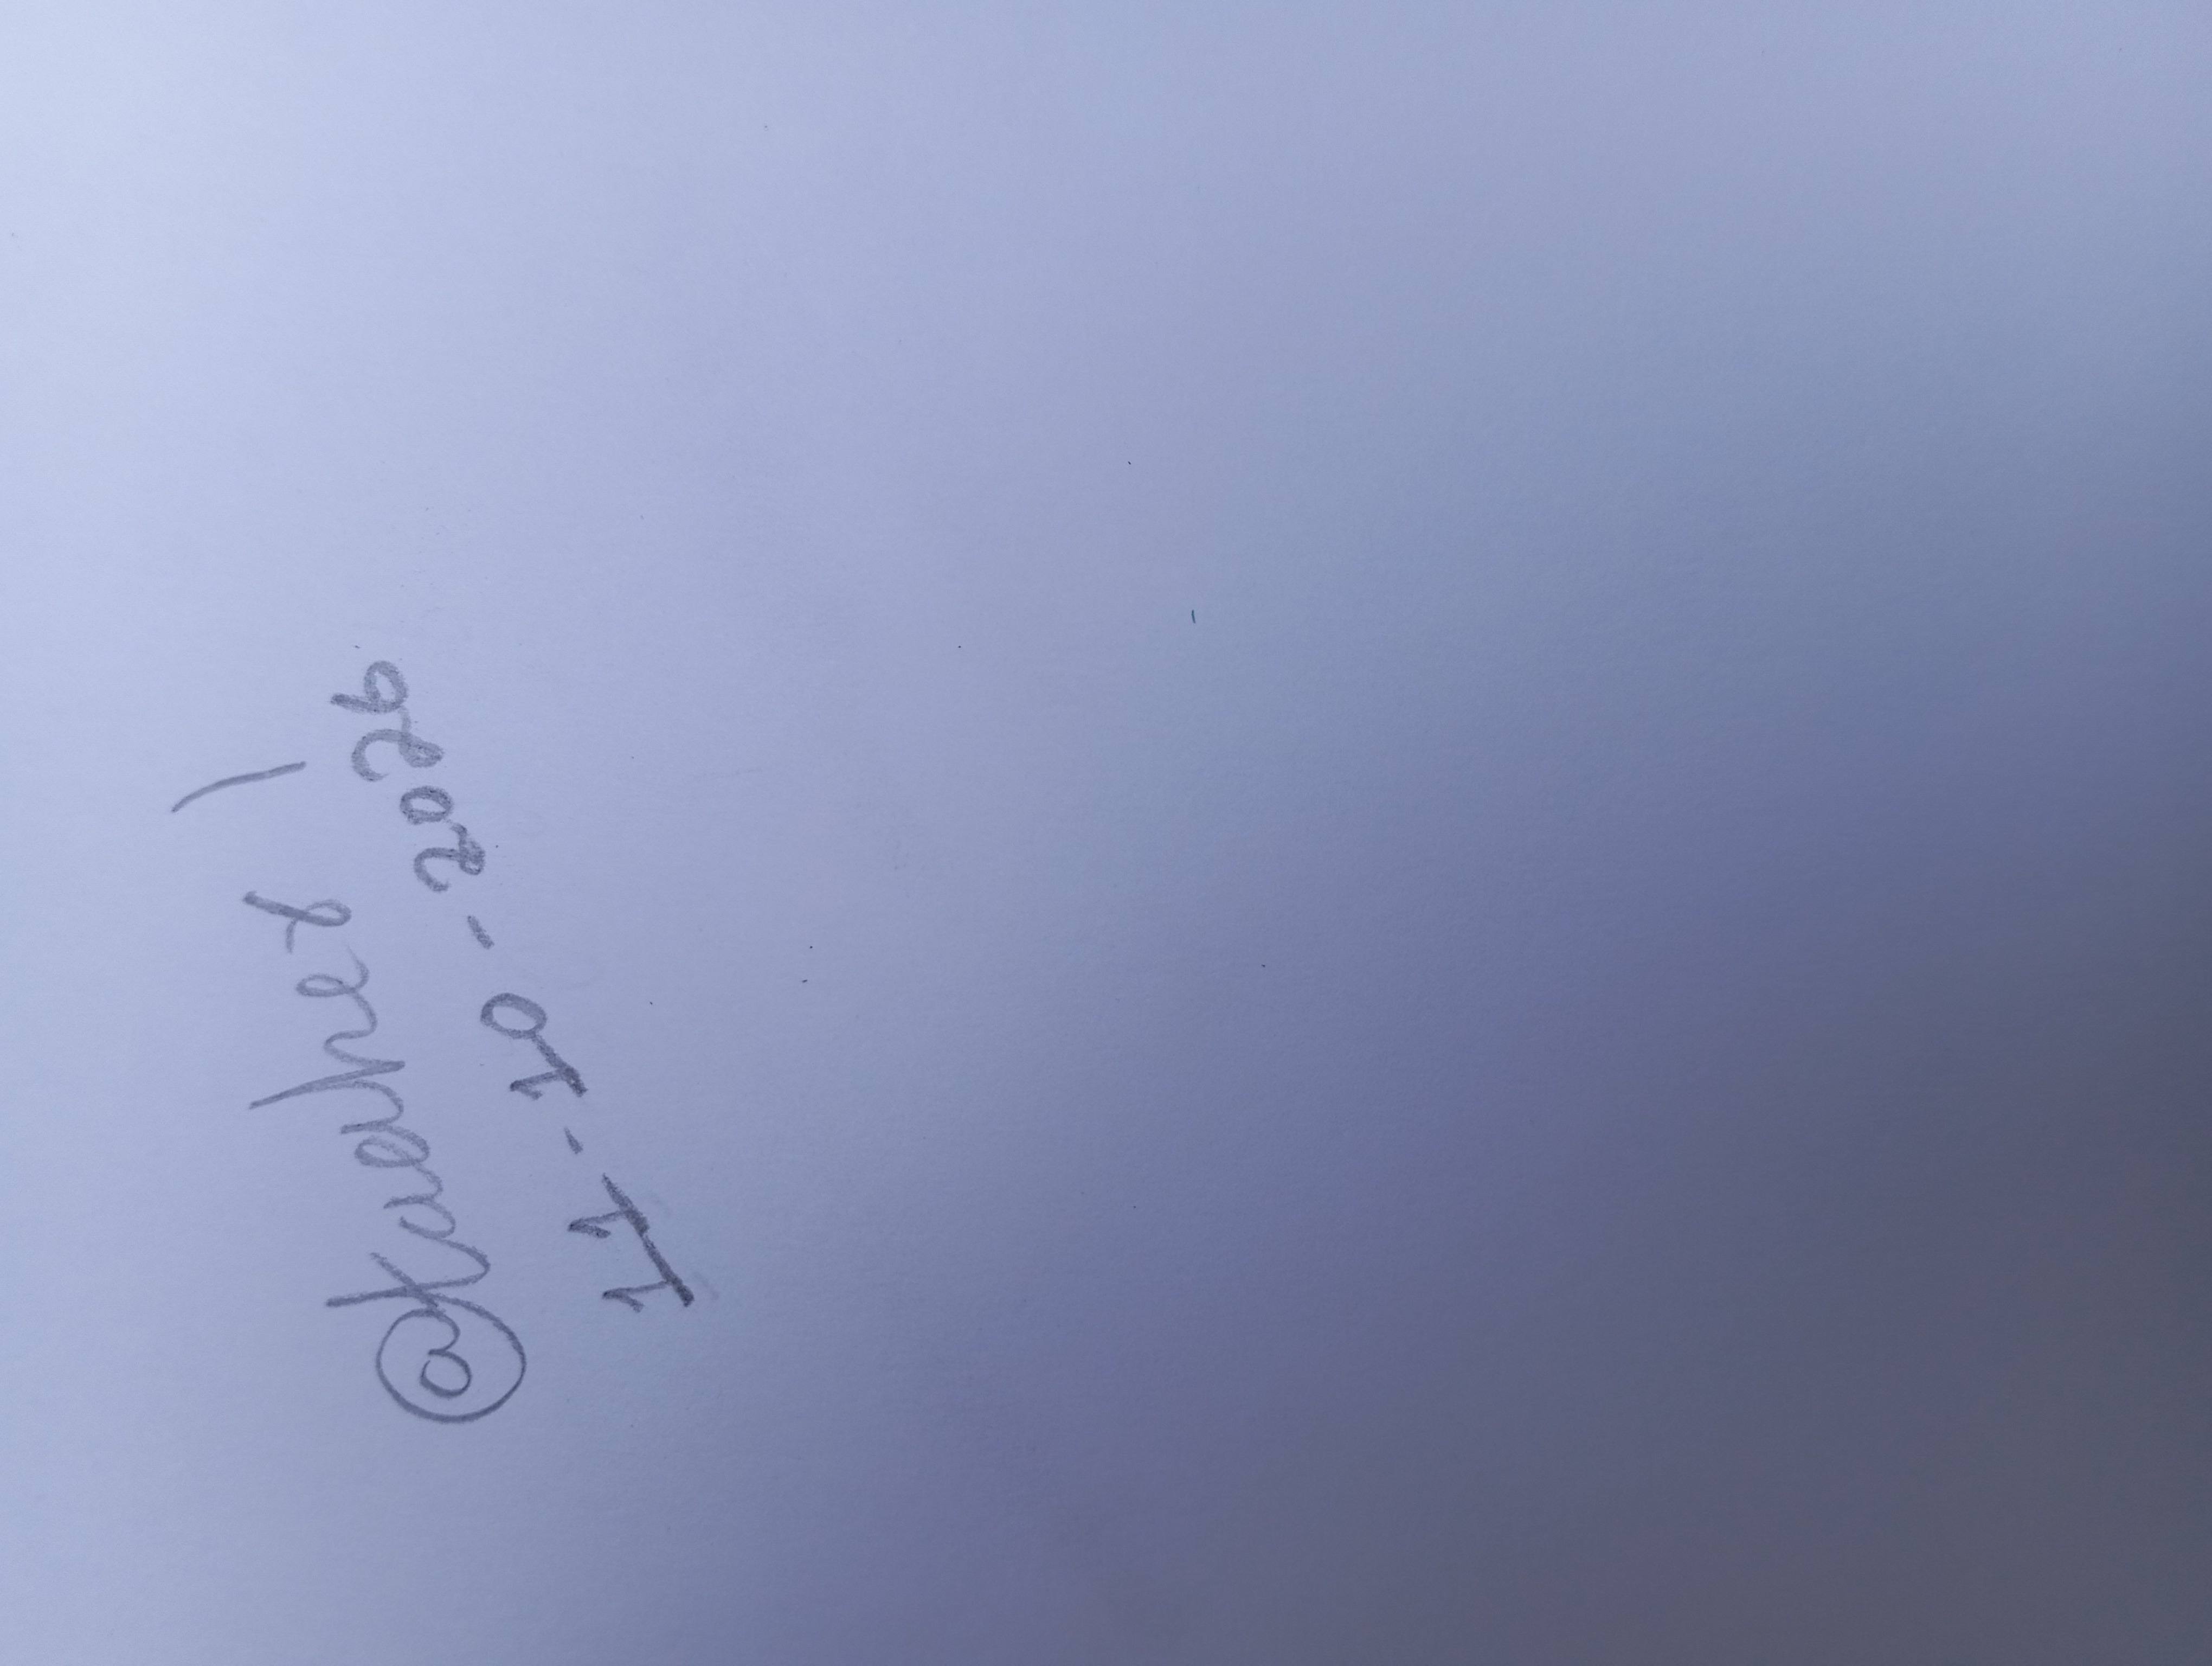
Step 2: Basic face structure
In the second step I drew the initial shape of the face with a pencil. Meanwhile, my focus was on the length of the face which are very important for any portrait, chin and jaw structure. At first, draw only light lines so that they can be easily corrected if necessary.
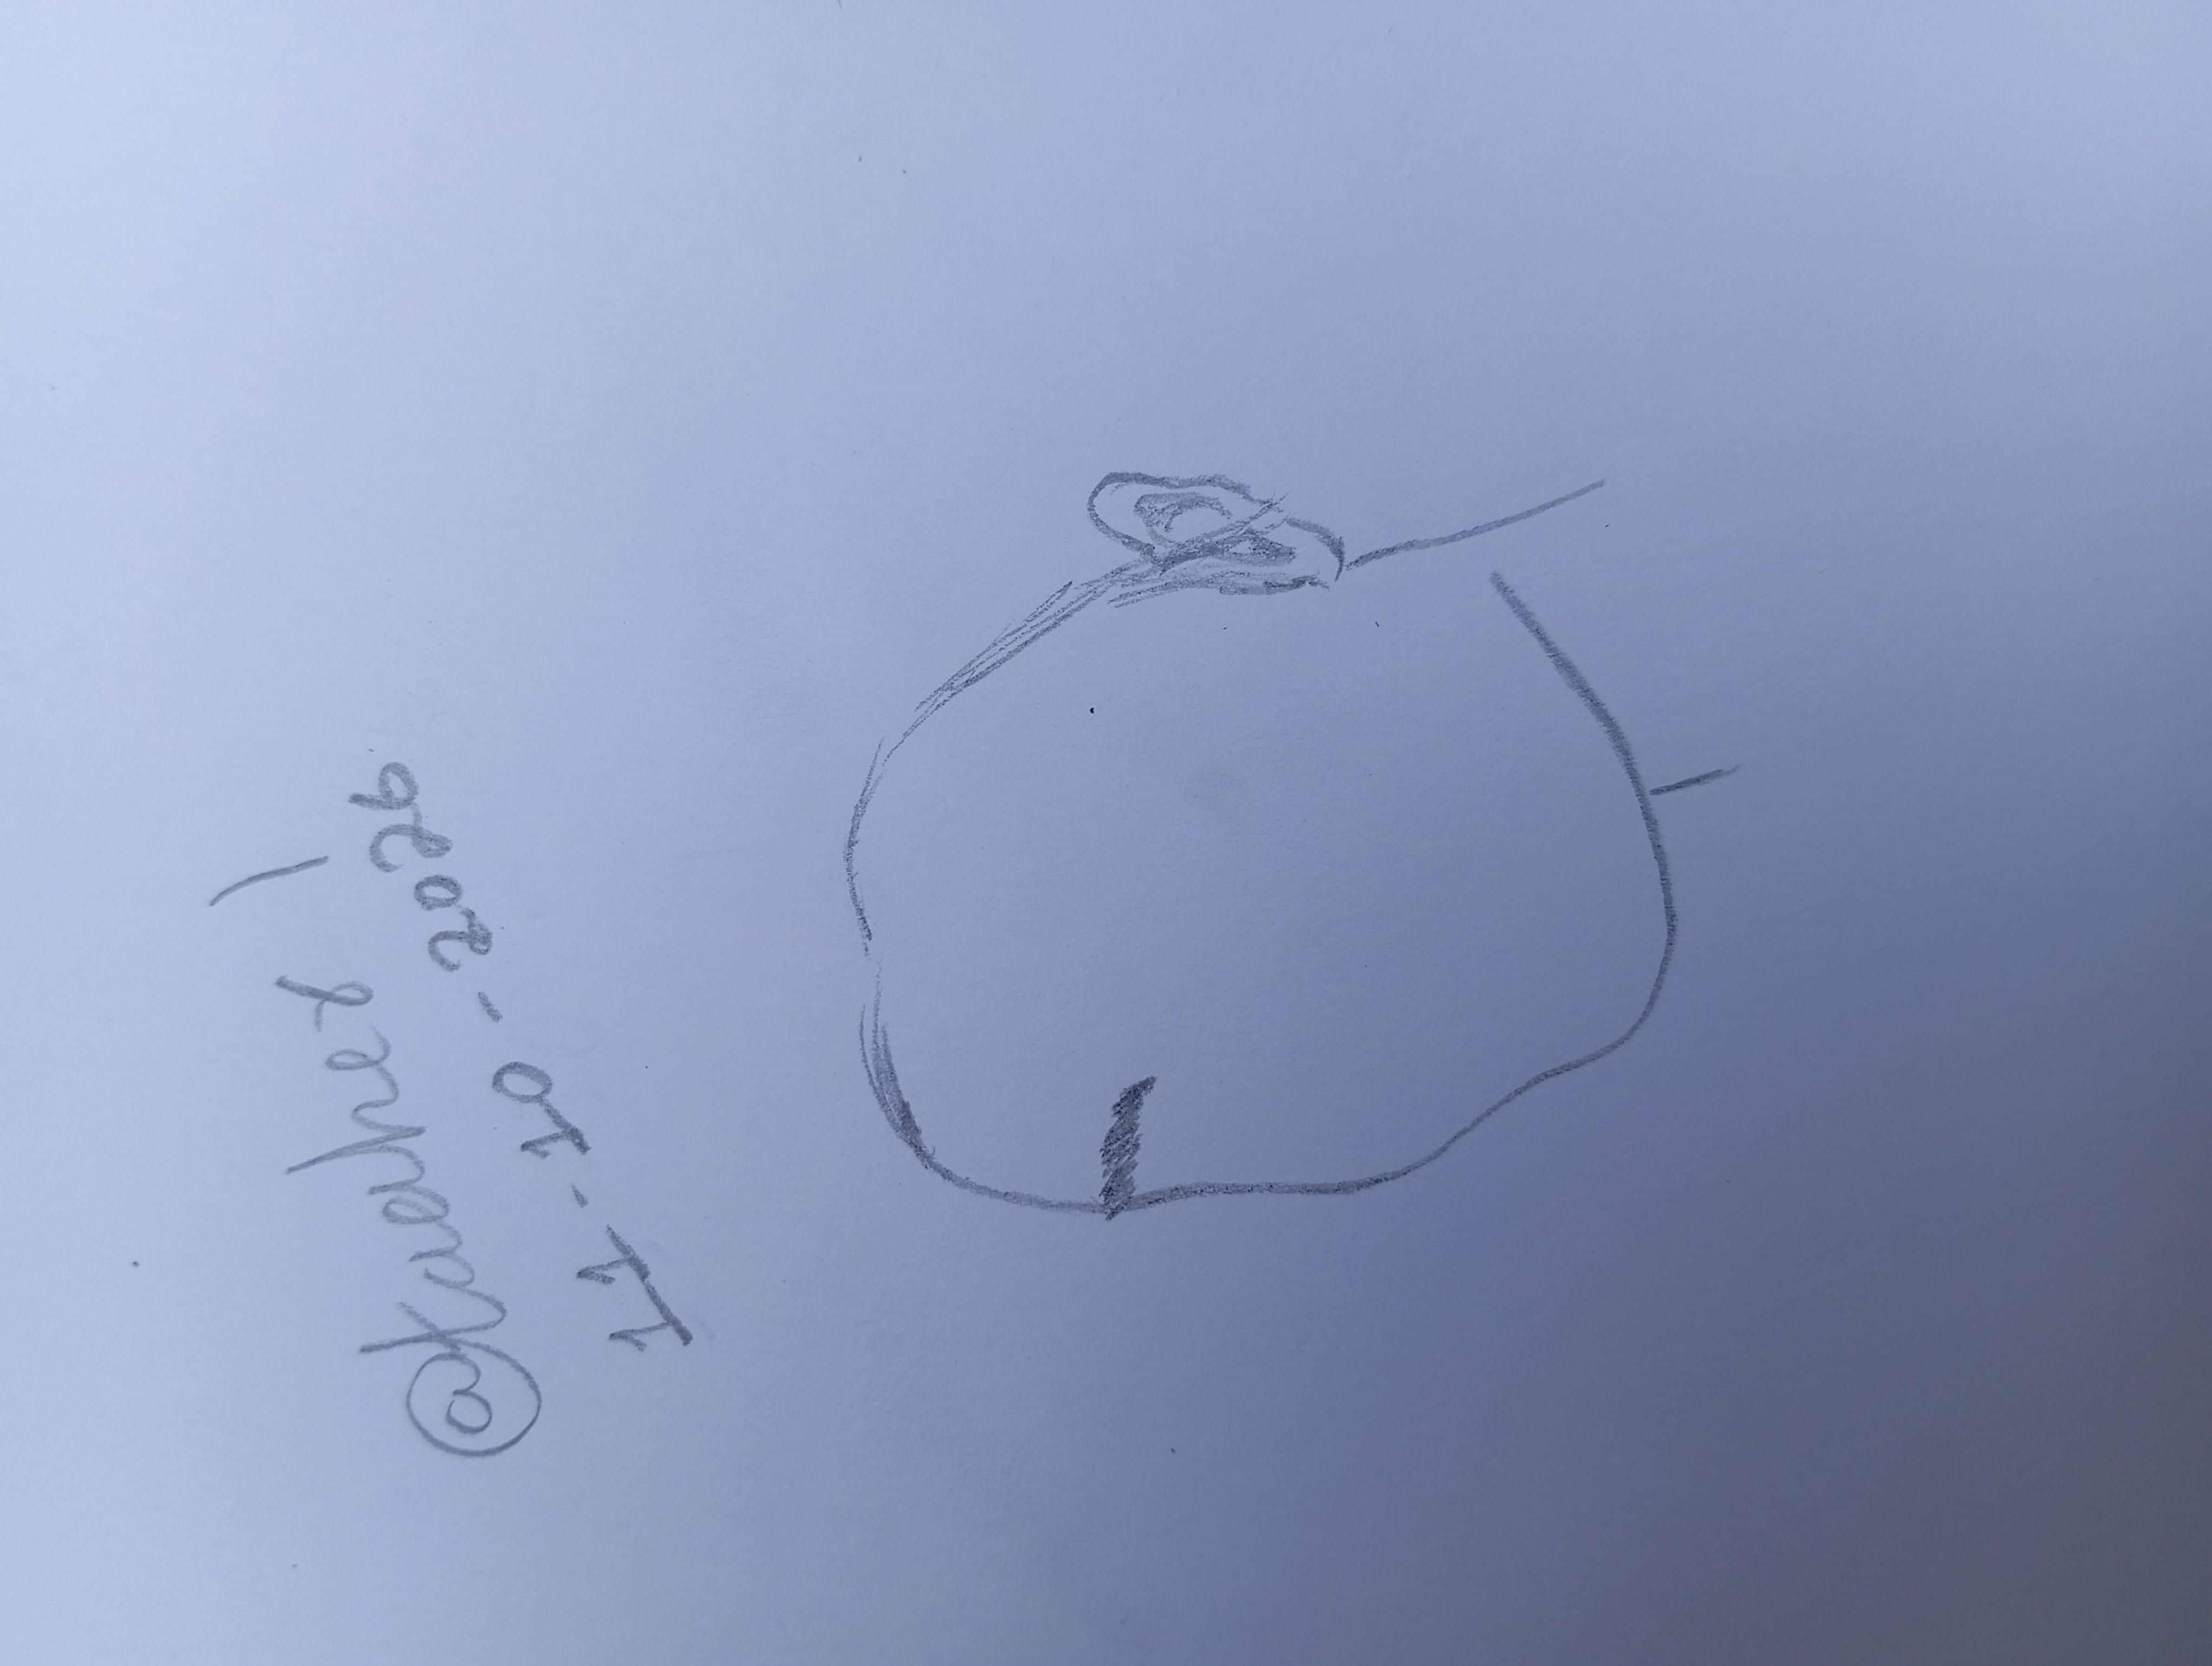
Step 3: Ears, Eyebrows and Neck
When the basic shape of the face was ready, I drew the lines of the ears and neck. Also added the initial texture of the eyebrows. These details gave the outline a clearer shape and the facial features became more prominent than before.
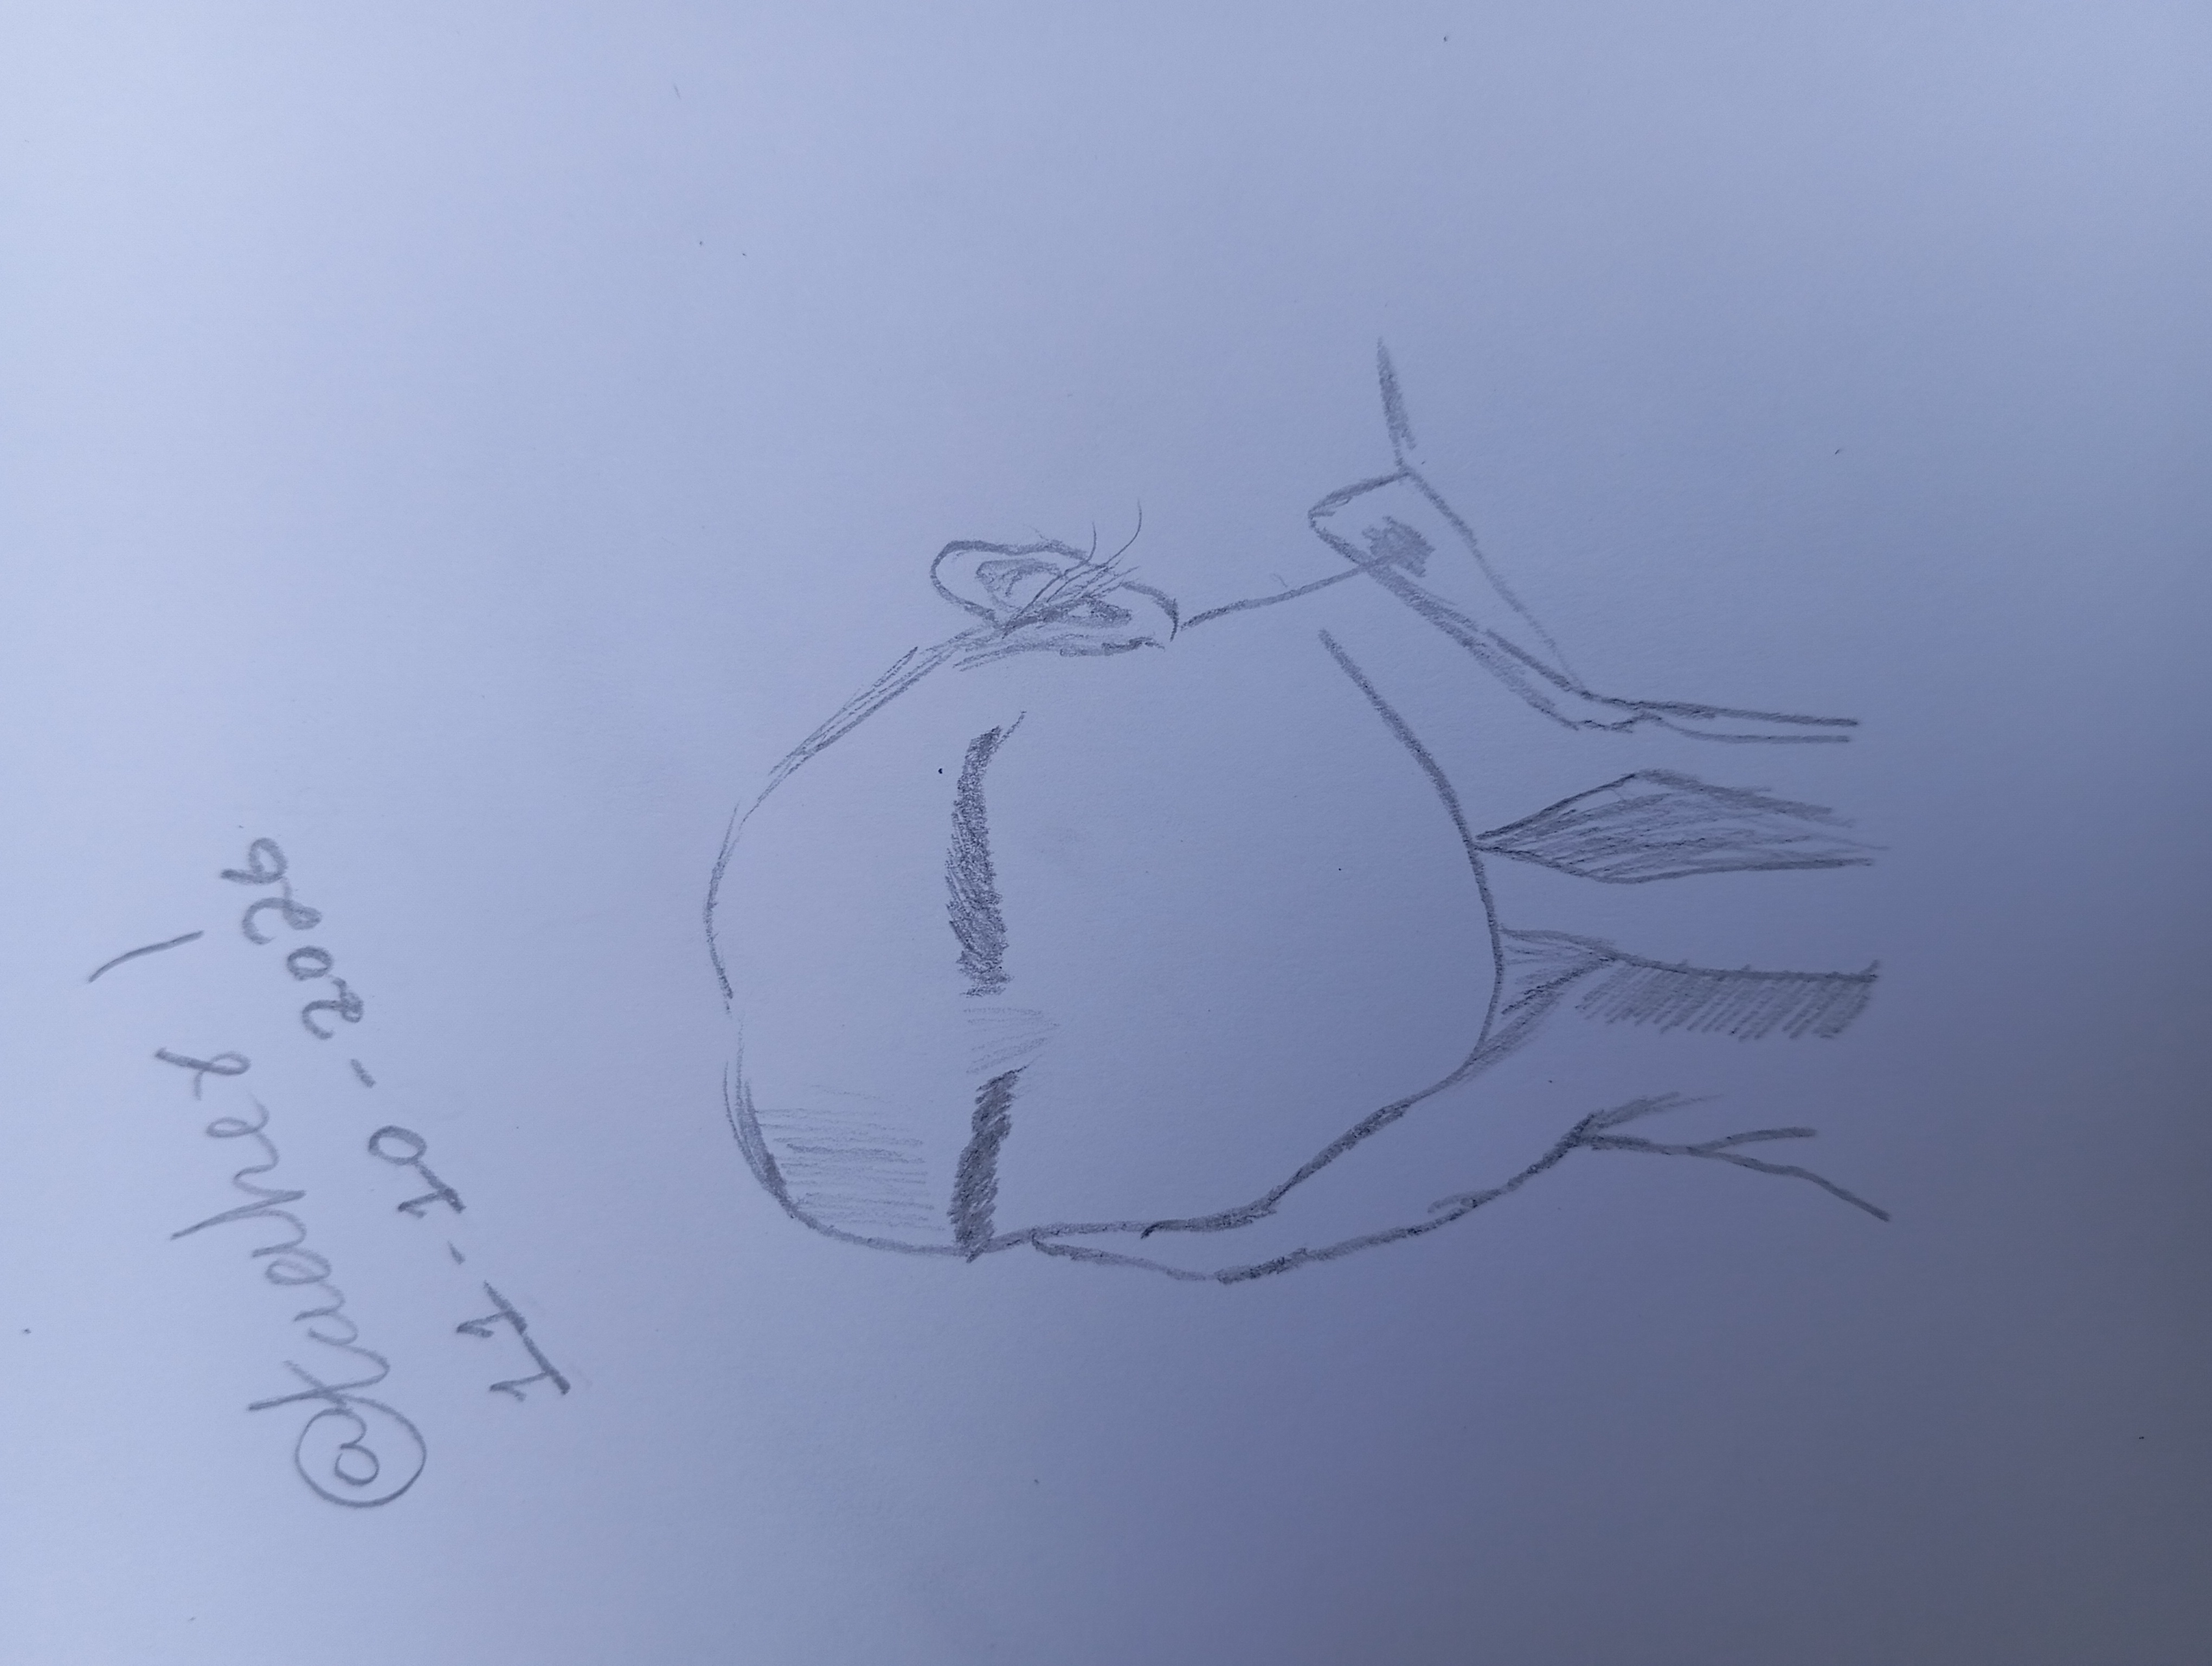
Step 4: The initial shape of the hair
In this step I worked on the texture of the girl's hair. Create hairlines on the top and sides of the head and arrange them towards the back. While creating the hair, I tried to make the direction and style look natural.
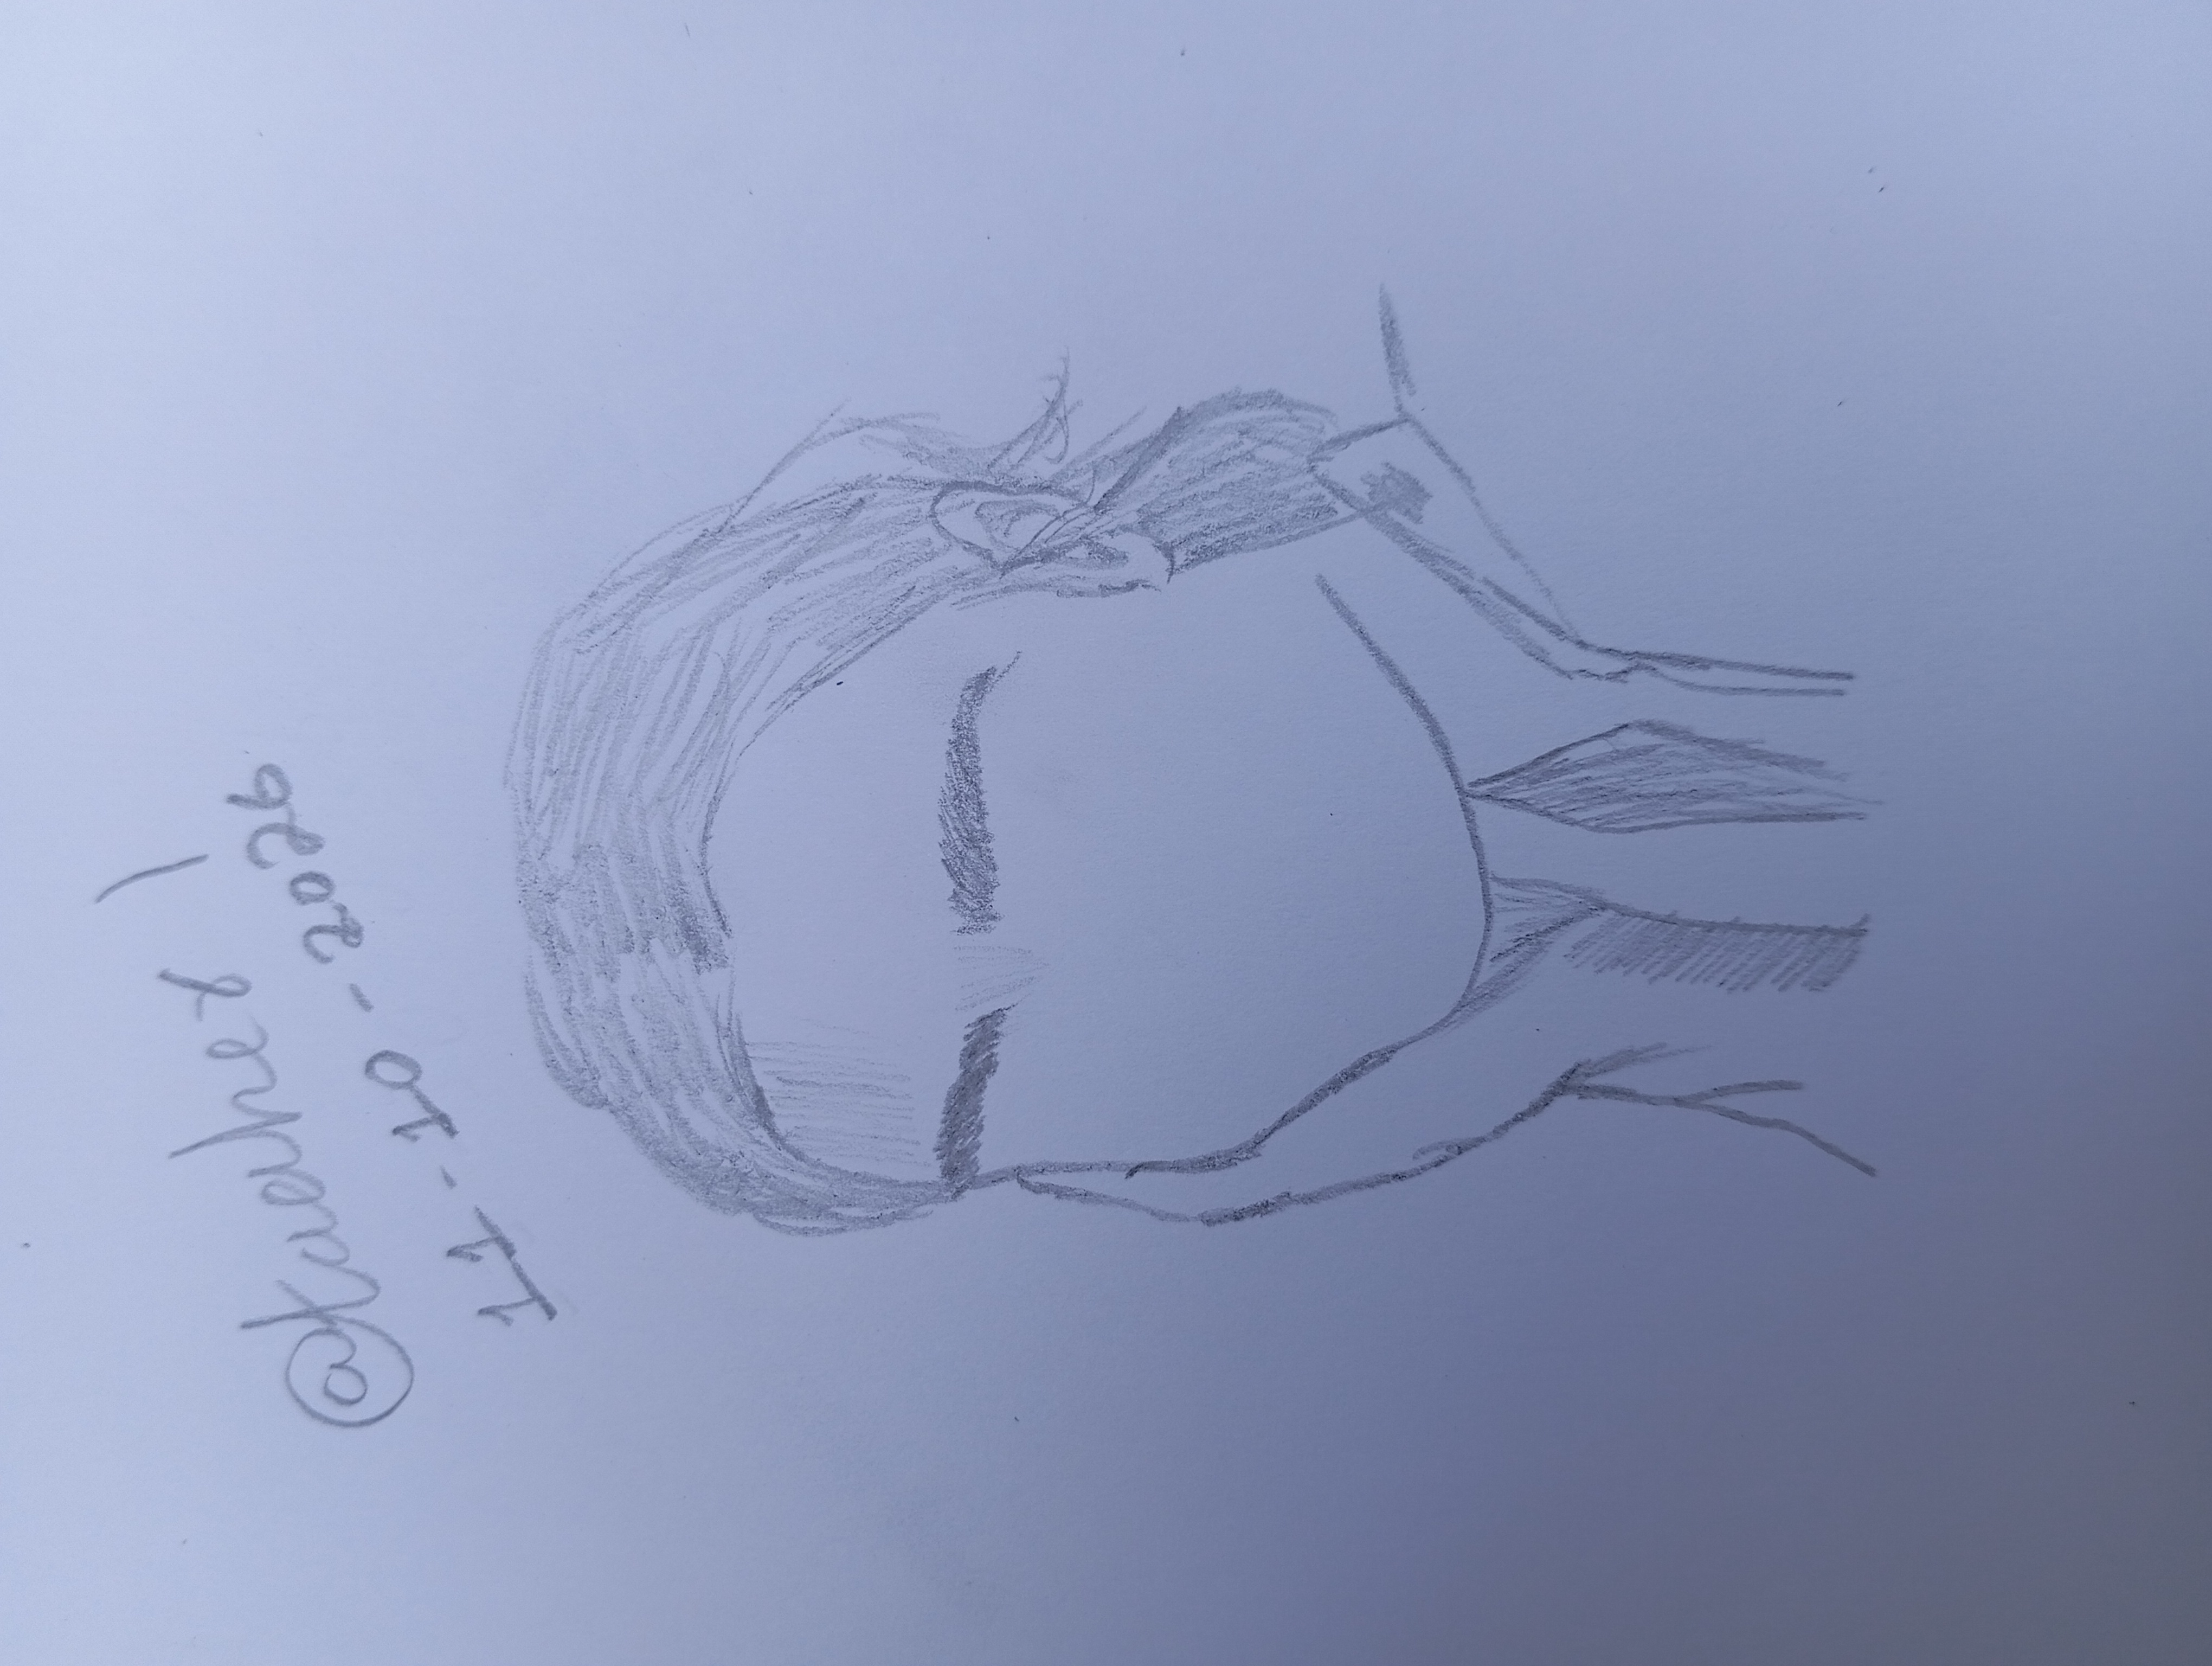
Step 5: Nose and face details
Now I made the shape of the nose and added small marks on the face. Used light shading to show the structure of the nose properly. At the same stage, attention was also paid to establishing balance between different parts of the face.
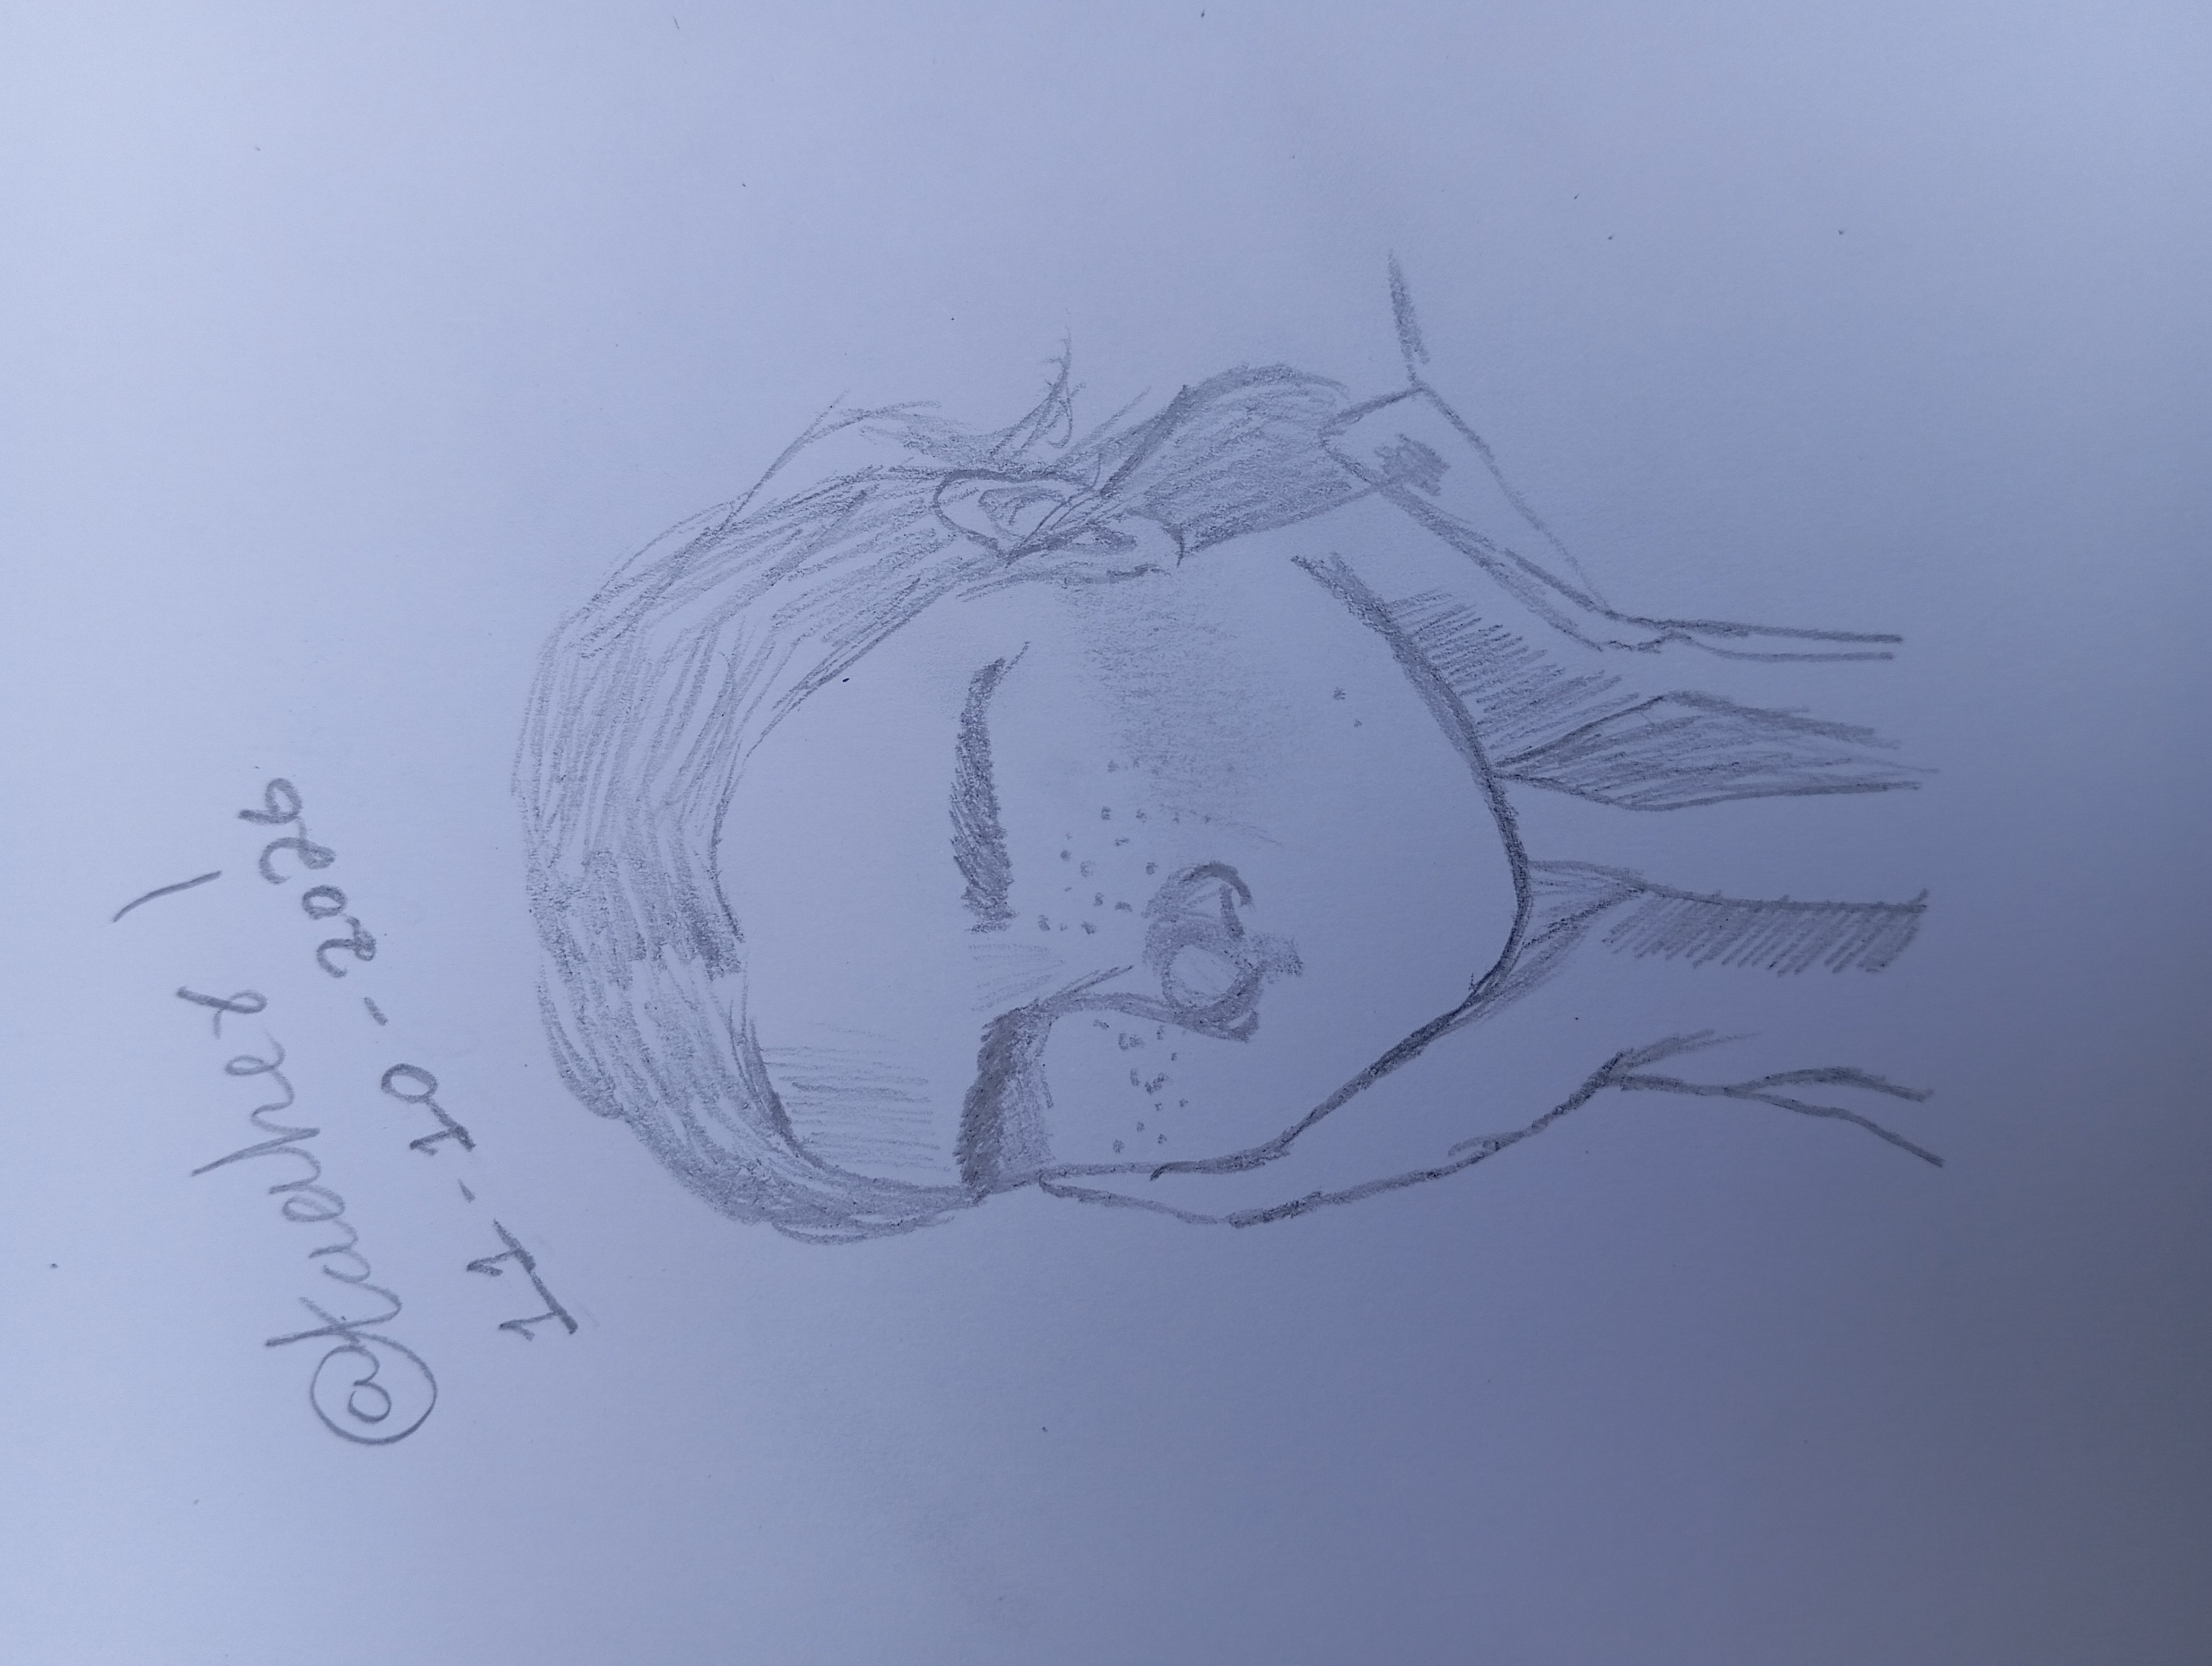
Step 6: Eyes, eyelids and lips
This was an important step in drawing for me. I completed the texture of both eyes, added details and highlighted the eyelids. After that, shape the lips and do light shading on them. Eyes play an important role in highlighting facial expressions, so I paid special attention to making them. Slowly the portrait began to move towards its full form.
In the last step I added more hair details and shaded them with a pencil. Then made the scarf wrapped around the neck and completed the basic lines of the dress.
Finally, the necessary shading on the face, hair and different parts of the clothing to create depth in the portrait. Thus my simple sketch turned into a complete portrait.
My opinion and experience
While making this drawing I realized that producing and creating a good image requires patience and focus rather than haste and require a lot of time. At first, only a very few lines are visible, but when details are added one by one, they become a complete picture of a girl.
Conclusion
Friends! Here was my drawing today and the different stages of completing it. I hope you like this portrait of me and how I made it.
@mohammad1076
@josepha
@rahulran
@m-princess
Best Regards,
@taaher1
A truly beautiful piece of art should be accompanied by words that make it even more engaging. For example, replace some simple phrases with more aesthetically pleasing terms commonly used in the art of drawing, such as “proportions,” “contour marks,” “dimension,” and “faint lines.”
Also, pay attention to paragraph structure: Break up sentences that are too long so readers can more easily follow each step of your drawing process (step-by-step).
Wishing you continued success.
0.00 SBD,
21.81 STEEM,
21.81 SP
Thank you for your valuable advice and next time I will be more careful.
X link 🖇️
https://x.com/steemlover/status/2110213710317011344