"The Little Dreamer | My Drawing Process"
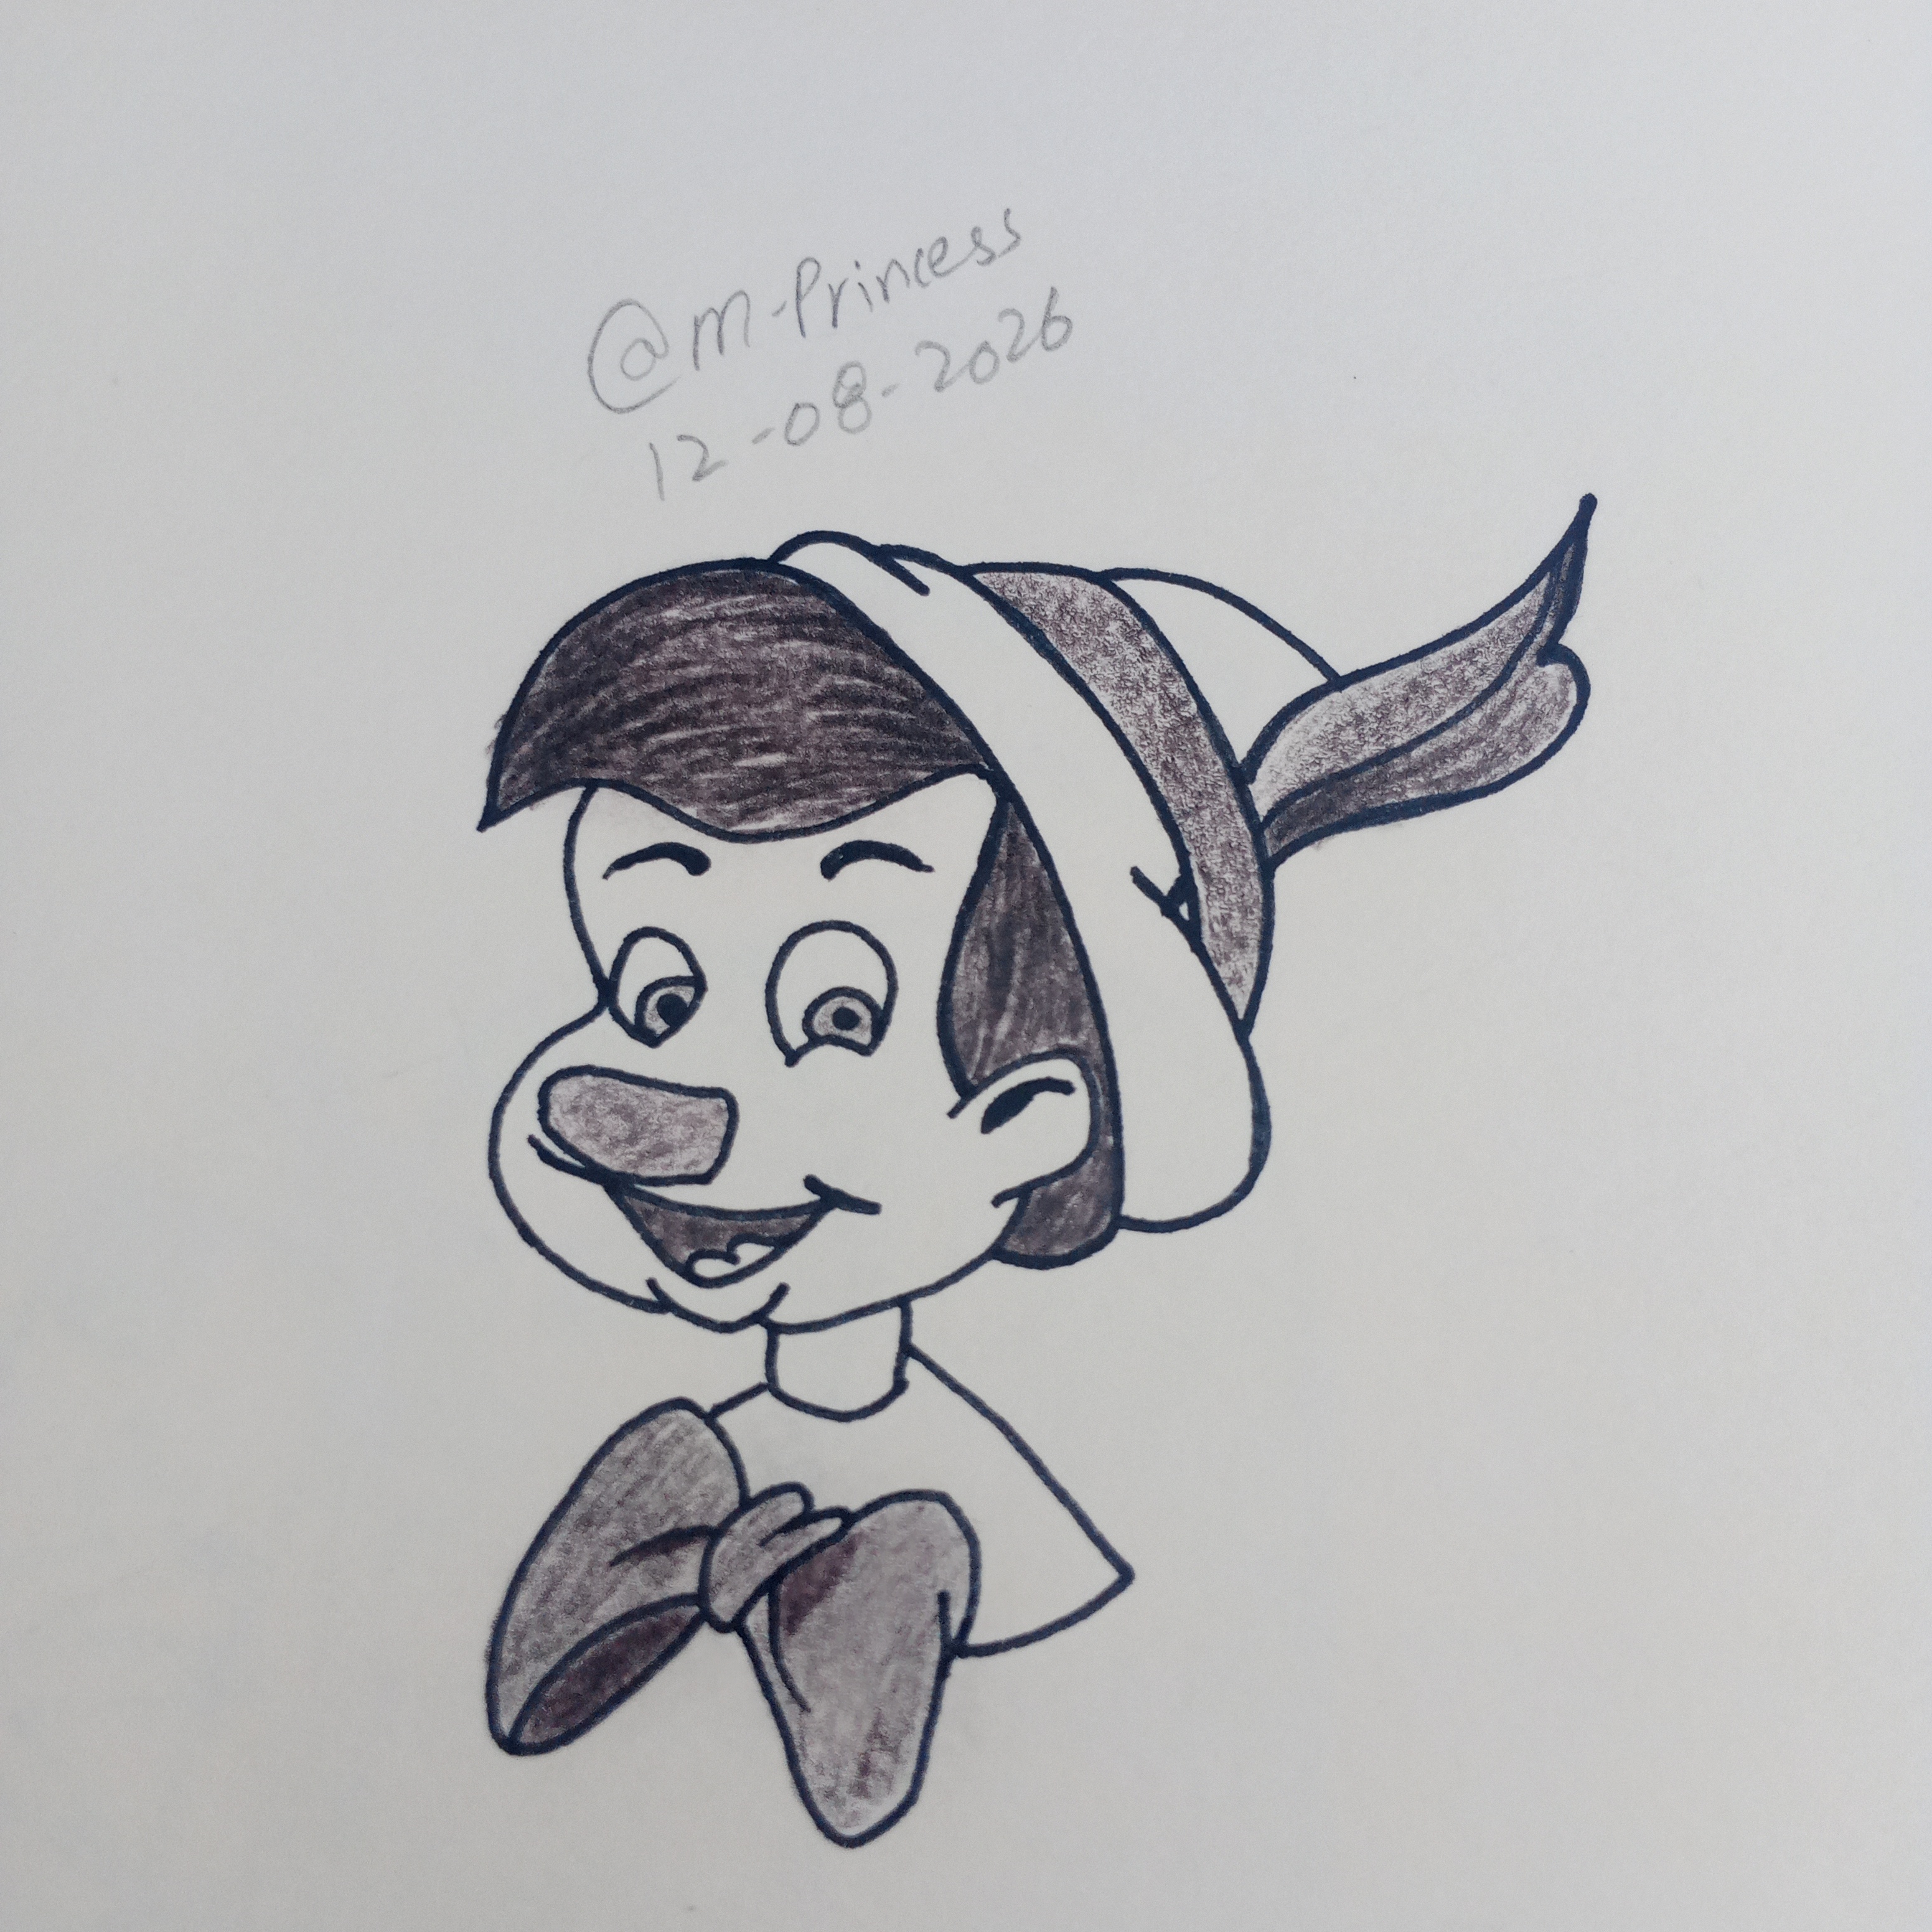
Cover picture

💕💗 السلام علیکم to all Friends 💕💗! |
|---|
Hi everyone, especially to our wonderful moderators and fellow Steemians! |
|---|
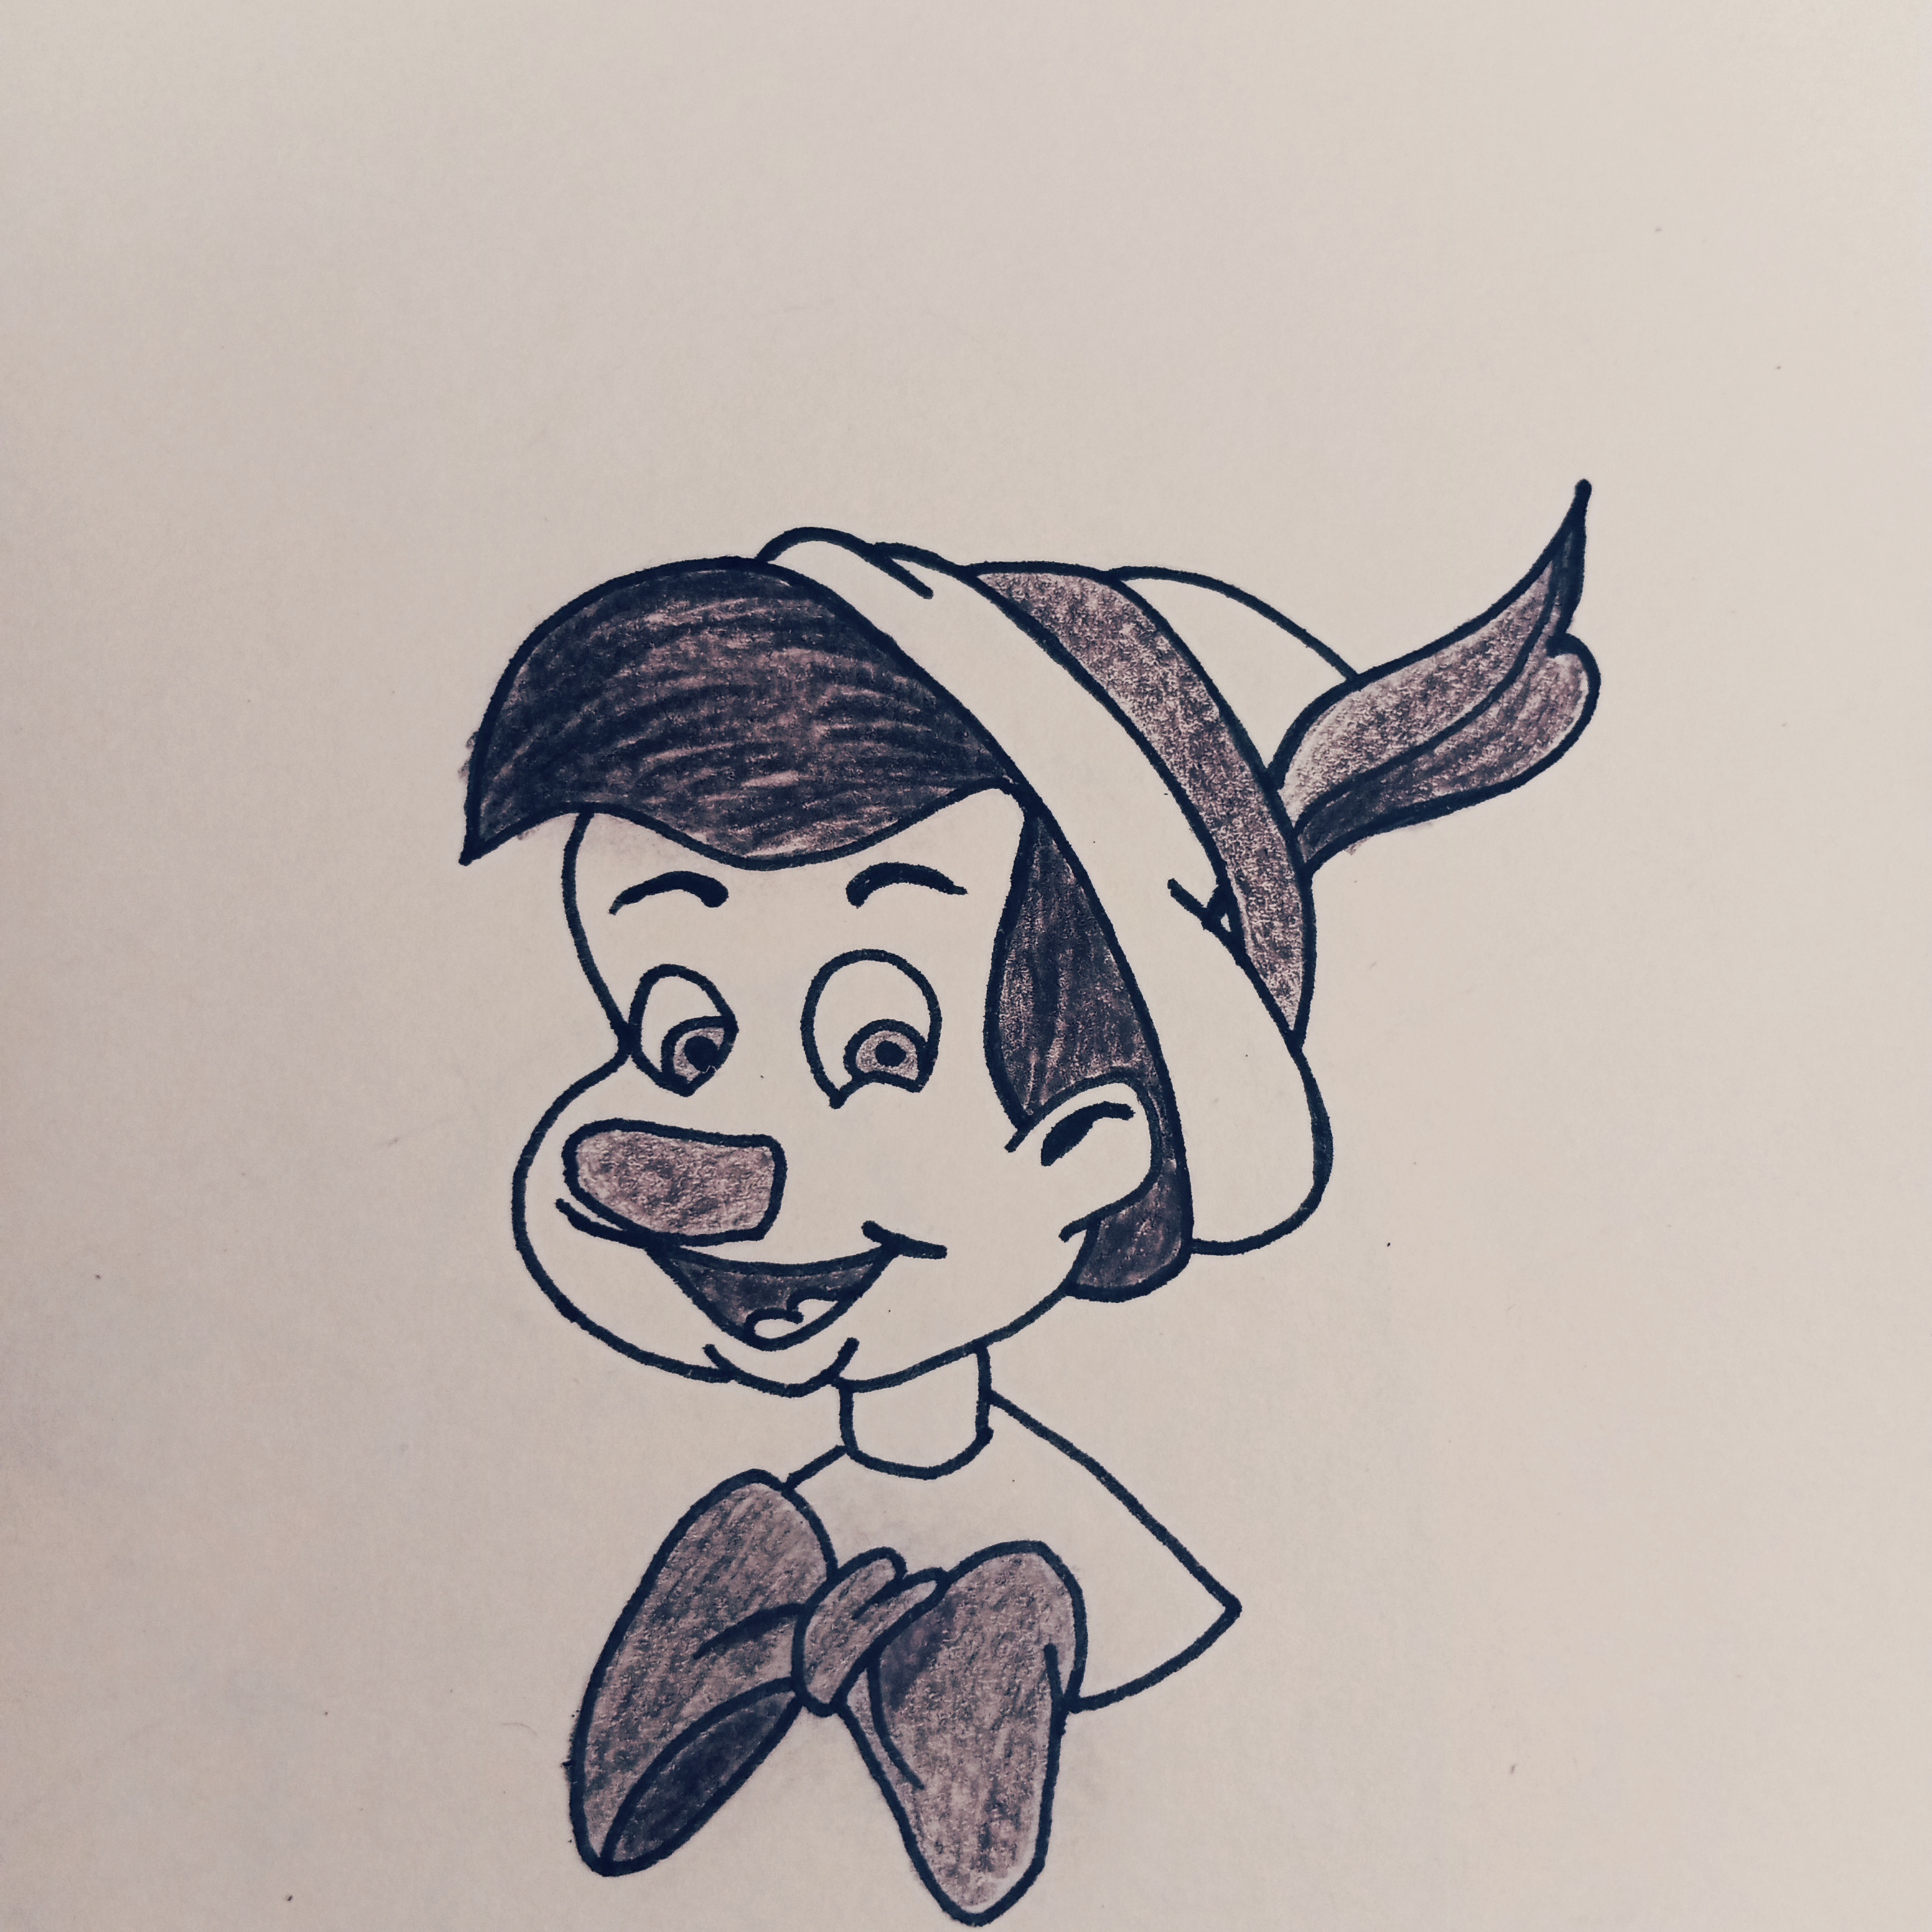
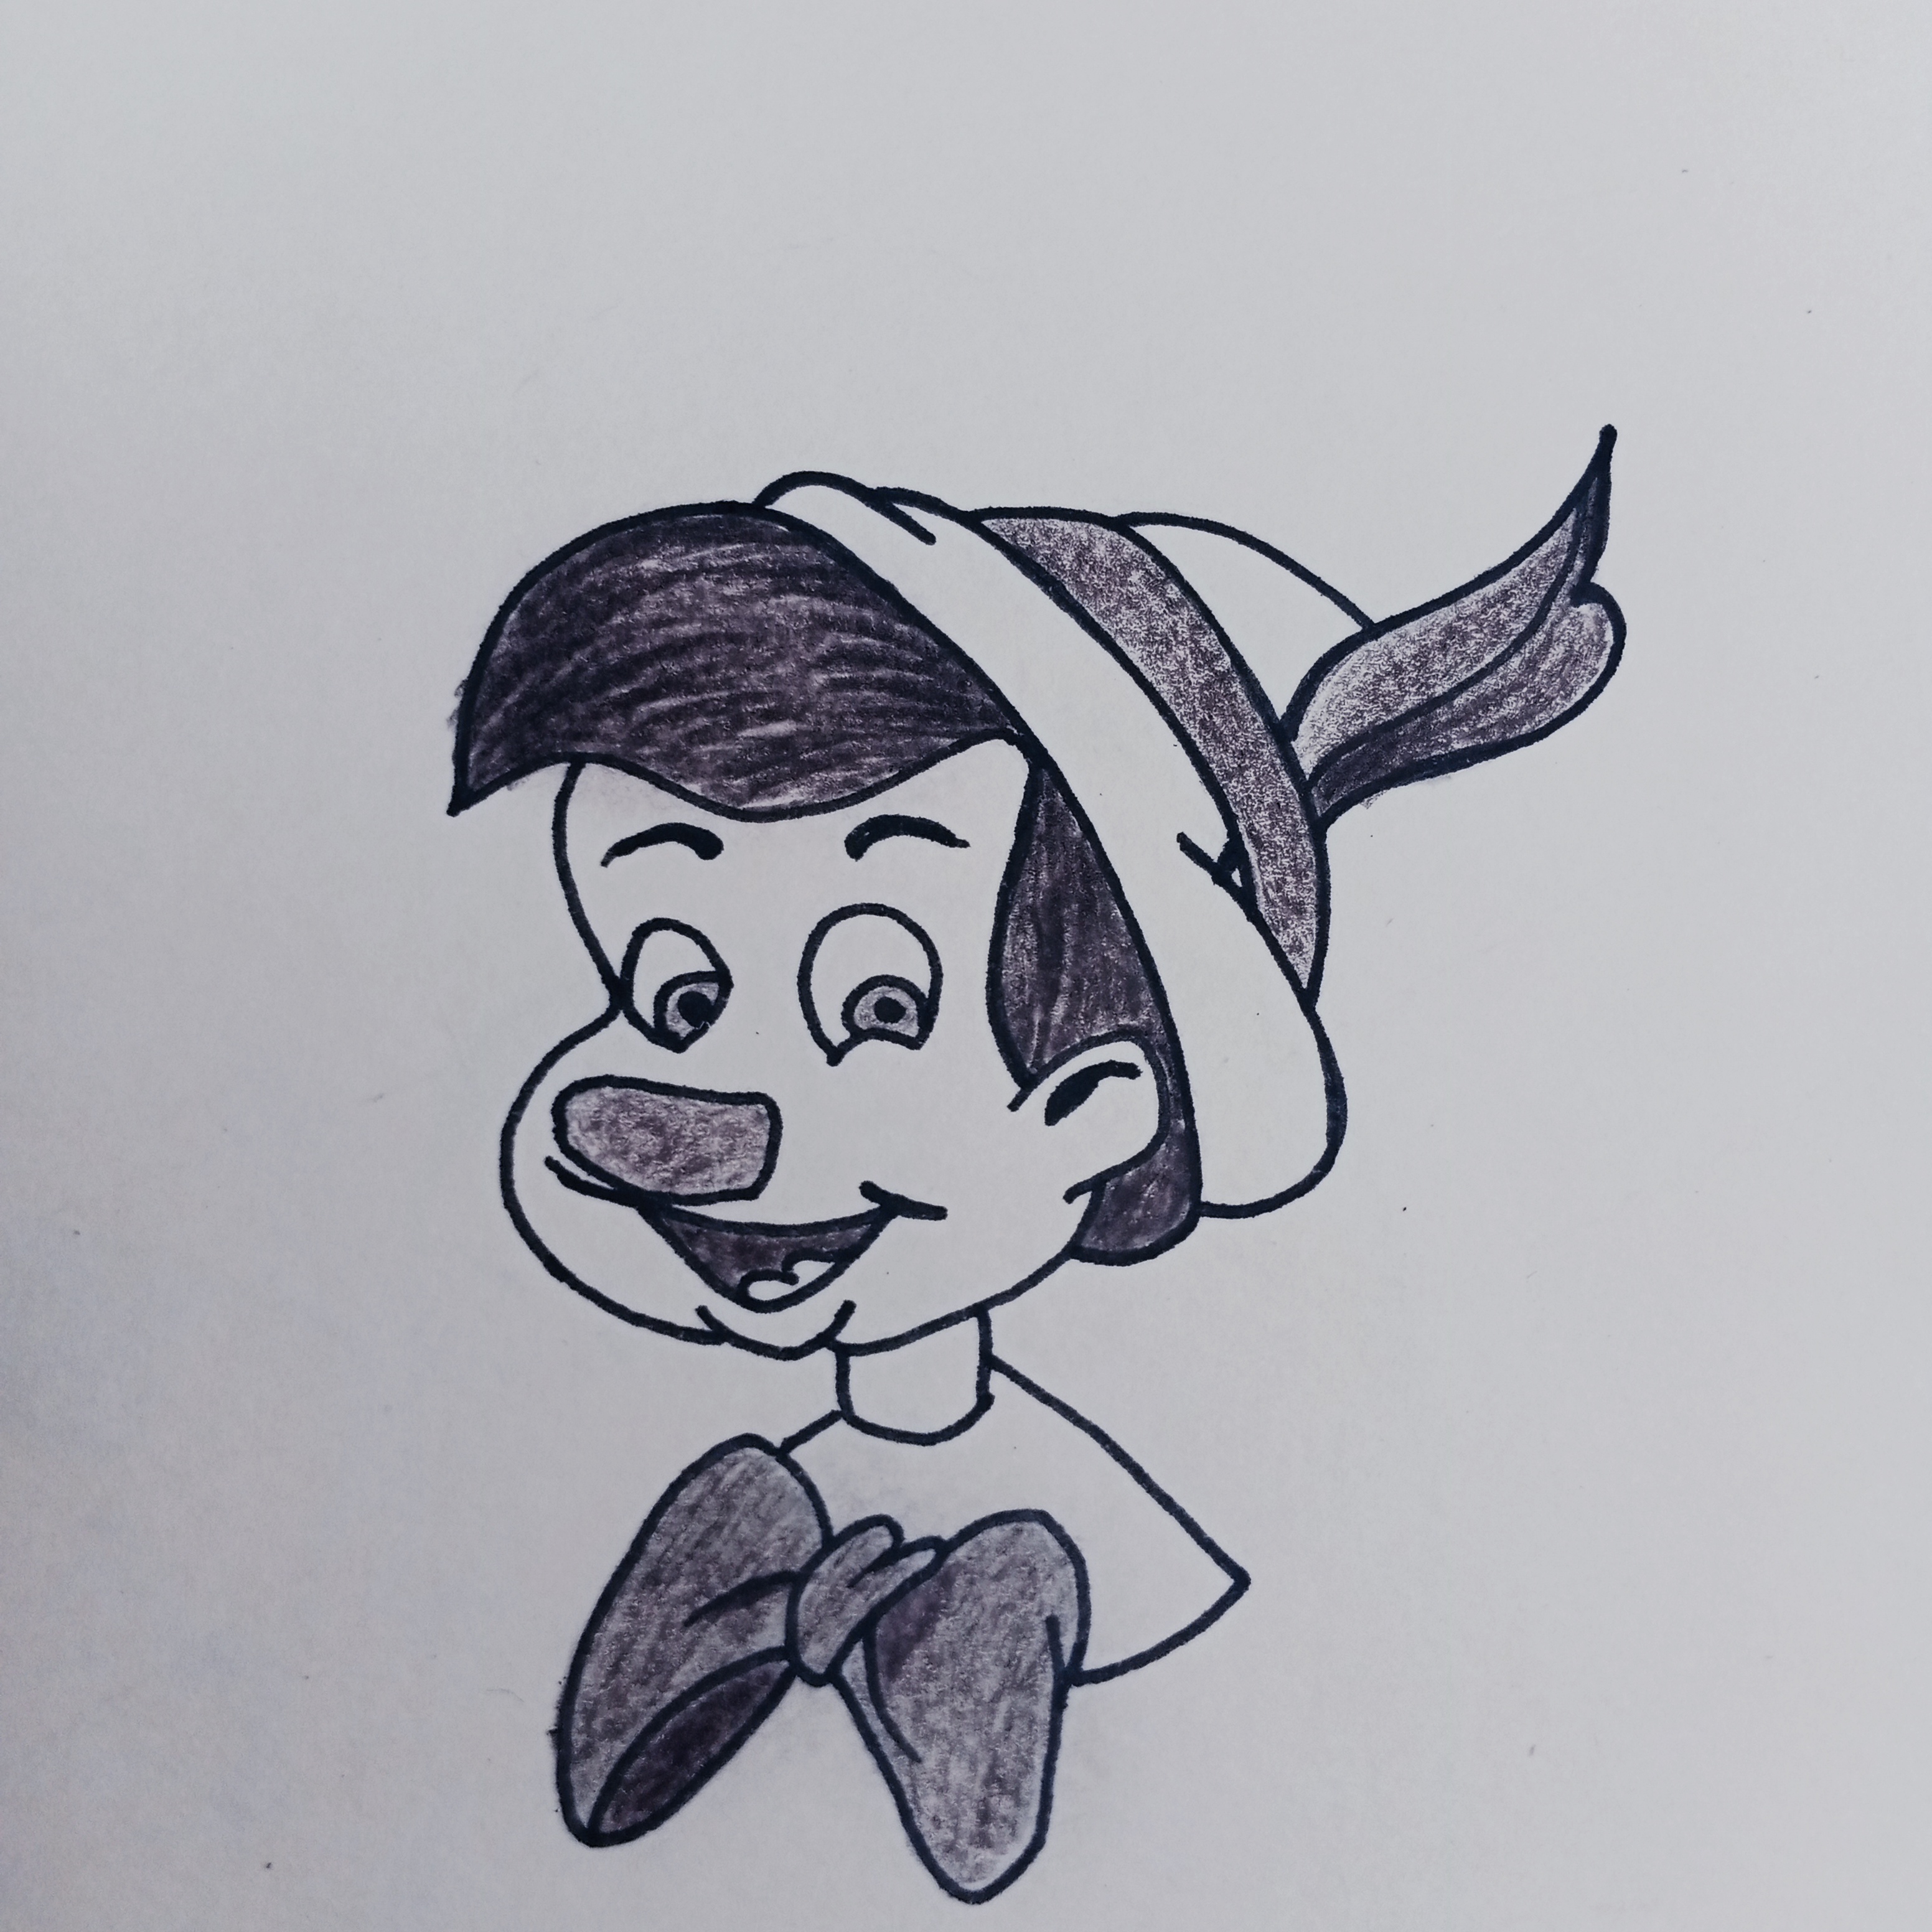
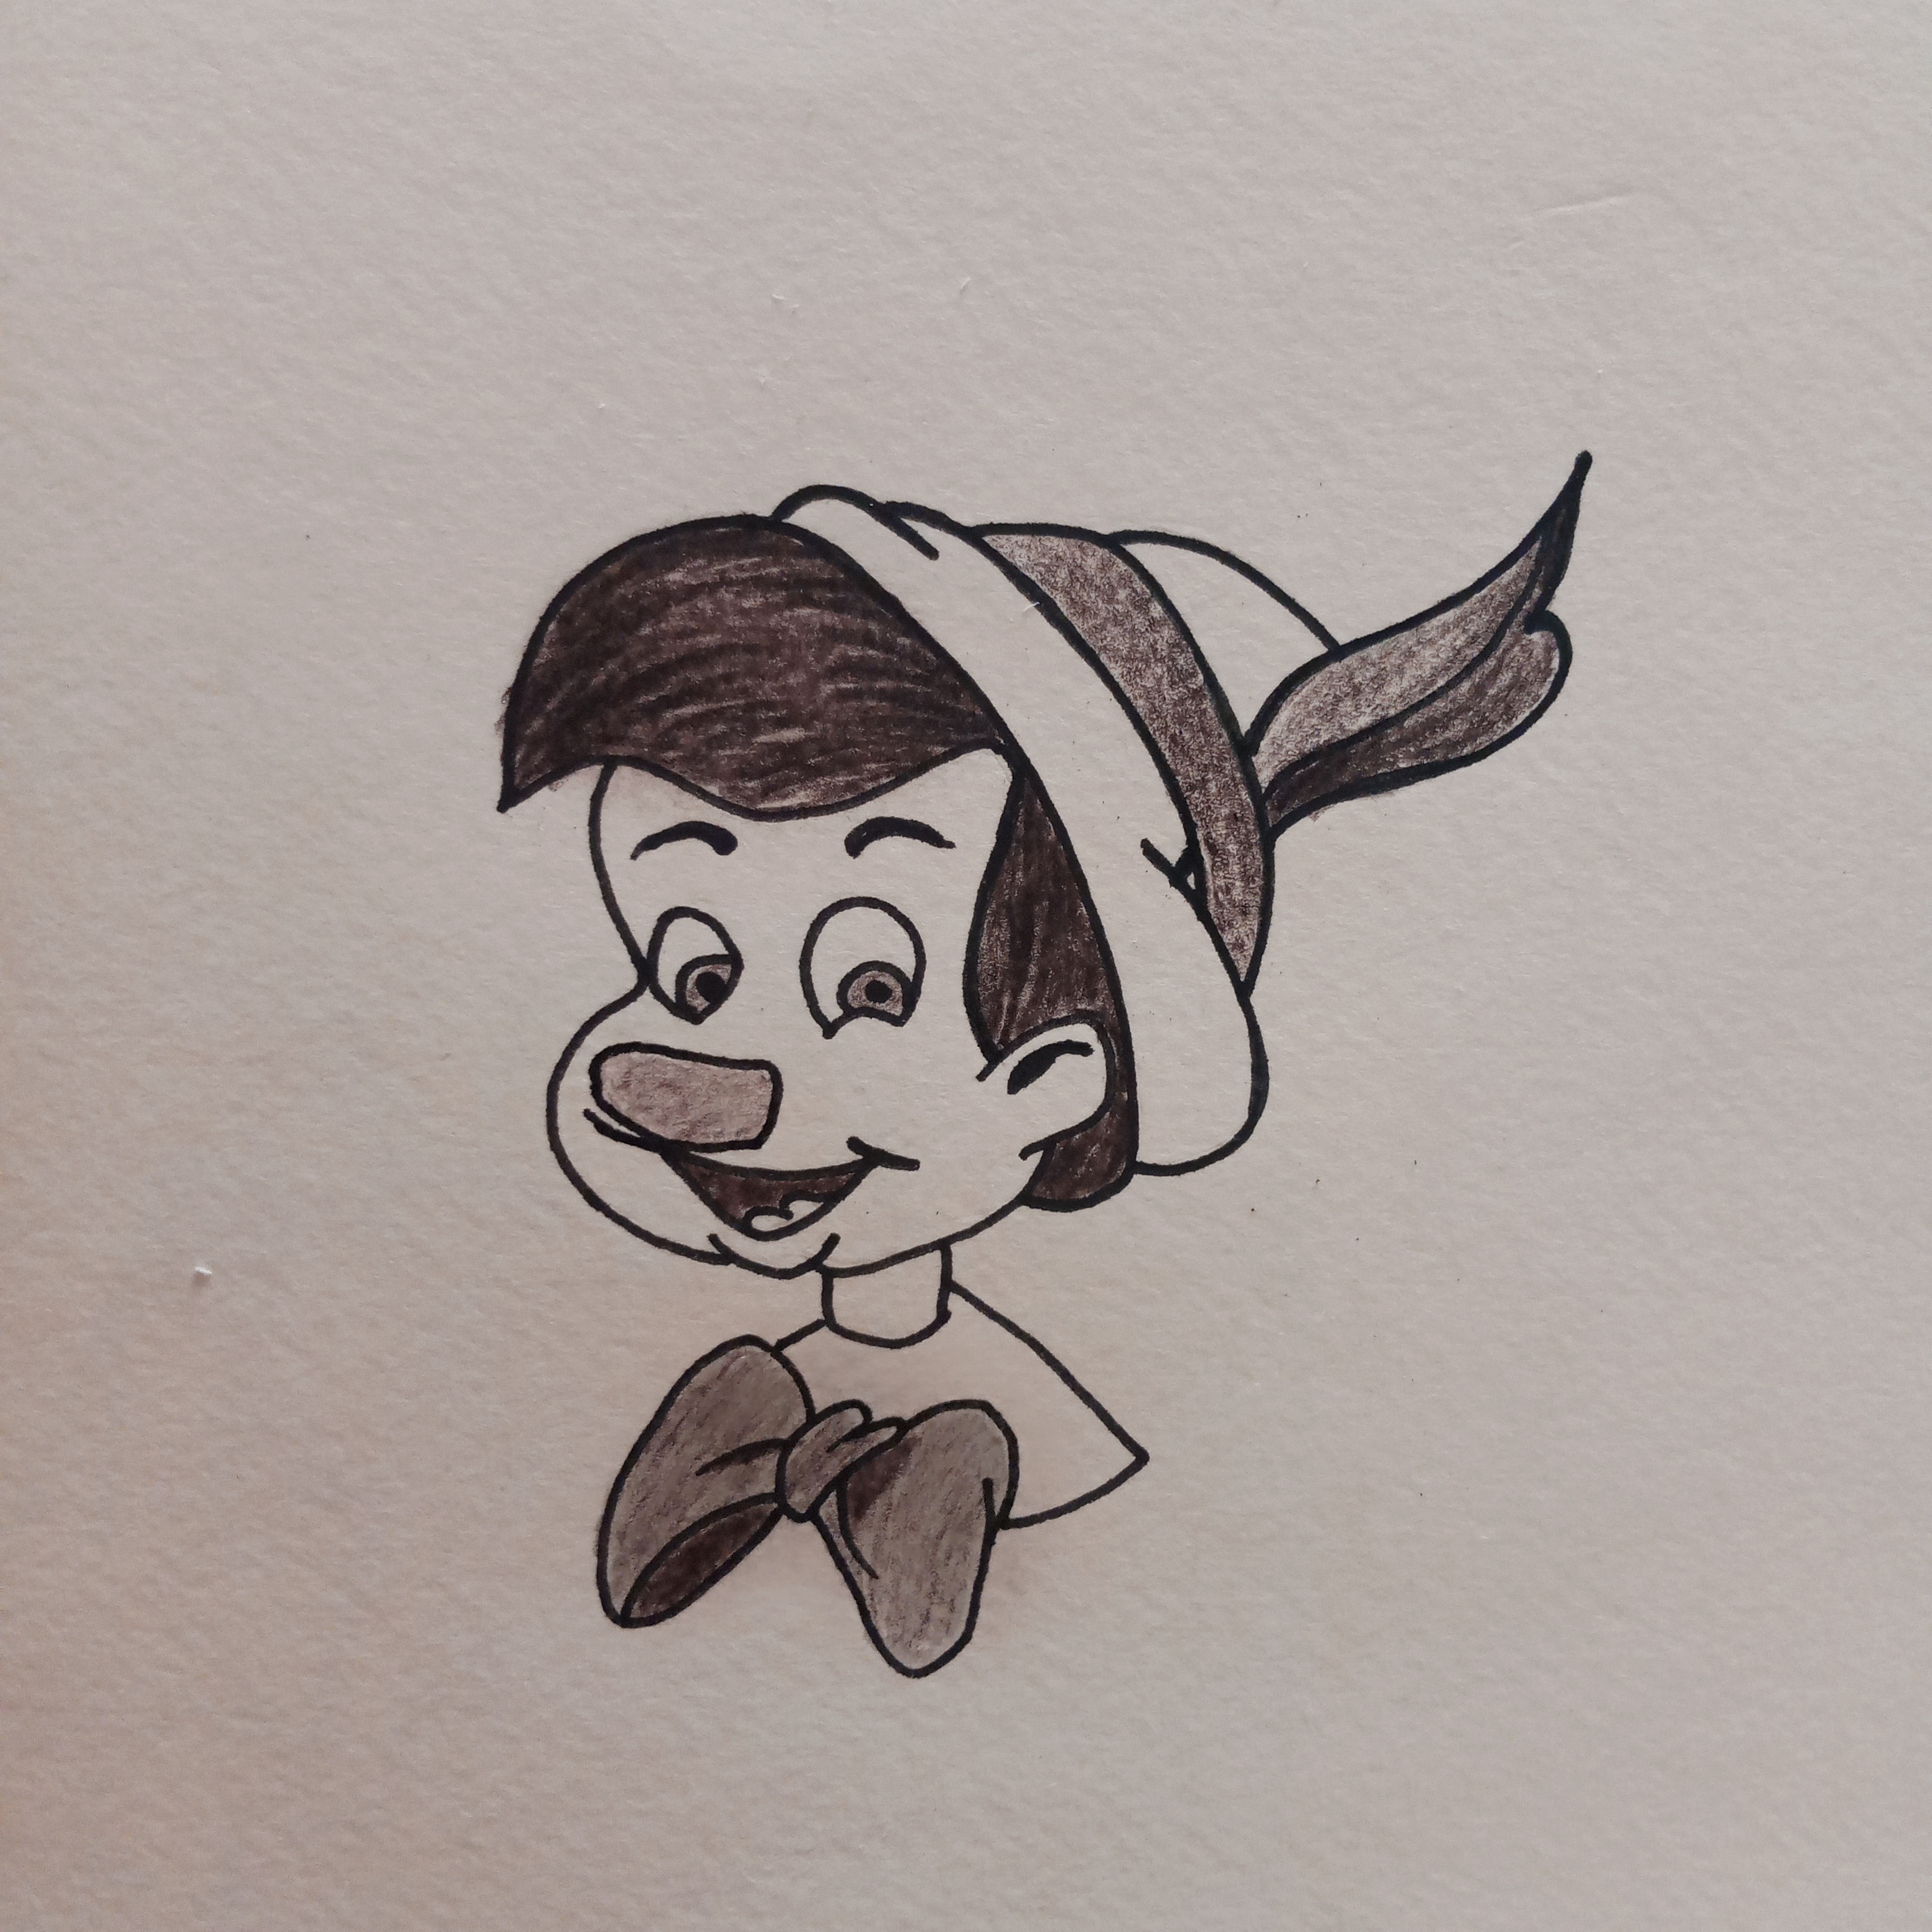
I hope you are all well. And by the grace of Allah Almighty, all will be well. I am also completely well thank. Today I am sharing a beautiful pencil drawing I made with you all. In this drawing I have made a cute character. Who has a cute smile on her face. I have highlighted her expression through big and small eyes. And I have also made a beautiful hat on her head.

Here is 👇 material used in this drawing |
|---|
| Sr | Materials |
|---|---|
| 1 | Art book |
| 2 | Black pointer |
| 3 | Eraser |
| 4 | Sharpener |
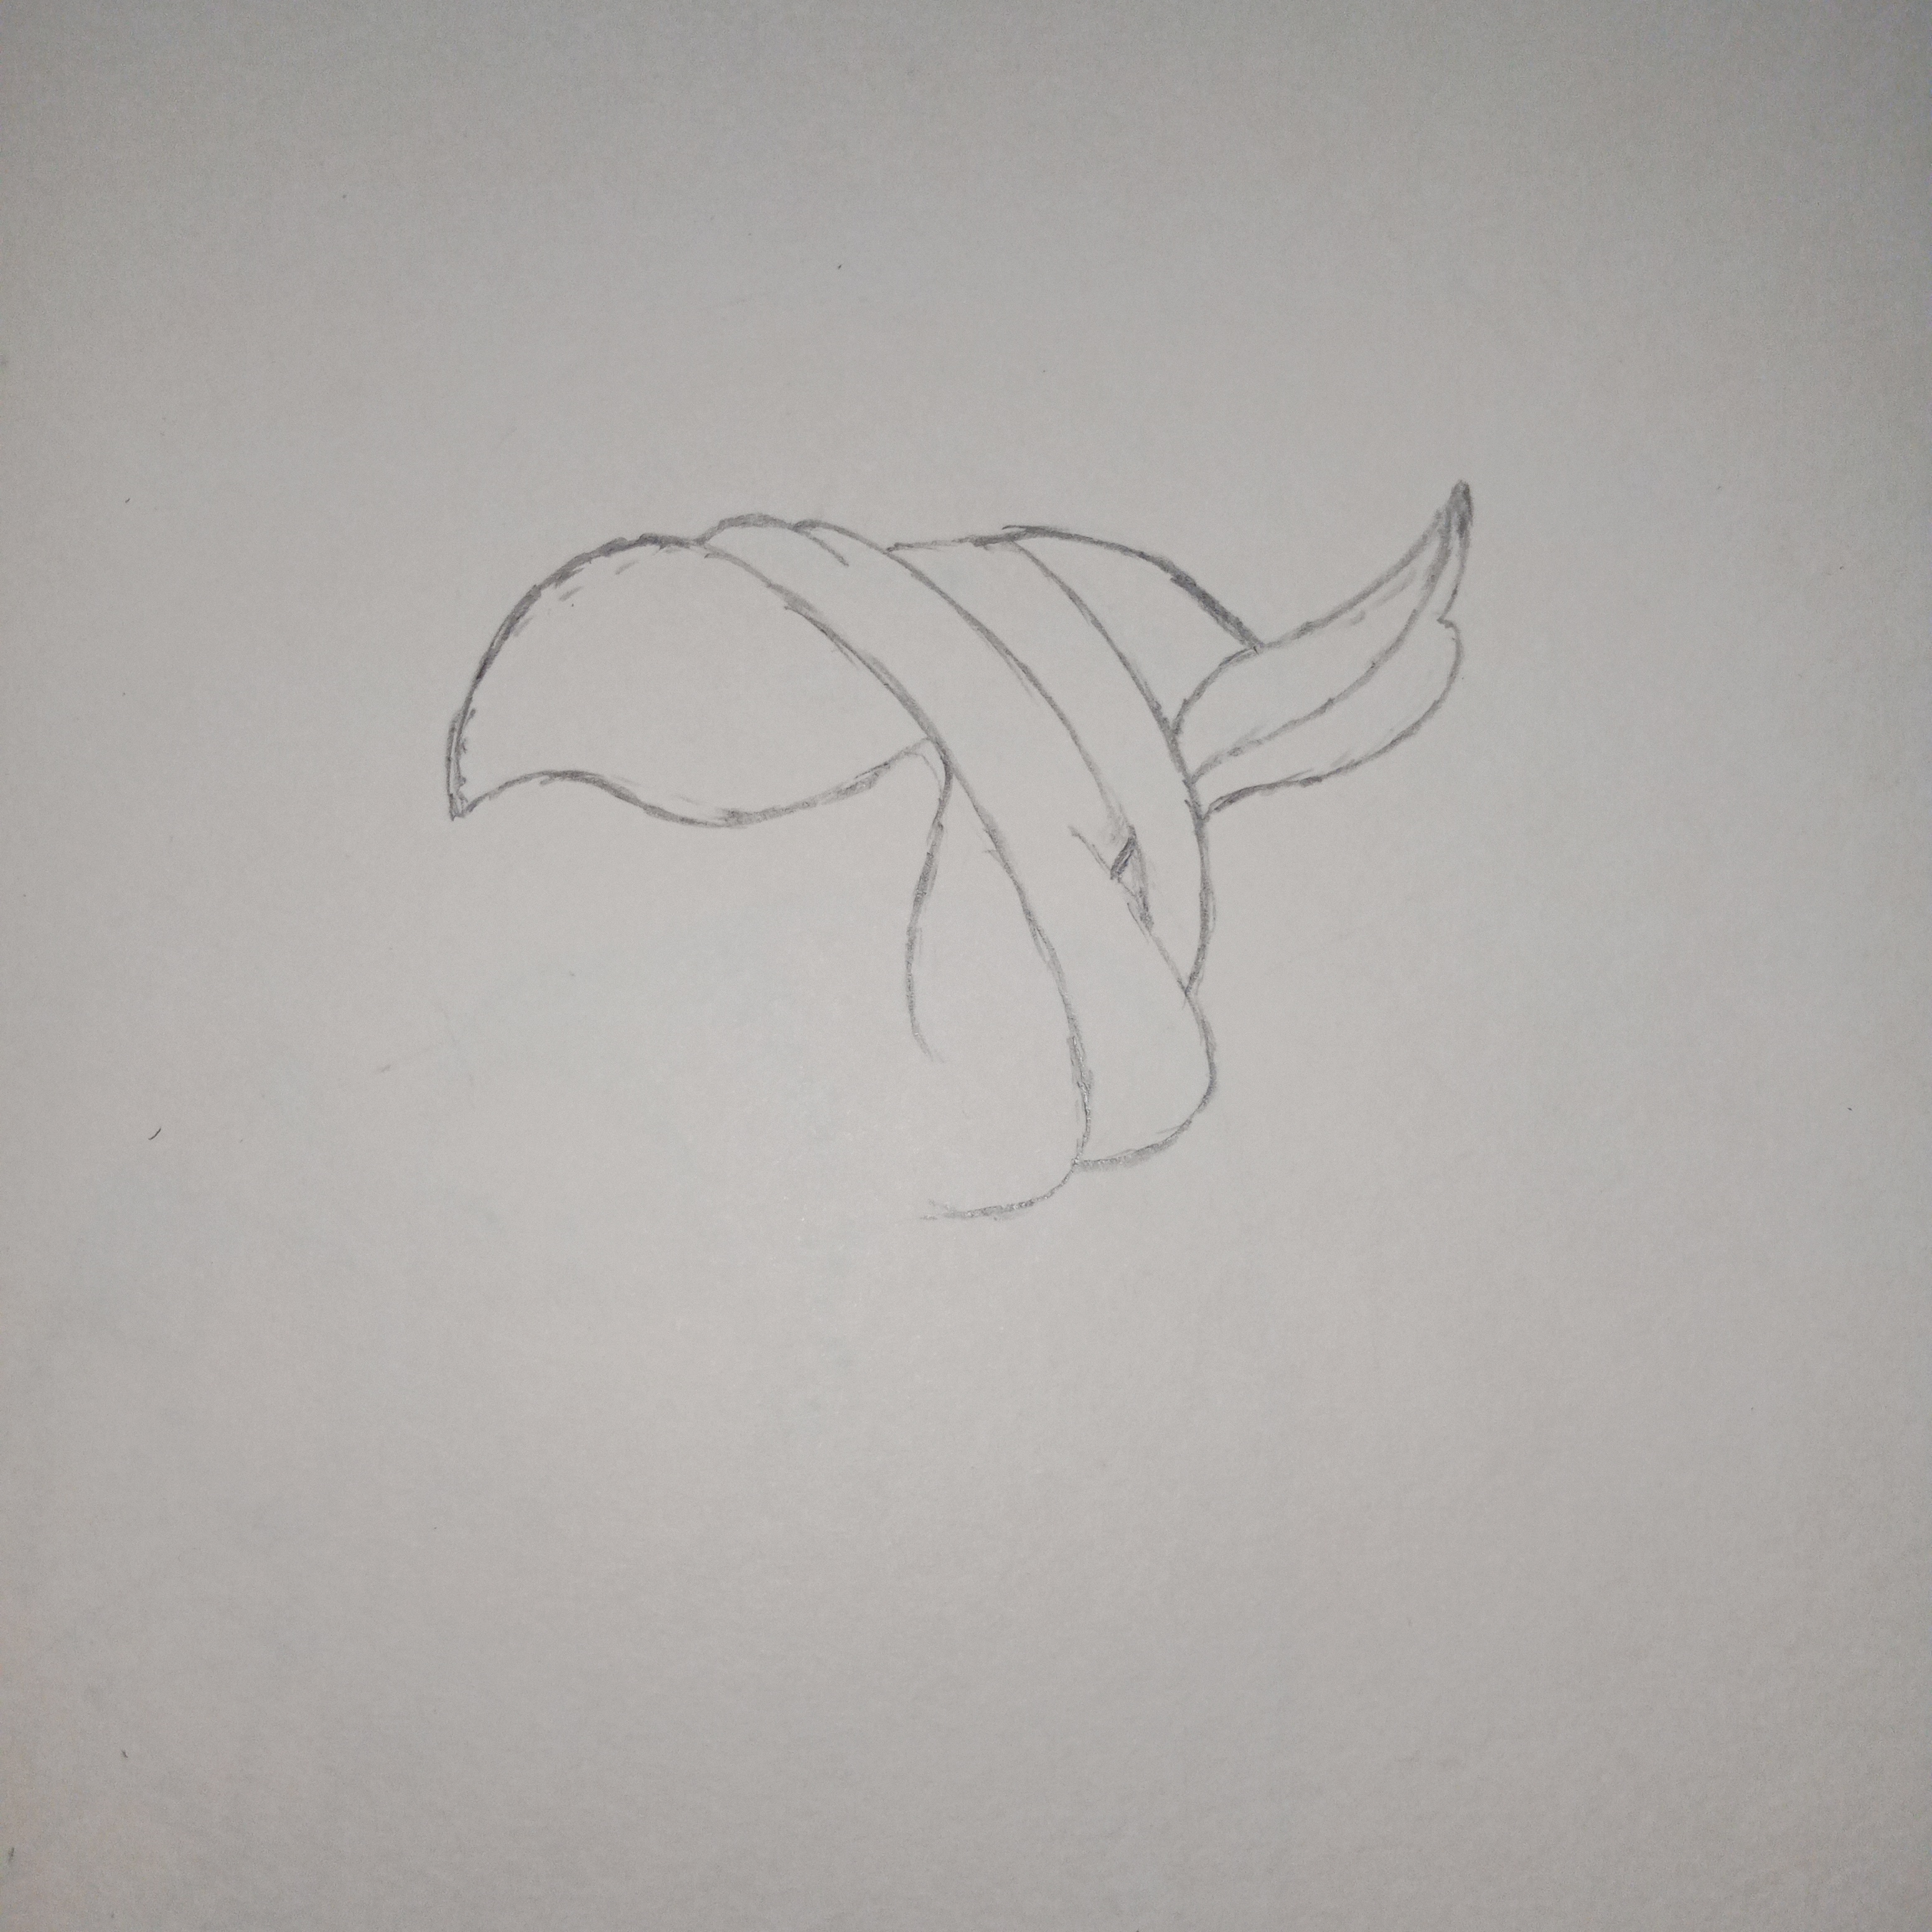
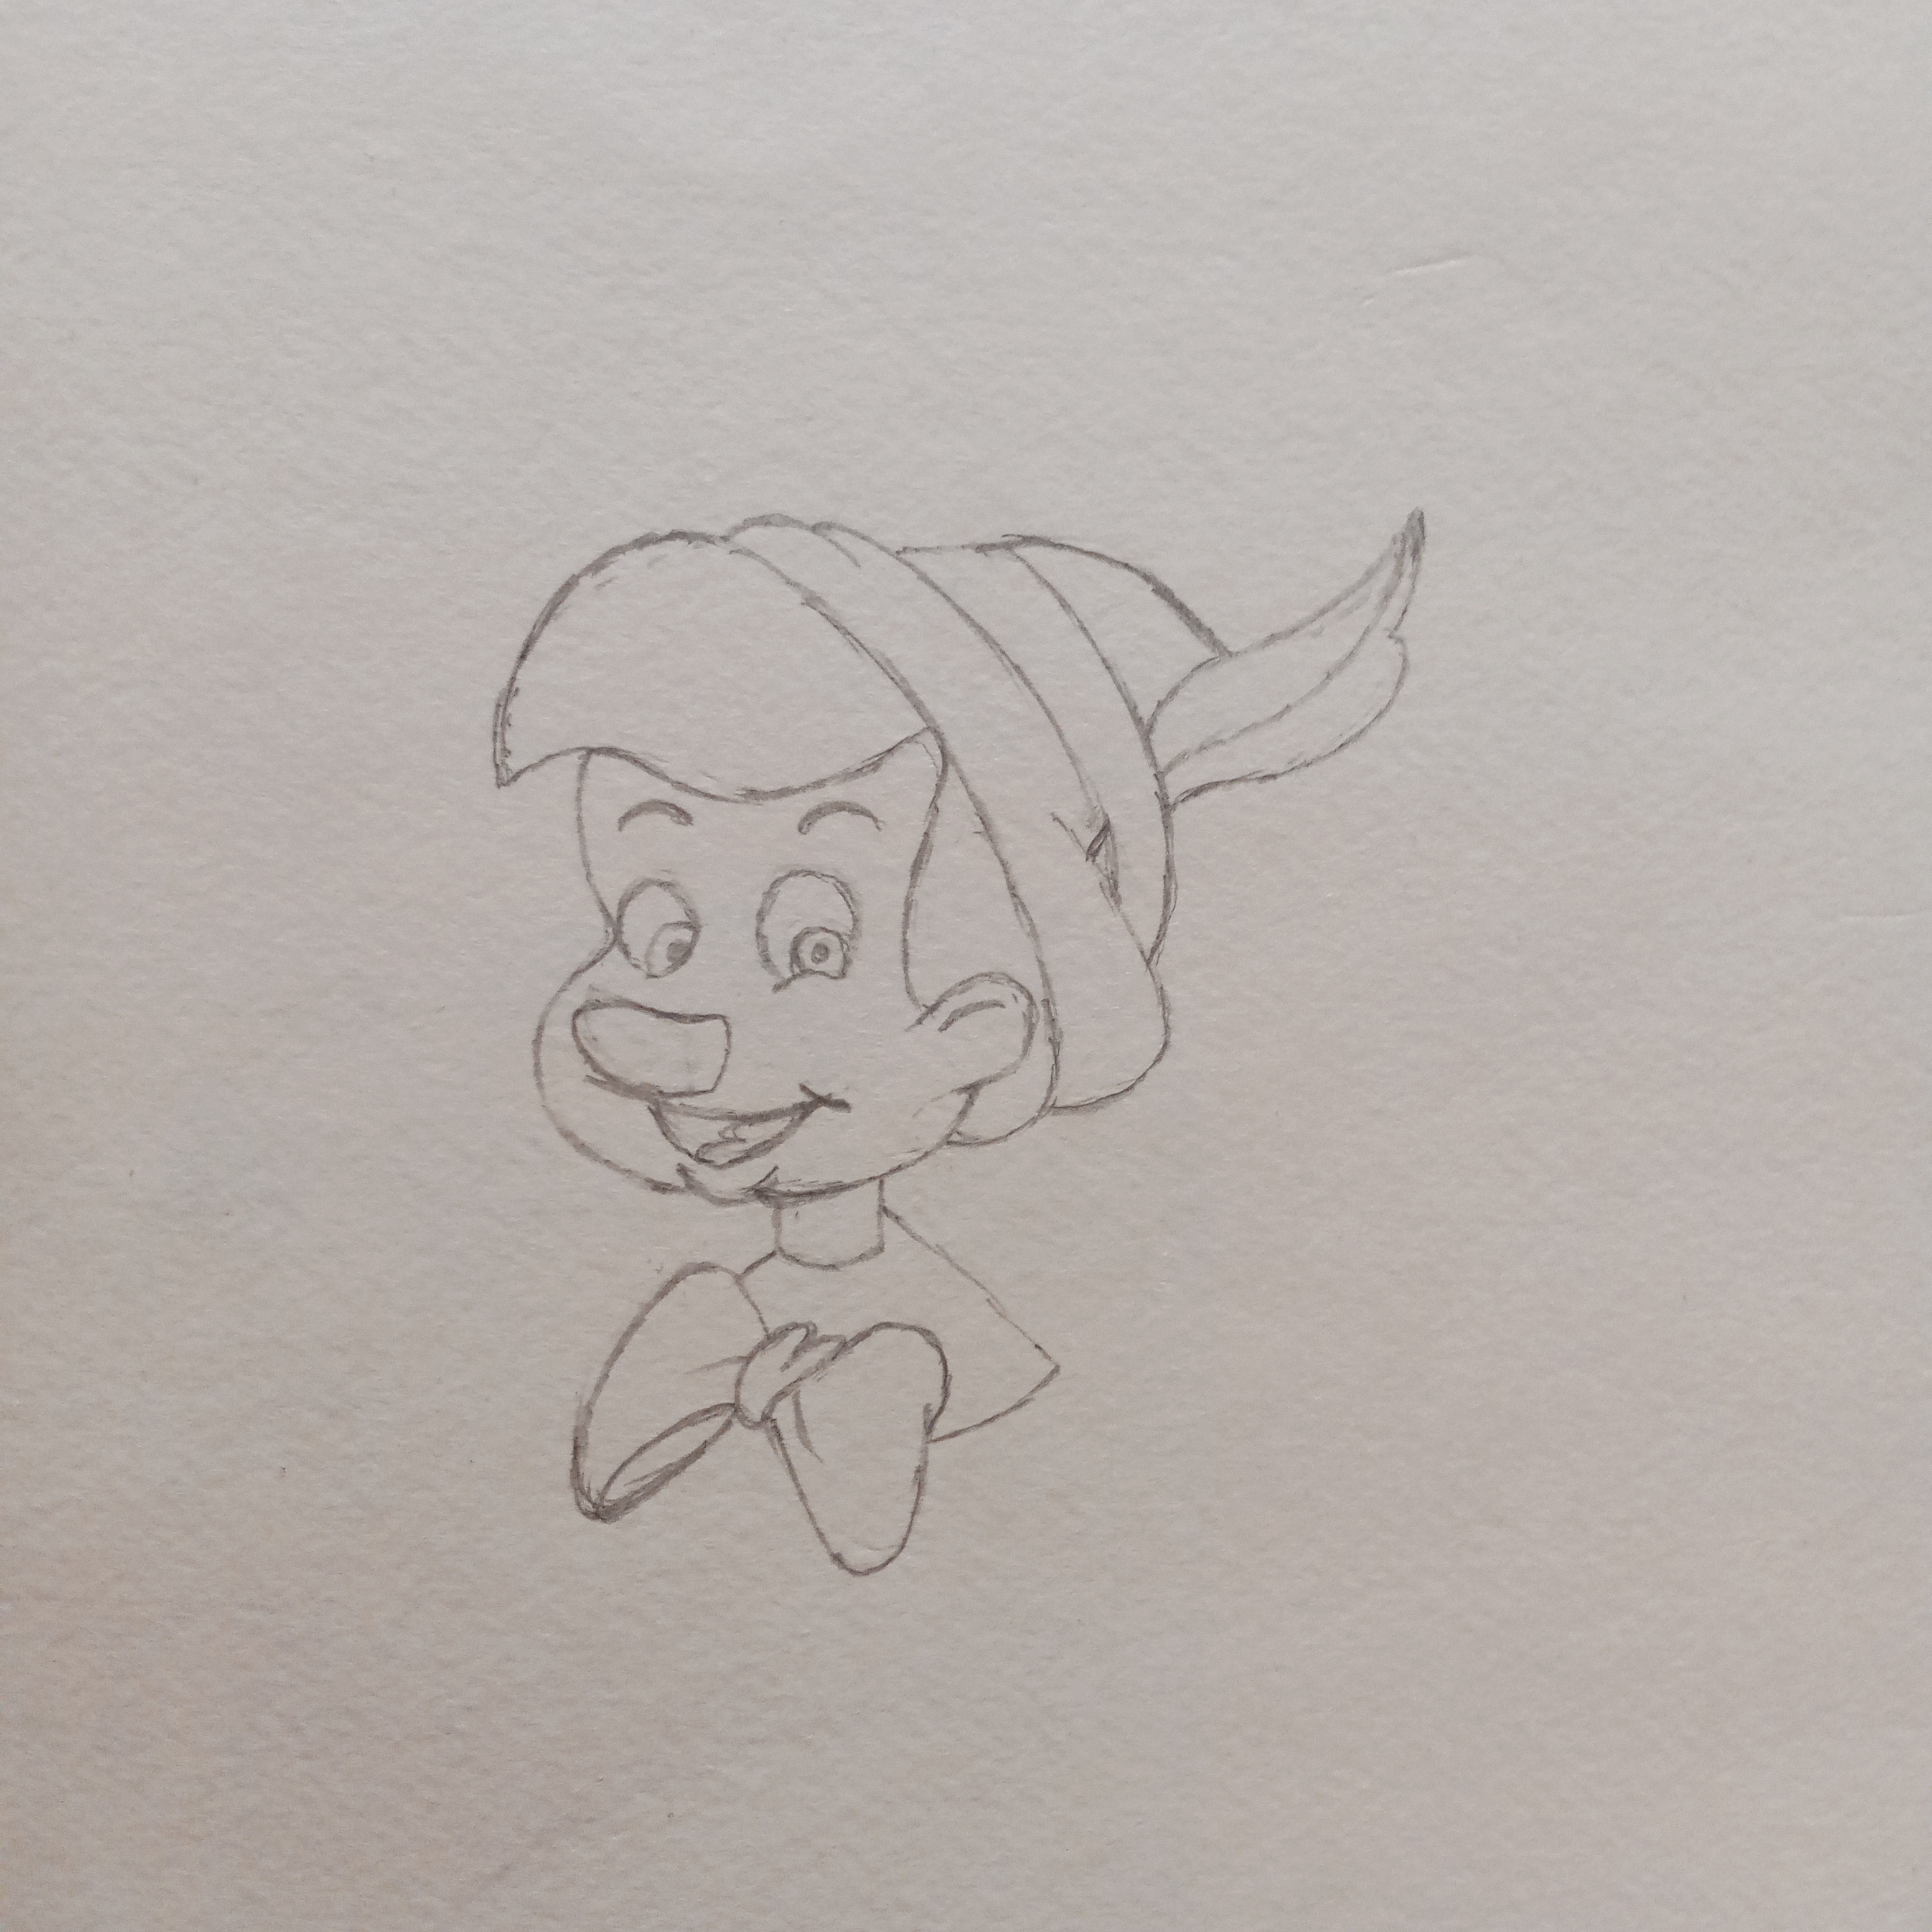
Step 1: Initial Sketch
First I started drawing the basic outline of my character. In this step I tried to make the overall shape of the character accurate and balanced. So that all the subsequent steps could be completed easily. I first drew the complete shape of his hat. And also carefully drew the pointed part on top of the hat. After that I focused on the details of the front part of the hat. Which was coming over the forehead. Then I also drew the shape of the hair around the ears and in the front. I slowly made each line so that the main shape of the character looked beautiful and clear. This was the first and most important step in my entire drawing process.
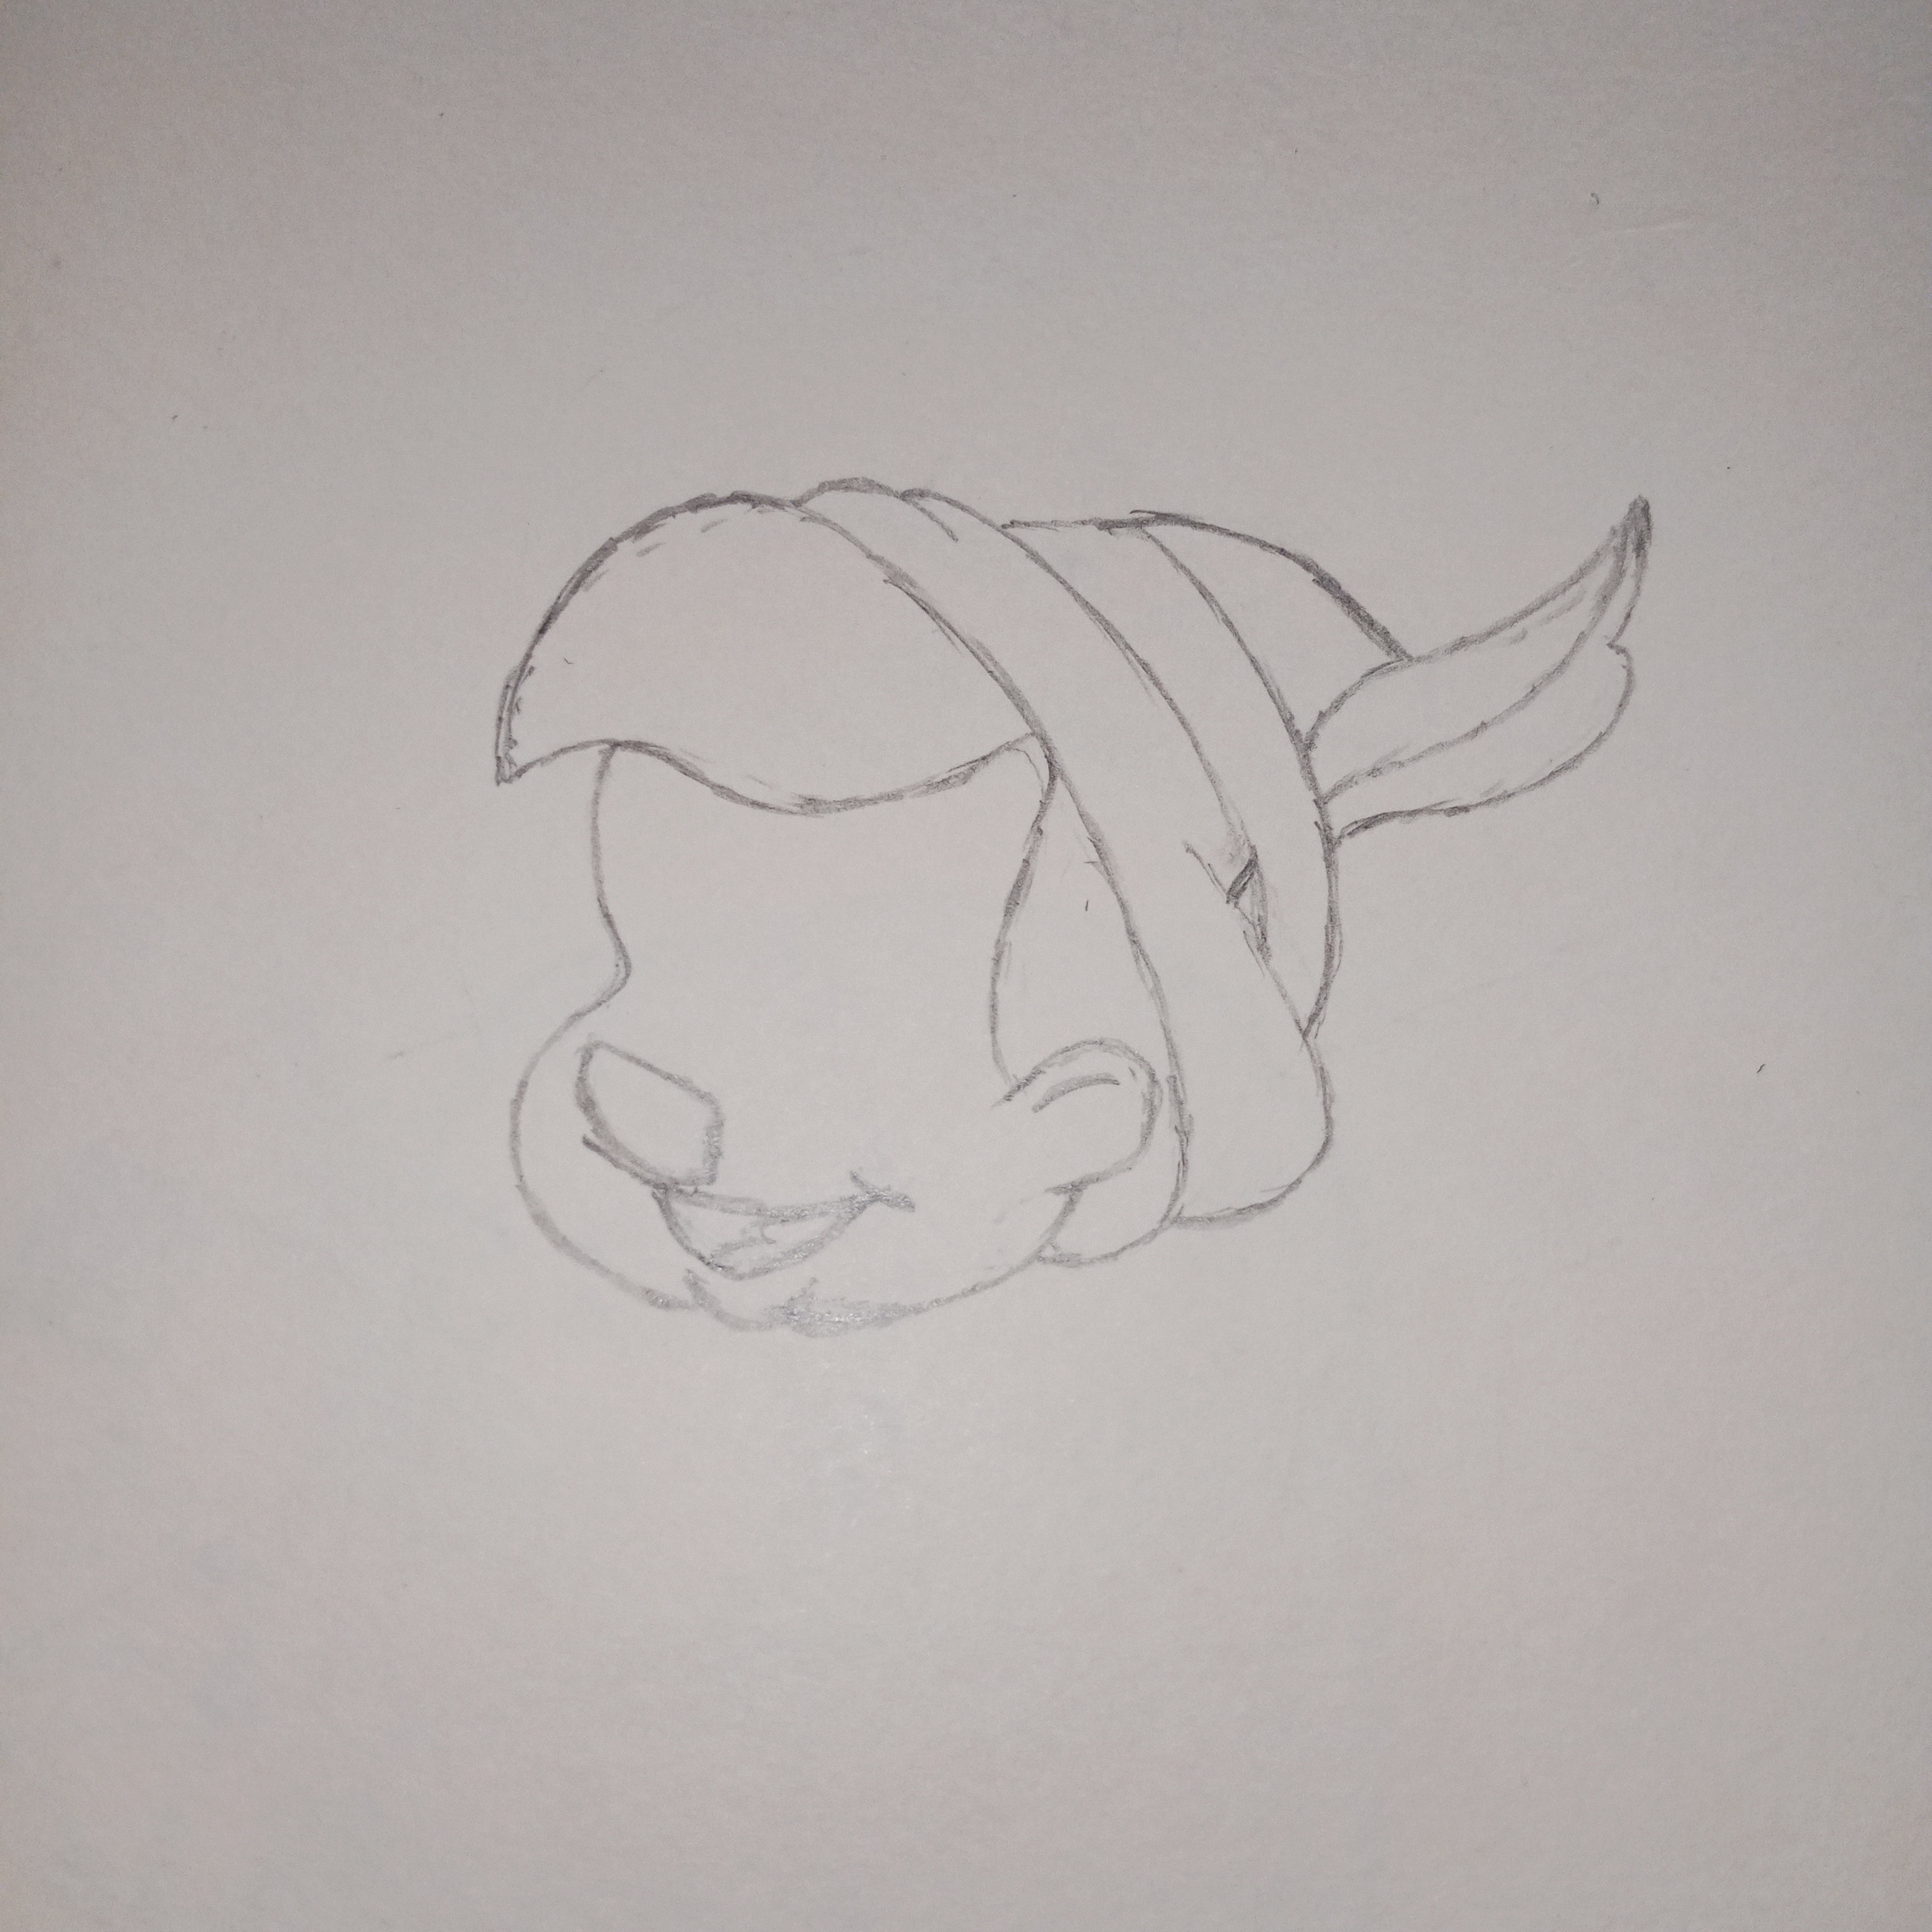
Step 2: Facial Details
In the second step I focused on creating the complete shape of the character's face. First I carefully drew the outer shape of the face. So that the face looked beautiful and balanced. After that I created the most prominent features on his face. I created his smiling lips. So that the expression of happiness and innocence was prominent on the character's face. Then I created his special and big nose. Which gives this cartoon character a unique and funny look. I also completed the ear parts on both sides. And connected their shape to the face properly. After this step the character's face began to take on a quite clear and beautiful shape.
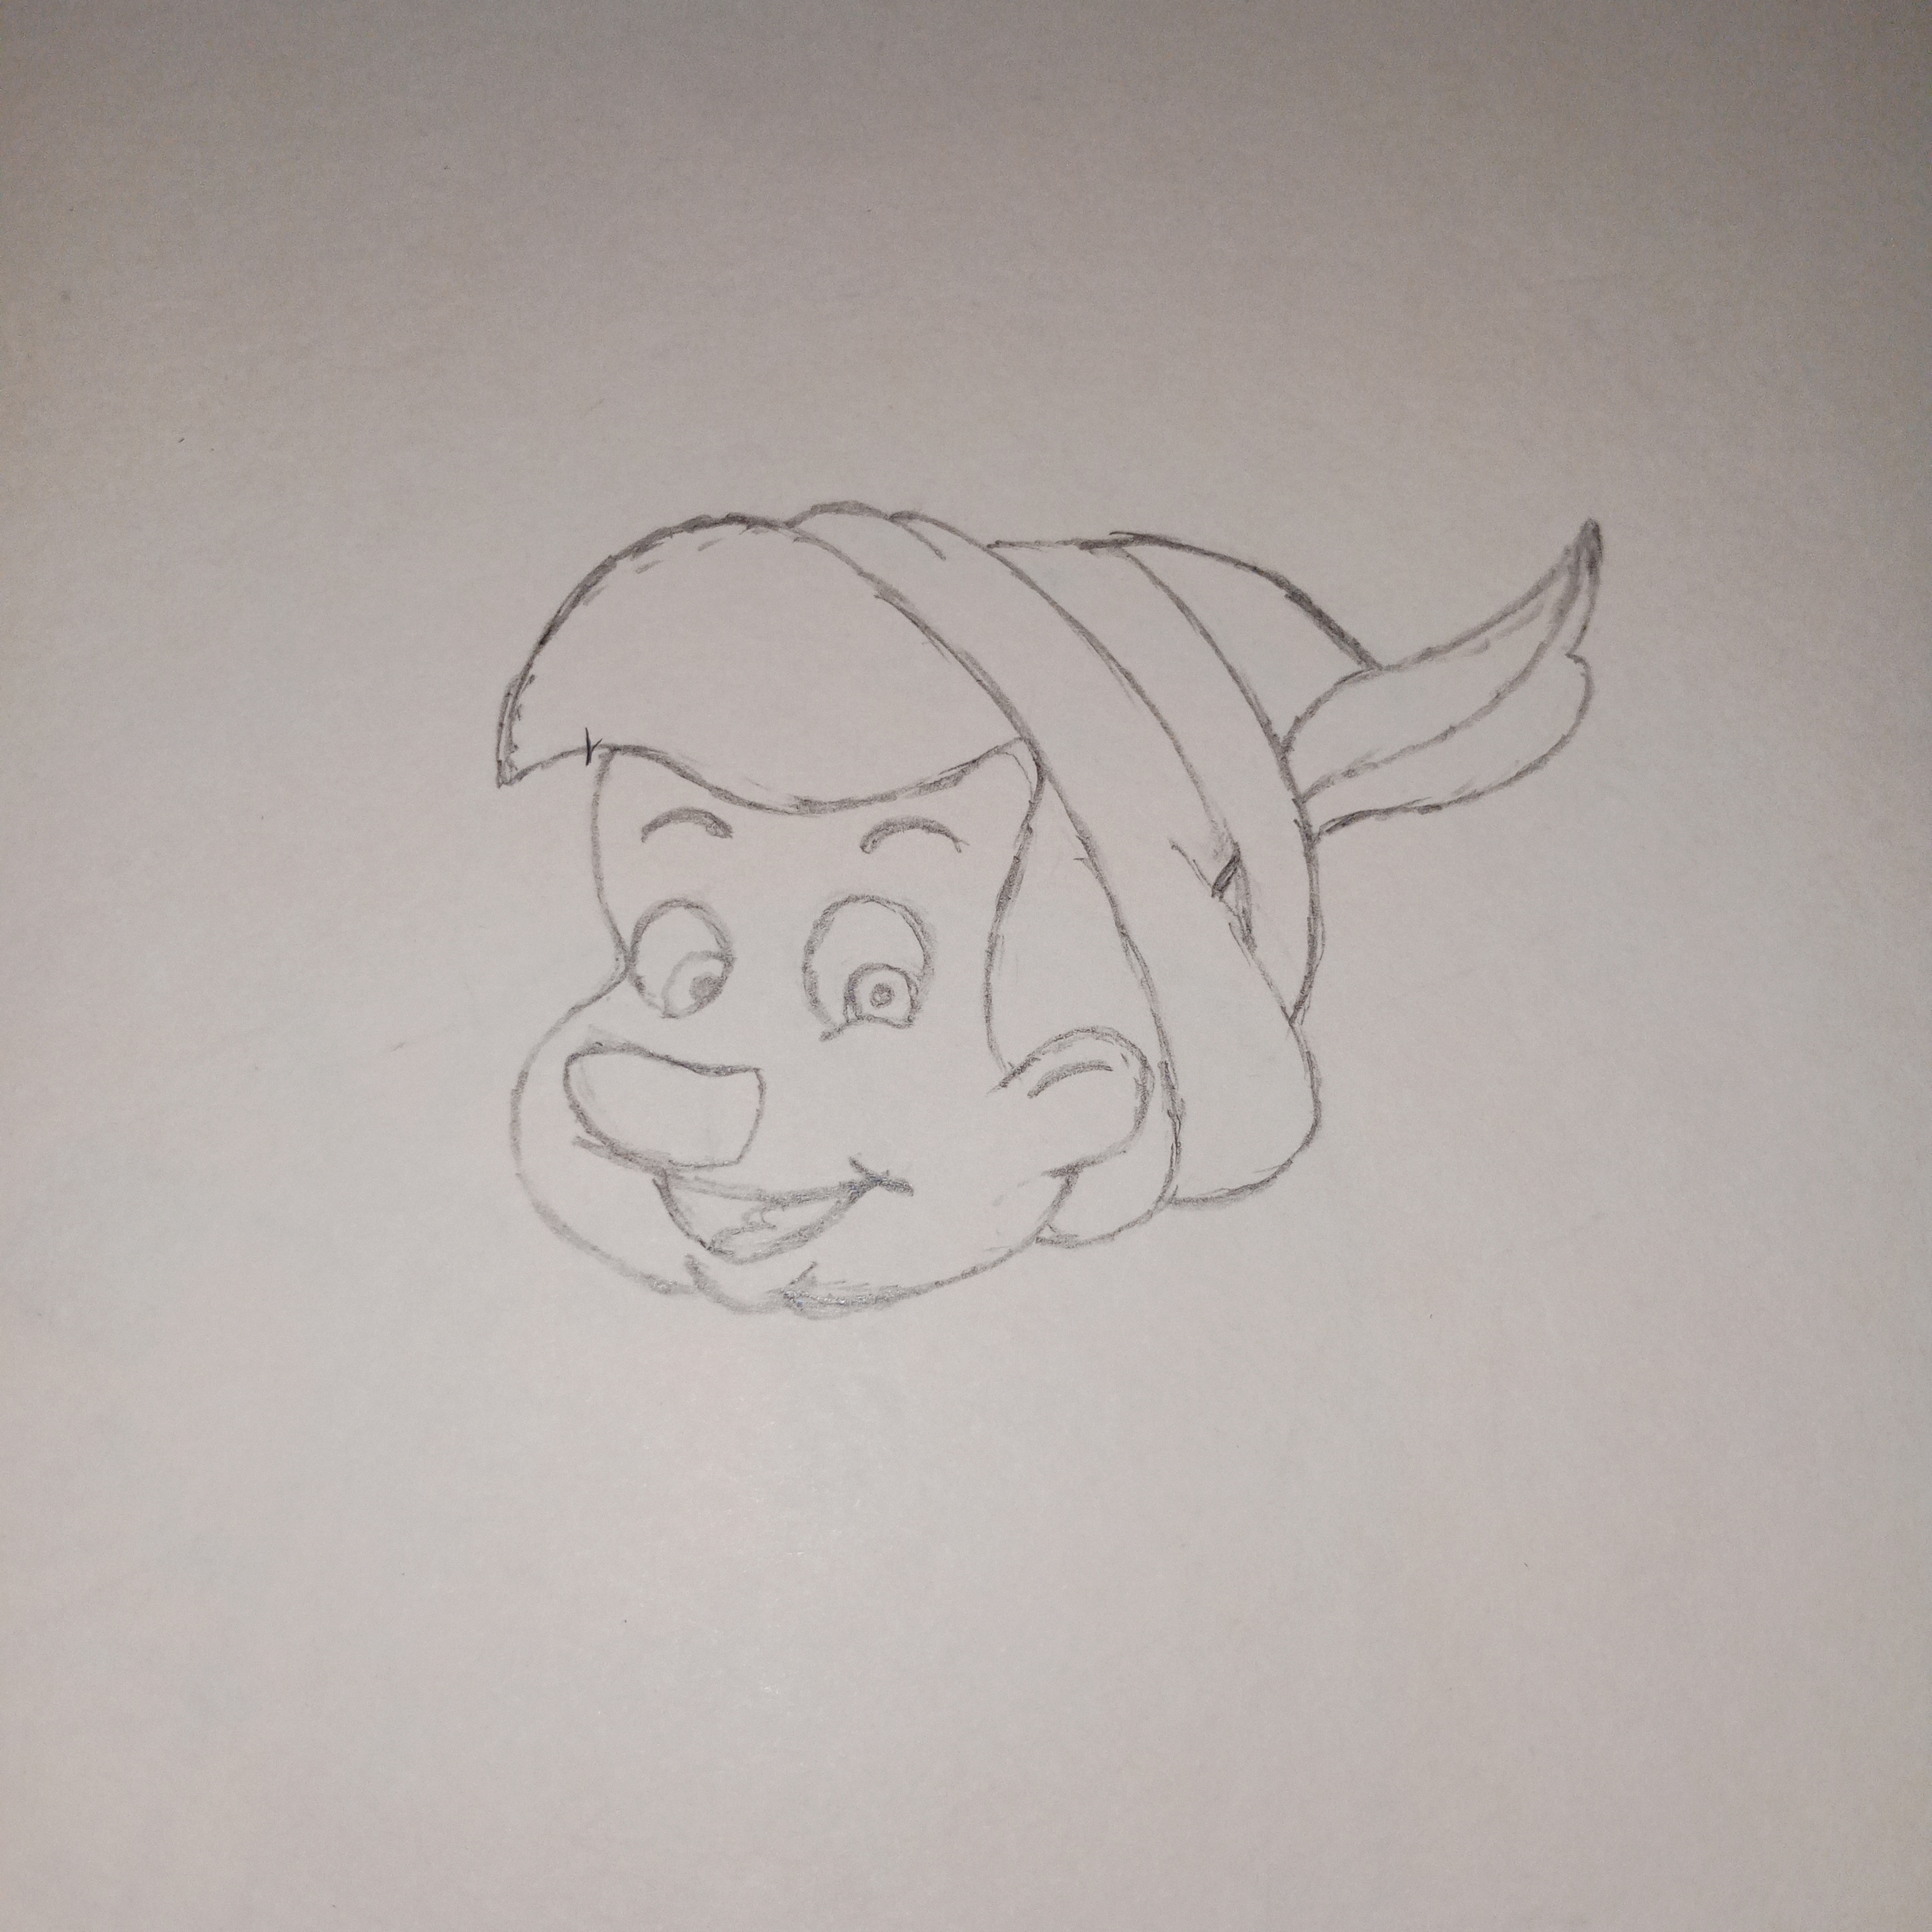
Step 3: Detailing the eyes and expressions
In this step I completed the eye part of the character's face. First I drew the eyes on the left and right sides. And tried to make the shape of both eyes different. Because I wanted the character's expression to look more interesting and prominent. That's why I tried to make one eye relatively small and the other eye larger. This difference created a cute and playful expression on the face. After that I also drew eyebrows above both eyes. And kept their shape according to the facial expression. I completed the remaining small details of the eyes and eyebrows. After which the upper part of the character's face started to look complete and more expressive.
Step 4: Neck Dress and Ribbon Sketch
After that I started working on the next part of the drawing. And first sketched the character's neck with a light hand. I tried to keep the length of the neck. And its position appropriate to the face. So that the whole character looks balanced. After that I started drawing the initial shape of the dress around the neck. I used a light hand instead of pressing the pencil too hard so that any correction is needed. It can be done easily. Then I also drew the beautiful ribbon tied on the front side of the character's dress. I carefully made both sides of the ribbon and the middle part. Which made the dress look more cute. In this way I successfully completed the complete initial sketch of the character with a pencil.
Step 5: Outline Shading and Final Touch
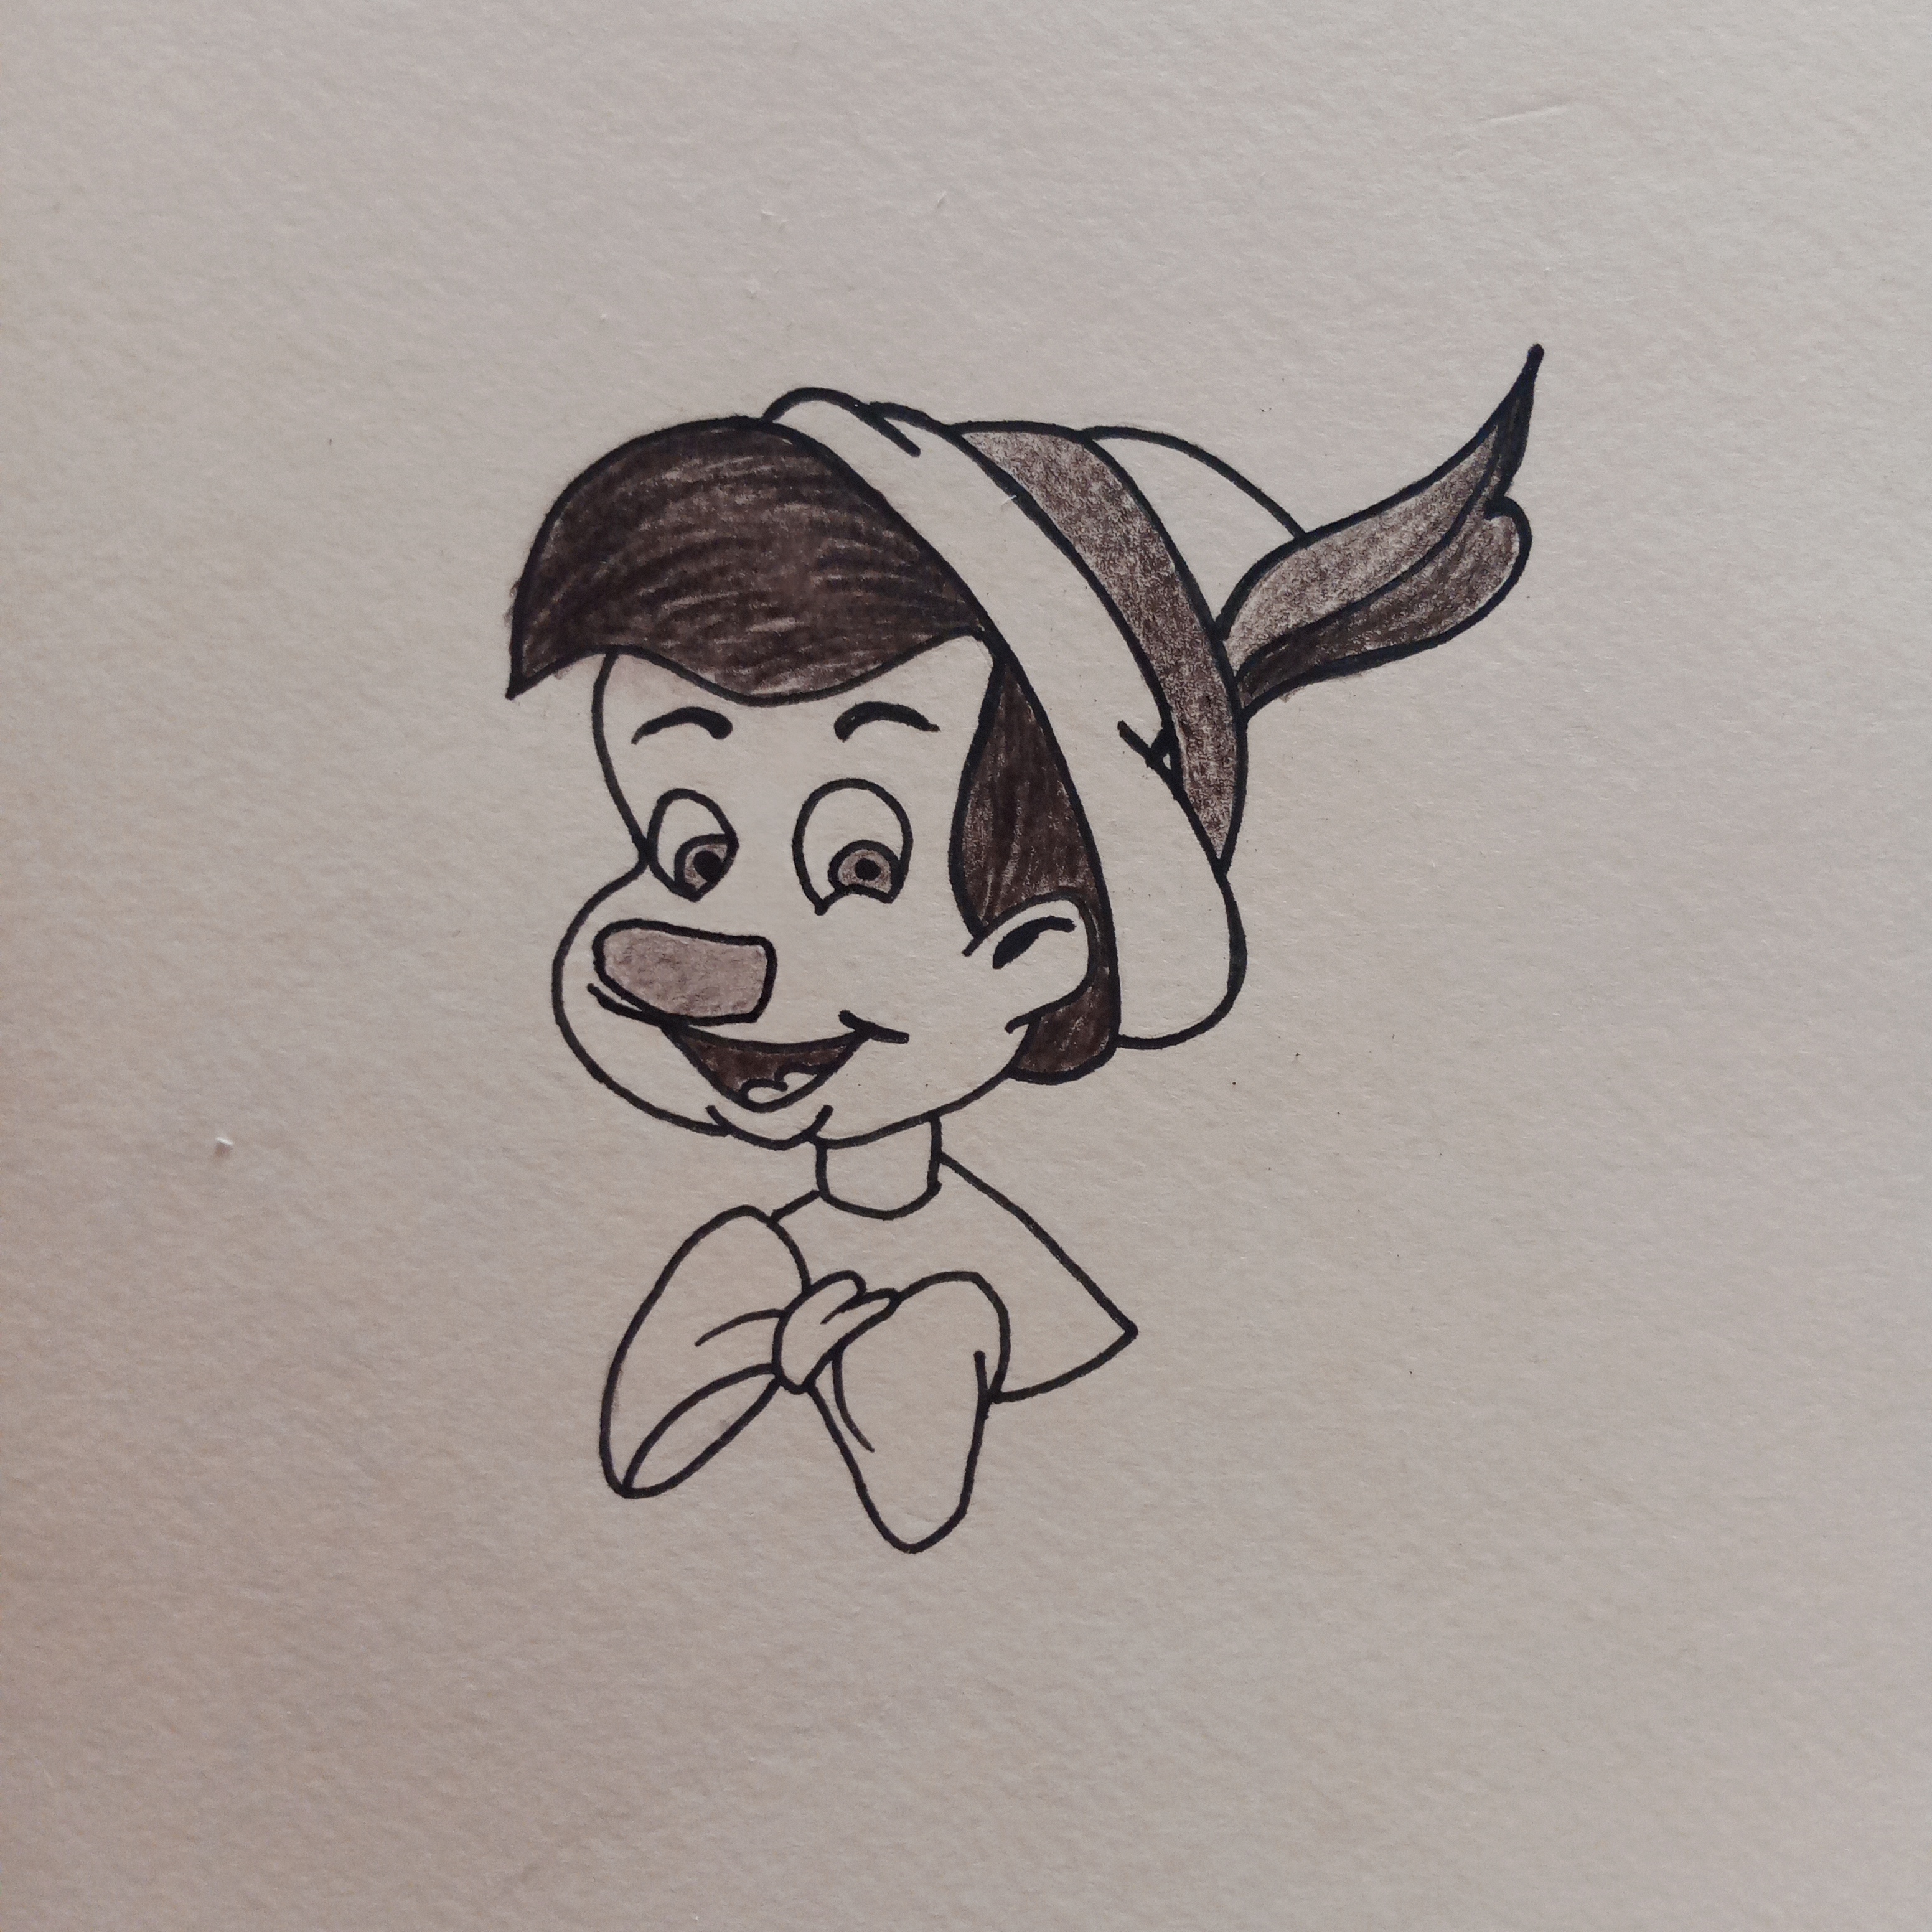
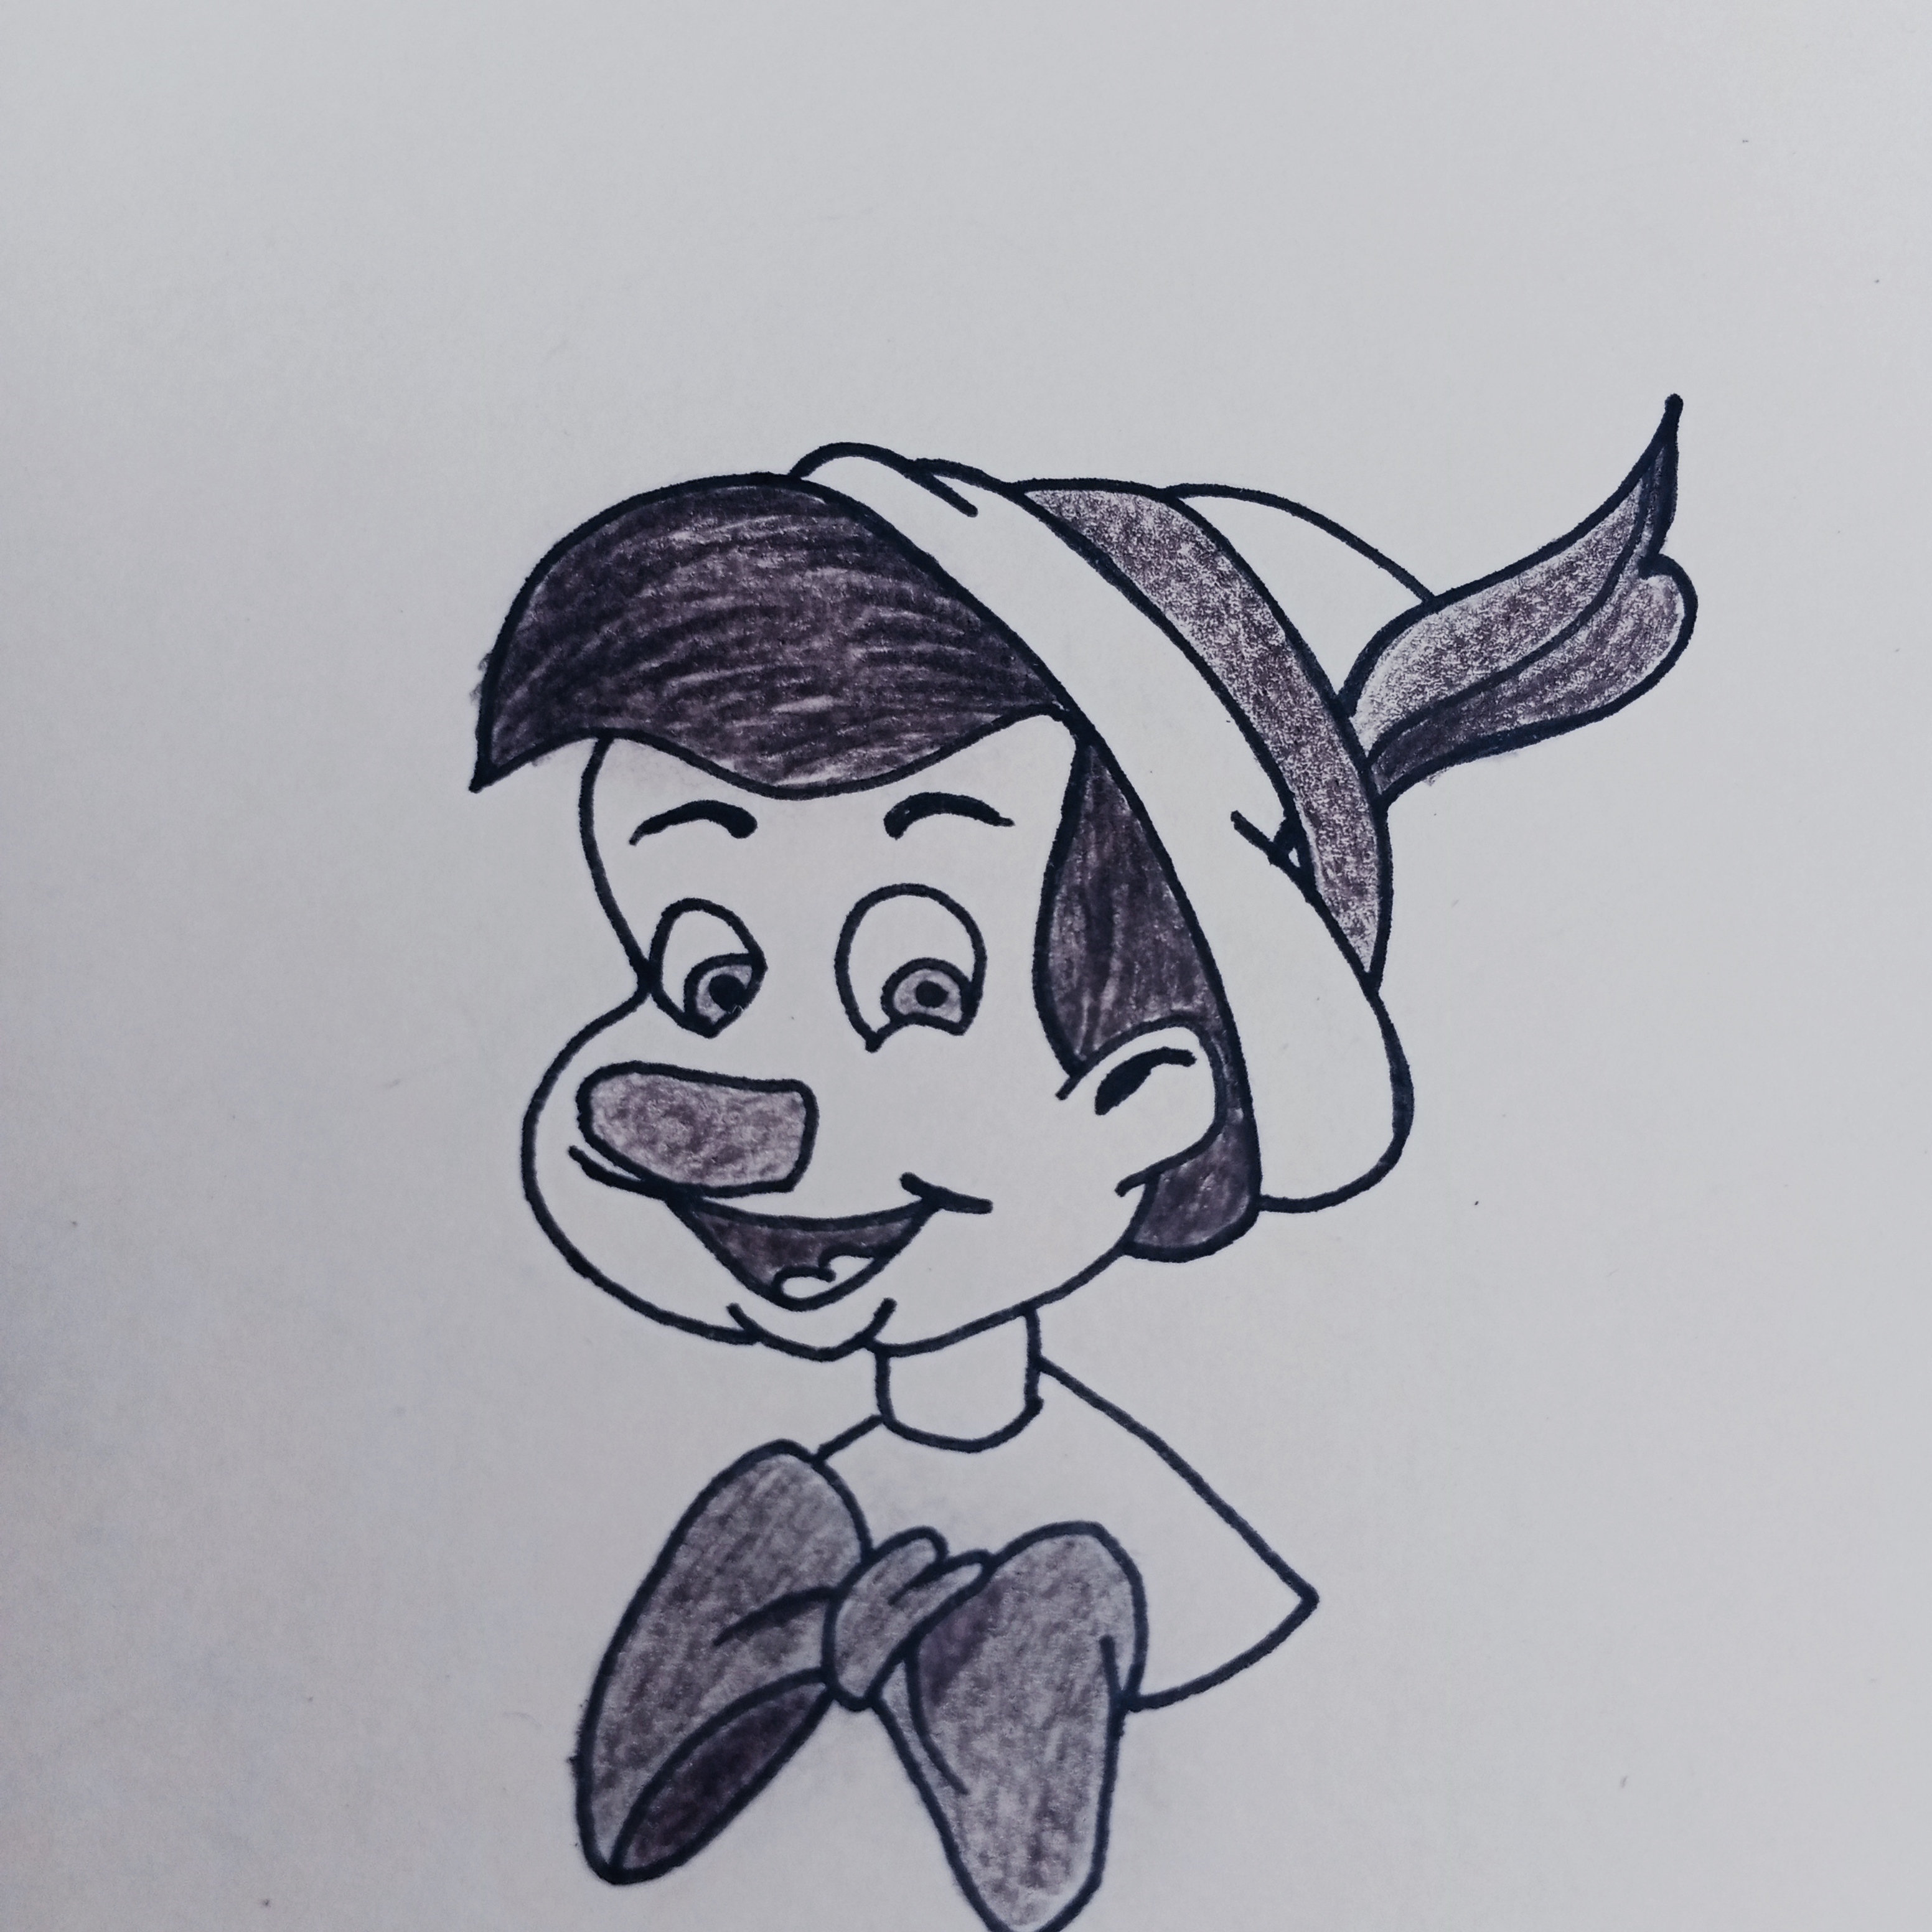
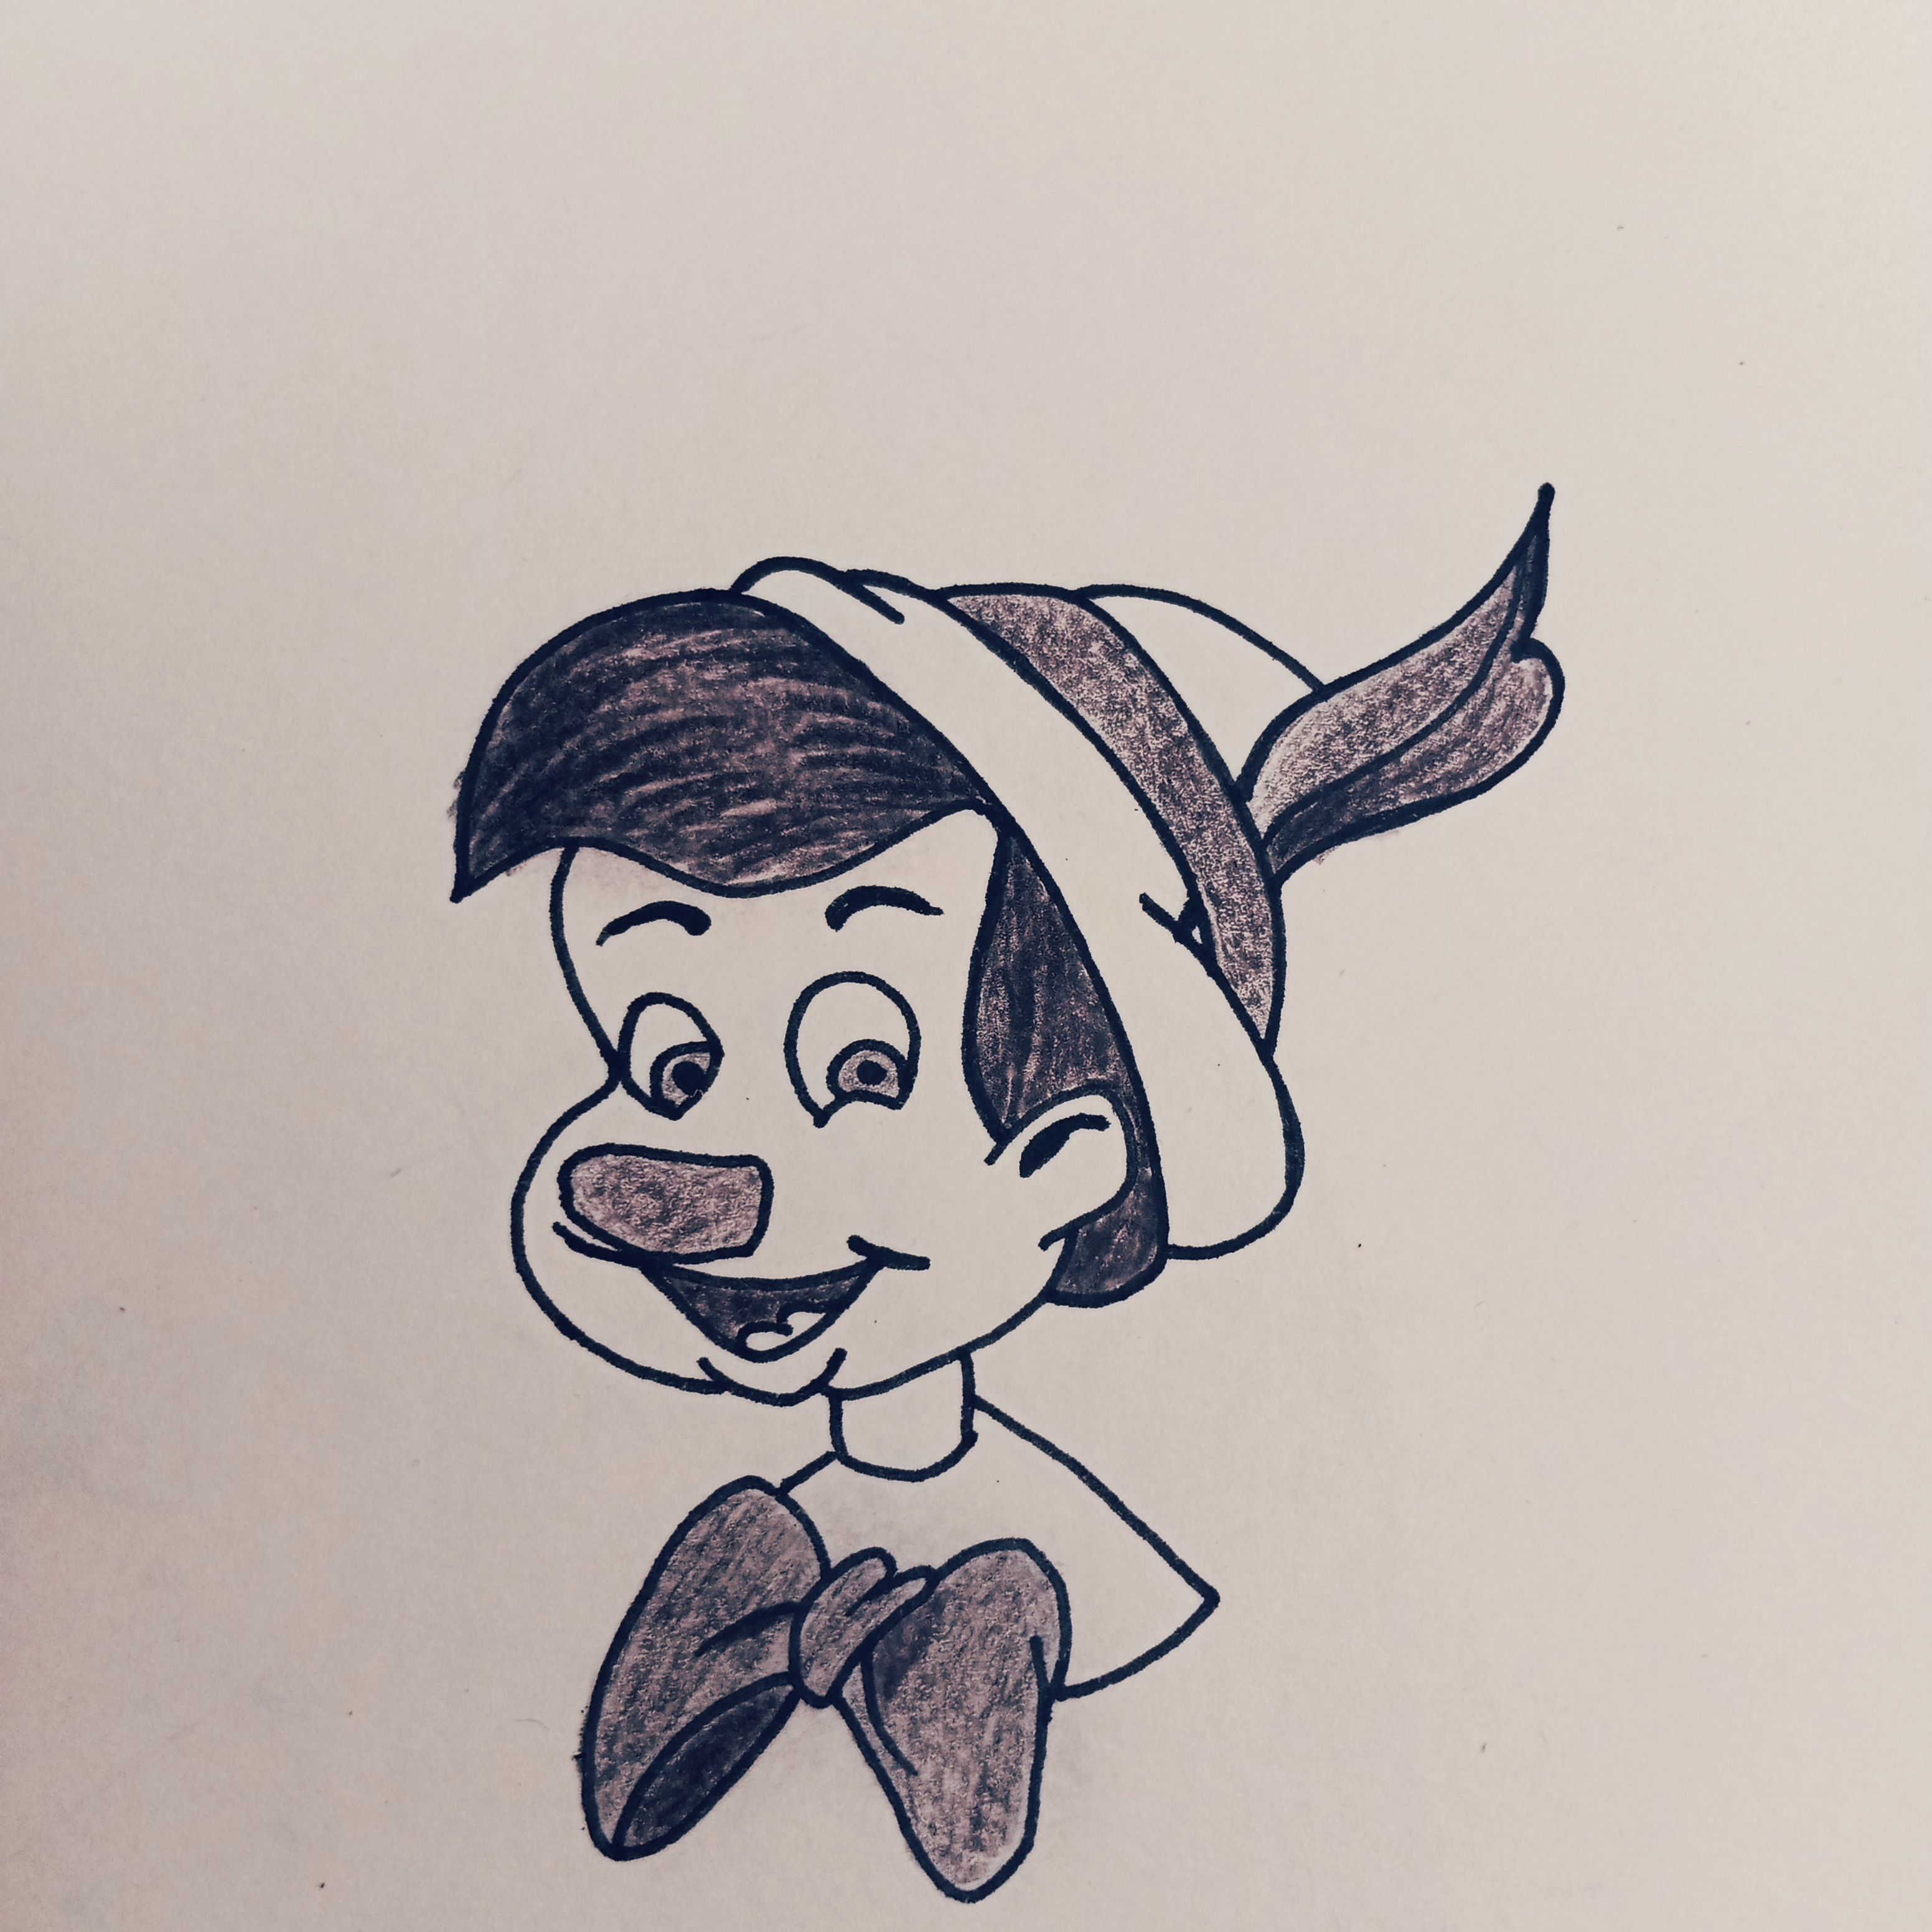
Finally I started the final step of my drawing shading and finishing. First I bolded the outlines of the entire pencil sketch with the help of a black pointer. So that all the details of the character were more clear and prominent. After that I used light and dark shading in different parts. Where the light was to be shown. I gave light black shading. While in the dark areas I gave deep shading so that the drawing would create depth and dimension. I also added both light and dark shades to the hat part. Then I completed the eyes and also did appropriate shading inside them. Along with giving shading inside the lips. I also added dark and light shades to the dress. Finally I also did both types of shading on the ribbon. Which made its shape more prominent. Thus after completing all the details and finishing touches. My beautiful pencil artwork was completed.
Until next time, stay awesome, and keep on reading.
Thank you for being with me.
|
|---|
TEAM 5
Congratulations! Your post has been upvoted from sc-07 account.