How to Install OmniVoice TTS Locally on Windows
In this blog, you’ll learn how to install and run OmniVoice TTS on Windows, Mac, and Google Colab. It also covers Python API examples, zero-shot voice cloning, 600+ language support, voice customization, and comparisons with ElevenLabs, Kokoro TTS, and F5-TTS.

how to install omnivoice tts locally on windows python
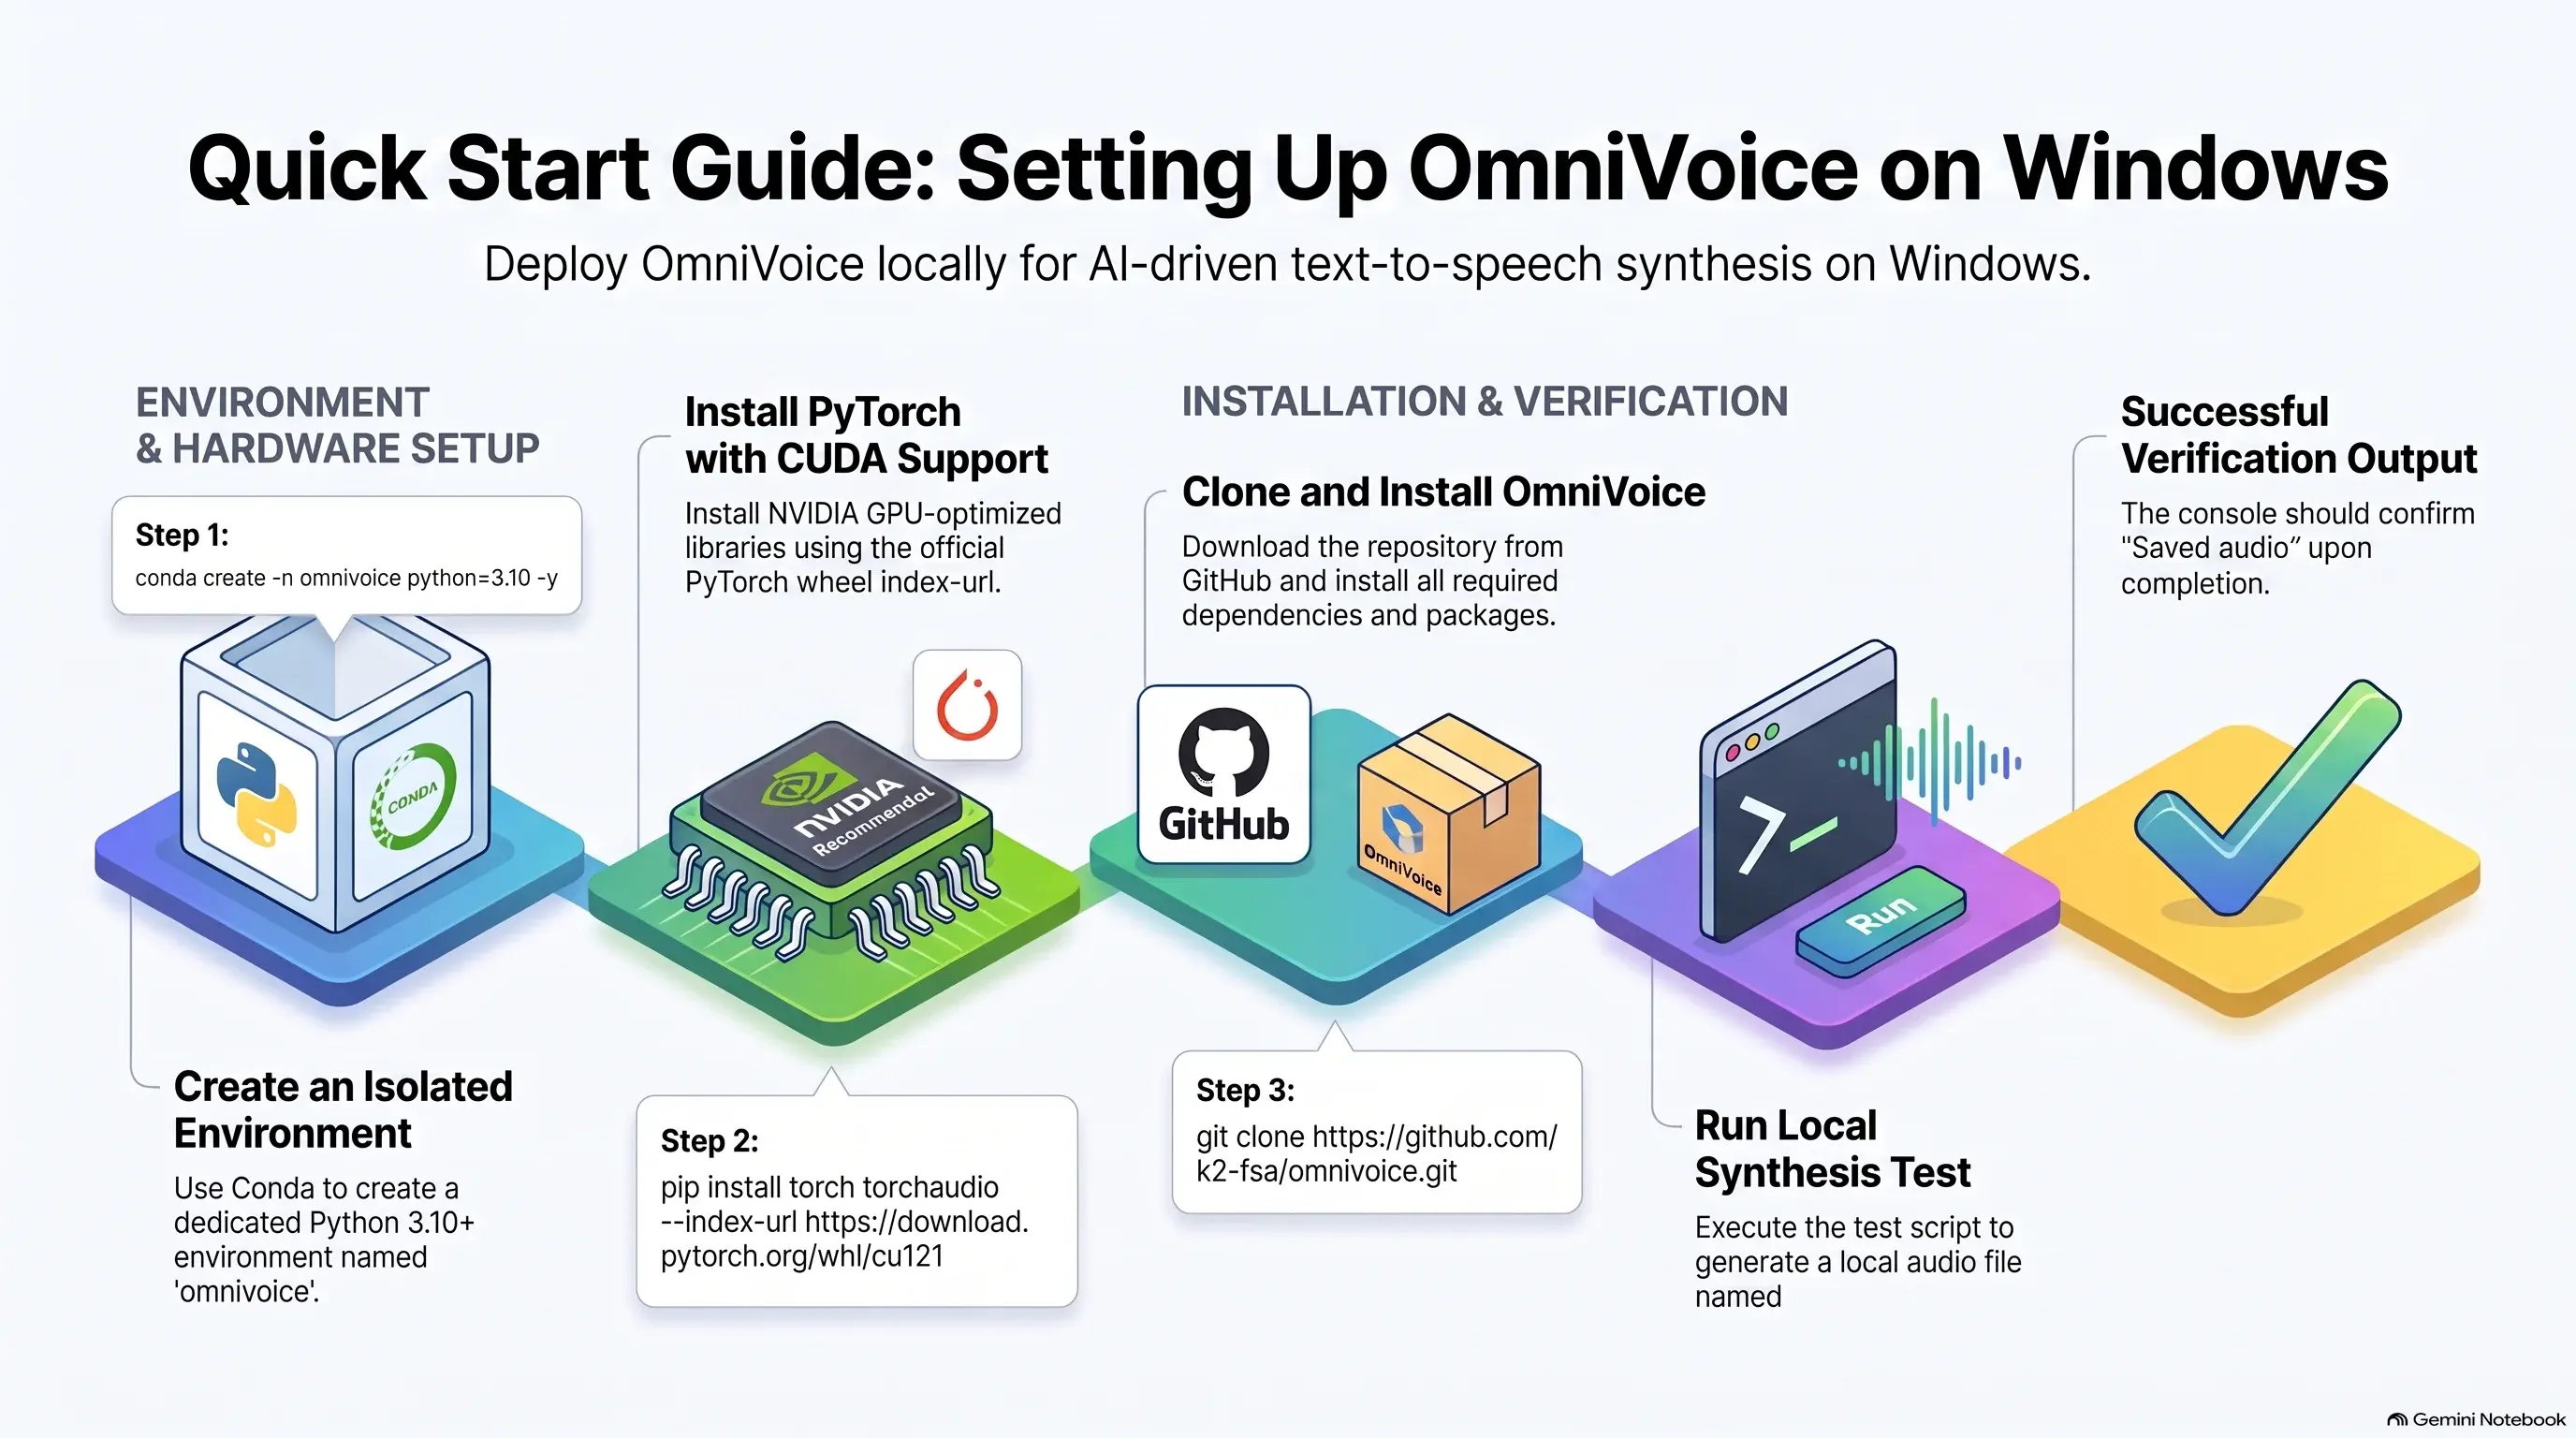
*Create a Dedicated Environment then Open Command or Anaconda Prompt and create an isolated environment
conda create -n omnivoice python=3.10 -y
conda activate omnivoice
Install PyTorch with CUDA Support then Install the PyTorch build compatible with your CUDA version
pip install torch torchaudio –index-url https://download.pytorch.org/whl/cu121
Clone and Install OmniVoice then Download the repository and install its dependencies
git clone https://github.com/k2-fsa/omnivoice.git
cd omnivoice
pip install -r requirements.txt
pip install -e .
Run a Quick Test Script then Create a test file test_tts.py to verify the installation
from omnivoice import OmniVoice
Load the model
model = OmniVoice.from_pretrained(“k2-fsa/OmniVoice”)
Generate speech
model.synthesize(
text=”Hello! OmniVoice is running locally on Windows.”,
output_path=”test_audio.wav”
)
print(“Saved audio to test_audio.wav”)
last Run the script
python test_tts.py
how to run omnivoice on apple silicon m series mac
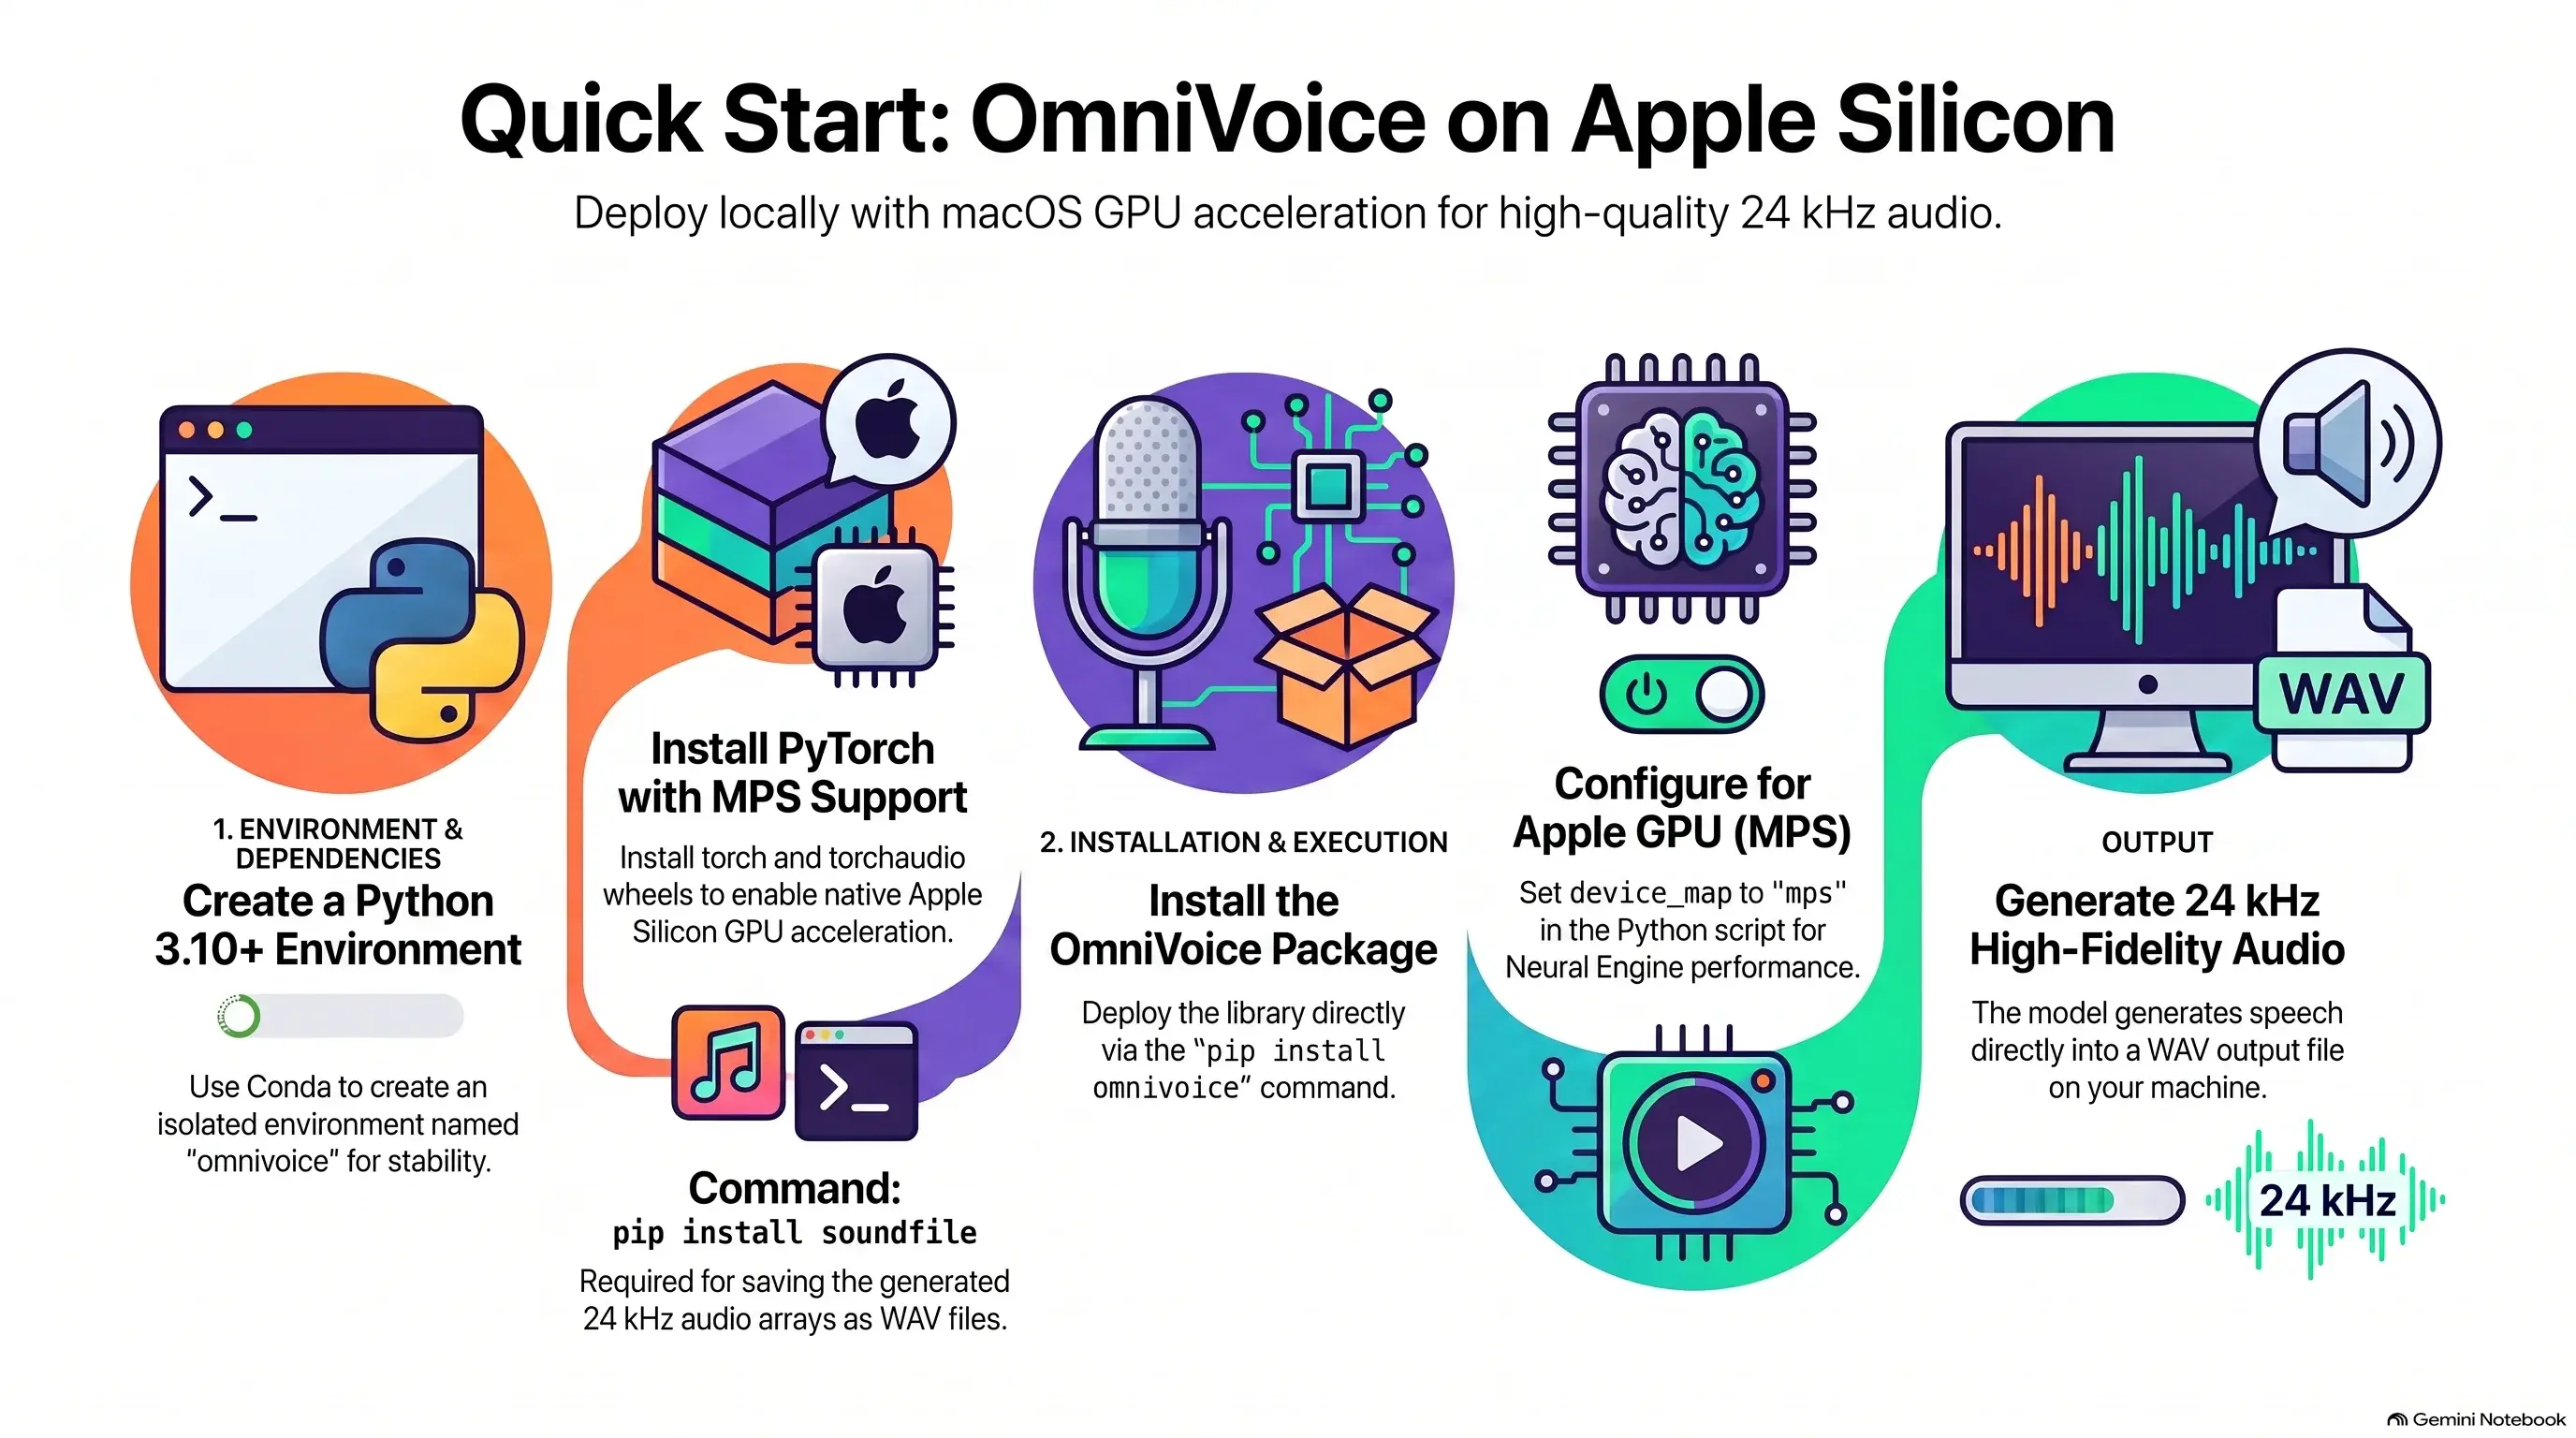
1.Set Up a Virtual Environment then Open Terminal and create an isolated conda or venv environment
conda create -n omnivoice python=3.10 -y
conda activate omnivoice
2.Install PyTorch & Audio Libraries then Install standard macOS PyTorch wheels with native MPS (Metal Performance Shaders) support:
pip install torch torchaudio soundfile
3.Install OmniVoice then Install the package directly via pip:
pip install omnivoice
4.Run the Python Test Script then Create a file named run_mac.py:
Python
import soundfile as sf
import torch
from omnivoice import OmniVoice
Load model onto Apple Silicon GPU (MPS)
model = OmniVoice.from_pretrained(
k2-fsa/OmniVoice
device_map="mps
dtype=torch.float32
)
Generate speech
audio = model.generate(
text="Hello! OmniVoice is running directly on Apple Silicon M-series Mac.
)
Save output (24 kHz audio array)
sf.write("output.wav", audio[0], 24000)
print("Audio successfully saved to output.wav
Run the script:
python run_mac.py
omnivoice google colab notebook free gpu execution
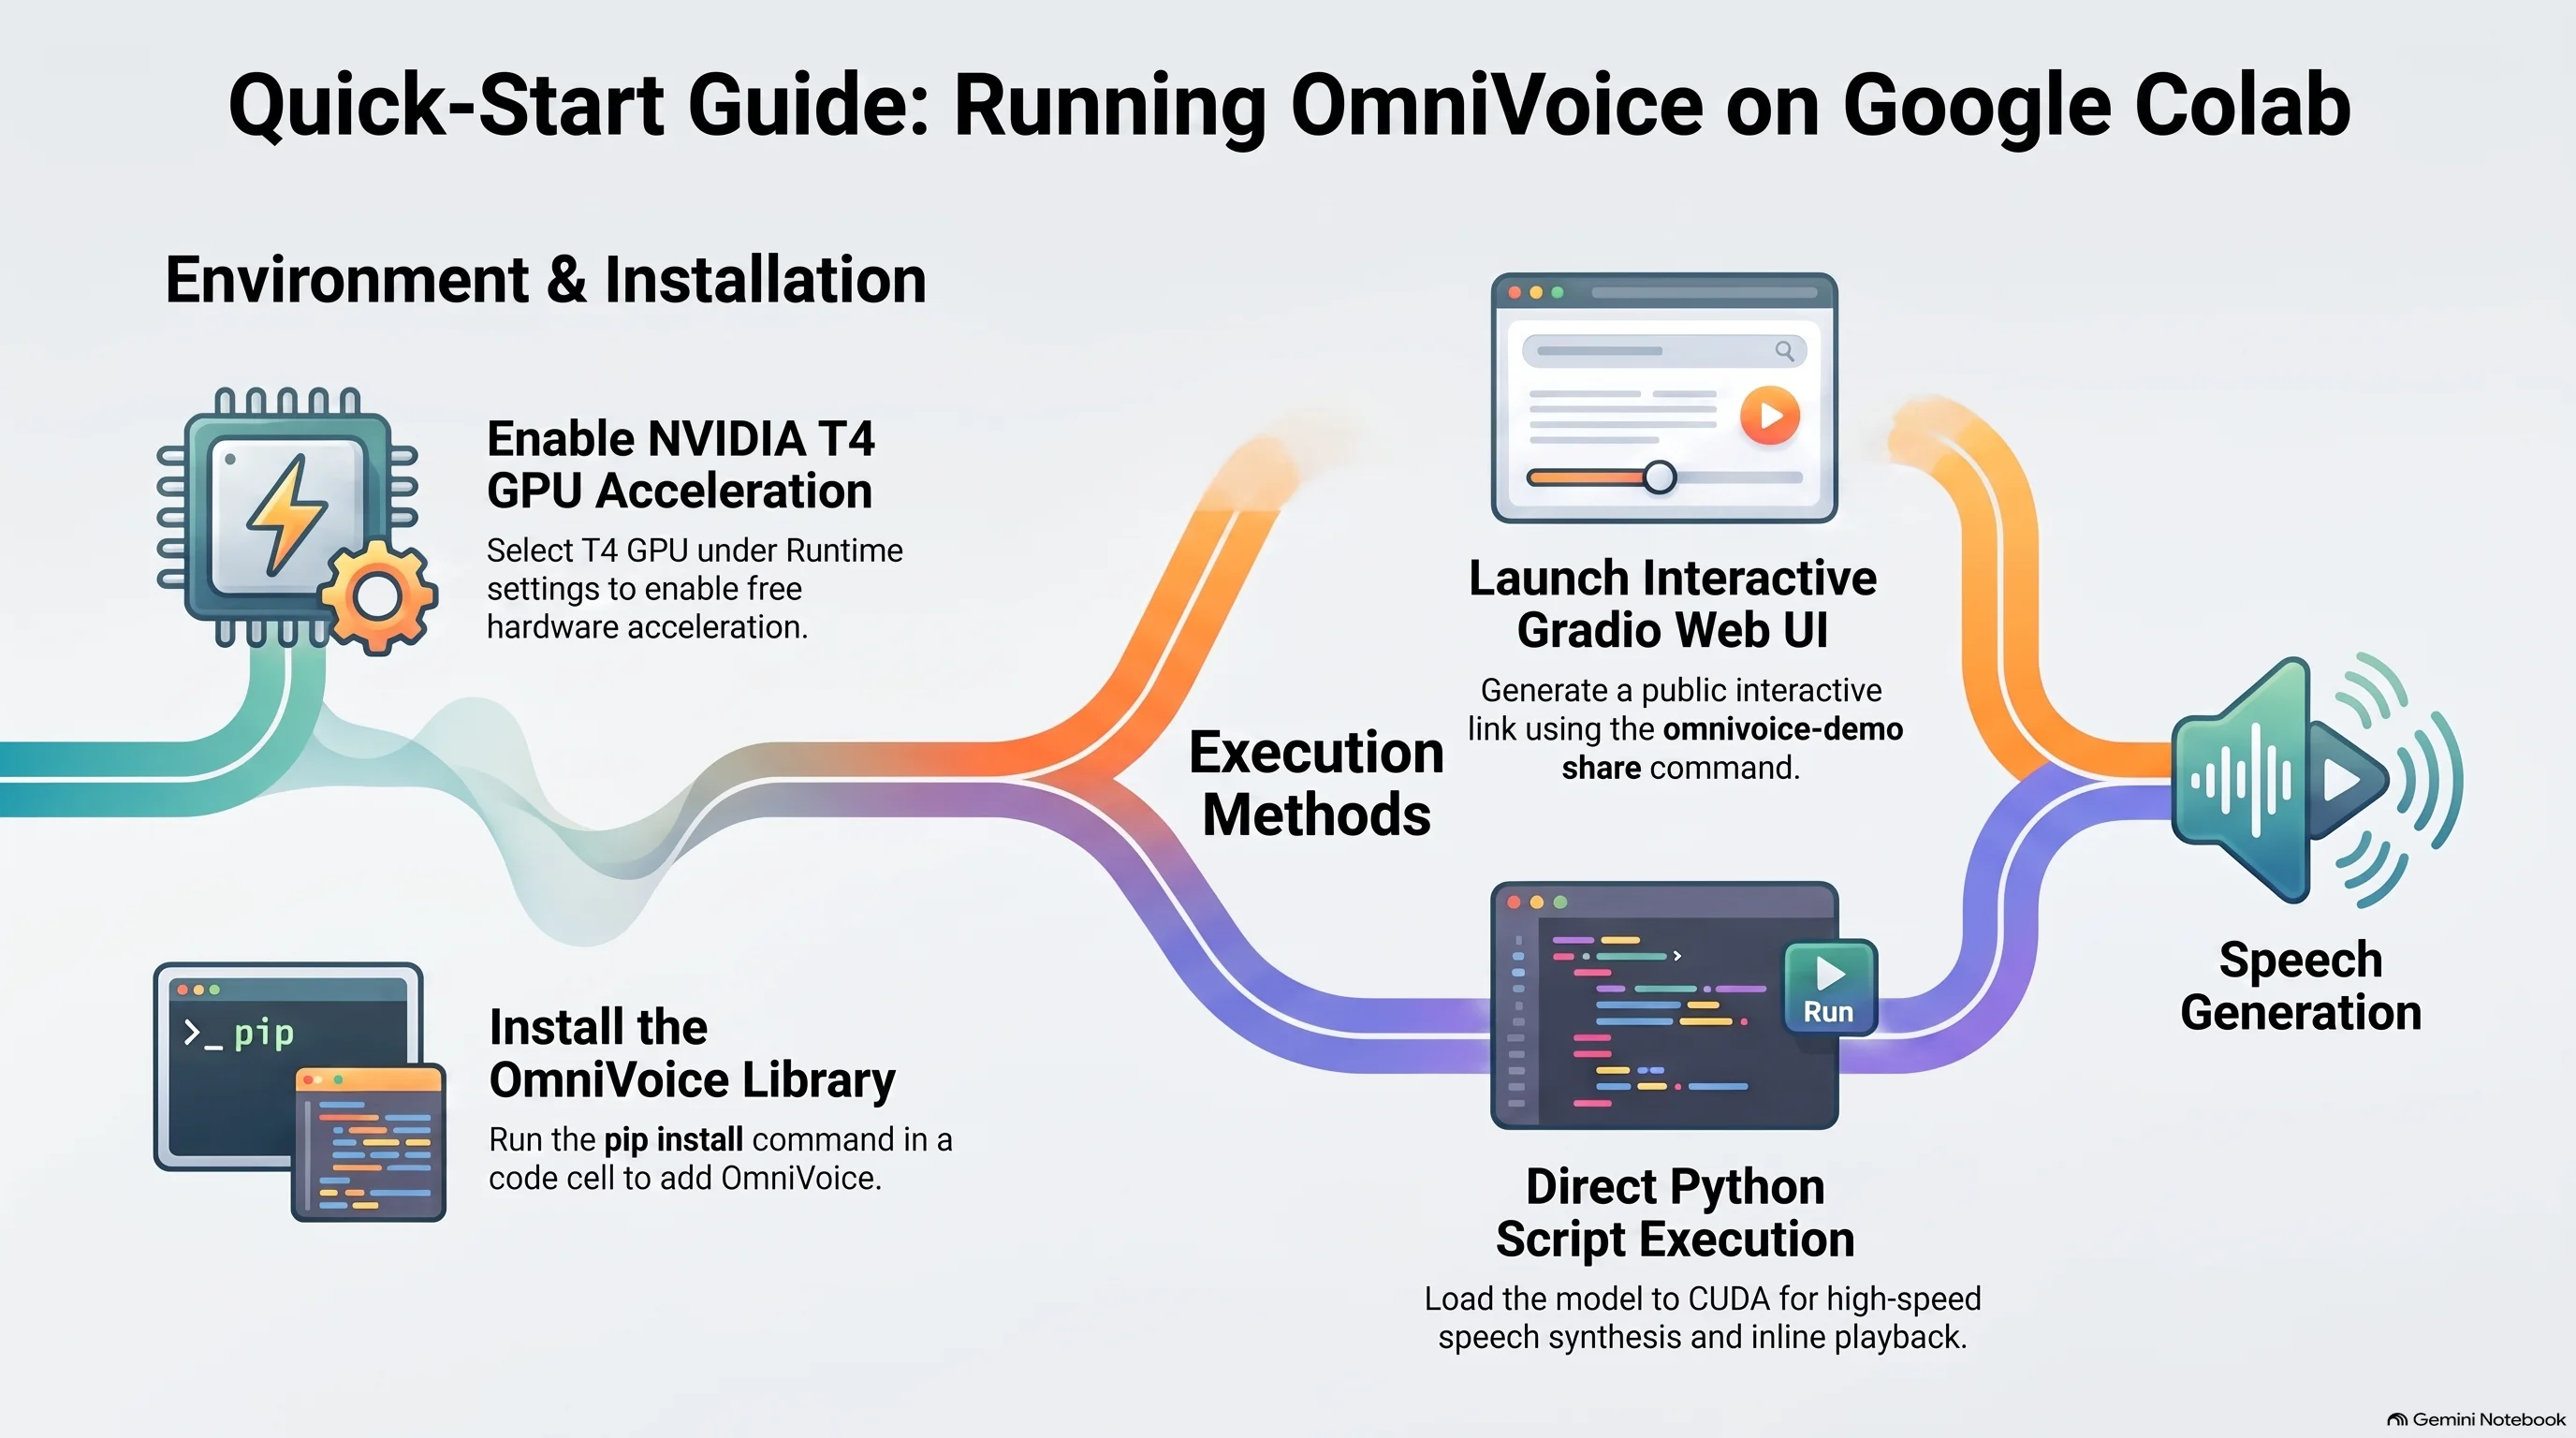
1.Set Runtime to GPU
Open a new notebook on Google Colab.
Go to Runtime → Change runtime type.
Select T4 GPU under Hardware accelerator and Save.
2.Install OmniVoice
Run this command in a notebook code cell
!pip install omnivoice
3.Launch Gradio Web Interface
Generate a public interactive UI link directly inside Colab:
!omnivoice-demo --share
4.Run TTS via Python Code
Run the following code block to synthesize speech and listen inline:
Python
import torch
import soundfile as sf
from IPython.display import Audio, display
from omnivoice import OmniVoice
Load model on the Colab T4 GPU
model = OmniVoice.from_pretrained(
“k2-fsa/OmniVoice”,
device_map=”cuda:0″,
dtype=torch.float16,
)
Generate speech
audio = model.generate(text=”Hello! OmniVoice is running on a free Colab GPU.”)
Save and play the output
sf.write(“output.wav”, audio[0], 24000)
display(Audio(“output.wav”))
omnivoice github python api code example for text to speech
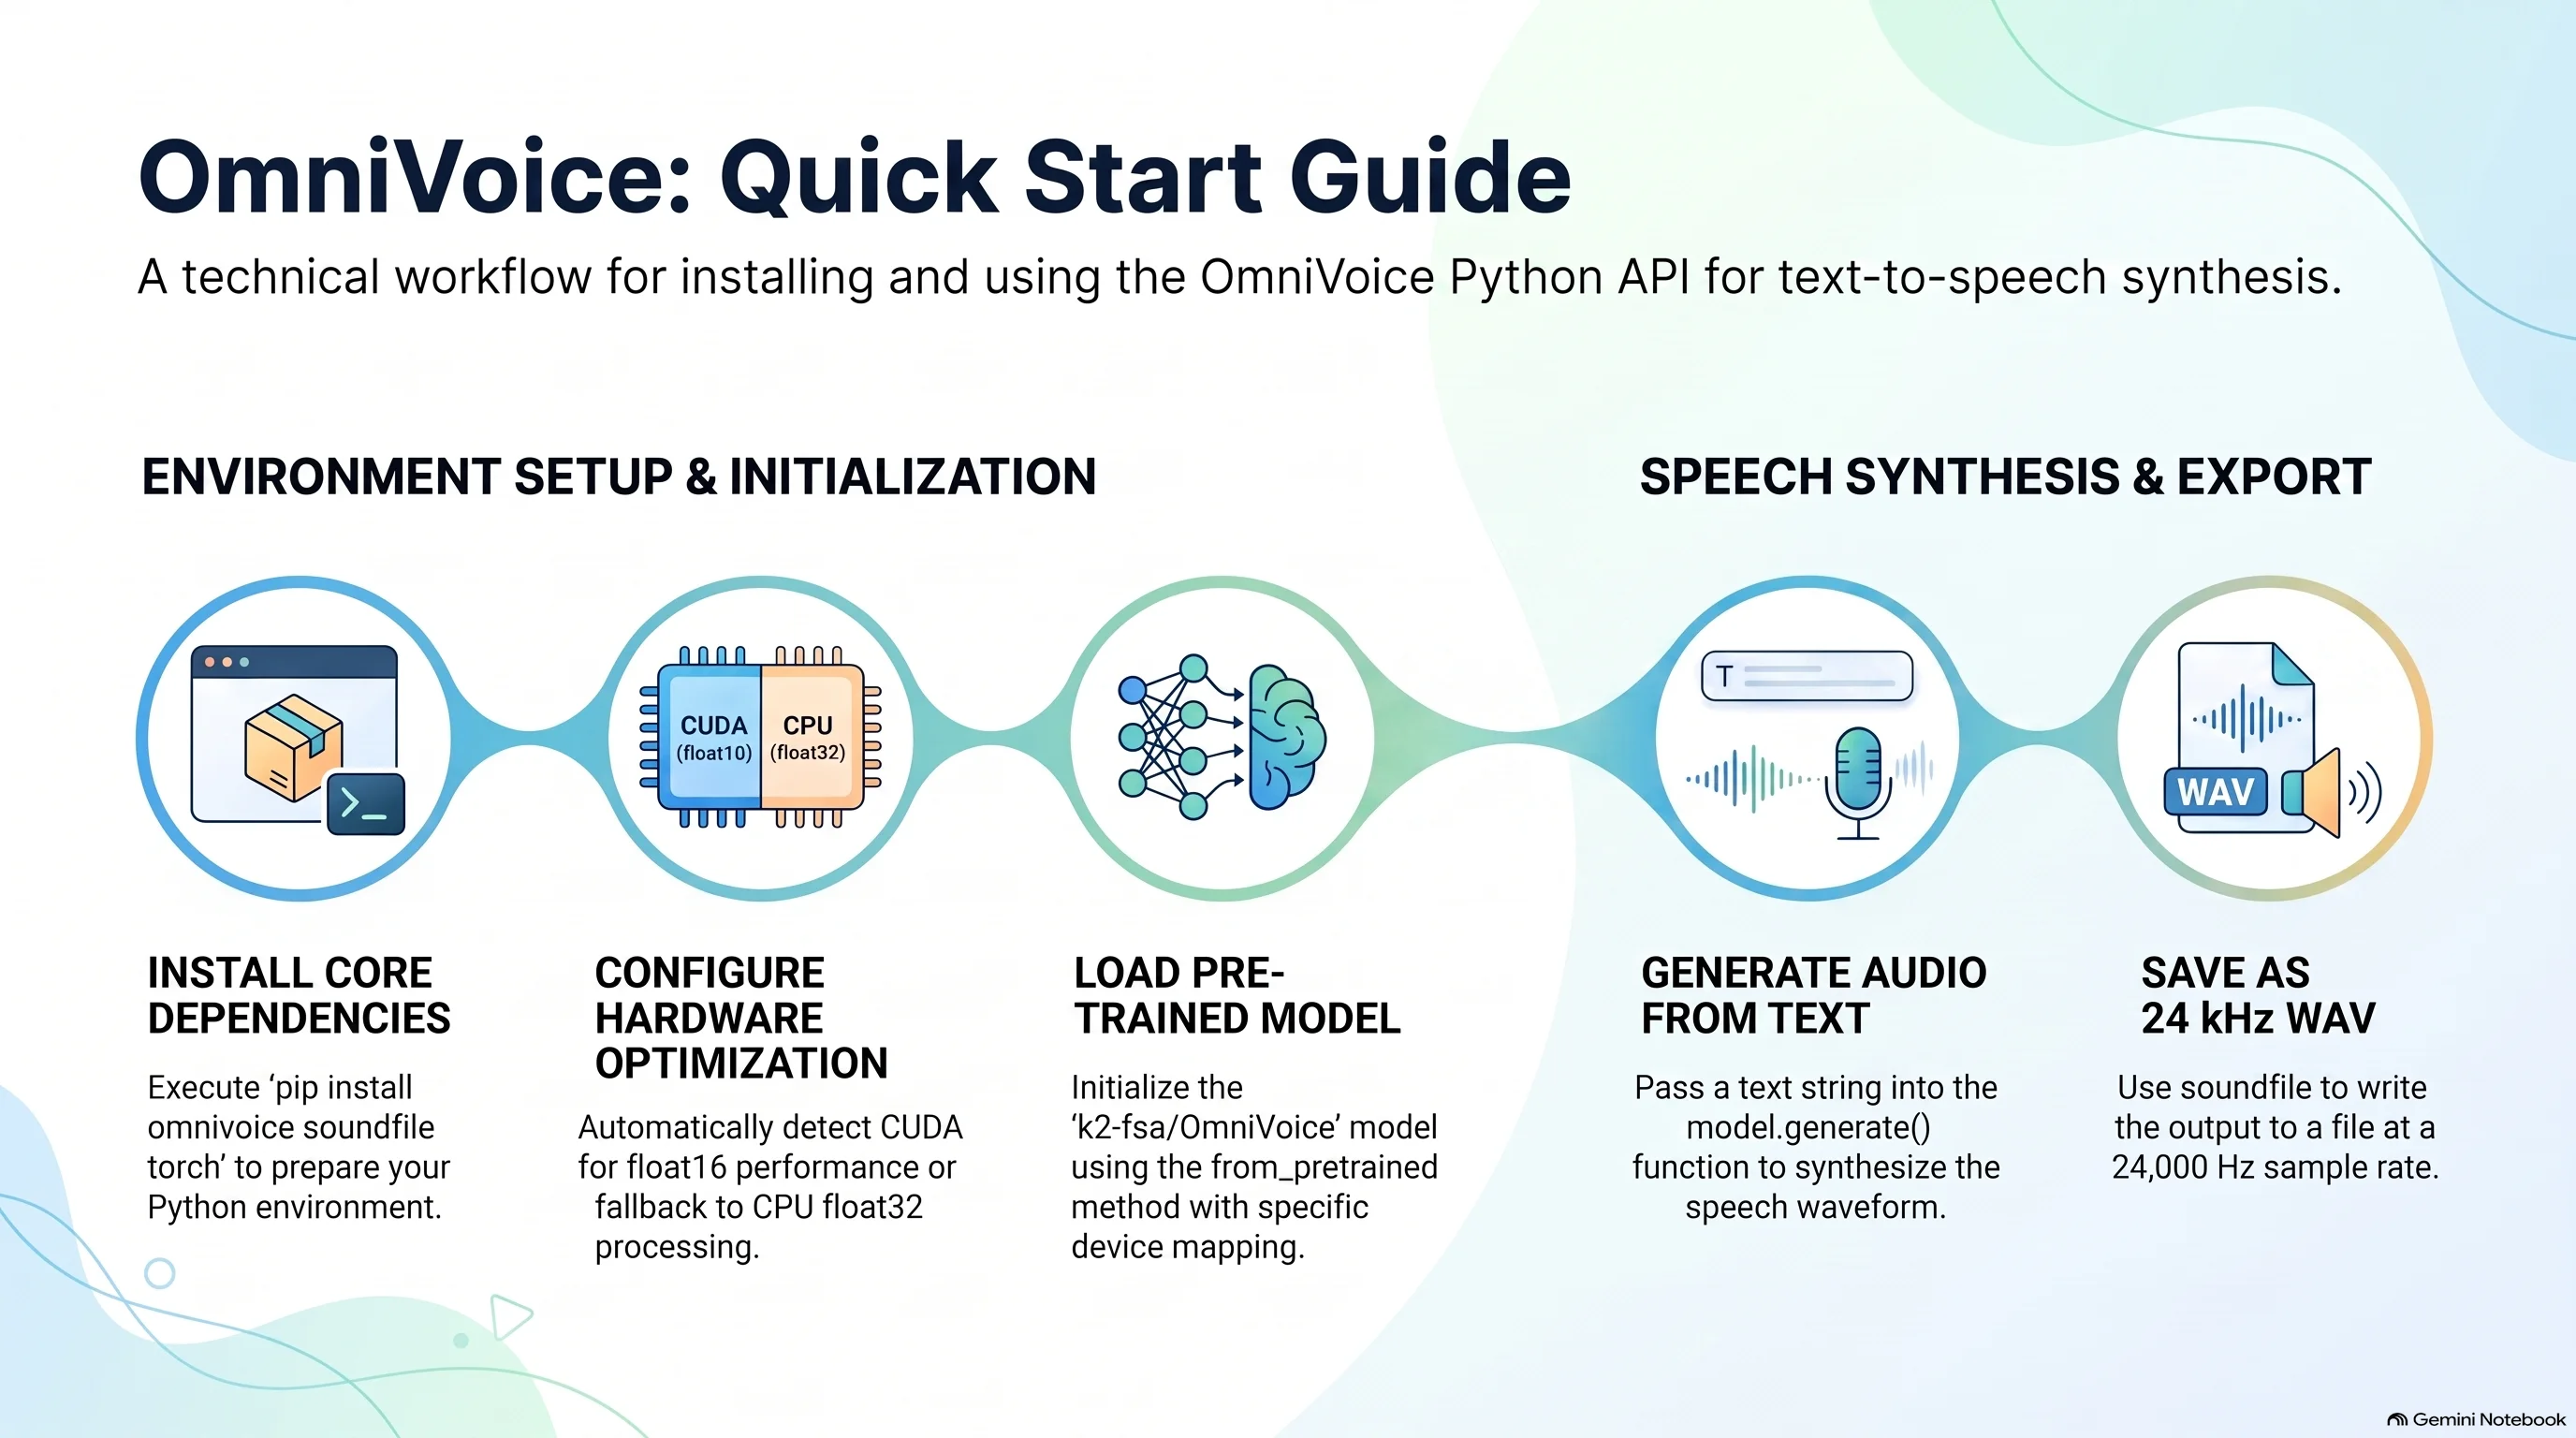
1.Install Dependencies then Install the core library.
pip install omnivoice soundfile torch
2.Generate Speech from Text then Standard Python API usage.
Python
import soundfile as sf
import torch
from omnivoice import OmniVoice
- Load the pre-trained OmniVoice model
device = "cuda:0" if torch.cuda.is_available() else "cpu
dtype = torch.float16 if torch.cuda.is_available() else torch.float32
model = OmniVoice.from_pretrained(
"k2-fsa/OmniVoice",
device_map=device,
dtype=dtype,
)
Synthesize text to speech
text_prompt = "Hello! This is an official Python API text-to-speech example for OmniVoice.
audio_output = model.generate(text=text_prompt)Save the synthesized audio (24 kHz)
sf.write("output.wav", audio_output[0], 24000)
print("Speech generated successfully and saved to output.wav
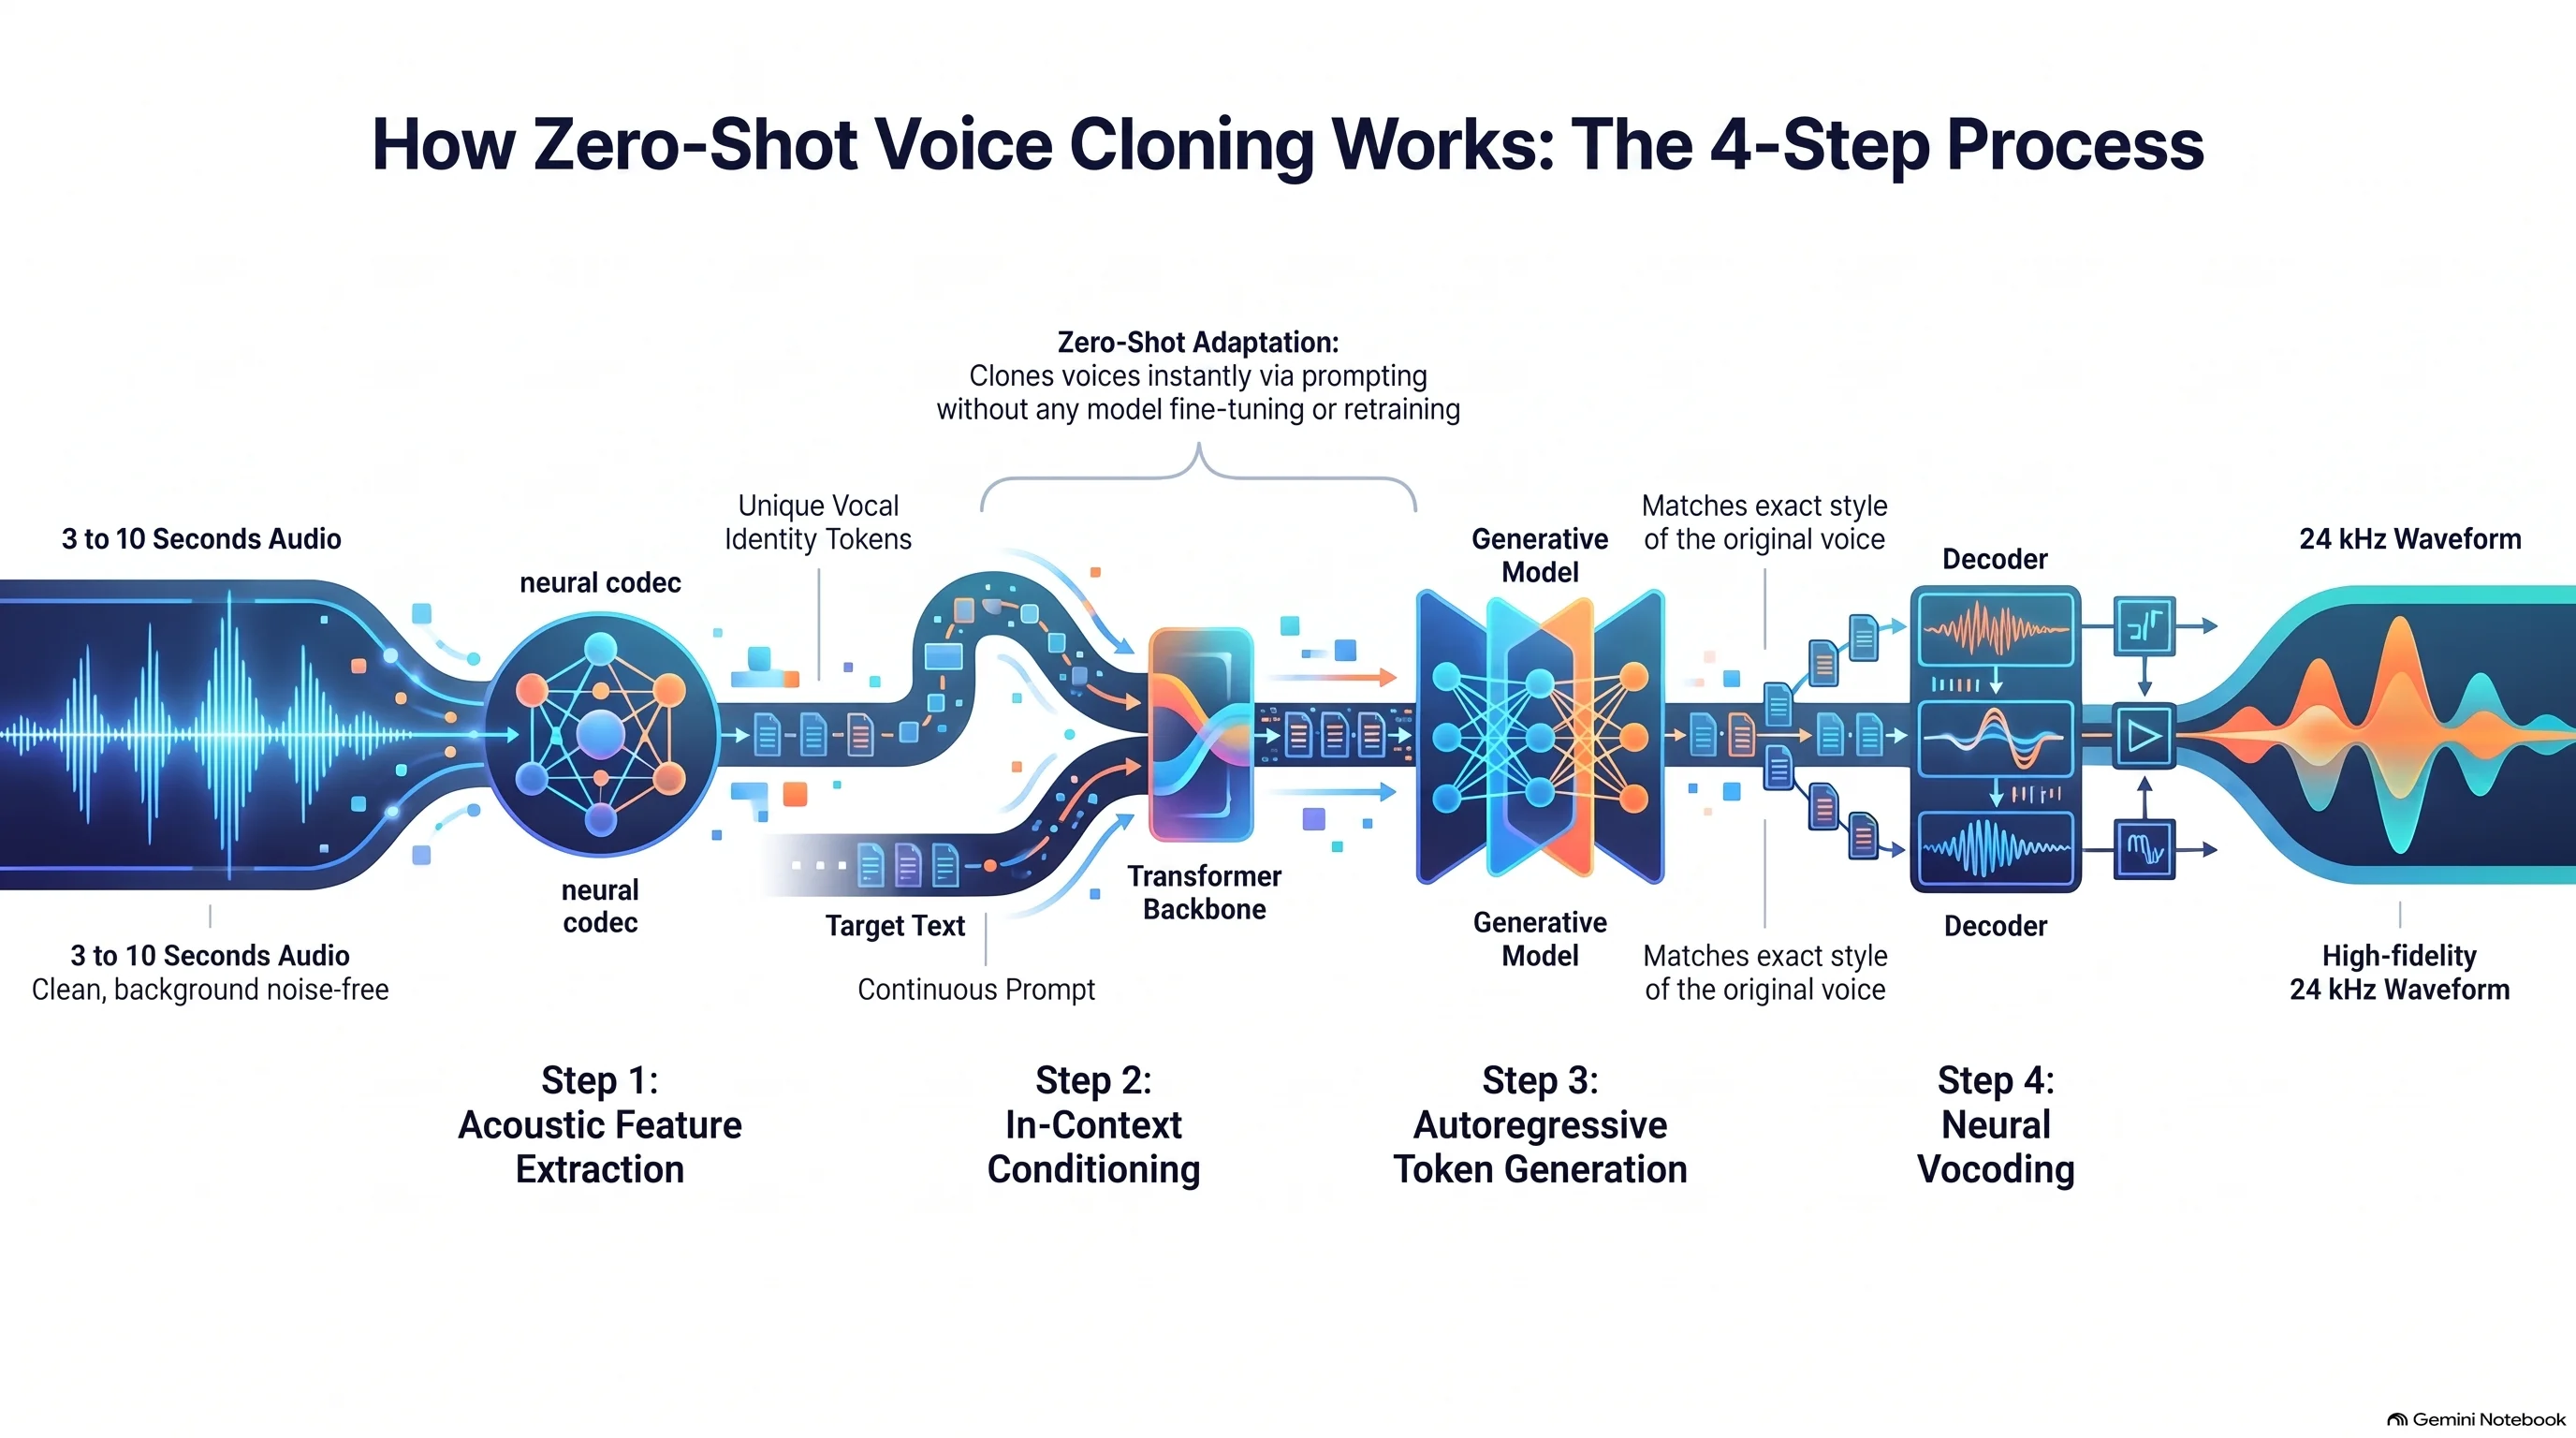
how does omnivoice zero shot voice cloning work with short audio
1.Listen Carefully – The AI analyzes a clear 3–10 second voice sample to understand the speaker’s unique pitch, tone, accent, and speaking style.
2.Match the Text – It combines the captured voice characteristics with the new text you want the voice to speak.
3.Generate Cloned Speech – It quickly creates new speech that sounds like the original voice, without requiring a separate model-training process or complicated setup.
omnivoice ai text to speech 600 languages complete list
OmniVoice AI Text-to-Speech supports more than 600 languages and dialects, allowing you to convert your text into natural speech in a wide range of languages. Here are some examples of the languages available among those 600+ options.
English , Hindi , Spanish , French , German , Italian , Japanese , Korean, Chinese 🇨🇳,Arabic, Russian, Turkish.
how to control pitch accent and emotion in omnivoice voice design
In OmniVoice Voice Design, you can customize the accent, pitch, and emotion through voice settings. For example, you can choose an Indian accent, deep pitch, and a calm or cheerful tone to create the voice style you want.
omnivoice open source tts vs elevenlabs voice cloning quality
OmniVoice is an open-source TTS alternative to ElevenLabs, offering support for 600+ languages and zero-shot voice cloning. While its voice quality is quite competitive, ElevenLabs generally provides more polished and consistent results.
omnivoice vs kokoro tts vs f5 tts comparison speed benchmark
F5-TTS and OmniVoice may run slower depending on the hardware and voice-cloning settings, while Kokoro TTS is usually faster for speed-focused tasks. Benchmark results can vary based on the GPU, model size, and audio length.
omnivoice Real Time Factor rtf speed on consumer gpu
RTF depends on the consumer GPU and model settings. A lower RTF means faster voice generation, while overall performance can change based on the GPU and audio length.