Steemit Insights #3: The 10-Minute Check Before You Hit Publish
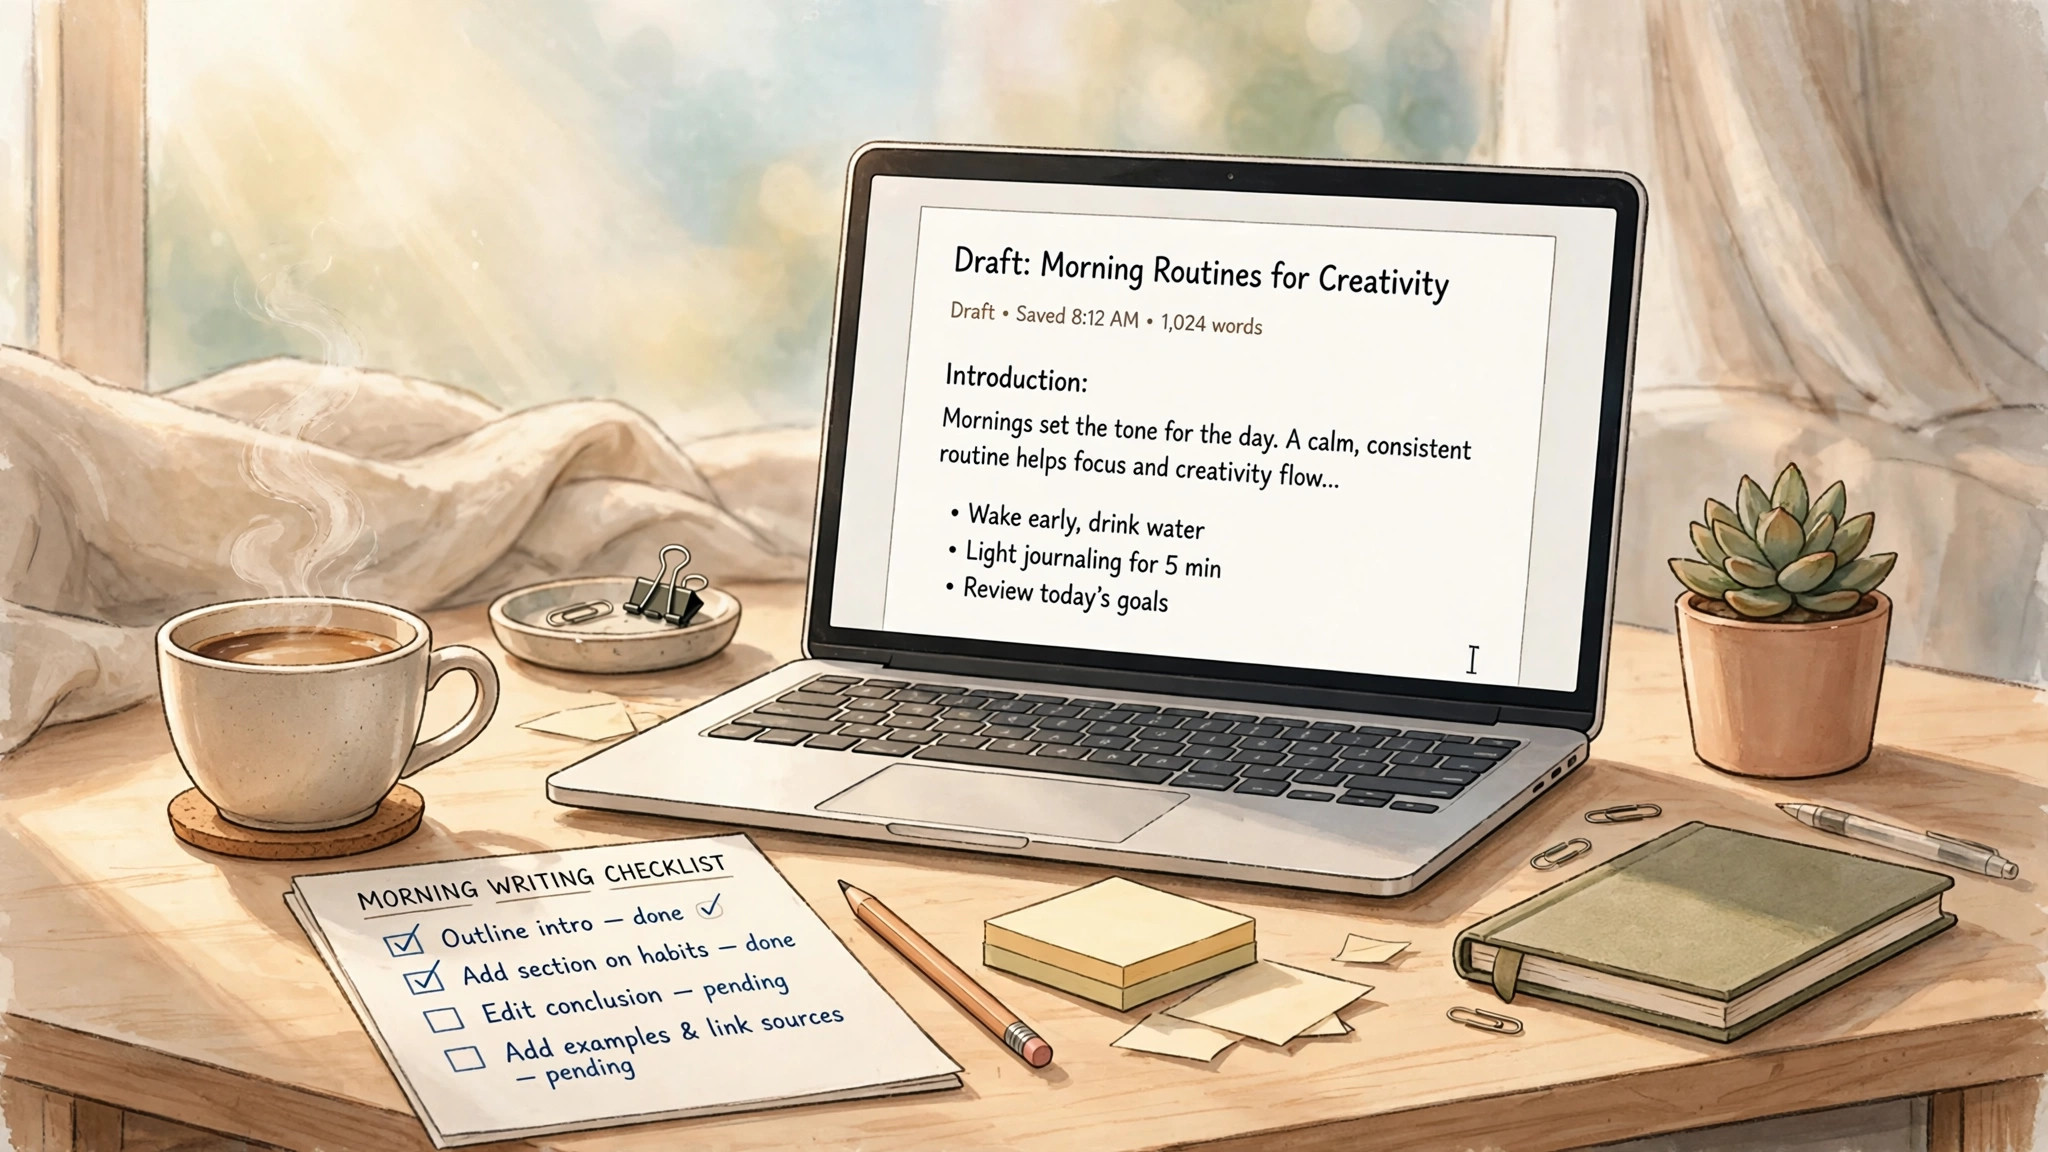
Publishing a post feels final, and in a way it is. Once it is live, readers judge it in seconds: the title either pulls them in or it does not, and a small mistake in the tags can hide the whole post from the readers who would have liked it most. A short check before publishing fixes most of that. Ten minutes is enough.
Here is a simple check that works for any post, on any topic.
1. Read the title out loud
A good title makes a promise the post can keep. Read it out loud and ask three questions. Is it clear, even to someone who knows nothing about the topic? Does it say what the reader will learn, see, or enjoy? And is it short enough to read at a glance?
Vague titles are the most common waste. A title that could describe ten different posts will excite nobody. A title that names the benefit, the question, or the surprise gives the reader a reason to click.
2. Check the first tag first
On Steemit, the first tag is special: it decides which feed your post appears in. Think of it as the shelf your post sits on. The other four tags help readers find it later, but the first tag decides where it lives.

So choose the first tag with care. Pick the plain, obvious word for the topic, not a clever invention. A post about cooking belongs under cooking, a post about Steemit itself under steemit. Readers browse plain words. After that, add four more tags that are also plain, lowercase, and free of spaces. Then count them: five in total. A post with only one tag is a book with no shelf and no index cards.
3. Scan the shape of the post
Nobody reads a wall of text with pleasure. Before publishing, scroll through the whole post without reading every word and look at its shape. Are there headings that break it into sections? Are paragraphs short, mostly two to four sentences? Is there a picture near the top and more pictures where a new section begins?
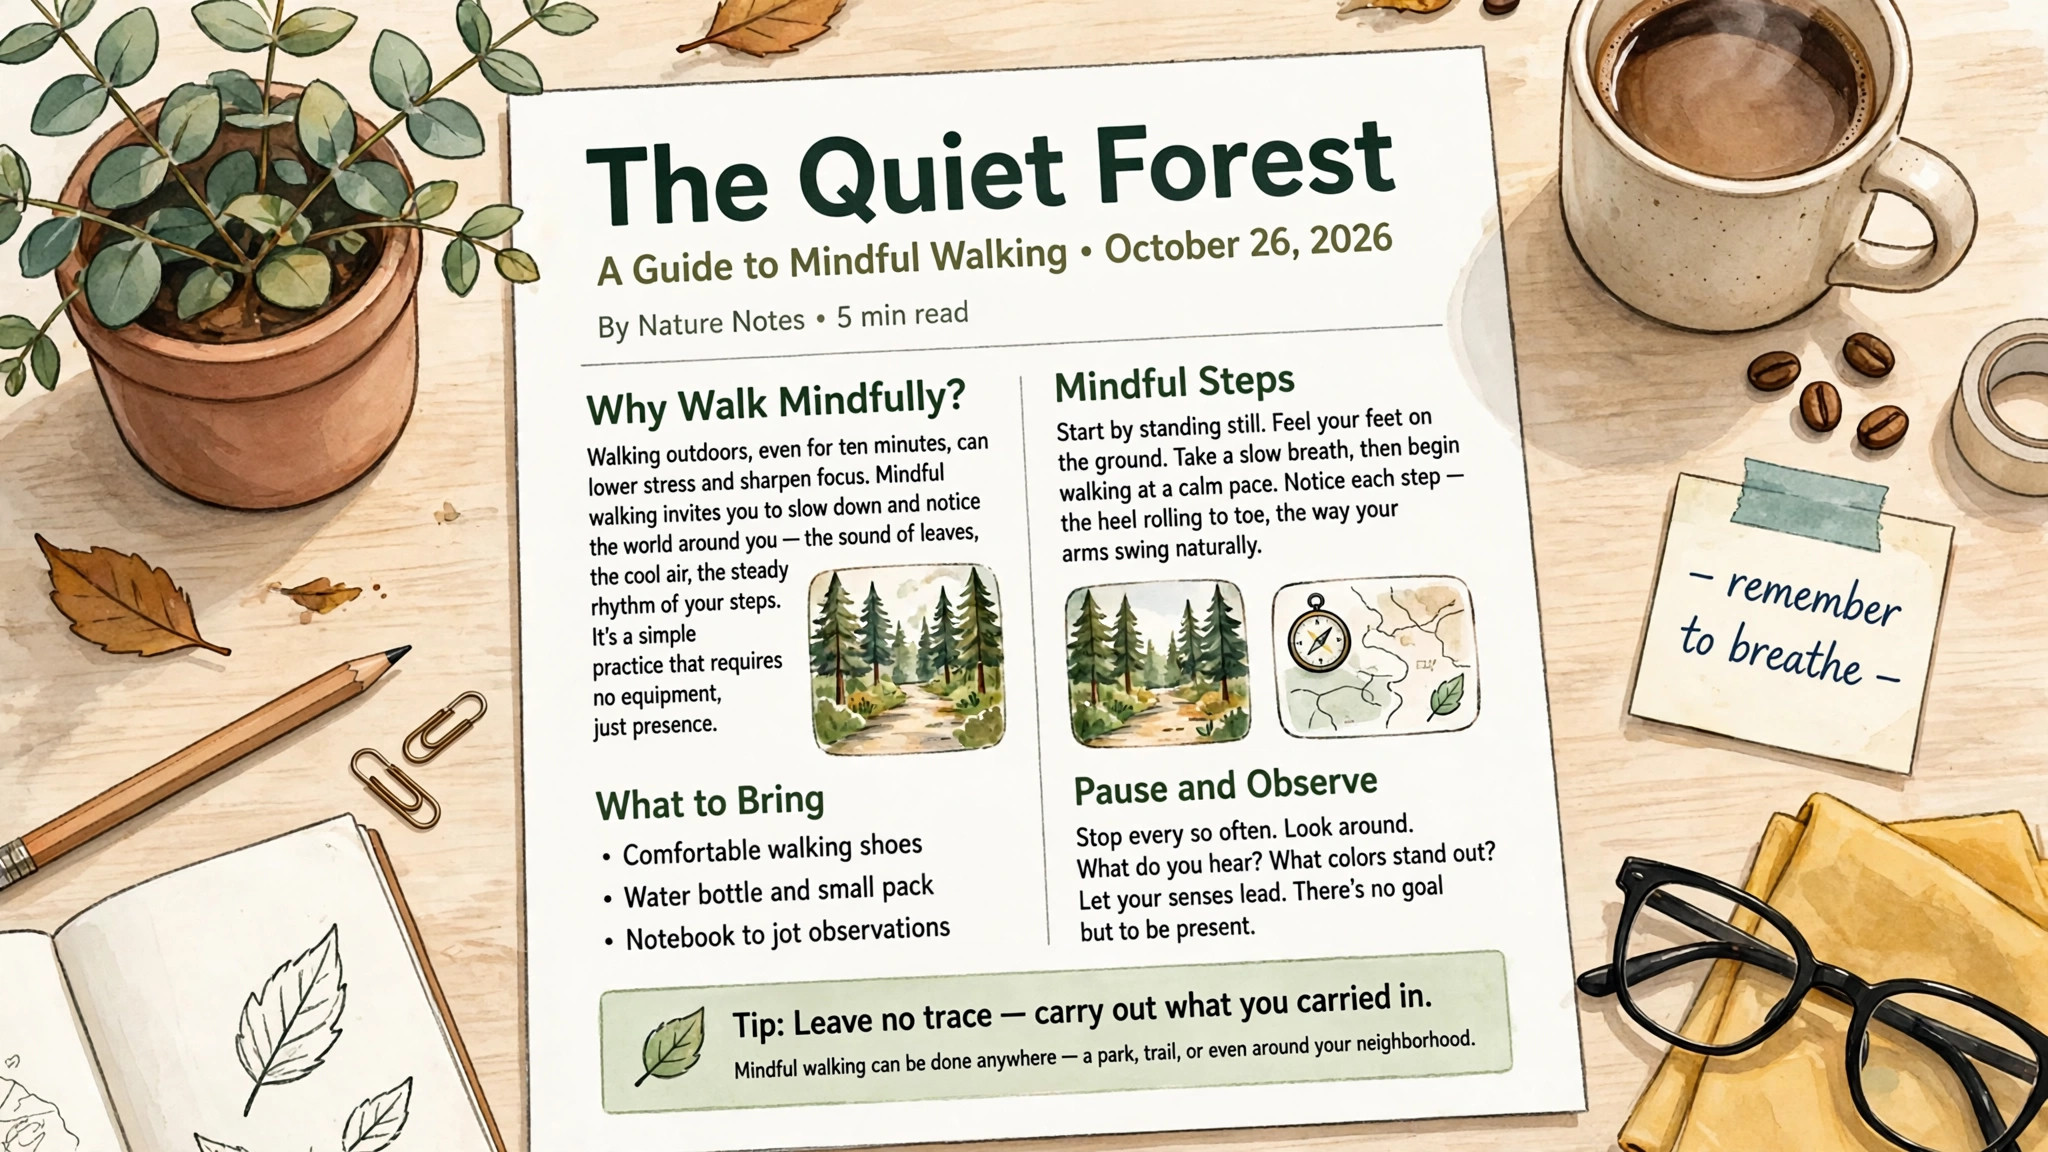
Headings are signposts. They let a busy reader find the part they care about, and they let a curious reader see at a glance that the post is worth their time. Pictures do the same job in a different way: they give the eye a place to rest. A hero picture at the top sets the mood, and a supporting picture in each main section keeps the pace lively.
4. Proofread for the small things
Read the post once, slowly, for errors only. Look for repeated words, missing words, and sentences that run too long. Check every name, number, and date. Check that links work and that pictures actually appear where they should.
Small errors do real damage. A single wrong date can make a careful post look careless, and a broken picture at the top can make a good post look unfinished. This pass is about catching the one mistake that would have distracted every reader.
5. Confirm the settings, then publish
Finally, look at the whole publish screen once more. Title, body, pictures, and all five tags should be in place. Keep the default rewards unless there is a clear reason to change them. Then publish, and check the live post once: does the title match, do the pictures load, and are all five tags showing?
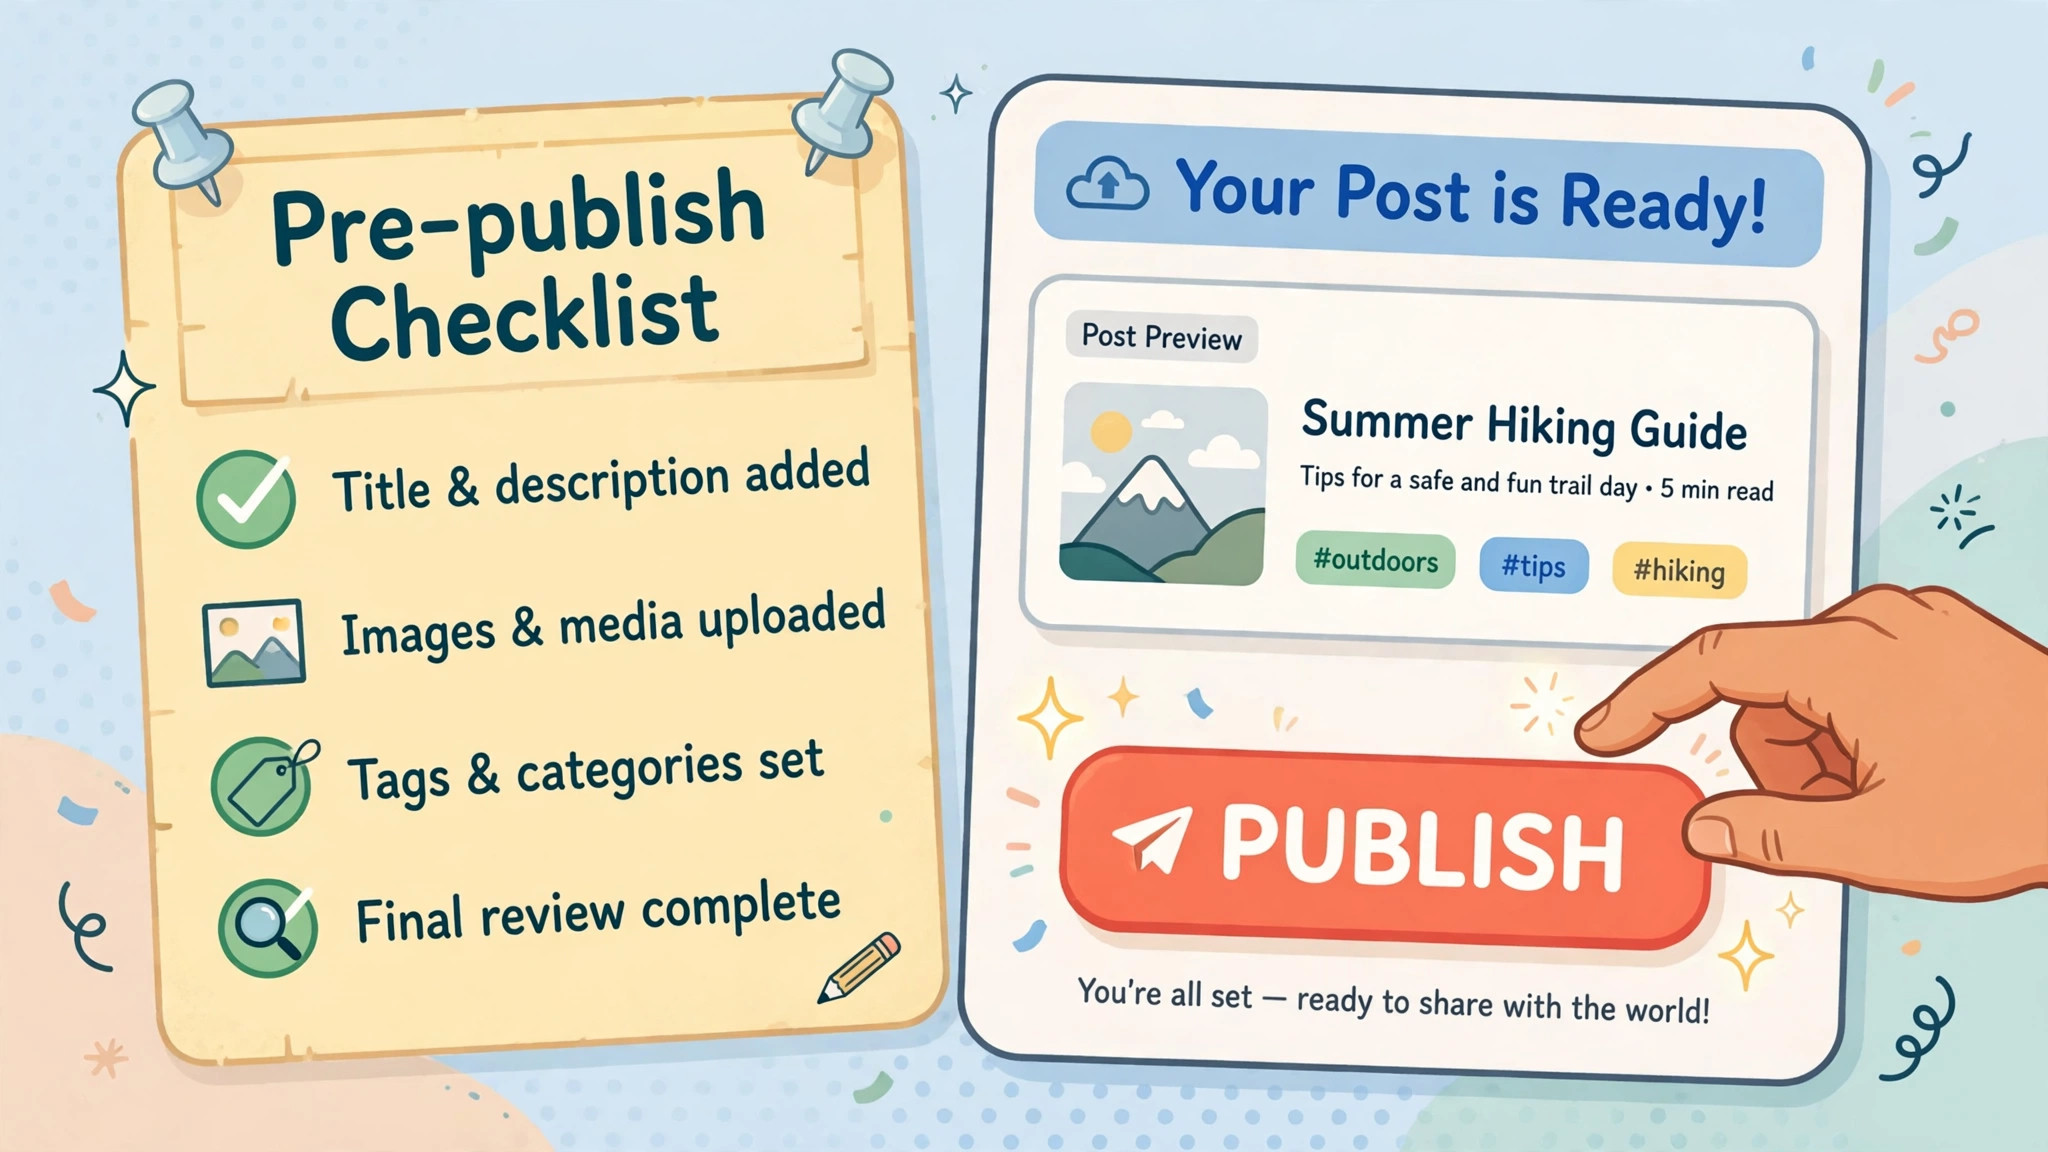
That final live check matters. It is far better to spot a problem in the first minute than to discover it a day later.
The checklist, in short
Title: clear, specific, and honest. First tag: the plain word for the topic. Tags: five in total, all lowercase. Shape: headings, short paragraphs, pictures spread through the post. Proofread: names, numbers, dates, and pictures checked. Settings: everything in place before publishing.
Ten minutes, five steps, and the post you publish is the post you meant to write. Which step do you usually skip? That is the one to add to your routine first.